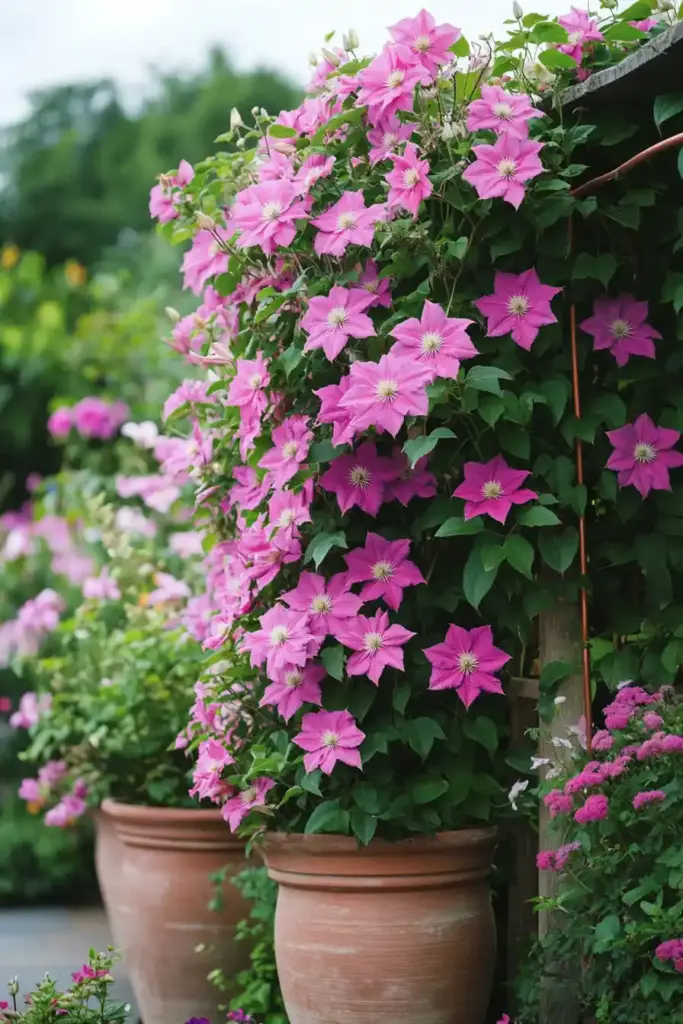
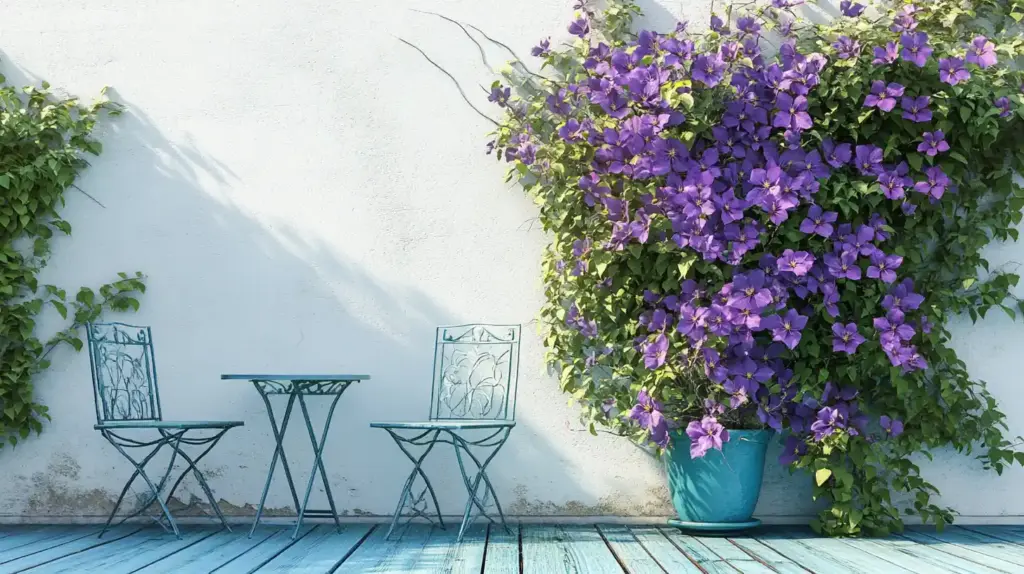
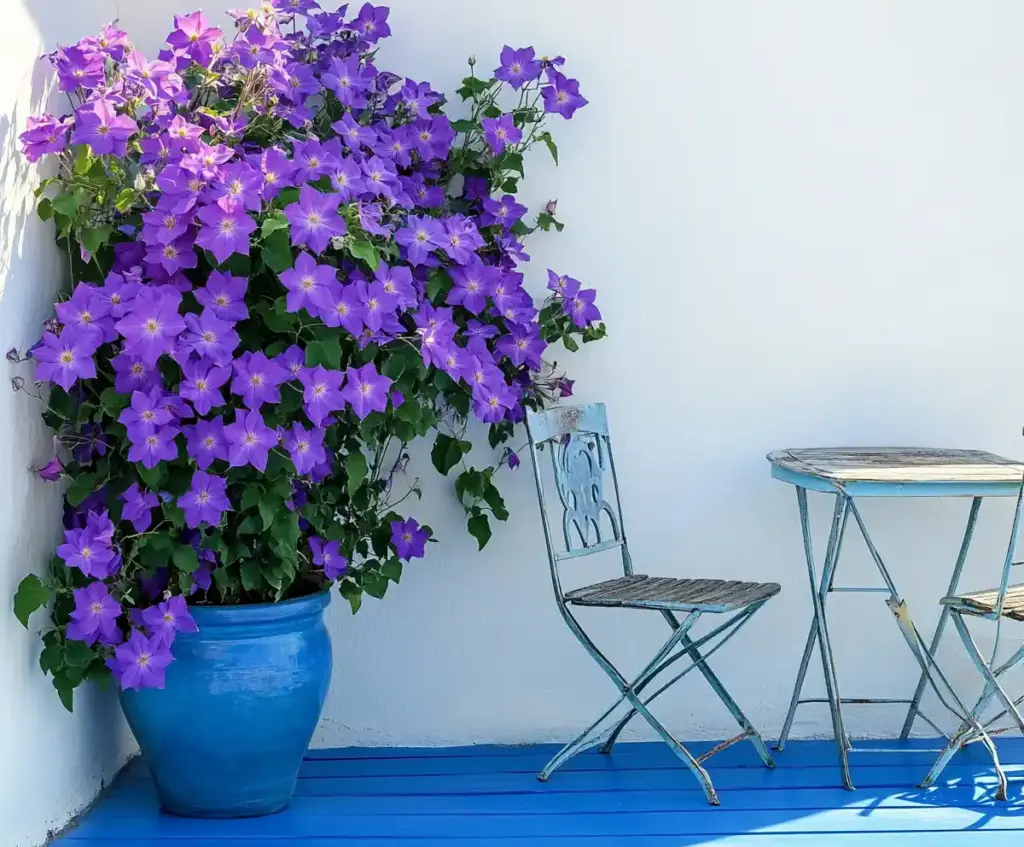
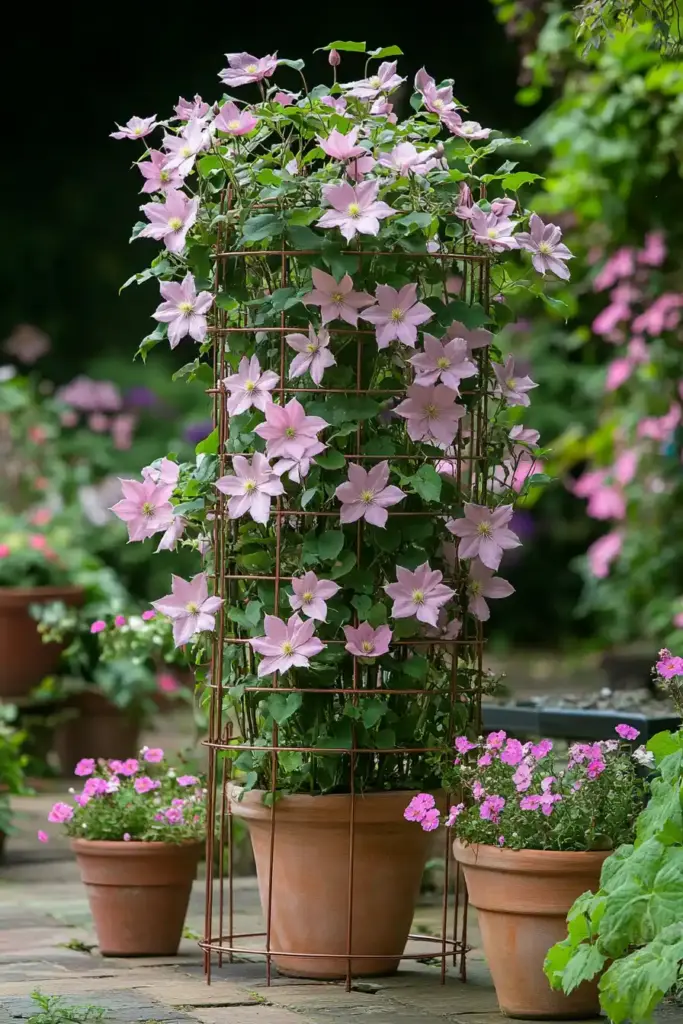
If you’re looking for a striking vertical flower display that works even in small spaces, clematis in containers is the perfect solution. These climbing vines from the buttercup family (Ranunculaceae) deliver jaw-dropping blooms in nearly every color—right from a pot. Whether you’re growing on a balcony, patio, or entryway, this method allows anyone to enjoy the beauty of clematis, even without a backyard.
Hardy in USDA Zones 5 through 9—and with some varieties tolerating conditions down to Zone 3—clematis in containers is ideal for both cold and mild climates. Their growth habits range from compact 3-foot cultivars to bold 20-foot vines. You’ll get all the vertical drama with none of the garden digging.
If you’re just starting out, check out our beginner’s guide to growing and caring for clematis for foundational advice that pairs perfectly with this container-focused article.
Table of Contents
Benefits of Growing Clematis in Containers
Container gardening is more than just a space-saving trick—it’s a smart, strategic way to cultivate clematis with greater control and flexibility. In fact, growing clematis in containers gives you the advantage of mobility, tailored soil management, and easier seasonal care. Here are the top reasons why clematis in containers can be a game-changer for home gardeners:
1. Perfect for Small Spaces or Renters
If you live in an apartment, condo, or rental property, digging into the landscape isn’t always an option. Fortunately, clematis in containers allows you to enjoy this stunning flowering vine without needing a permanent garden bed. Best of all? If you move, your plant moves with you—no garden left behind.
2. Easy Mobility and Seasonal Flexibility
One of the biggest advantages of container growing is the ability to relocate your clematis as needed:
- Move it to sunnier spots in spring and fall.
- Tuck it into the shade during hot summer afternoons.
- Shift it into a protected area like a shed or garage during winter freezes.
This mobility helps optimize sunlight exposure and protect roots from extreme temperatures.
3. Better Root Management
Clematis is known for vigorous growth—and that includes its expansive root system. When planted in the ground, these vines can spread aggressively and become difficult to manage. Growing clematis in containers helps naturally restrict root spread, making it much easier to control the plant’s size, reduce overgrowth, and keep things tidy in small spaces.
4. Superior Soil and Water Control
In containers, you’re in charge of the soil mix, drainage, and water schedule. This means:
- Better soil structure and fertility
- Reduced risk of soilborne diseases
- More efficient watering during droughts or heatwaves
Additionally, refreshing the soil during repotting helps improve long-term plant health and growth.
5. Simplified Maintenance
From pest control to pruning access, clematis in containers tends to be much easier to manage than in-ground plantings. Growing in pots allows you to inspect your plant up close, apply fertilizer with precision, and respond quickly to any signs of stress, pests, or disease—making maintenance far more convenient.
If you’re preparing your porch or patio, clematis in containers pairs well with other seasonal picks. See our list of the best potted plants for sunny and shaded porches for design inspiration.
Choosing the Right Container

Selecting the proper pot is a critical first step when growing clematis in containers. The right size and material can make all the difference in promoting healthy root development and avoiding common pitfalls like waterlogged soil or root-bound plants.
1. Start with the Right Size
Begin with a container that’s 3–4 inches wider than the clematis root ball. As the plant matures, it will need more room to grow. Ultimately, aim for a container that is:
- At least 18 inches deep
- A minimum of 12 inches wide
For larger or more vigorous varieties of clematis in containers, upsizing your pot is essential. A more spacious container supports deeper root growth, maintains stable moisture levels, and encourages stronger, more abundant flowering.
2. Prioritize Good Drainage
Clematis roots hate soggy soil. Always choose a pot with drainage holes at the bottom to prevent excess water from accumulating. Without proper drainage, root rot can quickly take hold.
3. Best Container Materials
Some materials work better than others for clematis:
- Terracotta or Clay Pots:
These are breathable, allowing excess moisture to evaporate. They’re ideal for preventing overly wet soil—but they can dry out faster in hot weather, so keep an eye on watering. - Wooden Planters or Glazed Ceramic:
Aesthetic and functional, especially when lined properly or treated for moisture resistance. - Avoid Plastic or Resin Pots:
These tend to trap moisture, which can lead to fungal problems and overwatering issues.
4. Consider Insulation and Stability
Heavier materials like clay or ceramic provide excellent stability for top-heavy clematis in containers and offer superior insulation for roots in fluctuating temperatures. If you’re gardening in colder zones, opt for thick-walled containers that help protect the root system of your clematis during the winter months.
Thinking of vertical setups or decorative patio designs? For inspiration, explore these creative DIY trellis ideas to support your potted clematis in style.
Preparing Your Container

Before planting, it’s essential to set up your container correctly to give your clematis in containers the best possible start. Proper preparation not only encourages healthy root development and balanced moisture but also lays the foundation for long-term success when growing clematis in containers.
1. Sanitize Reused Pots
If you’re preparing to grow clematis in containers using a pot that previously held other plants, be sure to sanitize it thoroughly. This step helps eliminate any lingering pests, pathogens, or mold that could harm your clematis. Use this easy solution:
- Mix 9 parts water to 1 part household bleach
- Submerge the container for 15–30 minutes
- Rinse well and allow it to air dry completely
Skipping this step can introduce harmful fungi or diseases to your new plant.
2. Create the Ideal Soil Mix
When growing clematis in containers, it’s essential to use loose, well-draining, and nutrient-rich soil. A tailored soil blend provides the right balance of structure and moisture control to support healthy root development. Here’s a recommended mix:
- 2 parts rich organic potting soil
- 1 part compost or aged manure
- 1 part perlite or coarse sand
💡 Optional: Add coconut coir for moisture retention, but flush it thoroughly with water first to remove any residual salts.
3. Fill the Container
When preparing to grow clematis in containers, loosely fill the container with your soil mix, leaving enough space at the top to accommodate the plant’s root system and maintain the recommended shallow planting depth.
- Don’t compact the soil—clematis roots need good airflow.
- Ensure the container’s drainage holes remain unobstructed.
Once the container is prepared, you’re ready for planting.
Planting Clematis in a Pot
Getting your clematis in containers off to a healthy start begins with careful planting. Whether you select nursery-grown plants or bare-root specimens, proper placement and support are essential. Establishing strong roots early on is one of the most important steps to long-term success when growing clematis in containers.
1. Choose Healthy Plants
Look for 1–2-year-old clematis plants from a reputable nursery. These are typically more robust and quicker to establish than seedlings.
Signs of a Healthy Clematis:
- Strong, green stems with new growth
- Bud development (not in full bloom during transplanting)
- No signs of root rot (slimy or discolored roots)
- Leaves free from spots, curling, or yellowing
🪴 Tip: Bare-root clematis is also a great option—just soak the roots in warm water for 1–2 hours before planting to rehydrate.
2. Planting Depth
When planting clematis in containers, position the crown 2–3 inches below the soil surface—whether you’re working with a potted plant or a bare-root specimen. This depth encourages the development of multiple stems and helps protect against clematis wilt.
- Dig a hole deep enough so the crown sits just below the surface.
- Gently backfill with soil, pressing lightly to eliminate air pockets.
3. Sunlight and Shade Balance
Clematis needs at least 6 hours of sunlight daily to thrive and bloom well. However, roots prefer cooler, shaded conditions.
🌞 Top in sun, roots in shade
Achieve this balance by:
- Mulching the base with 2–3 inches of shredded bark
- Planting low-growing companion plants (like creeping thyme or sedum) around the base
- Using decorative stones or a root shield
4. Provide a Climbing Structure
Clematis vines climb using tendrils, not twining stems. They need thin, supportive structures like:
- Wire trellises
- Bamboo canes
- Mesh netting
- Garden obelisks
Start by gently winding young shoots onto the support and loosely tie them with soft twine if needed.
5. Water After Planting
Give your clematis a deep watering right after planting to help settle the soil and hydrate the roots. Make sure excess water drains out fully to avoid soggy conditions.
Watering
Proper watering is one of the most critical aspects of growing clematis in containers. While these vines appreciate consistent moisture, they’re also prone to root rot if the soil becomes waterlogged. Striking the right balance is key.
1. Check Soil Daily
Because containers dry out more quickly than garden beds, especially in warm weather, it’s important to check moisture levels every day.
- Test with your finger: If the top inch of soil feels dry, it’s time to water.
- Use a moisture meter if you prefer a more precise tool-based approach.
2. Watering Guidelines
Aim to provide about 1 inch of water per week, adjusting based on weather conditions.
- During hot, dry spells: Water more frequently, possibly every 2–3 days.
- During cool or rainy periods: Reduce watering and monitor soil moisture closely.
Always water thoroughly until it drains from the bottom of the pot—this encourages deep root growth and helps flush out salts.
3. Avoid Common Mistakes
- Don’t water lightly every day—this can promote shallow roots.
- Don’t let water sit in saucers—empty them after each watering to prevent rot.
- Avoid overhead watering—wet foliage increases the risk of fungal diseases like powdery mildew.
💡 Tip: Consider adding a layer of mulch or pebbles on top of the soil to reduce evaporation and maintain consistent moisture.
Growing Tips
Once your clematis is established in its container, thoughtful ongoing care will help it flourish. Follow these expert tips to keep your vine thriving and blooming when growing clematis in containers.
1. Repot Every 2–3 Years
Container soil breaks down over time, becoming compacted and less nutritious. Repotting every few years helps:
- Refresh soil quality
- Promote root expansion
- Prevent root binding
When repotting, trim any damaged roots and plant the vine 2–3 inches below the surface just as you did originally.
2. Sun on Top, Shade at Base
This classic clematis rule is especially important in containers. Ensure:
- The vines and foliage receive full sun (6–8 hours/day)
- The roots stay shaded and cool using mulch or companion plants
This combination supports robust growth and vibrant flowering.
3. Promote Air Circulation
Clematis foliage can become dense, especially in pots. Good airflow helps prevent fungal issues like:
- Powdery mildew
- Clematis wilt
Situate your container where breezes can flow, and avoid overcrowding it with other tall plants.
4. Choose Compact Varieties
While some clematis varieties can reach 20 feet, others are bred for containers. Look for cultivars labeled as:
- “Dwarf”
- “Compact”
- Or specified for pots (see Recommended Varieties section later)
These require less pruning and support while offering beautiful results.
5. Feed During Growing Season
Support blooming and foliage health with a balanced fertilizer:
- Apply a slow-release fertilizer in early spring
- Supplement with a liquid feed every 4–6 weeks during active growth
Opt for formulations labeled for flowering vines or general-purpose use.
Pruning & Maintenance

Clematis may be low-maintenance overall, but thoughtful pruning and seasonal care are essential to keeping your plant healthy, shapely, and full of blooms—especially when growing clematis in containers.
1. Let the Base Fill Out Naturally
When growing clematis in containers, avoid pruning at the very base during the early years. Allow the lower part of the vine to grow thick, which helps naturally shade the roots and insulate the container. This approach supports a stronger plant structure and promotes a healthier root system over time.
2. Pinch Back Young Vines
For the first 2–3 growing seasons, pinch or trim stems when they reach 18–24 inches tall. This encourages:
- Stronger root development
- More lateral growth
- Fuller plants with more flowering points later on
Don’t worry if this delays blooms early on—it’s an investment in long-term vigor.
3. Know Your Clematis Group
Clematis varieties fall into three pruning groups, and identifying which one your plant belongs to will dictate when and how to prune.
Pruning Group 1: No Pruning
- Blooms on old wood (previous year’s growth)
- Prune only to remove dead or damaged stems
- Best time to prune: After flowering
Pruning Group 2: Light Pruning
- Blooms on both old and new wood
- Light shaping and deadheading in early spring
- Best time to prune: Early spring and again lightly after bloom
Pruning Group 3: Hard Pruning
- Blooms on new wood (current season’s growth)
- Cut back to 6–12 inches from the base every late winter or early spring
- Encourages fresh, vigorous growth and abundant flowers
🪴 Tip: If you’re unsure of your group, allow the plant to grow for one year, observe its bloom time, then research or ask a local nursery for pruning advice.
4. Clean Up After Bloom
Remove spent flowers (deadheading) to prevent seed formation and encourage a second wave of blooms, especially in reblooming varieties.
Winter Care (Container-Specific)
While many clematis varieties are cold-hardy, growing clematis in containers presents unique winter challenges. In pots, roots are more exposed to freezing temperatures, making winter protection essential—especially in Zones 5 and below.
1. Move Pots to a Sheltered Area
If possible, move your clematis in containers to an unheated garage, shed, or cold frame before the first hard freeze. This relocation provides crucial insulation from harsh winds and freezing temperatures while still allowing the plant to enter proper dormancy.
💡 Important: Clematis needs a cold period to go dormant, so don’t bring it into a heated space.
2. Insulate the Container
If moving the pot isn’t feasible, insulate it right where it stands:
- Wrap the container in burlap, frost cloth, or bubble wrap
- Surround the pot with hay bales or straw
- Set the container on foam boards to insulate from ground frost
This helps buffer roots against extreme temperature swings.
3. Mulch the Soil Surface
Apply 2–3 inches of organic mulch over the soil to help retain moisture and moderate soil temperature. Good options include:
- Shredded bark
- Pine needles
- Straw
Avoid pushing mulch right up to the vine’s crown to prevent rot.
4. Water Occasionally
Don’t forget to check moisture levels, even in winter. Clematis still needs some hydration while dormant:
- Water lightly every 3–4 weeks, if soil is dry and weather is above freezing
Overwatering during dormancy can lead to rot, so water sparingly.
Repotting
Whether you’re refreshing old soil or upsizing your pot, clematis in containers benefits greatly from repotting every 2–3 years. Over time, soil nutrients break down, and roots can become crowded or begin circling the pot—both of which can reduce blooming and cause plant stress.
1. Signs It’s Time to Repot
Watch for these signs:
- Water runs straight through the pot
- Roots growing out of drainage holes
- Poor blooming despite healthy foliage
- The plant becomes top-heavy or unstable
2. How to Repot Step-by-Step
a. Prepare Your Tools and Soil
- Have a clean, larger container ready (or sanitize the current one)
- Mix a fresh batch of well-draining soil (same mix as during initial planting)
- Use clean pruners and gloves
b. Remove and Inspect the Plant
Gently ease the clematis out of its current pot. Wrap the root ball in cloth if needed to prevent damage.
- Check the roots: Healthy roots should be pale and firm.
- Trim away any black, mushy, or slimy roots—a sign of rot.
💧 Optional: Soak roots in a hydrogen peroxide solution (1 part peroxide to 3 parts water) for several hours to kill lingering pathogens.
c. Loosen and Reposition the Roots
If roots are tightly wound in a circular pattern (a condition called girdling), tease them apart gently to encourage outward growth.
3. Replant with Fresh Soil
When repotting clematis in containers, place the plant 2–3 inches below the surface of the new pot, just as you did during the initial planting. Backfill with your prepared soil mix, gently press it to secure the roots, and water thoroughly to help the soil settle and eliminate air pockets.
4. Sanitize Old Containers
If reusing a pot, disinfect with a 9:1 water-to-bleach solution, scrub well, and let it dry completely before replanting.
Recommended Clematis Varieties for Containers
Not all clematis are created equal—some grow 20+ feet and need sprawling garden space, while others are perfect for pots. When growing clematis in containers, choose compact or medium-sized cultivars known for manageable growth and reliable flowering.
Here are three top-performing container varieties:
1. ‘Blue Light’ (aka ‘Vanso’)
- Height: 6–8 feet
- Zones: 4–9
- Bloom Type: Double blooms
- Color: Rich blue-violet
- Highlights:
This striking variety produces large, ruffled, double flowers that can span over 6 inches, making it one of the most eye-catching choices for clematis in containers. It’s a true showstopper for patios or balconies, and its manageable height makes it easy to train on a container trellis or decorative obelisk.
2. ‘Pink Fantasy’
- Height: 6–8 feet
- Zones: 4–9
- Bloom Time: Mid-to-late season
- Color: Pale pink petals with a deep rose stripe
- Highlights:
A great option for adding soft color to your container garden, ‘Pink Fantasy’ is a top-performing variety of clematis in containers. Blooming on new wood, it falls into Group 3, making it ideal for hard pruning in late winter. Its compact growth habit and reliable reblooming make it a favorite for small-space gardeners looking for consistent floral impact.
3. ‘Guernsey Cream’
- Height: 6–8 feet
- Zones: 4–9
- Color: Creamy white
- Highlights:
Known for its prolific blooming and compact growth, ‘Guernsey Cream’ is an excellent choice when growing clematis in containers, especially in partially shaded areas. Its large, creamy-white flowers glow beautifully in low light, making it perfect for north-facing patios, balconies, or any tucked-away corner where softer blooms can truly shine.
🌿 Bonus Tip: When selecting a clematis for containers, always check the mature height and pruning group. Look for varieties marketed as:
- Compact
- Patio-friendly
- Container suitable
These are bred specifically for small-space success.
Pests & Diseases
Even with the best care, clematis can fall victim to certain pests and diseases—especially when container-grown in warm, humid conditions. Staying vigilant and proactive is key to keeping your plant healthy when growing clematis in containers.
Common Pests
1. Aphids
- Small, soft-bodied insects that cluster on stems and leaf undersides
- Can cause leaf curling, stunted growth, and sticky residue (honeydew)
Control: Spray with a strong jet of water or use insecticidal soap.
2. Scale Insects
- Appear as brown or gray bumps on stems
- Suck plant sap, weakening growth over time
Control: Prune affected stems and treat with horticultural oil.
3. Thrips & Caterpillars
- Thrips cause silver streaks and flower damage
- Caterpillars chew leaves and buds
Control: Remove by hand or apply neem oil or Bt (Bacillus thuringiensis) as needed.
4. Slugs and Snails
- Leave irregular holes in leaves
- More common in shady or overly moist setups
Control: Use slug bait or beer traps around containers.
Common Diseases
1. Clematis Wilt
- Rapid wilting of entire stems
- Caused by fungal infection entering through damaged stems
Control: Cut wilted stems to ground level and dispose of them. New shoots usually emerge.
2. Powdery Mildew
- White, powdery coating on leaves
- Encouraged by poor airflow and overhead watering
Control: Prune for airflow and treat with sulfur-based fungicide if needed.
3. Slime Flux (Bacterial Infection)
- Oozing sap with foul odor
- May attract insects and cause stem damage
Control: Prune infected sections, disinfect tools, and improve airflow.
Prevention Tips
- Water at soil level, not overhead
- Avoid overcrowding—space plants for good ventilation
- Inspect regularly for early signs of trouble
- Clean tools and containers to stop pathogen spread
Early action is your best defense—most issues can be corrected if caught soon.
✅ With all main sections completed, would you like me to now write the Conclusion, Permalink, Focus Keyword, SEO Meta Title, and Meta Description to finish the article?
Frequently Asked Questions (FAQ)
1. Can clematis survive winter in containers?
Yes, but extra care is needed when overwintering clematis in containers. Because the roots are more vulnerable to freezing temperatures compared to in-ground plants, it’s essential to insulate the pot, apply a thick layer of mulch over the soil, or move the container to a protected, unheated space like a shed or garage—especially in colder regions (Zones 5 and below).
2. How deep should a pot be for clematis?
A mature clematis should be planted in a container that’s at least 18 inches deep and 12 inches wide. This allows room for root development and soil moisture retention.
3. Do clematis grow well in containers?
Yes! With proper soil, sunlight, and support, clematis thrives in containers. Choose compact varieties, provide a trellis, and water consistently for best results.
4. What is the best soil for clematis in pots?
Use a well-draining mix made from:
- 2 parts organic potting soil
- 1 part compost or aged manure
- 1 part perlite or coarse sand
This blend offers the moisture retention clematis needs while preventing soggy roots.
5. How often should I water clematis in a container?
Check the soil daily and water when the top inch is dry. Typically, clematis in containers needs about 1 inch of water per week, adjusting during hot or rainy periods.
6. Which clematis varieties are best for containers?
Some of the best compact varieties include:
- ‘Blue Light’ – Double blue-violet blooms
- ‘Pink Fantasy’ – Soft pink with rose center stripes
- ‘Guernsey Cream’ – Creamy white flowers for partial shade
Conclusion
Whether you’re working with a small patio, a rental property, or simply love the freedom of portable gardening, clematis in containers offers a beautiful, manageable way to grow one of the garden’s most iconic flowering vines. With the right container, nutrient-rich soil, proper watering, and seasonal care, your potted clematis will reward you with vibrant blooms in even the most limited spaces.
From selecting compact cultivars to understanding pruning and pest prevention, mastering clematis in containers makes it easy to enjoy vertical color and climbing charm—without the complications of in-ground planting. So grab your pot, choose a support, and let your clematis shine.


