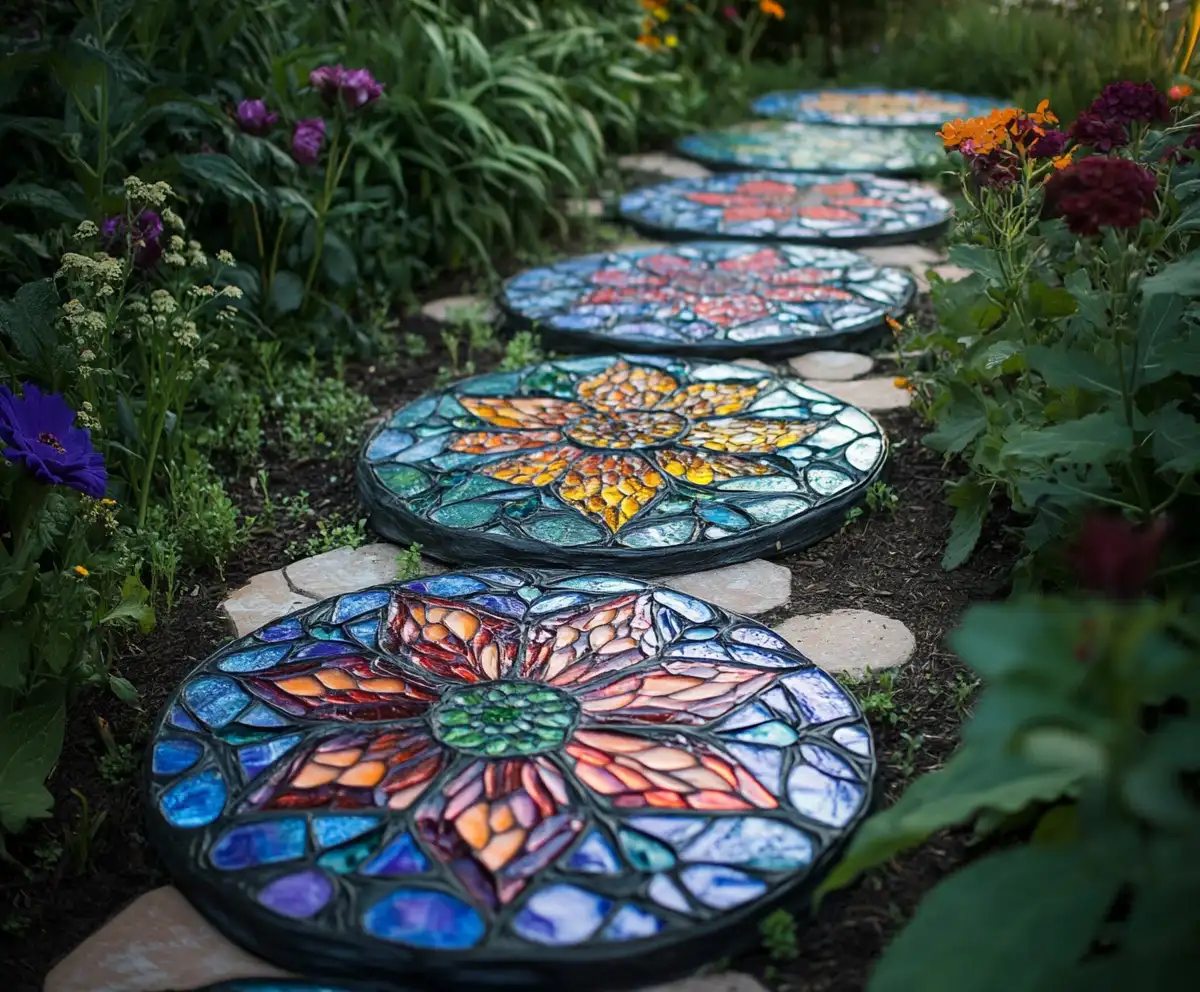
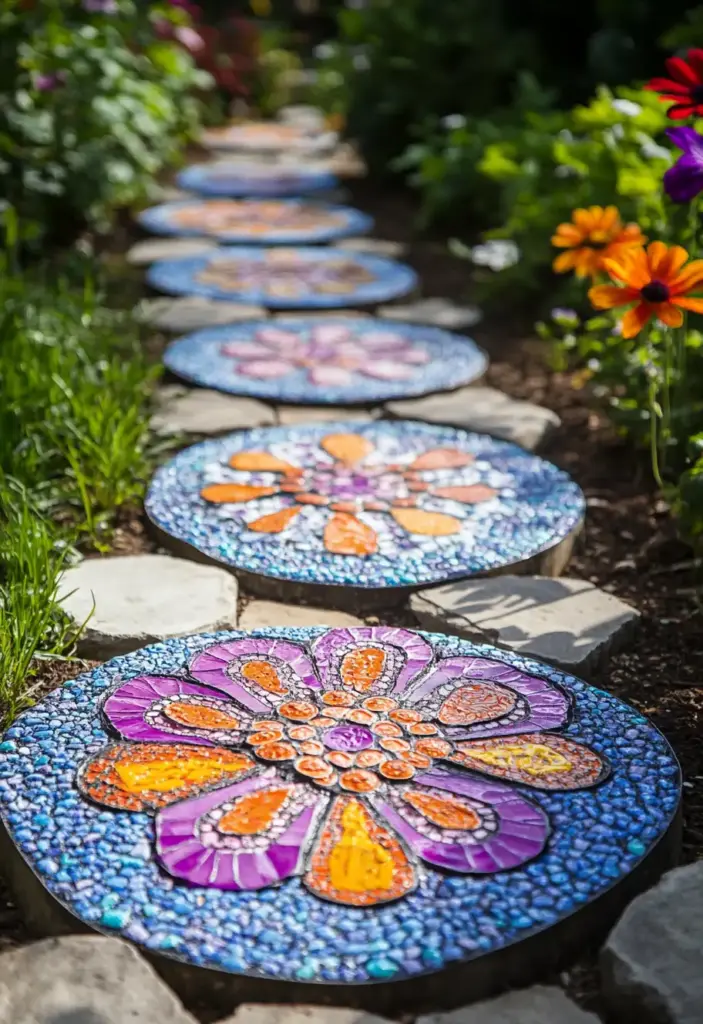
Mosaic stepping stones are a fantastic way to transform your garden into a vibrant, creative haven that reflects your personal style. These decorative pieces instantly brighten any pathway. Whether you’re a seasoned gardener or a DIY enthusiast, they’re a rewarding project that adds artistic flair to your landscape.
Explore Simple Flower Bed Ideas for Front of House to complement your mosaic designs, and visit our DIY Garden Art Ideas for even more creative ways to personalize your garden.
Table of Contents
1. Mosaic Stepping Stones
Mosaic stepping stones are a delightful way to add both function and beauty to your garden pathways. These colorful creations not only guide your steps but also infuse your outdoor space with personality and charm. With endless design possibilities, from whimsical flowers to geometric patterns, mosaic stepping stones are a versatile addition that captures your artistic vision.
Getting Started
To create your own mosaic stepping stones, gather the following materials:
- Stepping stone mold or pre-made concrete stepping stones
- Outdoor-safe adhesive
- Mosaic tiles (ceramic, glass, or recycled materials)
- Grout and sealant to protect against the elements
Design and Assembly
Begin by planning your design. Sketch it out on paper or directly on the stone using a pencil or chalk. Arrange your mosaic tiles in your chosen pattern, ensuring that the pieces fit snugly together. Use outdoor adhesive to secure each tile in place, pressing gently but firmly.
Once all tiles are set, apply grout to fill the gaps, wiping away excess with a damp sponge. After the grout has cured, apply a weather-resistant sealant to protect your masterpiece from rain, sun, and temperature changes.
Tips for Success
- Play with colors: Choose a palette that complements your garden’s overall look.
- Mix shapes and sizes: Combine small and large tiles for a dynamic effect.
- Safety first: Wear gloves and protective eyewear when cutting tiles or handling sharp edges.
Benefits of Mosaic Stepping Stones
- Personal touch: Every stone is unique, reflecting your creativity.
- Durability: Properly sealed mosaic stepping stones withstand the elements and foot traffic.
- Conversation starter: Visitors will admire your artistic flair and may even be inspired to create their own.
2. Mosaic Garden Tables
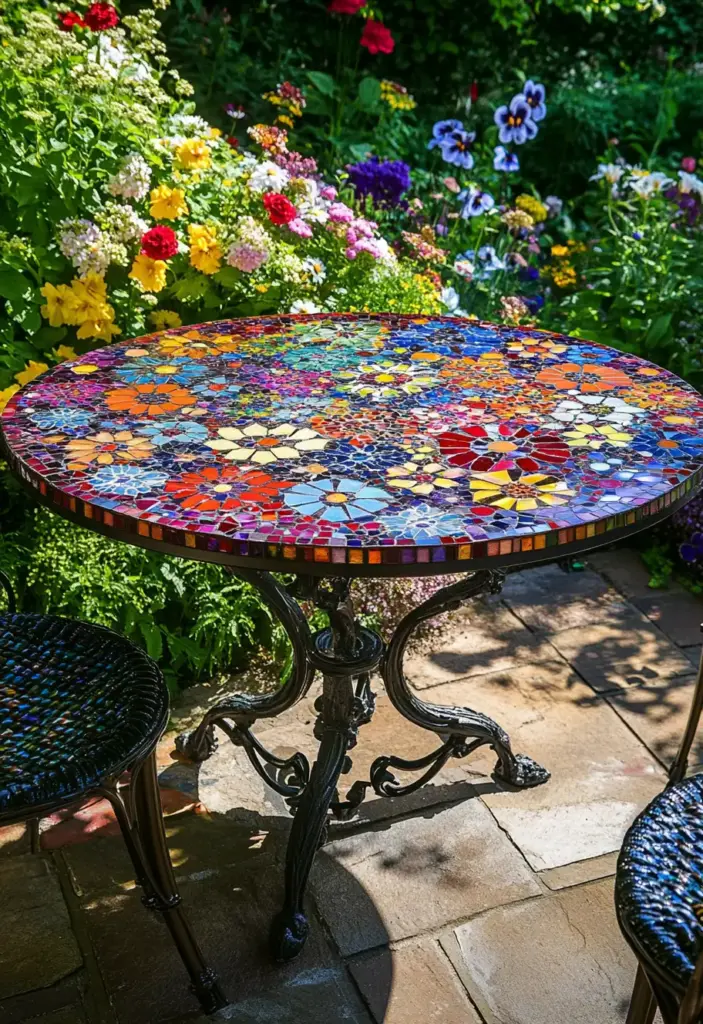
A mosaic garden table is more than just a functional piece—it’s a showstopper that brings color and artistry to your outdoor living space. These tables blend practicality with creative expression, making every garden meal a feast for the senses.
Why Choose a Mosaic Garden Table?
Mosaic garden tables:
- Act as stunning centerpieces in your patio or garden nook
- Bring your personal style into your outdoor decor
- Are durable and weather-resistant when properly sealed
Creating Your Own Mosaic Garden Table
You can transform an old table or start from scratch. Here’s how:
- Choose Your Base: Select a sturdy table base, such as wrought iron or treated wood, that can withstand outdoor conditions.
- Prepare Your Surface: Clean the tabletop thoroughly and sand it lightly to ensure proper adhesion.
- Design Your Mosaic: Sketch your pattern or use inspiration from nature, abstract art, or even vintage tiles.
- Apply the Tiles: Use outdoor-safe adhesive to secure your mosaic pieces. Press each tile firmly, leaving small gaps between them.
- Grout and Seal: After the adhesive sets, fill the gaps with grout. Wipe away excess grout with a damp sponge. Once dry, apply a weatherproof sealant to protect your design.
Pro Tips
- Mix Textures: Combine glass, ceramic, and even stones for a dynamic look.
- Color Harmony: Coordinate with your garden’s color palette for a cohesive design.
- Functionality: Choose a smooth finish to make the table easy to clean.
3. Mosaic Birdbaths
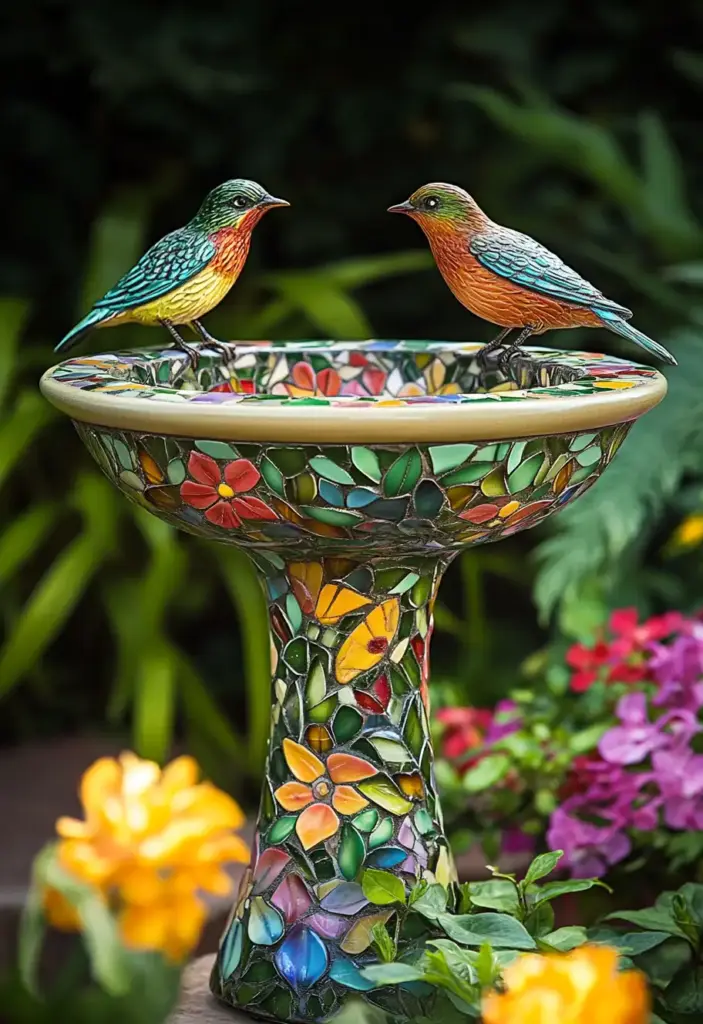
A mosaic birdbath is a captivating way to invite feathered friends into your garden while adding a burst of color and personality. These artistic pieces blend beauty with function, creating a vibrant water feature that serves as both a refreshing haven for birds and a stunning focal point for your landscape.
Why a Mosaic Birdbath?
- Attracts Wildlife: Birds love a safe and attractive place to drink and bathe.
- Adds Color and Charm: A mosaic birdbath instantly brightens your garden with its unique design.
- Showcases Your Style: Customize the design to reflect your personality and garden theme.
How to Create a Mosaic Birdbath
- Choose the Base: Use a sturdy concrete or ceramic birdbath as your foundation.
- Select Mosaic Tiles: Opt for vibrant glass or ceramic tiles that complement your garden’s colors.
- Plan Your Design: Sketch a pattern—think flowers, abstract shapes, or even geometric motifs.
- Apply Adhesive: Use outdoor-safe adhesive to attach each tile securely to the basin.
- Grout and Seal: Once tiles are set, apply grout between the pieces. After it dries, seal your creation to protect it from the elements and moisture.
Tips for Birdbath Success
- Safety First: Smooth any sharp edges to keep visiting birds safe.
- Keep It Clean: Regularly rinse and refill the birdbath to maintain hygiene.
- Placement Matters: Position your birdbath near shrubs or trees for shelter and a natural feel.
4. Mosaic Wall Art
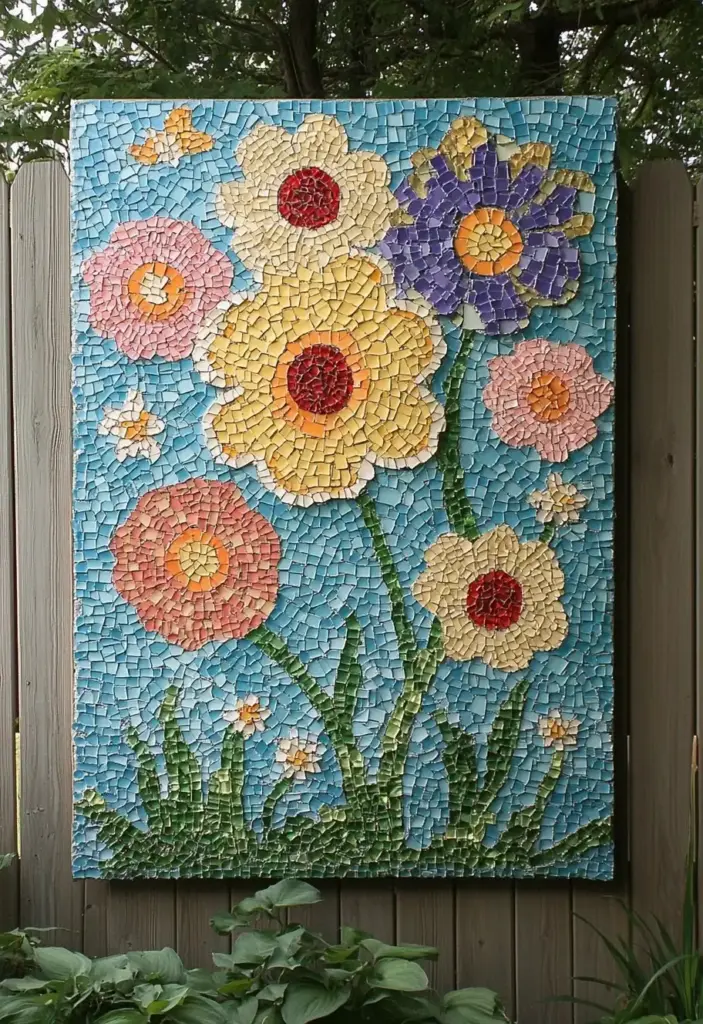
Mosaic wall art is an eye-catching way to infuse your garden with personality and vibrant color. Whether you want to transform a blank fence or add a focal point to an outdoor wall, mosaic wall art invites creativity and instantly elevates your space.
Why Add Mosaic Wall Art?
- Visual Interest: Breaks up monotonous garden walls with a burst of color and texture.
- Personal Expression: Reflects your unique style and design preferences.
- Vertical Space Utilization: Makes the most of your garden’s walls, maximizing your creative canvas.
Creating Mosaic Wall Art
- Choose Your Canvas: Select a fence, concrete wall, or even a freestanding panel.
- Sketch Your Design: Draft a pattern, image, or abstract design on paper first, then transfer it to the wall with chalk.
- Select Your Tiles: Combine glass, ceramic, or broken pottery to bring your vision to life.
- Apply Adhesive: Use an outdoor-safe adhesive to affix each piece, pressing firmly for good adhesion.
- Grout and Seal: Fill gaps with grout, then seal with an outdoor sealant to protect against weather damage.
Tips for Stunning Wall Art
- Use Lighting: Install spotlights to highlight your mosaic at night, creating a magical ambiance.
- Blend Colors: Pick a palette that complements your garden’s plants and furniture.
- Maintenance: Regularly check for loose tiles and clean gently to keep your artwork looking fresh.
5. Mosaic Pathways
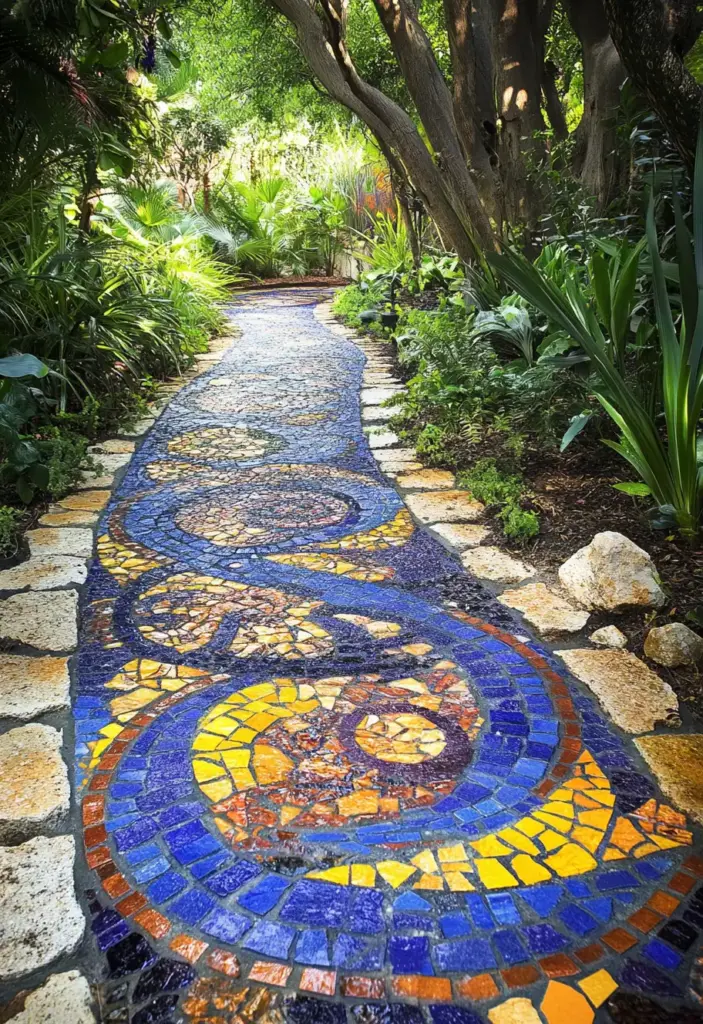
A mosaic pathway is a brilliant way to lead visitors through your garden while adding a dynamic splash of color and creativity. These artistic paths do more than just connect different garden areas—they turn every step into a mini work of art.
Benefits of Mosaic Pathways
- Guides Foot Traffic: Clearly defined routes help navigate your garden layout.
- Artistic Flair: Each step can reflect your style, from whimsical designs to sophisticated patterns.
- Durable and Long-Lasting: With proper materials and sealing, mosaic pathways can withstand the elements for years.
How to Create Mosaic Pathways
- Plan Your Route: Decide where your pathway will go—straight, curved, or winding.
- Build a Solid Base: Lay a compacted sand or gravel base to ensure stability and drainage.
- Design Your Pattern: Choose from geometric shapes, floral motifs, or abstract designs—sketch it out for guidance.
- Lay Your Tiles: Use outdoor-safe adhesive to secure mosaic tiles to stepping stones or directly onto the base.
- Grout and Seal: Fill gaps with weatherproof grout and apply a sealant to protect against moisture and sun damage.
Tips for Success
- Safety First: Ensure tiles are even and flat to prevent tripping.
- Blend with Nature: Incorporate natural stone or pebble borders to harmonize with the garden.
- Highlight at Night: Use solar path lights to enhance your mosaic pathway’s beauty after dark.
6. Mosaic Planters
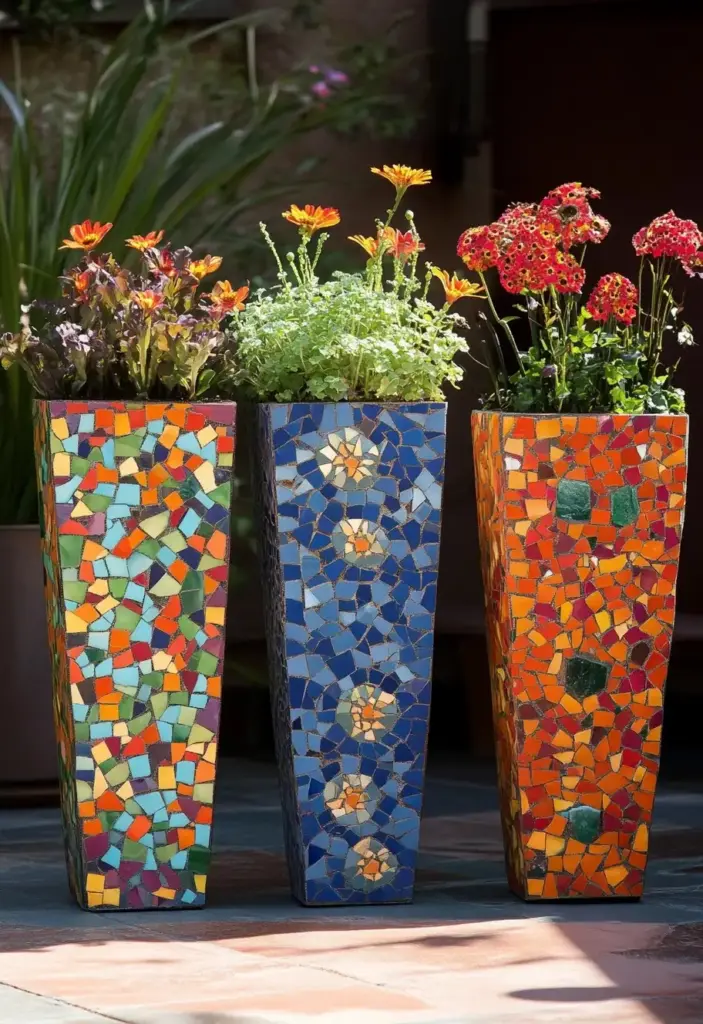
Mosaic planters are a fantastic way to showcase your plants while adding a splash of artistic flair to your garden. These vibrant containers not only highlight your favorite flowers and greenery but also serve as unique decorative elements that reflect your personal style.
Why Mosaic Planters?
- Customizable: Choose colors, shapes, and designs that match your garden’s theme.
- Upcycled Potential: Transform old pots or containers into beautiful, new creations.
- Durability: With the right materials and sealants, mosaic planters withstand outdoor conditions.
How to Create Mosaic Planters
- Select Your Base: Choose a sturdy planter pot—terra cotta, ceramic, or even recycled containers work well.
- Design Your Pattern: Sketch your design on paper or directly onto the pot using chalk.
- Attach Mosaic Pieces: Use outdoor-safe adhesive to secure your mosaic tiles in place, pressing firmly for good adhesion.
- Grout and Seal: Fill the gaps between tiles with grout, then apply a weatherproof sealant to protect against the elements.
Tips for Success
- Drainage Matters: Ensure your planter has proper drainage holes to keep plants healthy.
- Mix and Match: Experiment with different tile colors and textures for a dynamic look.
- Maintenance: Regularly clean your planters and check for any loose tiles.
7. Mosaic Fire Pits

Mosaic fire pits are the perfect blend of functionality and artistry, transforming your garden into a cozy gathering spot that’s both practical and visually stunning. These warm, inviting features become the heart of your outdoor space, offering warmth, ambiance, and a vibrant focal point.
Why Choose a Mosaic Fire Pit?
- Artistic Appeal: Elevates your garden with a unique, handcrafted centerpiece.
- Functionality: Provides warmth for cool evenings and serves as a gathering place for friends and family.
- Durability: When sealed properly, mosaic fire pits withstand heat and weather.
How to Create a Mosaic Fire Pit
- Choose Your Base: Select a sturdy fire pit structure, such as metal or concrete.
- Plan Your Design: Sketch a pattern that complements your garden’s color scheme and aesthetic.
- Apply Mosaic Tiles: Use heat-resistant, outdoor-safe adhesive to attach tiles securely around the pit’s exterior.
- Grout and Seal: Fill gaps with heat-resistant grout, then seal your mosaic to protect against weather and heat.
Tips for Safety and Success
- Use Heat-Resistant Materials: Ensure all tiles and adhesives can handle high temperatures.
- Smooth Edges: File any sharp edges to prevent injuries.
- Enhance the Ambiance: Surround your fire pit with cozy seating and soft outdoor cushions for a welcoming vibe.
8. Mosaic Garden Borders
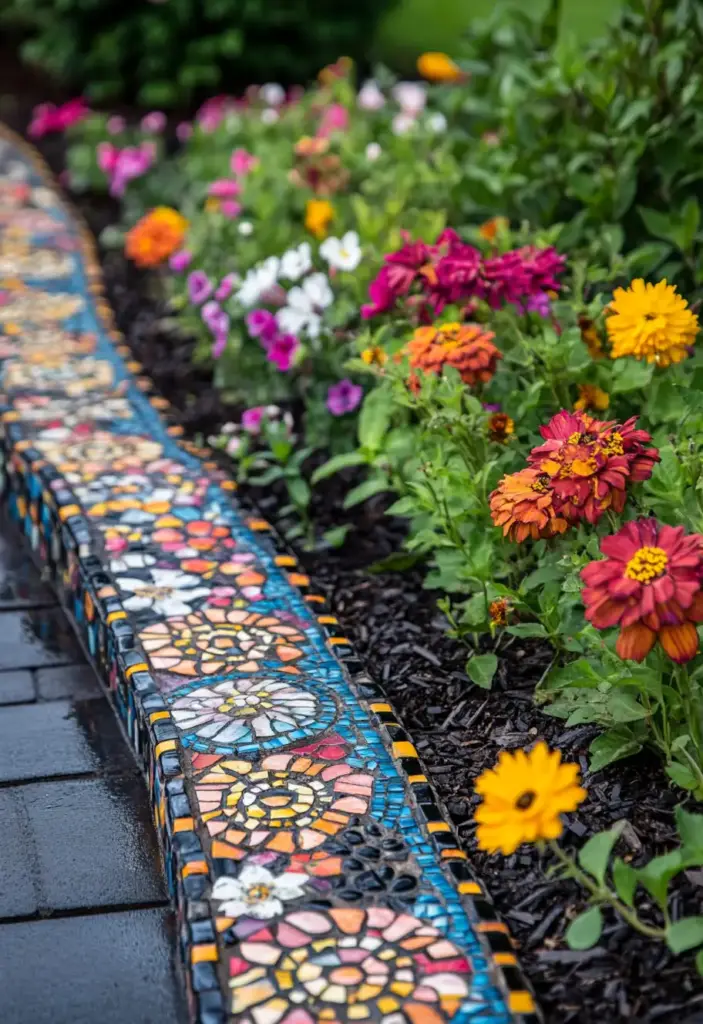
Mosaic garden borders are a creative way to frame your flower beds, pathways, or vegetable plots, adding a vibrant, polished look to your outdoor space. These artistic accents define your garden’s layout while showcasing your personality and style.
Why Mosaic Garden Borders?
- Structure and Definition: Clearly outlines different garden areas for a tidy, organized look.
- Aesthetic Enhancement: Adds color, texture, and interest to otherwise plain borders.
- Personal Touch: Customize designs to match your garden’s theme or your own artistic flair.
How to Create Mosaic Garden Borders
- Plan Your Design: Sketch your desired border style—straight lines, curves, or even whimsical shapes.
- Choose Your Base: Concrete blocks, bricks, or pre-cast border pieces make excellent foundations.
- Apply Mosaic Tiles: Use outdoor-safe adhesive to attach tiles to your chosen base. Press firmly and leave even gaps.
- Grout and Seal: Fill gaps with weatherproof grout, then seal to protect against moisture and temperature changes.
Tips for Success
- Mix Materials: Combine different shapes, sizes, and colors for a dynamic, eye-catching effect.
- Practical Considerations: Keep the border at a manageable height to prevent tripping hazards.
- Maintenance: Regularly check for loose tiles and reseal as needed to maintain your design’s beauty.
9. Mosaic Water Features
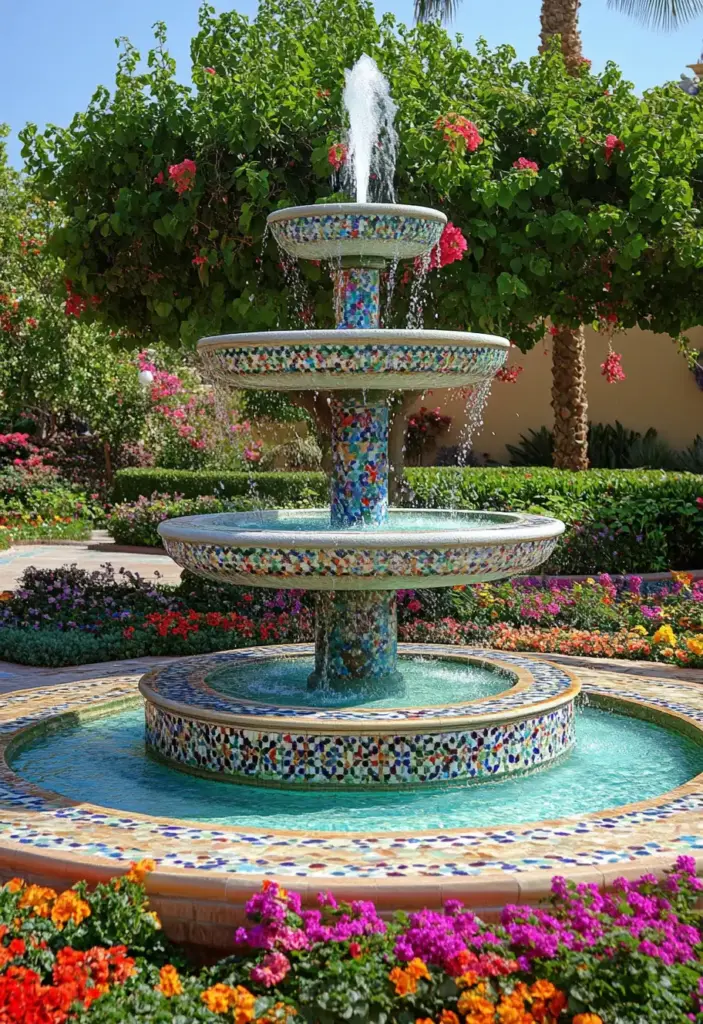
Mosaic water features combine soothing sounds with artistic expression, transforming your garden into a tranquil sanctuary that delights the senses. Whether you choose a fountain, birdbath, or small pond, mosaics add a captivating element that draws the eye and calms the mind.
Why Add a Mosaic Water Feature?
- Relaxing Atmosphere: The sound of trickling water fosters a peaceful ambiance.
- Visual Impact: Vibrant mosaic tiles catch the light, creating a mesmerizing focal point.
- Wildlife Attraction: Birds and pollinators love a well-placed water feature, enhancing your garden’s ecosystem.
How to Create a Mosaic Water Feature
- Select Your Base: Choose a durable structure like a fountain basin, birdbath, or pre-made water feature.
- Design Your Mosaic: Sketch a pattern that complements your garden’s theme, whether abstract, floral, or geometric.
- Apply Mosaic Tiles: Use outdoor-safe adhesive to affix your tiles, pressing firmly for secure attachment.
- Grout and Seal: Fill gaps with weather-resistant grout, then seal to protect against water and weather damage.
Tips for Success
- Blend with Surroundings: Use colors that harmonize with your garden’s plants and decor.
- Waterproofing: Choose adhesives and sealants that are specifically designed for water features.
- Maintenance: Clean regularly and check pumps and filters to keep water flowing smoothly.
10. Mosaic Garden Sculptures
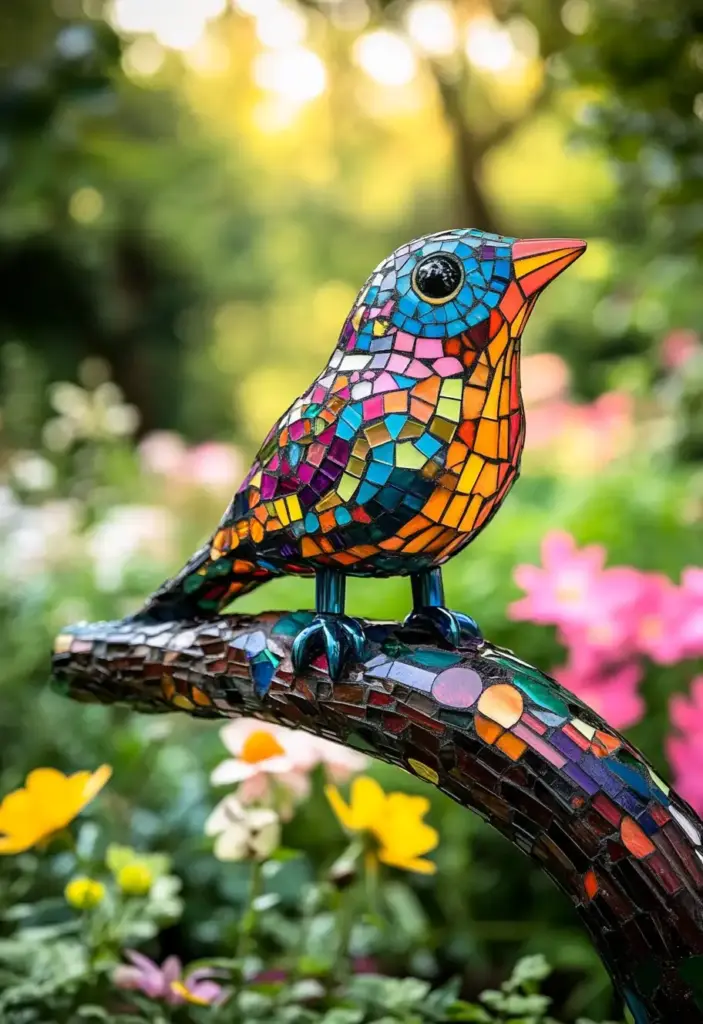
Mosaic garden sculptures are a bold way to express your creativity and bring a whimsical or artistic touch to your outdoor space. From fantastical creatures to abstract forms, these sculptures become eye-catching focal points that spark conversation and admiration.
Why Choose Mosaic Garden Sculptures?
- Personal Expression: Every sculpture can reflect your unique taste and artistic vision.
- Visual Interest: Adds dimension and height to garden beds and corners.
- Versatility: Sculptures can be as simple or complex as you like—suitable for any skill level.
How to Create Mosaic Garden Sculptures
- Select a Base: Choose a sturdy structure, such as concrete, wire, or pre-made garden statues.
- Plan Your Design: Sketch out your design, considering how it will look from all angles.
- Apply Mosaic Tiles: Use outdoor-safe adhesive to carefully place tiles onto your sculpture, pressing firmly.
- Grout and Seal: Fill the gaps with weatherproof grout, then apply a durable sealant to protect from moisture and UV damage.
Tips for Success
- Choose a Focal Spot: Position your sculpture where it can be admired from multiple viewpoints.
- Mix Materials: Incorporate glass, ceramic, and recycled items for a truly unique design.
- Regular Maintenance: Check for loose tiles and reseal annually to keep your sculpture looking vibrant.
Conclusion
Incorporating mosaic stepping stones and other mosaic features into your garden is a wonderful way to add artistry and personality to your outdoor space. Whether you’re crafting stepping stones, tables, or sculptures, each project lets you showcase your creativity.
For more inspiration, explore our guides on DIY garden art, landscaping with large rocks, and building a curved brick garden border. Let’s make your garden a space that reflects your passion!
🌿 Love gardening inspiration? Follow me on Pinterest for bold plant ideas, tips, and seasonal color!
More Posts
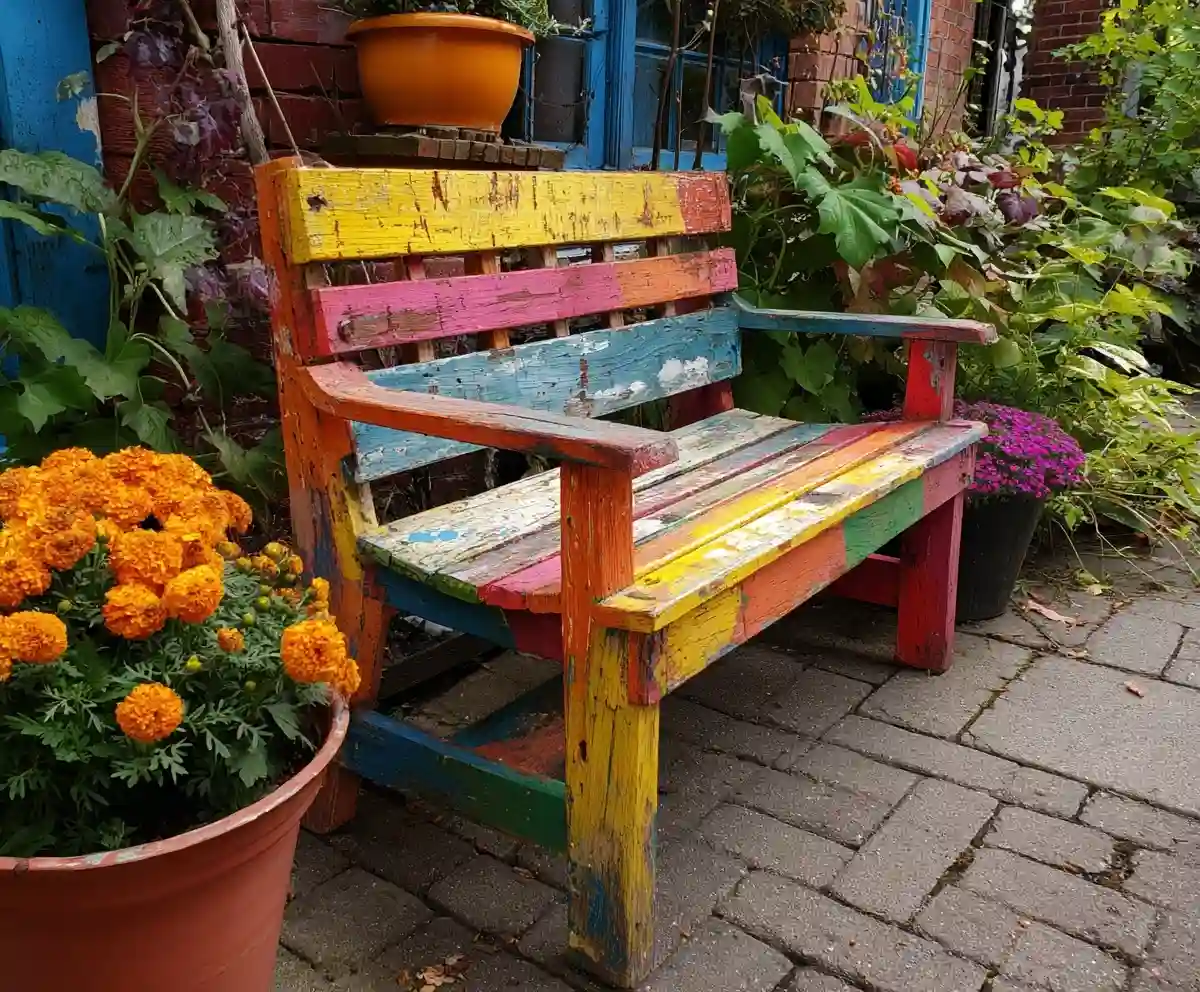
19+ Budget-Friendly Backyard Makeover Ideas
Backyard makeover ideas can turn even the most ordinary outdoor space into a warm, inviting retreat—without draining your wallet.
Read More →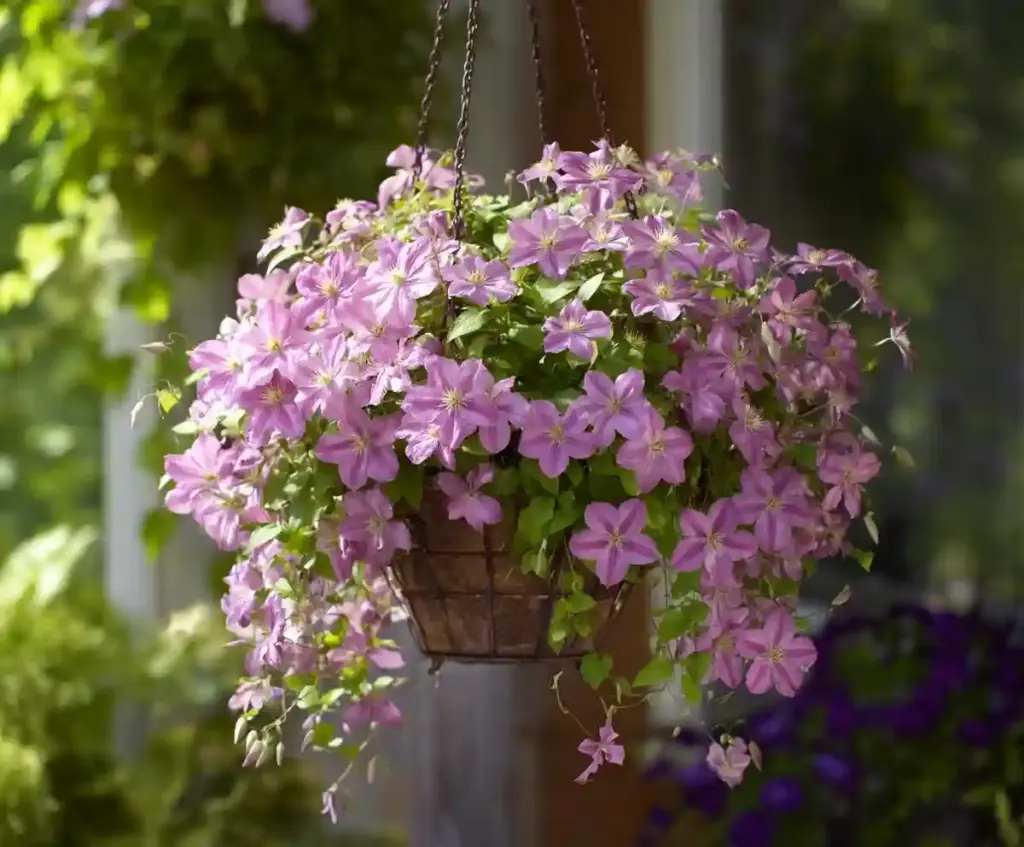
21 Stunning & Simple DIY Clematis Trellis Designs
DIY clematis trellis designs are a beautiful way to blend creativity with function in your garden.
Read More →
12 Full Sun Perennials That Bloom All Summer
Explore a selection of hardy perennials that flourish and bloom beautifully in full sun throughout the summer.
Read More →
Houseplants for Living Room
Find the perfect houseplants to brighten and purify your living room while adding a touch of nature indoors.
Read More →
Backyard Play Area for Kids
Create a fun and safe backyard play area for kids with these inspiring design ideas and tips.
Read More →
Top Privacy Trees
Discover top tree varieties that provide natural privacy and enhance your outdoor space.
Read More →
