Winter planter arrangements are a beautiful way to brighten up your outdoor spaces when everything else looks cold and bare. While store-bought planters can be stunning, their price tags often aren’t so pretty. The good news? You don’t need to spend a fortune to create a festive and long-lasting winter display. Even if you’re not a floral designer, you can easily make your own winter planter with materials from your yard, a few budget-friendly extras, and a little creative energy. In fact, once you try it, you might start looking forward to this project every winter season.
Table of Contents
Best Natural and Decorative Elements to Use in a Winter Planter
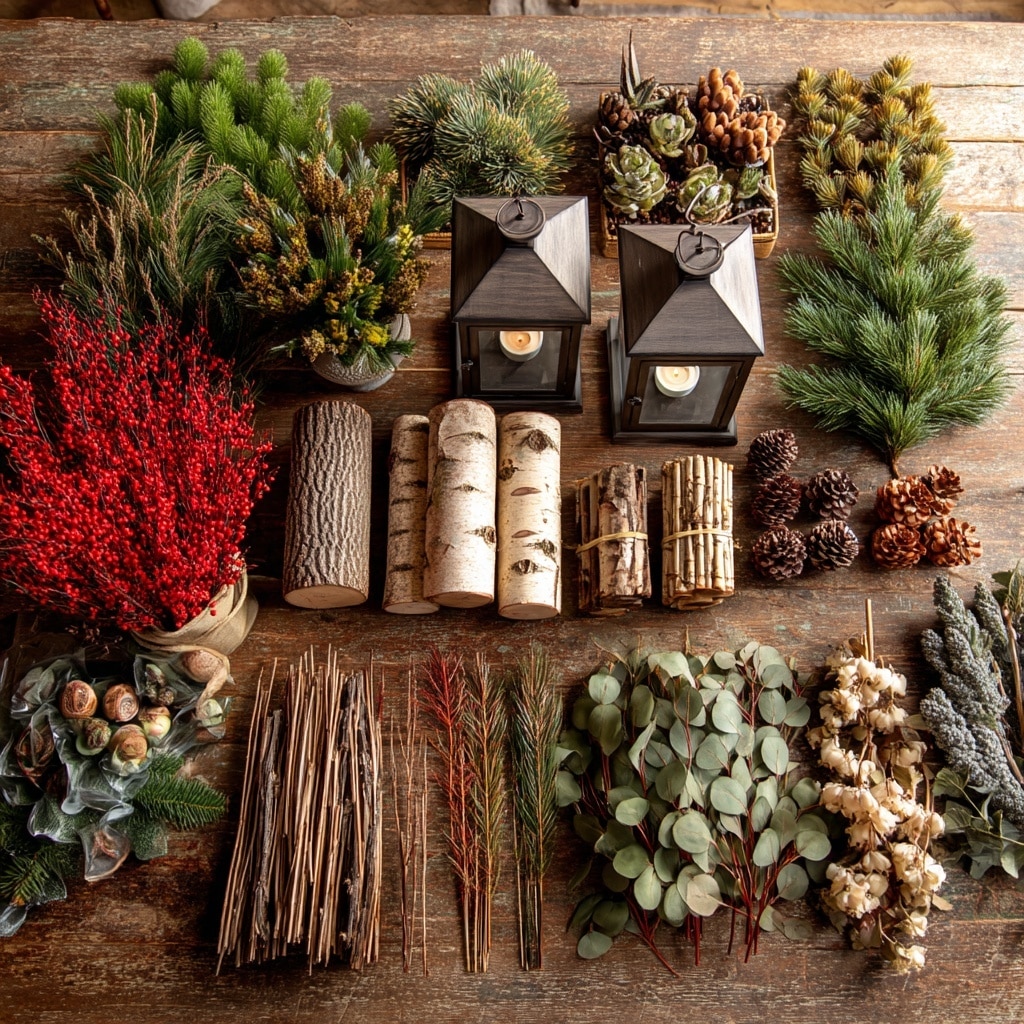
Creating a beautiful winter planter starts with choosing the right mix of greenery and decorative accents. Natural textures and varying shades of green, red, and brown add richness and depth to your arrangement. Here’s a list of the most eye-catching elements to consider:
🌲 Evergreen Greenery
- Spruce tips – sturdy and classic
- Blue spruce – adds a bluish tint and contrast
- Pine or fir branches – soft texture and volume
- Cedar – great for trailing over the edges
🍂 Natural Decorative Branches
- Red twig dogwood – bold color pop
- Curly willow – adds height and whimsy
- Birch logs or poles – strong focal points
- Magnolia leaves – rich color and glossy texture
🌾 Dried & Foraged Accents
- Hydrangea blooms – natural structure, can be spray painted
- Grass plumes – soft and airy
- Lotus pods or dried seed heads – rustic and earthy
- Pine cones – classic and long-lasting
- Winterberry or faux berries – adds brightness
✨ Optional Add-Ins
- Outdoor-safe Christmas balls – for a festive touch
- Big waterproof bows – adds color and volume
- Solar lanterns or lights – keep it glowing at night
Mixing different shapes, colors, and sizes helps your winter planter look full and balanced. Use what you have on hand, and don’t be afraid to get creative—sometimes, the most unique arrangements come from foraged finds and saved items from previous years.
How to Make a Budget-Friendly Winter Planter
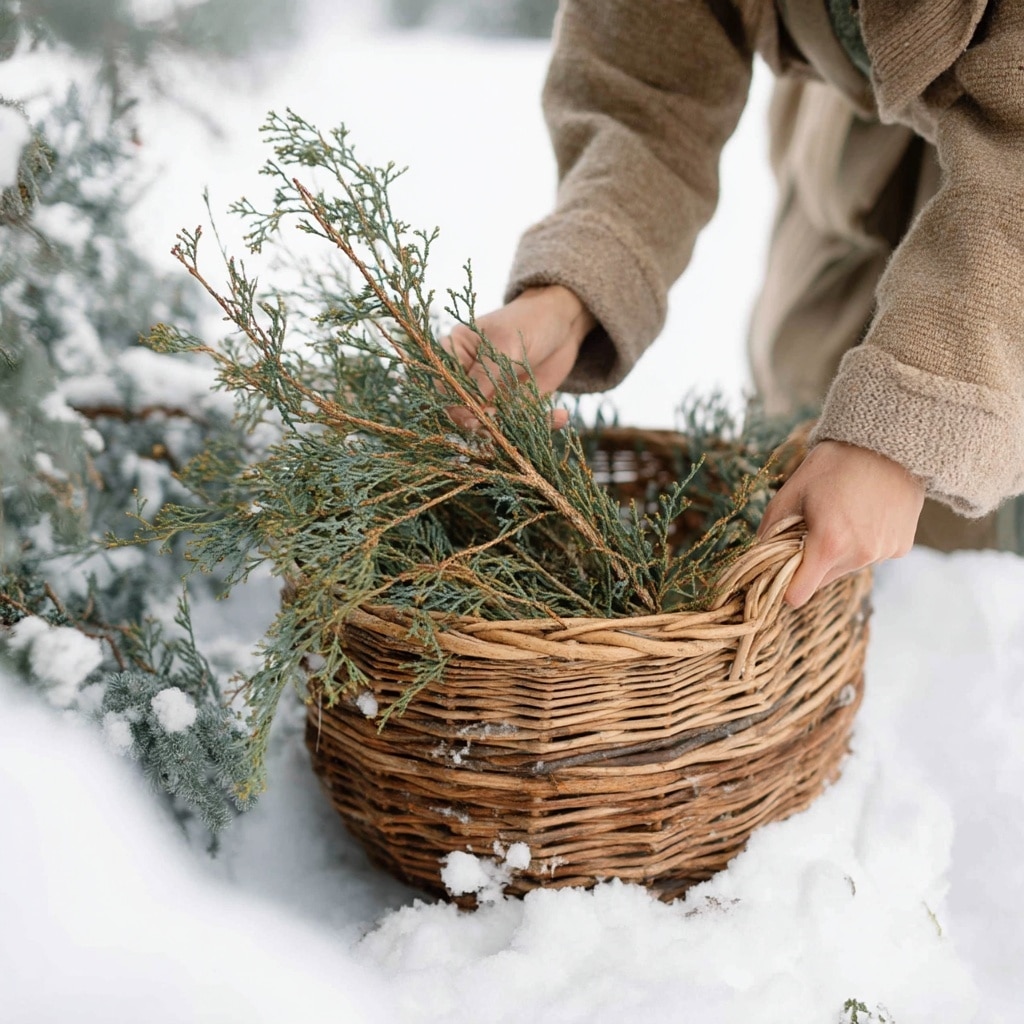
You don’t need a big budget to build a beautiful winter planter—just a little creativity and some clever sourcing. In fact, many of the best materials can be found right in your own backyard (or a neighbor’s, with permission, of course!).
🌿 Smart Sourcing Tips
- Forage locally: Trim lower branches from evergreens or shrubs in your yard.
- Ask friends and neighbors: Many people are happy to share a few clippings.
- Visit garden centers: Stores like Home Depot or local Christmas tree lots often give away free tree trimmings.
- Check your compost site: Some municipal compost areas allow people to collect evergreen scraps for free.
💡 Save and Reuse
Many winter planter elements can last year after year if stored properly. Hang on to items like:
- Birch logs or red twig dogwood
- Pinecones
- Lotus pods
- Faux berries or ornaments made for outdoor use
🎨 Get Creative with Color
If you can’t find everything you need, spray paint is your friend. Use dark red spray paint on bare branches to mimic red dogwood. Hydrangeas take paint beautifully and can be tinted to match any theme.
💸 Bonus Tip: Buy Ugly Trees
Sometimes the cheapest Christmas tree on the lot has the most usable branches. Cut it apart and use it for multiple winter containers.
By combining free materials, reused decor, and a few smart hacks, your winter planter can look high-end without the high price tag.
Choosing the Right Container for Your Winter Planter
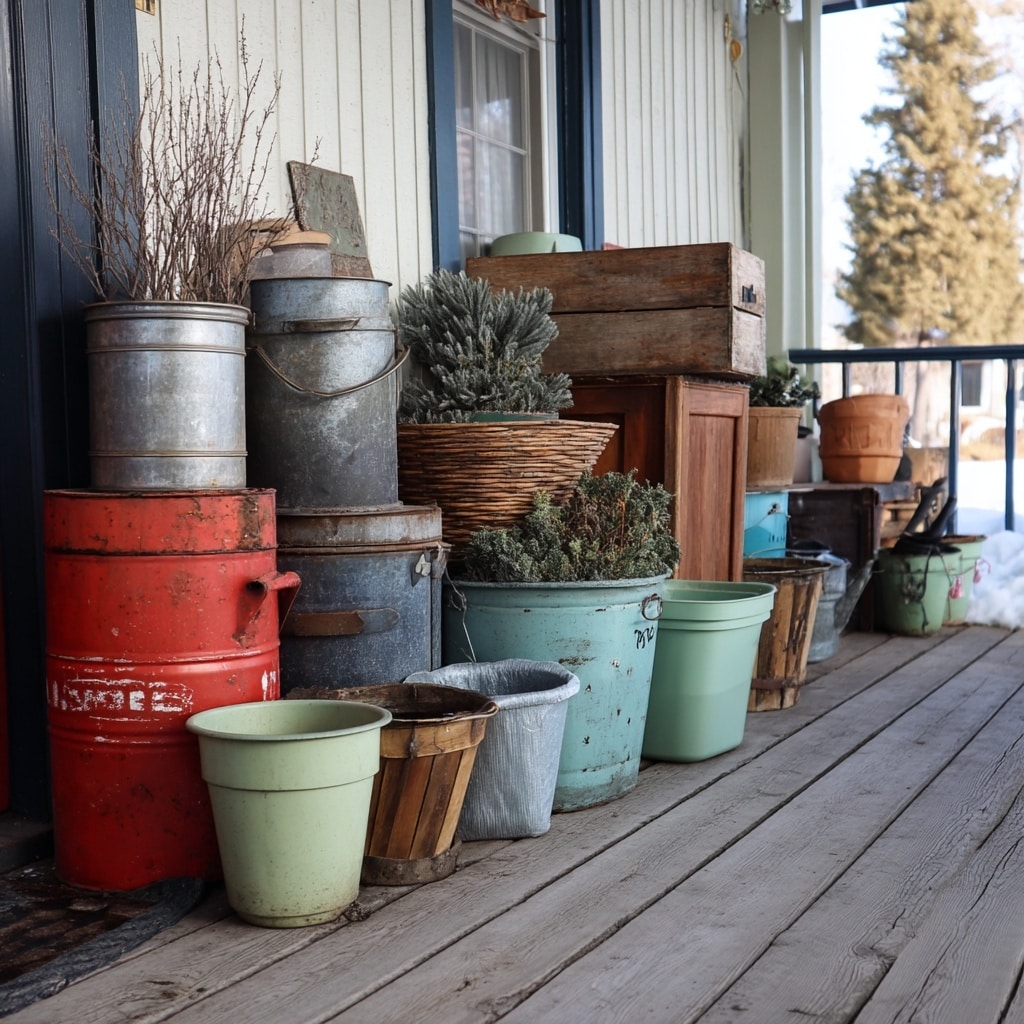
The container you choose can dramatically change the look and feel of your winter planter. While you can buy specialty pots, using what you already have or repurposing unique items is often more affordable—and more fun.
🪴 Best Planter Options
- Large plastic or resin pots – Lightweight and freeze-resistant
- Galvanized buckets or wash tubs – Adds a rustic farmhouse touch
- Vintage milk cans – Classic and sturdy
- Urns – Elegant option for formal front porch decor
- Wooden bushel baskets or wine barrels – Great for a natural, cozy vibe
If you’re reusing containers from summer or fall, make sure to remove any dead plants first. You can even use the same soil if it’s not frozen solid.
⚠️ Cold Climate Warning
Avoid using ceramic or clay pots outdoors in freezing temperatures—they’re prone to cracking. Stick to frost-proof materials like:
- Plastic
- Metal
- Fiberglass
- Treated wood
Drainage is also key. Choose containers with holes at the bottom so any water can escape and freeze without damaging your arrangement.
The right base makes it easier to build a full, long-lasting winter planter that can stand up to the weather and show off your creativity all season long.
Step-by-Step: Assembling Your Winter Planter
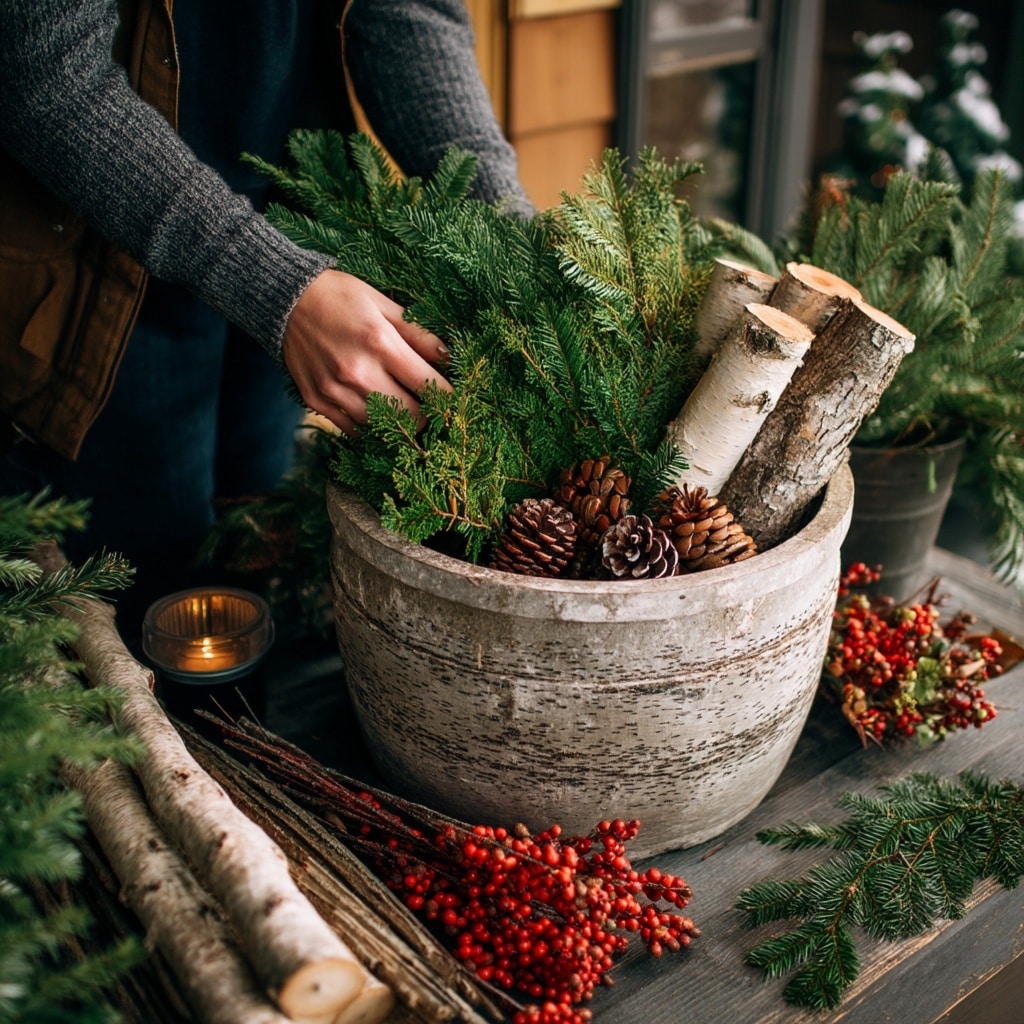
Once you’ve gathered your greenery, accents, and container, it’s time to bring your winter planter to life. This part is all about layering and building a design that feels balanced, full, and festive. Don’t worry about making it perfect—there’s no wrong way, and your confidence will grow with every planter you make.
🛠 Step 1: Prepare Your Materials
- Trim the ends of your evergreen branches for a fresh cut. This helps them absorb water better.
- Soak greens in a bucket of water overnight or for several hours—especially if they’re freshly cut. The moisture will help them stay vibrant longer.
🌱 Step 2: Choose Your Base
Your container needs something to hold stems in place. Try one of these:
- Potting soil – ideal if you’re reusing a fall planter
- Floral foam bricks – especially in warmer zones
- Sand or rice hulls – offers good support without mess
- Chicken wire balls – useful for stabilizing wide arrangements
If you’re working in freezing temps, potting soil can freeze solid and lock your design in place for the whole season.
🌿 Step 3: Start with Your Focal Points
- Insert tallest elements first, like birch logs or large branches.
- Place them in the center or back of the pot depending on your display’s viewing angle.
🍃 Step 4: Add Layers of Greenery
- Work from tall to short.
- Vary colors and textures—mix pine, spruce, and cedar for contrast.
- Stagger heights for a natural, full appearance.
Take a step back often to check balance and adjust as needed.
🎀 Step 5: Finish with Decorative Accents
- Add pinecones, faux berries, ornaments, or bows.
- For a festive touch, include solar lights or waterproof string lights.
- Avoid overloading—leave space so each element can shine.
💧 Step 6: Water and Seal
- Give the soil or foam a deep watering once everything is in place.
- In cold climates, it will freeze and lock everything in.
- Spray with Wilt Stop or Wilt Pruf to protect greens from drying out.
A well-assembled winter planter can last for months with minimal upkeep and becomes a beautiful welcome outside your home.
Caring for Your DIY Winter Planter
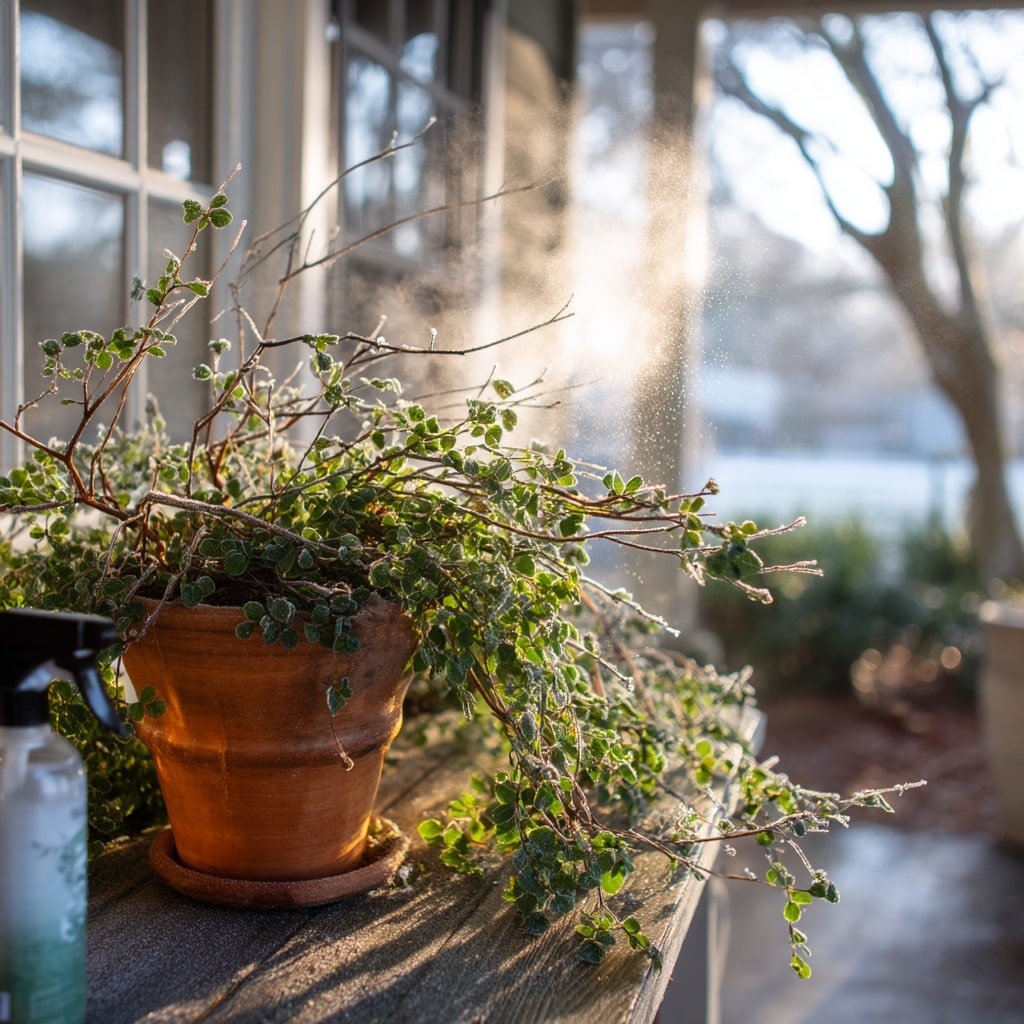
Once your winter planter is set up, the good news is that it’s mostly hands-off—especially if you live in a cold climate. Still, a little care upfront will help your arrangement stay fresh and vibrant all season long.
❄️ Cold Climate Care (Freezing Temps)
If you live in an area where winter temperatures consistently drop below freezing:
- Water once after assembly: A deep soak helps everything settle in place. Once the soil or foam freezes, no additional watering is needed.
- Freezing = stability: Frozen planters hold their shape beautifully and are less likely to shift or sag over time.
- Minimal upkeep: No need to bring your planter indoors—cold temps preserve your evergreens naturally.
☀️ Warmer Winter Zones
If your region doesn’t experience a hard freeze:
- Water every 1–2 weeks, depending on sun exposure and temperature.
- Use floral foam that retains moisture longer in warm weather.
- Keep planters in shade if possible, to reduce premature drying.
💡 Extend the Life of Your Greens
To keep your winter planter looking its best:
- Spray with an anti-desiccant like Wilt Stop or Wilt Pruf after watering. These products help prevent the greens from drying out in wind and sun.
- Avoid direct heat sources, like a porch heater or strong afternoon sun.
- Remove delicate decorations (like Christmas ornaments) once the holiday season ends to keep it winter-seasonal and reduce wear.
A bit of seasonal upkeep ensures that your DIY creation stays cheerful from December well into February—or even longer.
Bonus Ideas: Window Boxes and Garden Center Classes
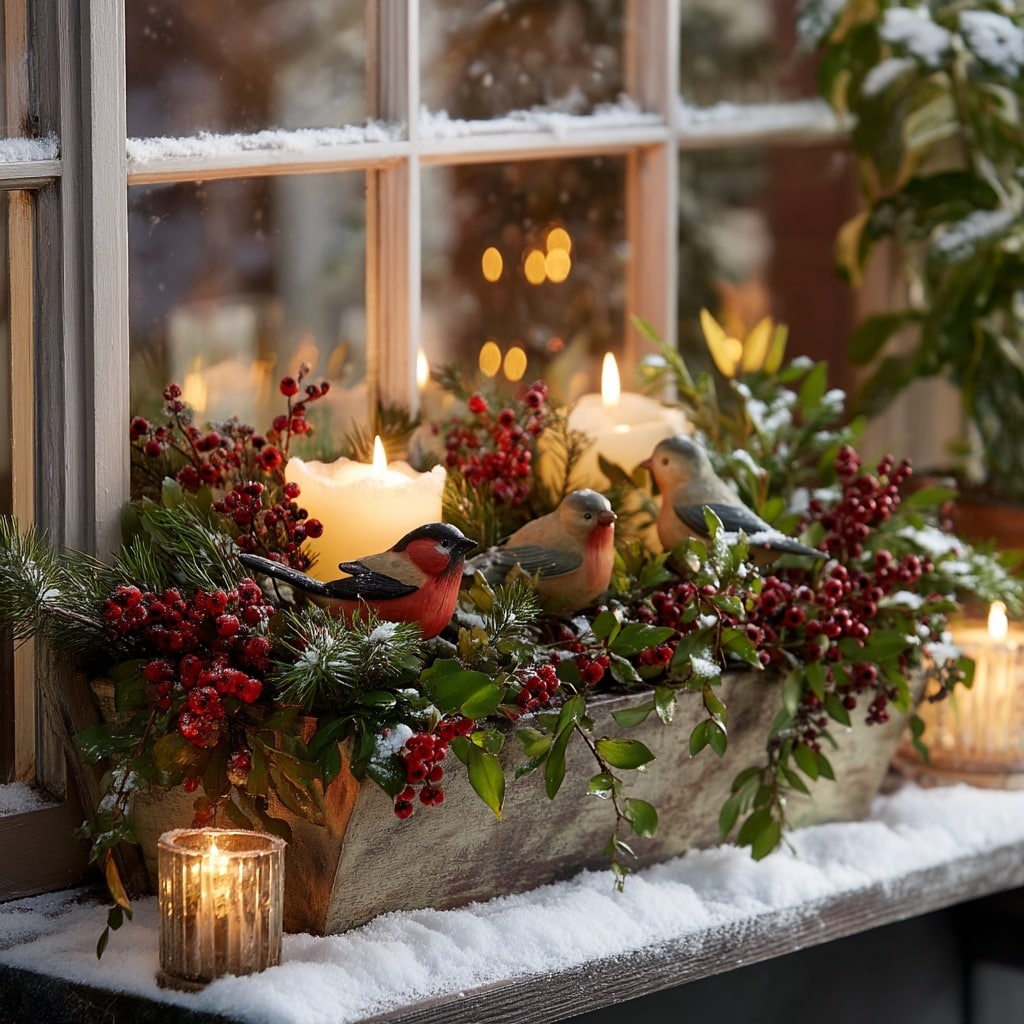
If you’re looking to go beyond the standard winter planter, there are even more ways to bring seasonal charm to your outdoor spaces.
🪟 Winter Window Boxes
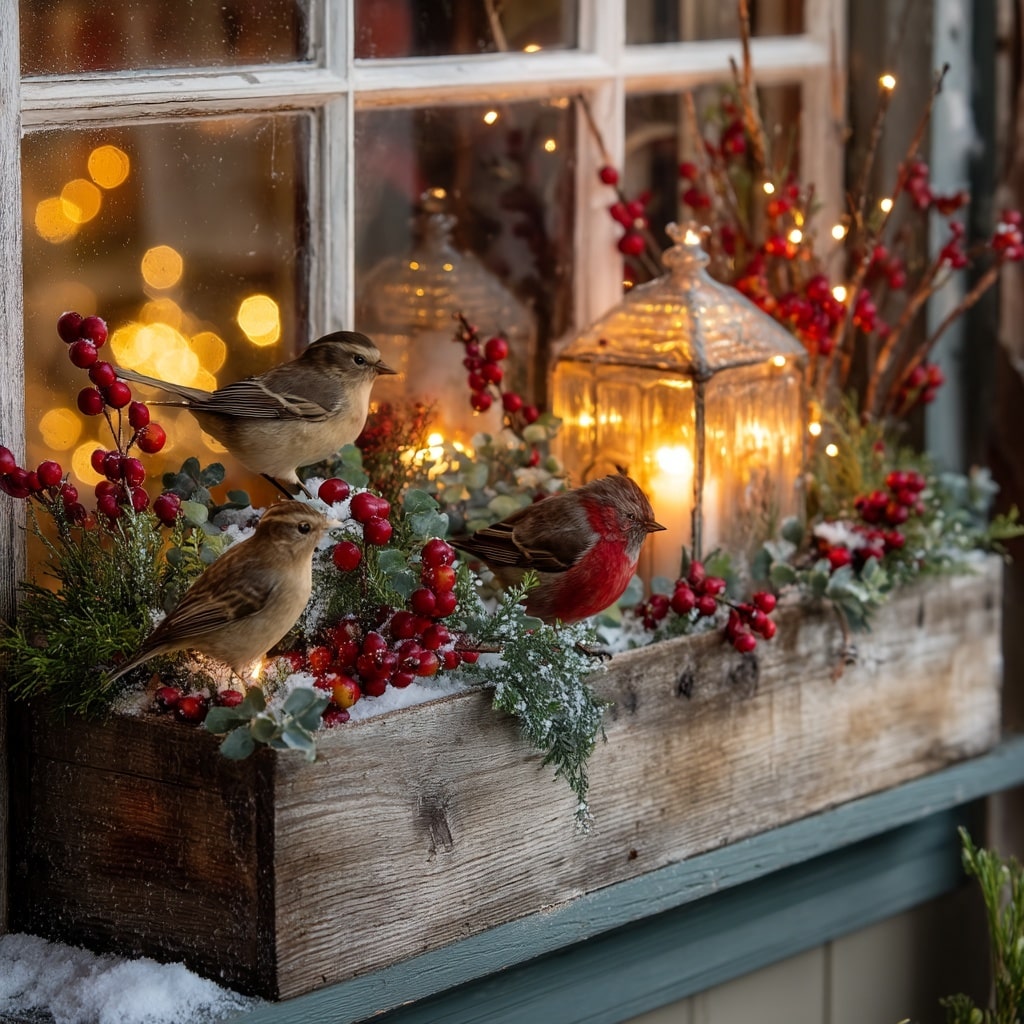
Window boxes aren’t just for spring and summer flowers—they make beautiful mini winter displays. Fill them just like you would a regular planter, but consider using:
- Shorter branches and greens
- Small pinecones and berries
- Waterproof candles or solar lights
- Faux cardinals or birds for a touch of whimsy
For added charm, sprinkle some snow on top (real or faux) and let the natural light make your window box sparkle. If you’re handy—or have a helpful partner—you can build a custom-sized box to fit your windows perfectly.
🧤 Take a Winter Planter Class
Many garden centers offer seasonal classes where you can create your own winter planter under the guidance of professionals. These classes often:
- Provide inspiration from other attendees
- Let you try out premium decorations you might not buy on your own
- Teach helpful tips on layering and arranging
- Give hands-on experience if you’re new to designing planters
Just keep an eye on your budget—it’s easy to get carried away when surrounded by beautiful supplies!
Whether you’re building your first winter arrangement or looking to level up your front porch decor, these extra ideas offer fresh inspiration that goes beyond the basics.
Final Thoughts on Making a Winter Planter
Creating a winter planter is one of the simplest, most satisfying ways to add warmth and color to your home’s exterior during the colder months. With the right mix of natural materials, creative touches, and a bit of DIY spirit, you can make a beautiful display that lasts all season—without spending a fortune.
Don’t be afraid to experiment and adjust your design each year. You’ll be amazed at how quickly your skills grow, and how much joy a thoughtfully arranged winter planter can bring.
Happy winter gardening!

