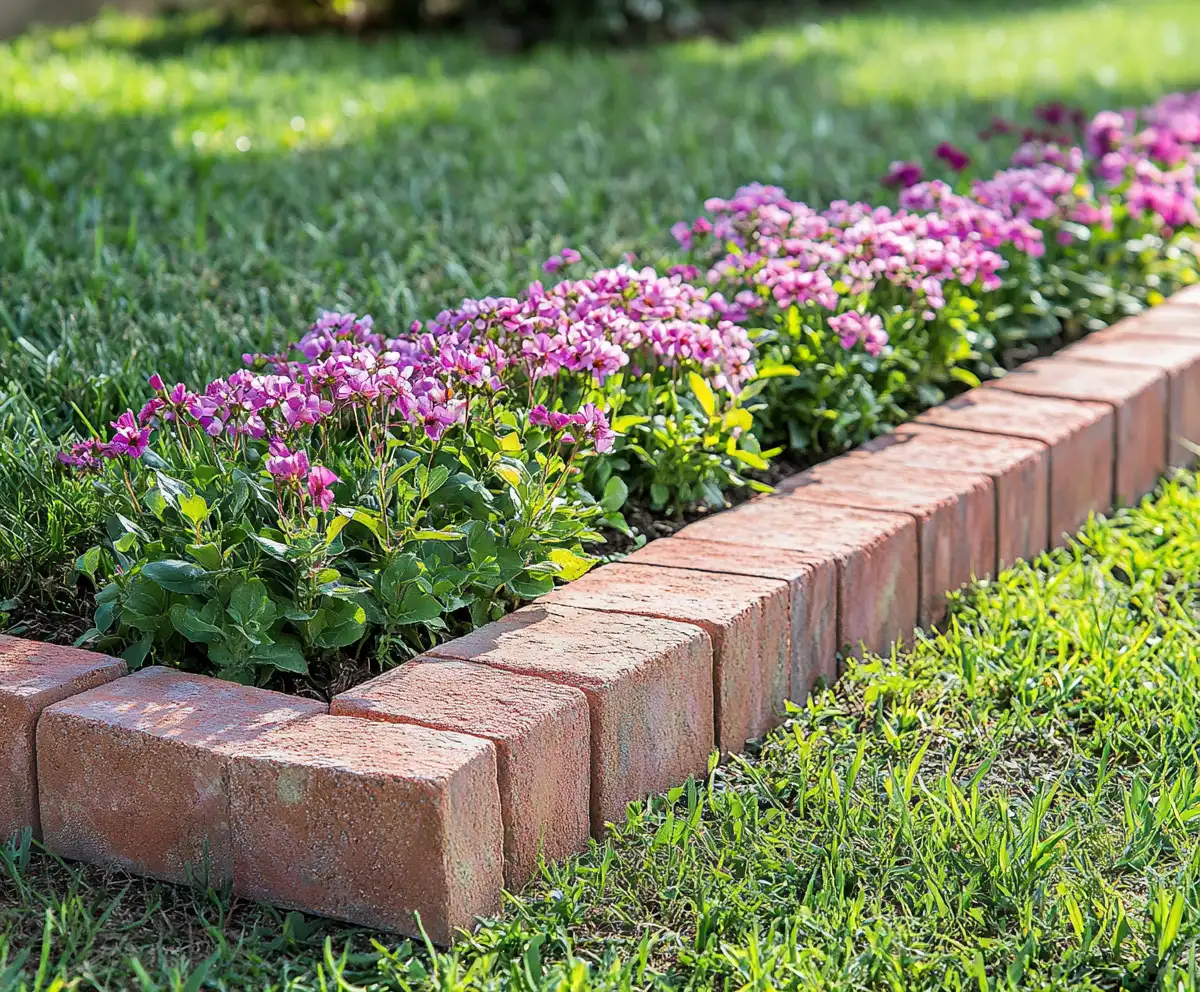
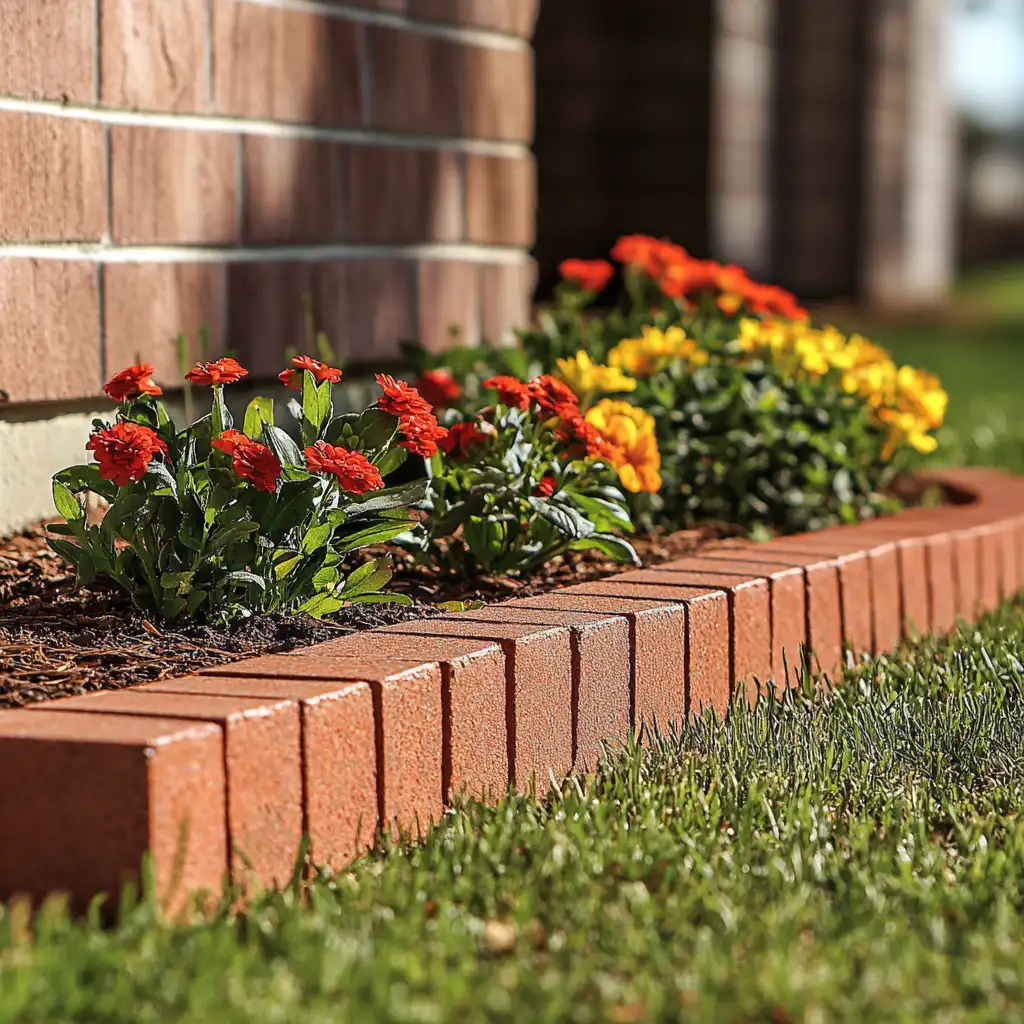
Brick garden edging is a timeless and charming way to define garden beds and add structure to your landscape. It enhances your outdoor space’s overall aesthetic, giving it a polished, professional look that instantly boosts curb appeal.
Not only does it keep plants and mulch neatly contained, but it also creates a durable, attractive border that’s easy to maintain. Whether you’re a seasoned gardener or a DIY enthusiast, building a brick garden edging border is a rewarding project you can complete in just a weekend.
In this guide, you’ll discover everything you need to plan, design, and install a beautiful brick garden edging that complements your style and stands the test of time. Pair it with colorful blooms or low-maintenance greenery to create a garden that looks beautiful year-round with minimal effort.
Table of Contents
What You’ll Need
Before diving into the installation process, gather all the essential tools and materials for a seamless brick garden edging project. Having everything on hand will save you time and make the job much easier.
Equipment / Tools
- Garden hose or string: For outlining your border shape
- Tape measure: To ensure consistent spacing and dimensions
- Shovel or spade: For digging the trench
- Rubber mallet: To gently tap bricks into place
- Level: To keep the edging even
- Wheelbarrow: For transporting soil and mulch
Materials
- Bricks: Choose weather-resistant bricks suitable for outdoor use
- Landscape fabric (optional): Helps prevent weeds
- Sand or gravel: For leveling and stabilizing the base
- Mulch or soil: For backfilling around the bricks
- Garden soil and plants: To finish the border with a lush, vibrant look
Now that you’ve gathered your tools and materials, it’s time to build your brick garden edging. Follow these step-by-step instructions to create a beautiful, curved border that enhances your garden’s charm and functionality.
1. Sketch Your Plan
Before picking up a shovel, sketch your garden border design on paper. Consider the curve’s shape, length, and placement around your garden beds. Use a garden hose or string in the yard to lay out the actual shape, adjusting it until it looks just right.
2. Make an Outline
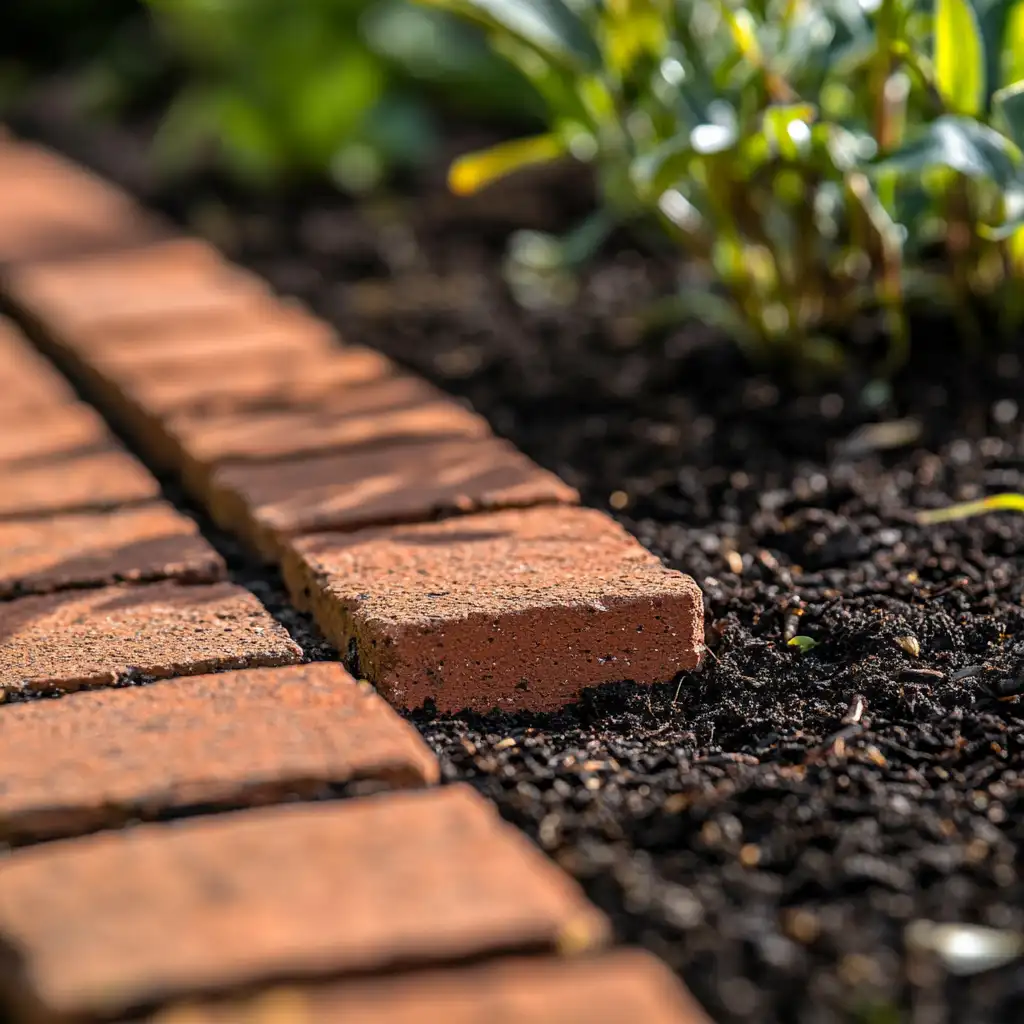
Use the garden hose or string as a guide to outline your brick garden edging on the ground. Mark the edges with spray paint or flour so you’ll know exactly where to dig.
3. Dig a Trench
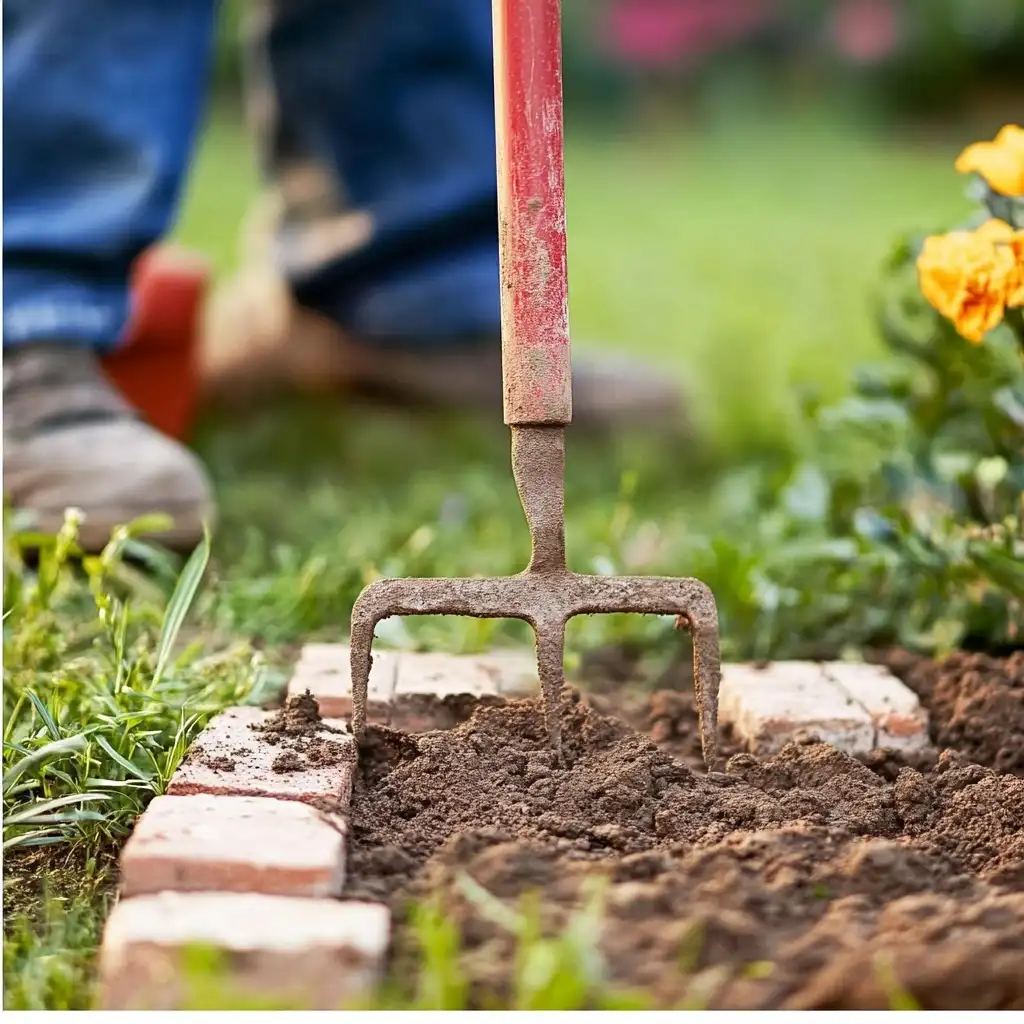
With a shovel or spade, dig a trench along your marked line. Aim for a depth of about 4–6 inches, ensuring it’s wide enough to accommodate the bricks plus a stabilizing base layer.
4. Install the Outer Layer
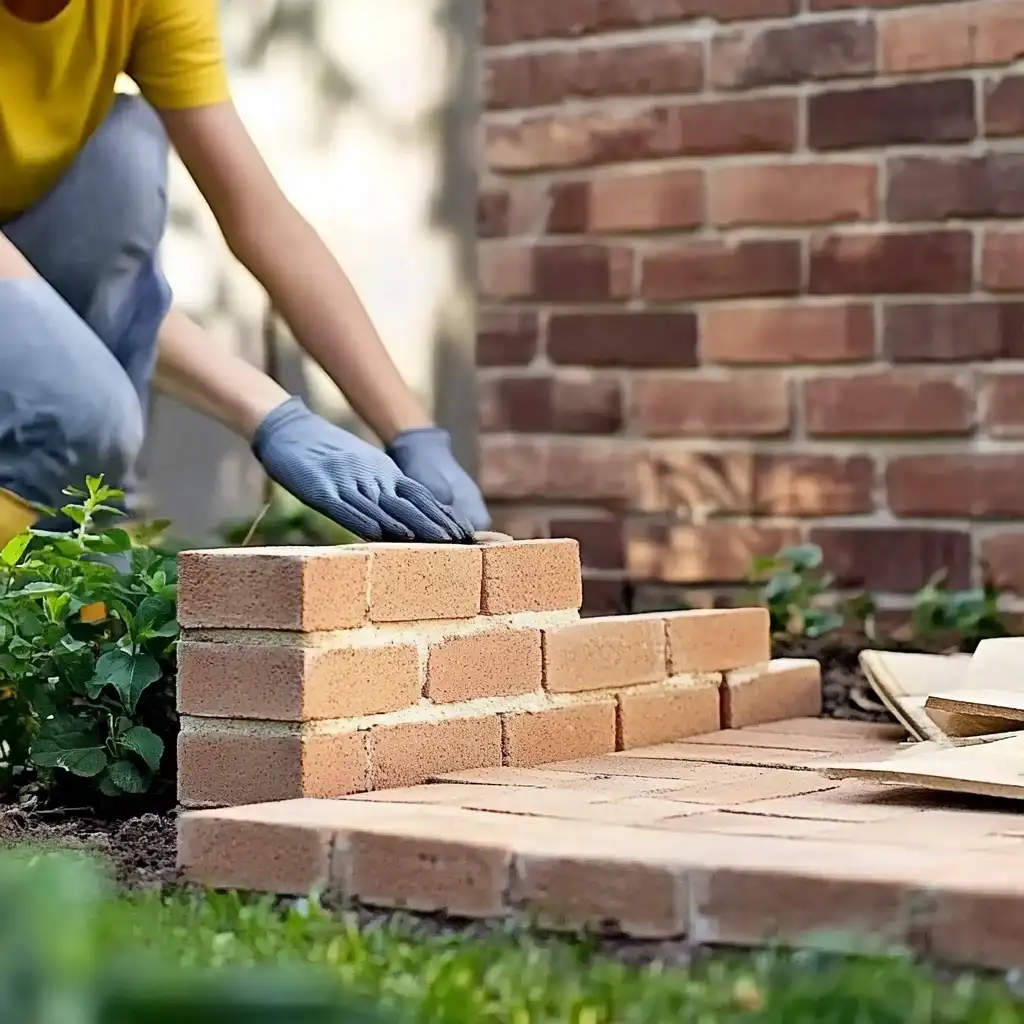
Start by laying the first layer of bricks along the outer edge of the trench. Use a level to ensure each brick sits evenly with the next. Tap gently with a rubber mallet to secure them in place. This outer row forms the foundation of your brick garden edging.
5. Install the Inner Layer
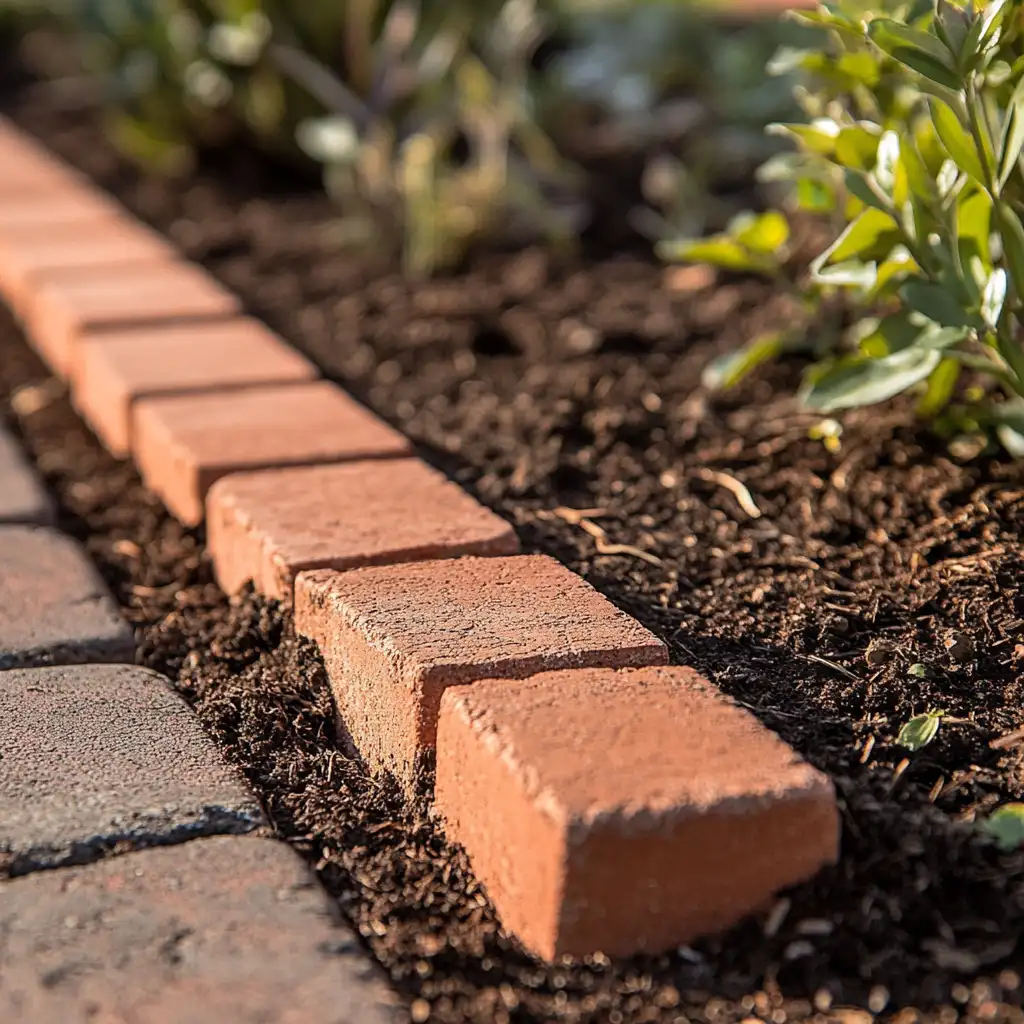
Once the outer layer is in place, install the inner row of bricks. Position them snugly against the outer row, filling any gaps with sand or soil to stabilize the structure. Again, use a level to maintain an even height throughout.
6. Plant and Add Mulch
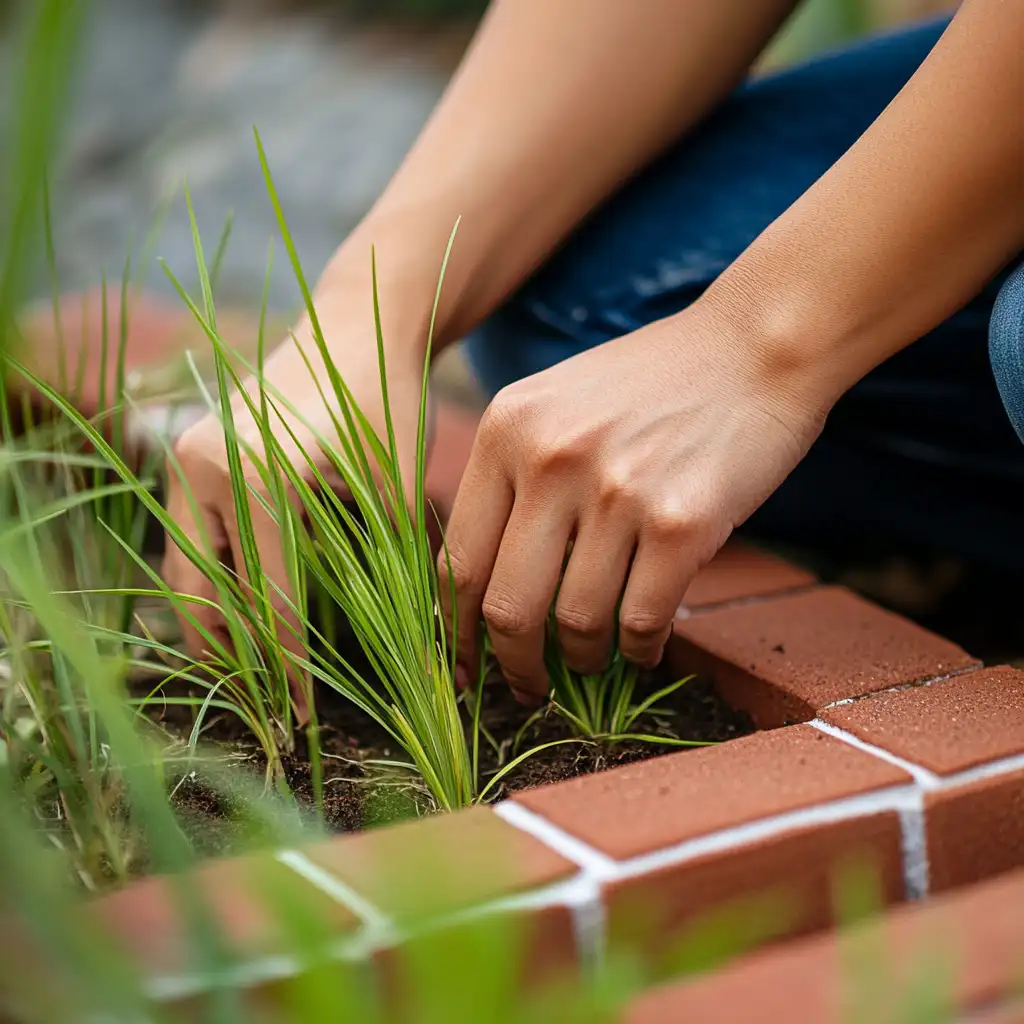
Finish your brick garden edging by planting flowers, shrubs, or other greenery along the inside of the border. Add mulch or soil to fill any remaining gaps and give your garden a polished, finished appearance.
Conclusion
Building your own brick garden edging is a satisfying and impactful way to enhance your garden’s beauty and functionality. With a bit of planning and some simple tools, you can create a charming, professional-looking border that keeps your plants neatly contained and adds character to your outdoor space. Remember, patience and attention to detail are key to achieving a flawless finish. To elevate the look even further, consider pairing your new edging with vibrant blooms or easy-care plants that complement the design. Now go ahead—grab those bricks and get started on your garden transformation!
Frequently Asked Questions
Are bricks good for garden bed borders?
Absolutely! Brick garden edging is a fantastic choice for garden beds. Bricks are durable, weather-resistant, and provide a timeless look that complements any garden style. They help define the space, keep soil and mulch contained, and reduce weed spread into pathways.
Is a brick garden border expensive?
The cost of brick garden edging can vary depending on the size of your project and the type of bricks you choose. While bricks may be more expensive upfront than some other materials like plastic or wood, their longevity and low maintenance often make them a cost-effective investment in the long run.
Do I need to use mortar or another adhesive to keep my brick garden border from moving?
For ground-level brick garden edging, mortar or adhesive usually isn’t necessary. By digging a proper trench and snugly fitting the bricks together, you’ll create a stable border that stays in place. Backfilling with soil or sand also helps keep the bricks secure.
🌿 Love gardening inspiration? Follow me on Pinterest for bold plant ideas, tips, and seasonal color!

