Gerbera Daisy Care is more than just watering a pretty plant—it’s about creating the right environment for these vibrant blooms to thrive indoors and out. Whether you’re growing them in containers or directly in the garden, knowing how to care for gerberas properly ensures longer blooming, healthier leaves, and stronger stems.
This guide walks you through essential tips for soil selection, watering, fertilizing, pruning, and handling gerberas post-harvest. It also covers seasonal care and how to tackle common issues like yellowing leaves or drooping blooms. Let’s start with the soil—because that’s where strong flowers begin.
Table of Contents
1. Use Appropriate Soil and Potting Mix
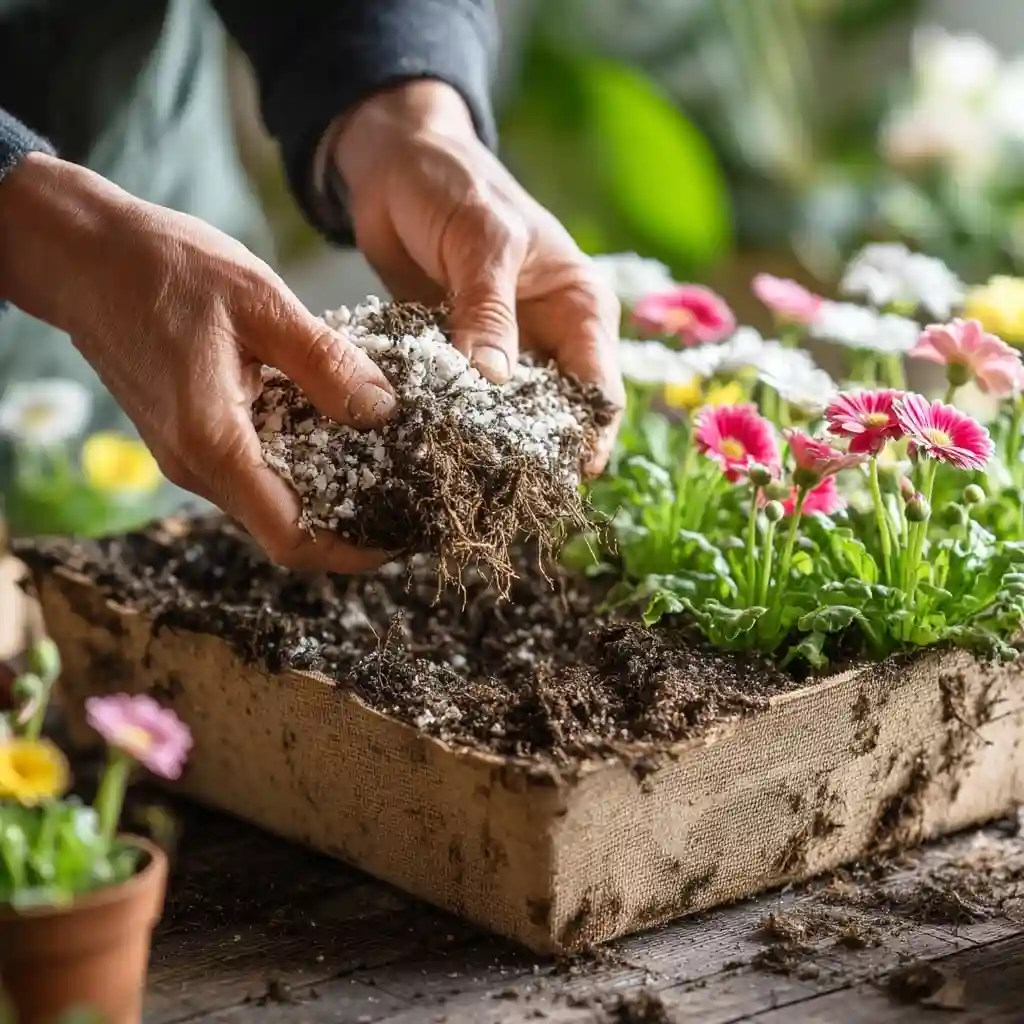
Healthy Gerbera Daisy Care starts with the right soil. These plants don’t do well in soggy or compacted ground. To avoid problems like root rot, choose a light, well-draining mix—think sandy loam or a commercial potting mix labeled for flowers.
If your garden soil tends to retain water, improve drainage by adding perlite, coarse sand, or peat moss. Raised beds or containers with drainage holes are also excellent options. A pH range of 6.0 to 6.5 is ideal—slightly acidic but not too far from neutral.
Before planting, mix in organic compost to enrich the soil and boost bloom production. Compost helps the soil retain moisture without becoming waterlogged and provides essential nutrients naturally.
Tip: If your soil is too acidic, add a small amount of dolomitic lime. It balances pH and adds calcium and magnesium—both essential for vibrant blooms.
2. Water Gerbera Daisy Properly
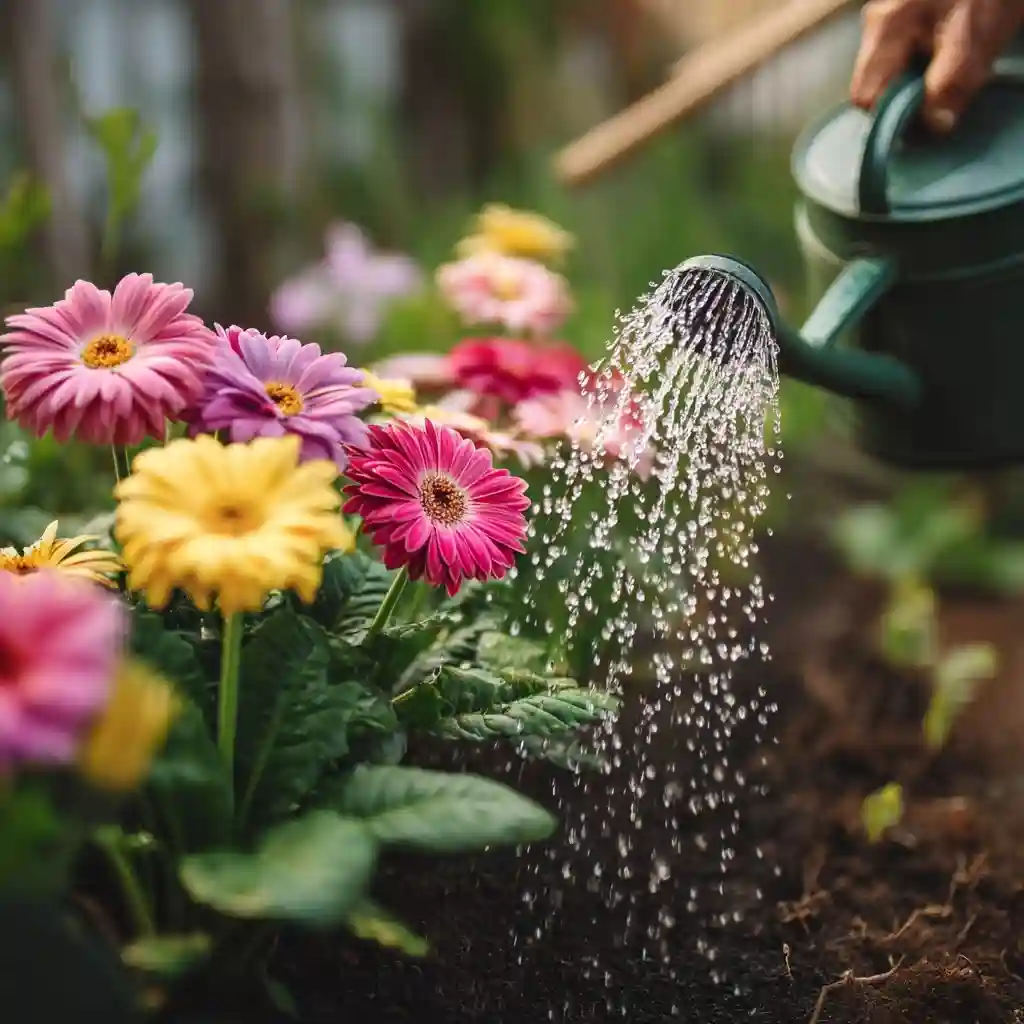
Watering is a crucial part of Gerbera Daisy Care, but it’s easy to get wrong. Too much moisture leads to root rot, while too little causes drooping and weak flowers.
For outdoor gerberas, water deeply once a week, or when the top inch of soil feels dry. During hot or windy weather, increase the frequency slightly to prevent stress.
Indoor plants typically need watering every 3–5 days. Always water at the base of the plant—not over the leaves—to reduce the risk of fungal diseases. Ensure the container drains well, and empty the saucer after each watering to prevent standing water.
In winter, water less often. Gerberas enter a rest period and don’t require as much moisture, but never let the soil dry out completely.
Pro Tip: Use room-temperature water and avoid splashing the crown of the plant—it’s sensitive and prone to rot.
3. Fertilizer Application
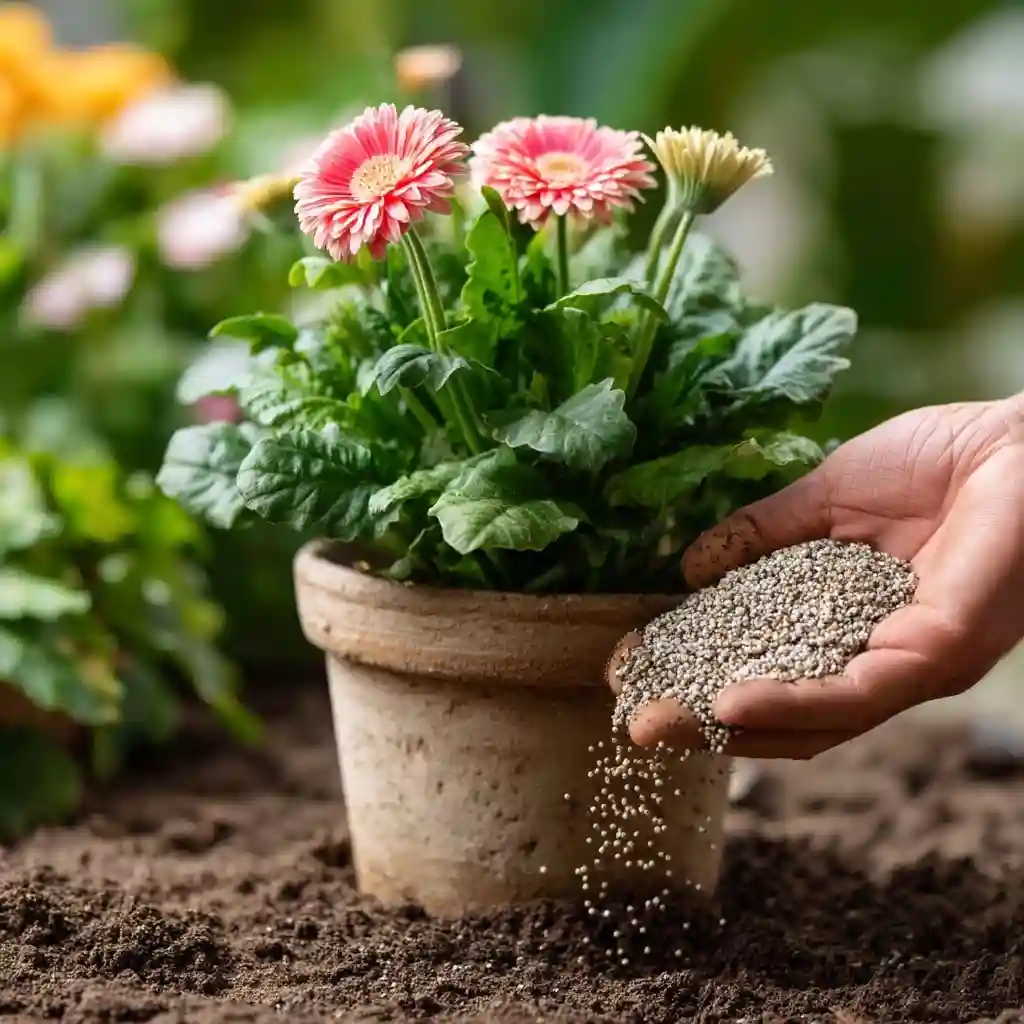
Feeding your plant properly is key to successful Gerbera Daisy Care. These flowers are heavy feeders and thrive when given the right balance of nutrients throughout the growing season.
Start by applying a slow-release granular fertilizer two to three times during spring and summer. Alternatively, you can use a liquid fertilizer every two weeks. Choose one that is balanced or slightly nitrogen-rich, such as a 20-10-20 or 24-8-16 formulation.
For potted plants, a water-soluble feed works best since nutrients can leach out more quickly from containers.
Gerberas are especially sensitive to iron and manganese deficiencies, which often show up in yellowing leaves. To prevent this, select a fertilizer that includes these micronutrients or apply a foliar spray if symptoms appear.
Fertilizing Tip: Avoid high-phosphorus fertilizers—they can interfere with nutrient uptake and reduce flowering.
4. Trim or Deadhead Gerbera Daisies to Induce Re-Blooming
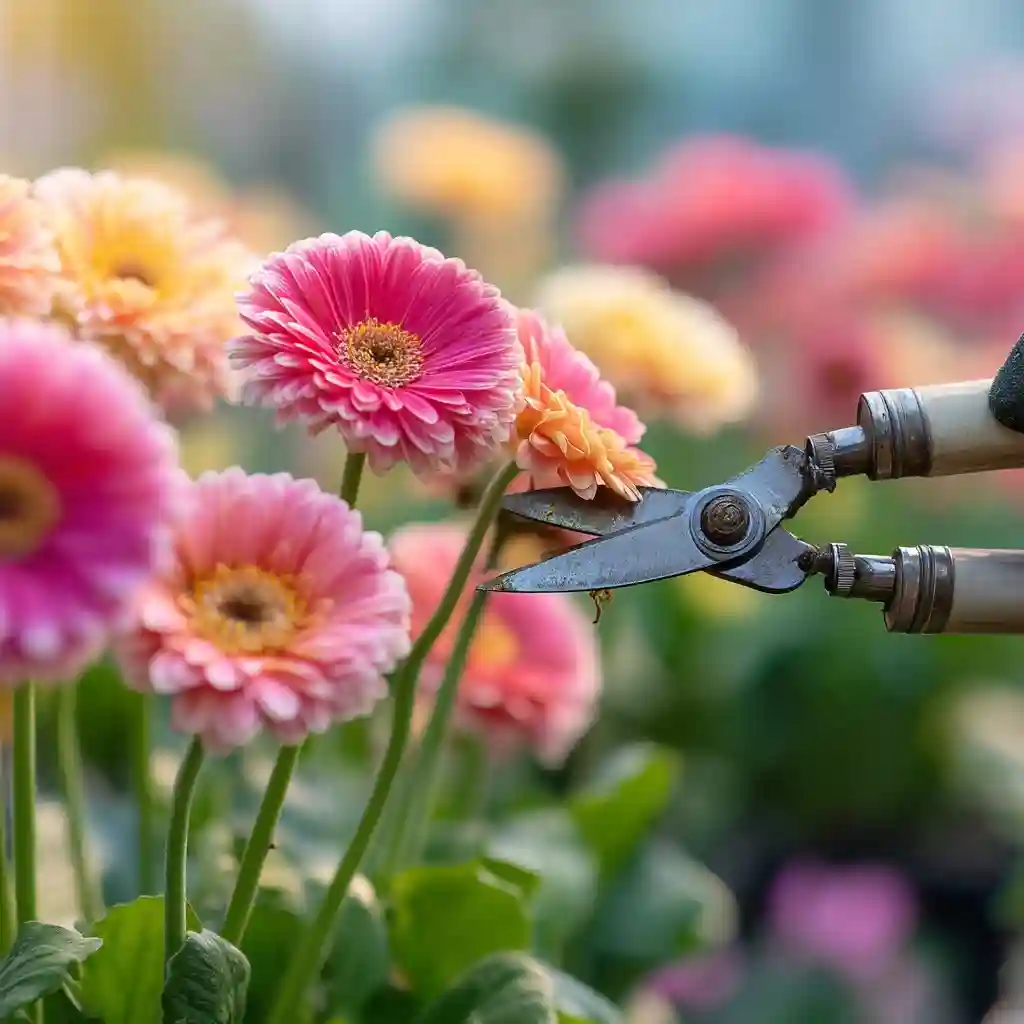
If you want your gerberas to keep blooming throughout the season, deadheading is a must. It’s a simple but powerful step in Gerbera Daisy Care that encourages the plant to redirect energy from spent blooms into producing new ones.
Use clean, sharp scissors or pruning shears to snip off faded flower stems at the base, not just the flower head. Gerberas grow one bloom per stem, so removing the entire stalk keeps the plant tidy and healthy.
In potted gerberas, you can also trim back large central leaves to improve airflow and let more light reach the base. This often stimulates new bud development.
Harvesting fresh flowers for arrangements can double as deadheading, giving your plant a natural push to bloom again.
Reminder: After trimming, keep the soil evenly moist and apply a light liquid fertilizer to support new growth.
5. Gerbera Daisy — Sun or Shade?
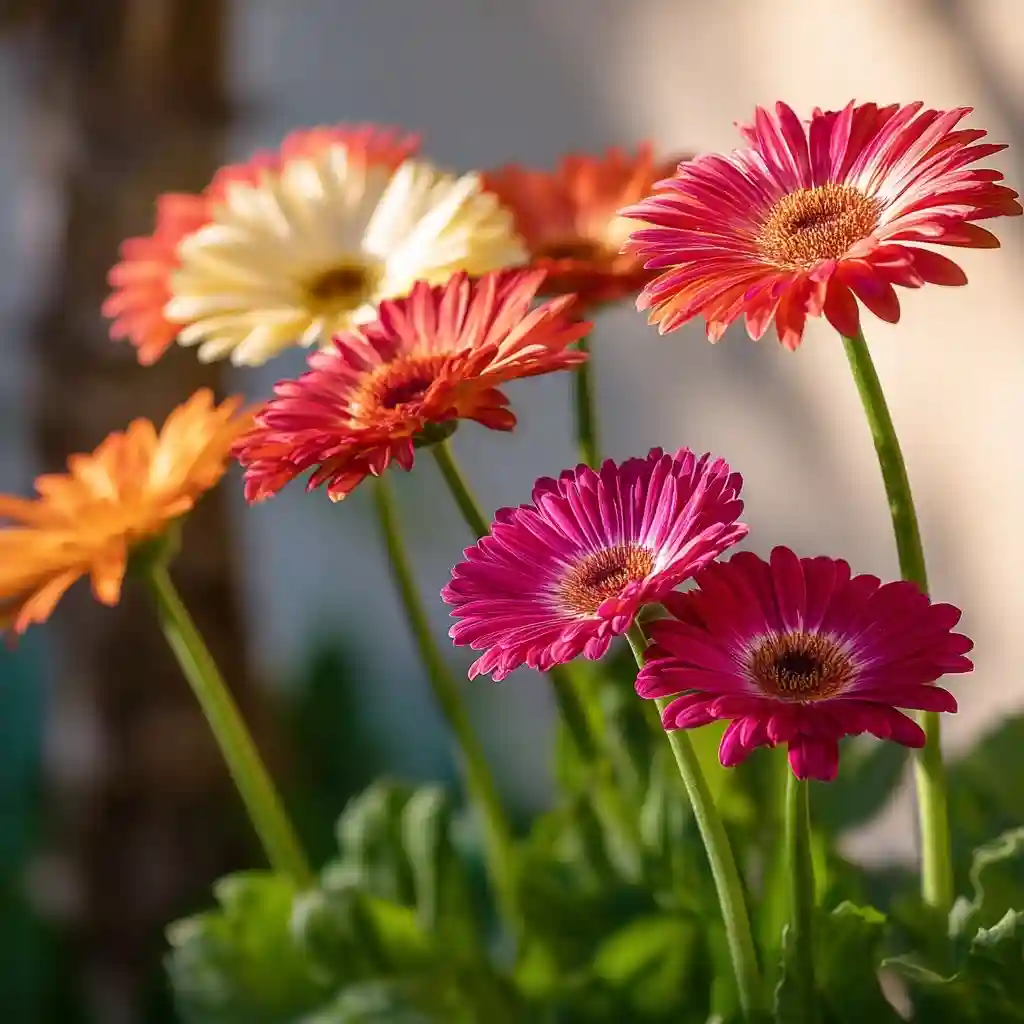
Sunlight plays a huge role in proper Gerbera Daisy Care. These cheerful blooms need the right balance of light to thrive without overheating or drying out.
In most climates, full sun for 6 hours a day is ideal. Morning light is best—it’s bright but not too intense. In hotter regions, light afternoon shade can protect your gerberas from scorching and wilting during peak heat.
For indoor plants, place them near a bright, south- or east-facing window. If natural light is limited, consider using a grow light to maintain healthy development and blooming.
Lack of sun often results in leggy stems, fewer flowers, and pale leaves, while too much sun can cause leaf scorch or faded blooms.
Tip: Rotate potted gerberas every few days to encourage even growth and prevent leaning toward the light source.
6. Overwinter Your Gerbera Daisies
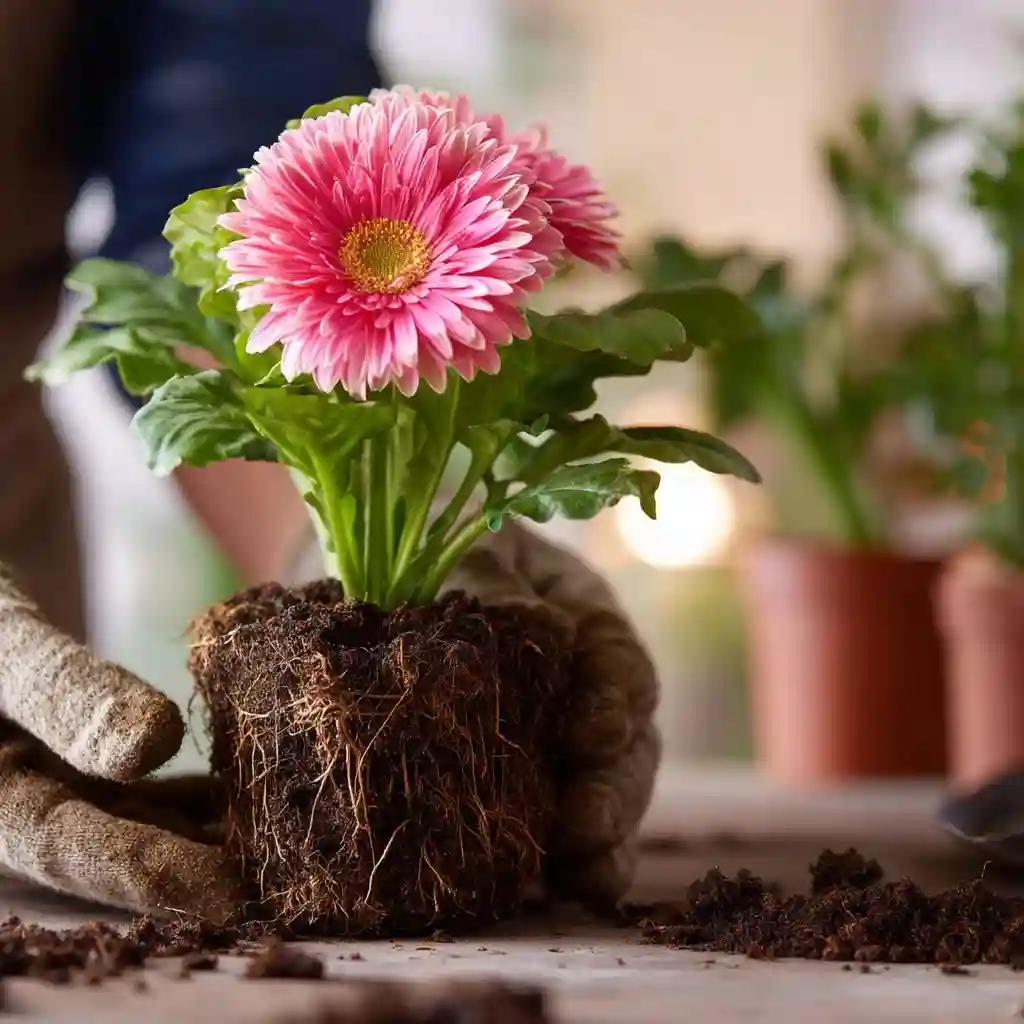
If you live in a colder climate, overwintering is an important part of Gerbera Daisy Care—especially since these plants are perennials only in USDA zones 8–11. Without protection, they won’t survive frost.
Start preparing in late September or early October, before the first freeze. For in-ground plants, carefully dig up the entire root ball, shake off excess soil, and trim back flowers and some roots (but avoid damaging the central taproot).
Replant the gerbera in a container with fresh, well-draining potting mix. Keep the crown at soil level—not too deep.
Place the pot in a cool, bright location indoors, ideally where temperatures stay between 60–70°F (15–21°C). Water sparingly, just enough to keep the soil slightly moist, and avoid fertilizing until spring.
Tip: Give the plant time to acclimate—leave it outside during the day and bring it in at night for the first week.
7. Use Coffee Grounds to Help Repel Slugs
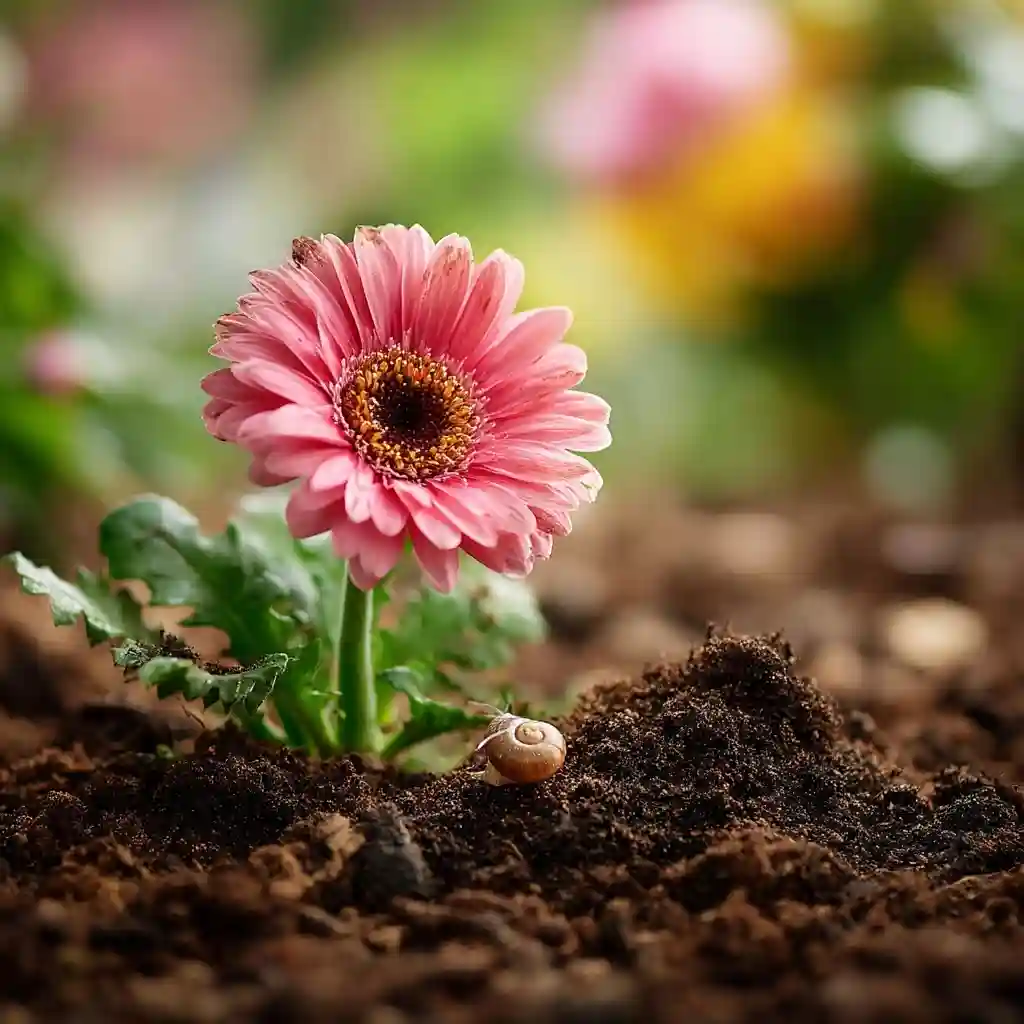
Here’s a clever, eco-friendly trick for Gerbera Daisy Care: use coffee grounds as a natural slug deterrent. Slugs and snails are common pests that love tender gerbera leaves, especially in damp, shaded garden spots.
Sprinkle a thin layer of used, dried coffee grounds around the base of your plants. The coarse texture acts as a physical barrier, while the caffeine content disrupts the slugs’ nervous systems—slowing them down or deterring them altogether.
Even the smell of coffee may help keep these pests at bay. It’s a safe method that also adds organic material to your soil as the grounds break down.
Important: Don’t overdo it—too many coffee grounds can alter soil acidity or cause drainage issues. Use in moderation and always in well-draining soil.
8. Handle Gerberas Properly After Harvest to Boost Vase Life

When it comes to post-harvest Gerbera Daisy Care, how you handle the flowers can make the difference between a bloom that lasts two weeks and one that wilts in two days.
Start by cutting the stems underwater to prevent air bubbles from entering the stem and blocking water uptake. Use a sharp, clean knife to trim each stem at a 45-degree angle, removing about half an inch.
Place the cut stems immediately into a vase filled with lukewarm water mixed with flower food. If you don’t have any on hand, use this DIY solution:
- 2 tablespoons lemon juice
- 1 tablespoon sugar
- ¼ teaspoon bleach
per quart of water.
Keep the water level low—about 1 inch—to avoid soggy stems, which are prone to becoming soft and collapsing.
Set the vase in a cool, well-lit area, but avoid direct sun, heat sources, and drafts. Change the water every 2 days, and re-cut the stems if they become spongy.
Pro Tip: Condition your gerberas overnight in a cool space after cutting—they’ll last longer and look fresher.
9. Common Gerbera Daisy Problems
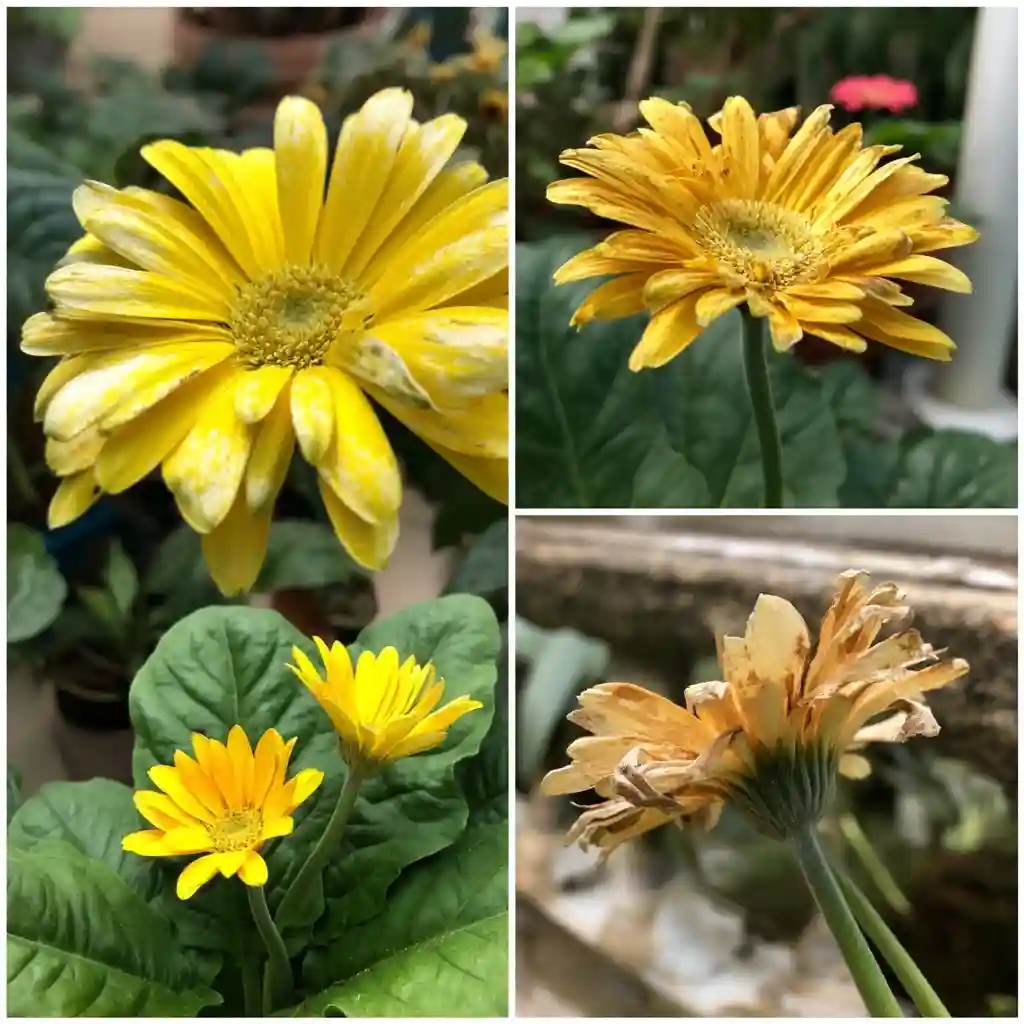
Even with the best Gerbera Daisy Care, problems can still pop up. The key is knowing how to recognize and fix them before they take over.
🌿 Wilting or Drooping
Often caused by overwatering or underwatering. Check soil moisture regularly and adjust your watering schedule. Gerberas prefer moist—not soggy—soil.
🍂 Yellow Leaves
This could signal a nitrogen, magnesium, or iron deficiency, especially in potted plants. Use a balanced fertilizer with micronutrients, or treat with Epsom salt (1 oz per 5 gallons of water weekly).
🌱 Leaf Curling or Browning
Usually due to calcium deficiency, poor air circulation, or fungal issues like powdery mildew. Improve airflow, test soil pH (keep above 5.5), and treat fungal infections with a gentle fungicide.
🐌 Pest Issues
Slugs, aphids, and spider mites love gerberas. Use natural deterrents like coffee grounds, neem oil spray, or insecticidal soap.
💀 Root and Crown Rot
Caused by overwatering or compacted soil. Ensure good drainage and never let the plant sit in water.
Pro Tip: Always observe leaf color, flower output, and overall posture of your plant—changes usually signal an issue early on.
Conclusion
Caring for gerberas may seem detailed, but once you understand their needs, these flowers become some of the most rewarding to grow. With the right soil, consistent watering, regular feeding, and thoughtful handling, you’ll enjoy vibrant blooms from spring through fall—and even longer indoors.
Remember, Gerbera Daisy Care isn’t just about growing beautiful flowers—it’s about building a healthy plant from the roots up. Monitor your plants regularly, respond to signs of stress early, and enjoy the satisfaction of seeing your daisies thrive.
FAQ
How long do gerbera daisies bloom?
Gerberas typically bloom for several weeks at a time and will re-bloom every few weeks if deadheaded and properly cared for.
Can I grow gerberas indoors year-round?
Yes, with enough light. Place them in a bright window or use a grow light, and be mindful of watering.
Why are my gerbera leaves turning yellow?
Yellow leaves often point to nutrient deficiencies, especially nitrogen or iron, or poor drainage.
Do gerbera daisies like acidic soil?
They prefer slightly acidic to neutral soil—ideally with a pH between 6.0 and 6.5.
🌿 Love gardening inspiration? Follow me on Pinterest for bold plant ideas, tips, and seasonal color!
More Posts
