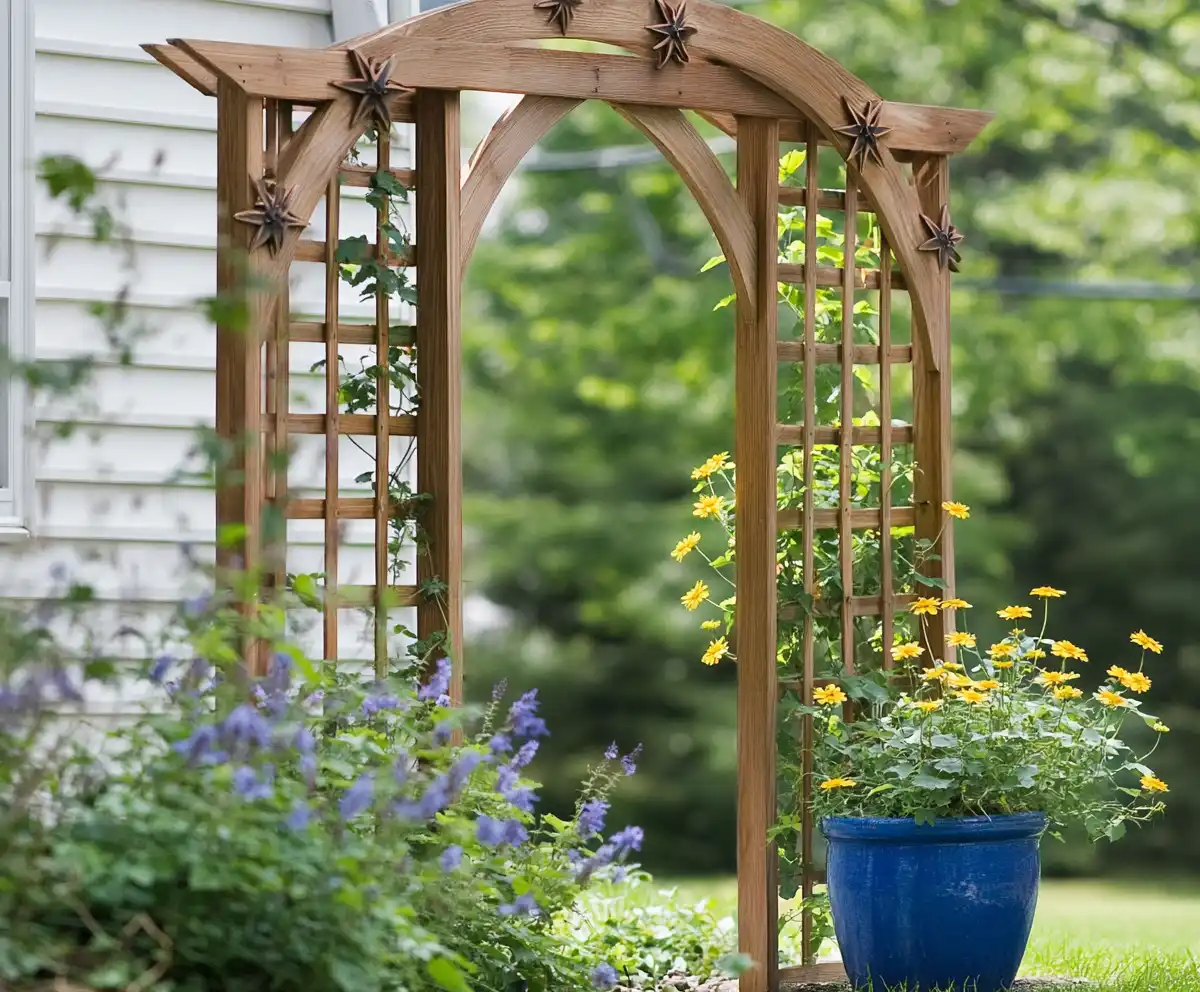
🛠️ Project Overview
If you’re ready to build a trellis and add stunning vertical interest to your garden, this beginner-friendly DIY project is the perfect place to start. In just a couple of hours, you can create a custom trellis that not only supports climbing plants but also enhances your outdoor space with charm, height, and pollinator appeal.
A well-positioned trellis can completely transform a plain garden bed or bare wall into a lush, living feature. When you build a trellis to support flowering vines like sweet peas, clematis, or black-eyed Susan vines, you’re not just adding structure — you’re also attracting bees and butterflies that promote healthy garden ecosystems. If you’re growing clematis, check out our guide to growing clematis vines and our clematis trellis ideas to match your style. With a clear plan, the right materials, and a bit of know-how, you can build a trellis that elevates your garden both literally and visually.
For more inspiration on incorporating vertical elements, don’t miss our DIY trellis garden decor guide and affordable trellis ideas for climbing roses.
Table of Contents
✅ Why build a trellis?
- Adds vertical interest and garden structure
- Supports vining plants and improves air circulation
- Encourages beneficial insects like pollinators
- Can serve as a privacy screen or wall feature
🧱 Materials & Design Tips
Before you dive into how to build a trellis, it’s crucial to start with the right materials and a design that suits both your aesthetic and functional needs. A durable, well-thought-out trellis will not only stand the test of time but will also beautifully support your garden’s climbers year after year.
Choose the Right Wood
To ensure your trellis withstands weather and wear, opt for rot-resistant wood. These two are top choices:
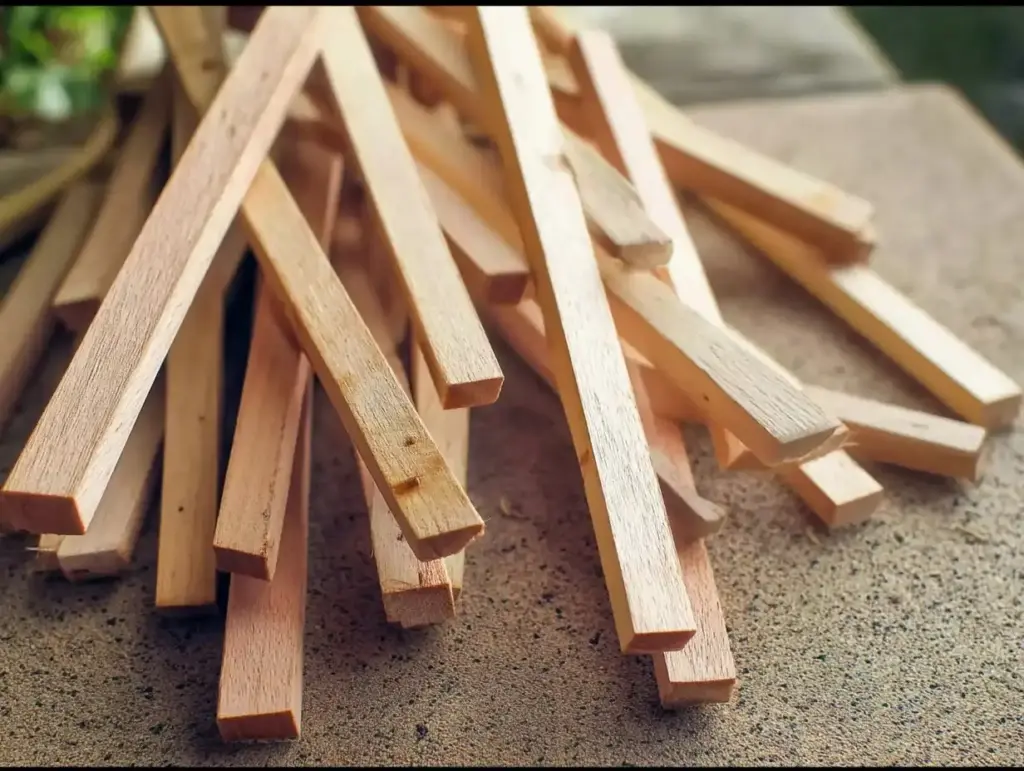
- Cedar: Naturally decay-resistant and visually appealing, cedar ages to a soft silvery gray if left untreated.
- Pressure-treated pine: A more affordable alternative that holds up well outdoors, though it should be sealed or painted for safety and appearance.
💡 Pro Tip: Avoid untreated softwoods like spruce or fir — they deteriorate quickly when exposed to the elements.
Prepping and Protecting the Wood
Before or after assembly, be sure to protect your trellis with:
- Exterior-grade stain or paint to shield it from moisture and UV rays.
- Primer (if painting) to improve adhesion and longevity.
Painting or staining before assembly saves time and effort — but you may need touch-ups where screws go in. Alternatively, finish your trellis once fully built to ensure consistent coverage.
Design & Customization Tips
Think of your trellis as both a functional frame and a garden feature:
- Sketch your design on paper first — decide on dimensions and spacing.
- Keep symmetry in mind — evenly spaced horizontal and vertical slats create a clean look.
- Adjust grid size (e.g., 6-inch squares) depending on the plant’s needs. Smaller grids work well for lightweight vines like sweet peas, while larger gaps suit heartier climbers.
✏️ Customize your shape: Arched tops, fan shapes, or lattice patterns are easy to achieve with minor layout tweaks and add visual flair.
🪚 Step-by-Step Instructions
1. Make Your Cuts
Start by cutting your wood to match the dimensions from your trellis sketch. Use a miter or circular saw for clean, straight edges. Common sizes for slats range from 1x2s to 1x4s, depending on the look and sturdiness you’re going for.
📏 Example: For a 6-foot-tall trellis, you might cut six vertical boards and seven horizontal boards to create a 6″ grid.
2. Plan Your Trellis
Take time to finalize your layout before building:
- Sketch a scaled drawing with dimensions and spacing.
- Count all boards and cut them to size in advance.
- Double-check your measurements — a well-planned project minimizes mistakes and material waste.
📝 Helpful Hint: Group your wood pieces by length after cutting to speed up the assembly.
3. Create a Layout Guide
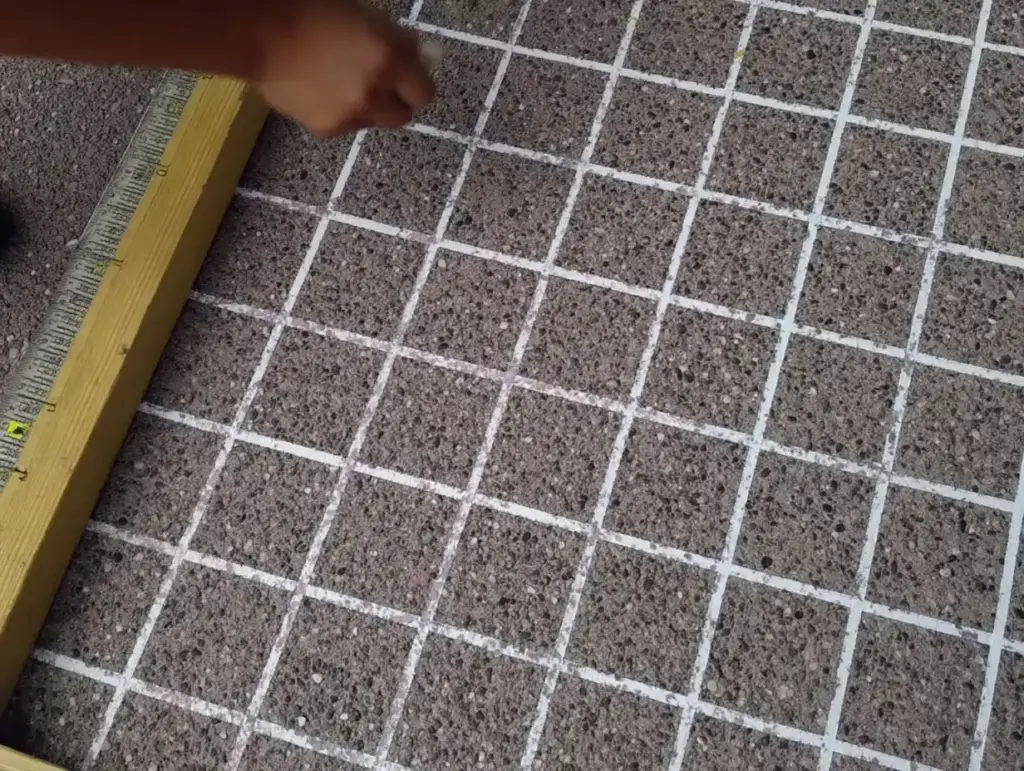
Find a flat surface (like a concrete driveway or garage floor) and use chalk to draw evenly spaced parallel lines, 6 inches apart. This will serve as your visual guide when laying out the trellis.
- This ensures consistent spacing without the need for a measuring tape every time.
- Use a straight board or level to keep lines clean and aligned.
4. Finish the Grid
Next, draw another set of lines perpendicular to the first set, forming a 6-inch square grid. This grid will act as your blueprint when arranging the boards, helping you keep the layout symmetrical and square.
📐 A chalk grid reduces errors and speeds up assembly.
5. Lay Out Trellis Pieces
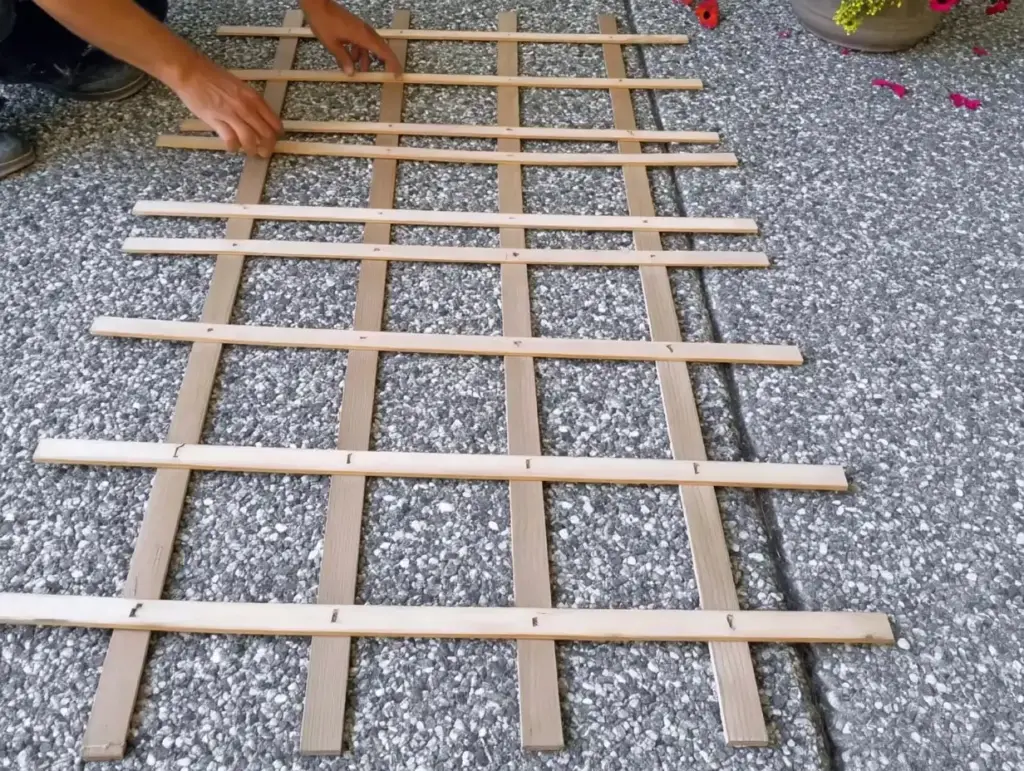
Using your chalk grid as a guide:
- Arrange the vertical and horizontal boards into your desired pattern.
- Test a few variations before deciding on the final layout.
- Adjust for symmetry and ensure all intersections are aligned.
🔁 Don’t rush this step — laying everything out first lets you visualize the final look and make any tweaks before committing.
6. Assemble the Trellis
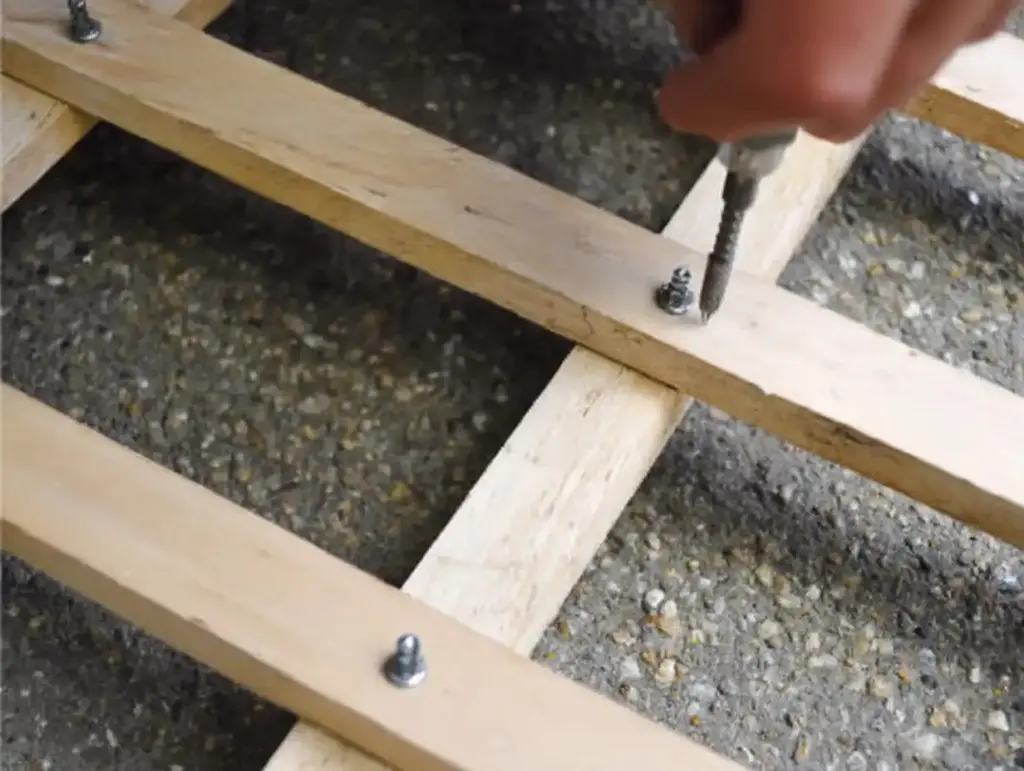
With your layout finalized:
- At each intersection, drive two exterior screws from the back side of the trellis. This keeps the front surface clean and screw-free.
- Use a power drill to speed things up, and be sure screws are corrosion-resistant for outdoor durability.
After assembly, apply your chosen paint, stain, or clear sealant if you haven’t already.
🪵 If using cedar, you can skip finishing and let it age naturally for a rustic, gray-toned look.
7. Install the Trellis in Your Garden
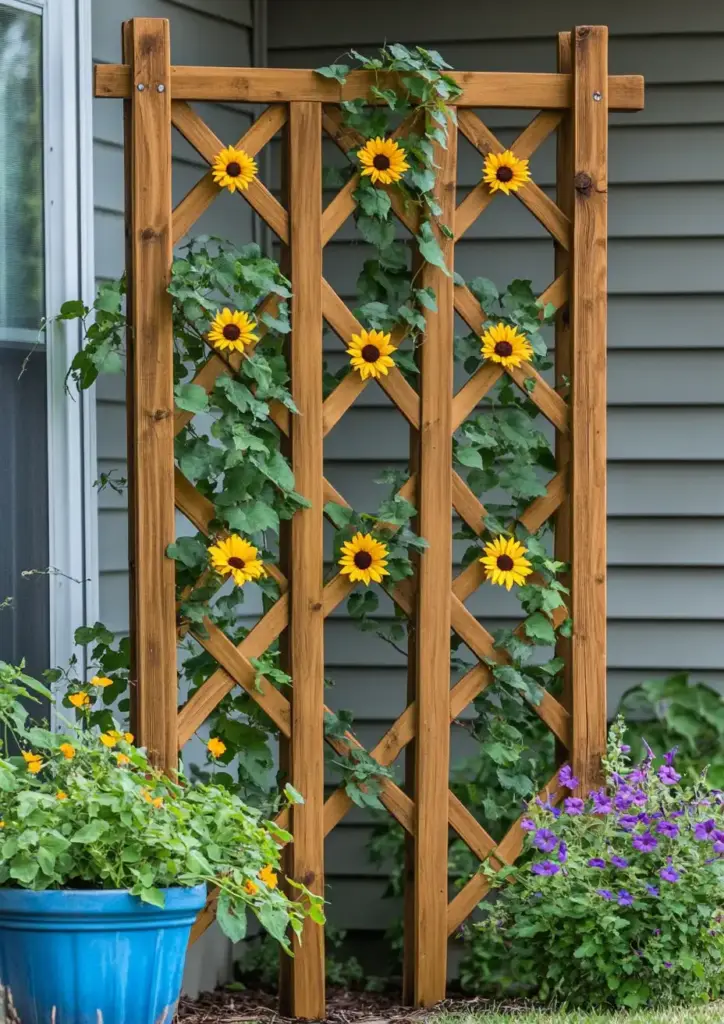
To place your trellis securely:
- Dig two postholes, at least 10 inches deep.
- Pour a few inches of gravel at the bottom for drainage.
- Position your trellis and use a level to make sure it’s straight.
- Backfill with soil, tamping firmly every few inches to stabilize the structure.
8. Plant & Enjoy
At the base of your trellis, plant fast-growing, colorful vines like:
- Morning glory
- Black-eyed Susan vine
- Sweet peas
These will quickly climb and transform your trellis into a living garden wall, buzzing with pollinators and bursting with color.
❓ Frequently Asked Questions (FAQ)
What is the best wood to build a trellis?
The best woods for outdoor trellises are cedar and pressure-treated pine. Cedar is naturally rot-resistant and ages beautifully, while pressure-treated pine offers durability at a lower cost. Avoid untreated softwoods, as they decay quickly.
How deep should I bury a trellis post?
Trellis posts should be buried at least 10 inches deep for stability. Add gravel at the bottom of each hole to improve drainage and help anchor the structure.
Can I paint or stain my trellis after building it?
Yes, you can paint or stain your trellis before or after assembly. Painting before building helps with coverage, while finishing afterward ensures consistent appearance. Use exterior-grade products for long-term protection.
Do I need a permit to build a trellis in my backyard?
In most cases, no permit is required to build a small garden trellis. However, check with your local building authority if your trellis is tall, attached to a structure, or part of a fence.
What plants grow best on a trellis?
Popular climbing plants for trellises include:
- Morning glory
- Sweet peas
- Black-eyed Susan vine
- Clematis
- Climbing roses
Choose plants based on your climate, sunlight, and trellis size.
🌿 Final Thoughts on Building a Trellis
Deciding to build a trellis is one of the most rewarding ways to introduce structure, beauty, and vibrant growth into your garden. In just a few hours, you can craft a vertical feature that supports everything from climbing roses to sweet peas while adding architectural elegance to your outdoor space. Whether you’re growing clematis, training roses up a trellis, or planning to trellis pumpkins, building your own trellis allows you to merge function with visual appeal.
As you build a trellis, keep in mind that success starts with a clear plan, rot-resistant materials, and attention to detail. For more creative options, browse our DIY garden trellis ideas or explore how to design trellises for cucumbers and peas.
With a little effort and inspiration, you’ll soon build a trellis that elevates your plants—and your entire landscape. Happy gardening!
🌿 Love gardening inspiration? Follow me on Pinterest for bold plant ideas, tips, and seasonal color!
More Posts
19+ Budget-Friendly Backyard Makeover Ideas
Backyard makeover ideas can turn even the most ordinary outdoor space into a warm, inviting retreat—without draining your wallet.
Read More →
21 Stunning & Simple DIY Clematis Trellis Designs
DIY clematis trellis designs are a beautiful way to blend creativity with function in your garden.
Read More →
12 Full Sun Perennials That Bloom All Summer
Explore a selection of hardy perennials that flourish and bloom beautifully in full sun throughout the summer.
Read More →
Houseplants for Living Room
Find the perfect houseplants to brighten and purify your living room while adding a touch of nature indoors.
Read More →
Backyard Play Area for Kids
Create a fun and safe backyard play area for kids with these inspiring design ideas and tips.
Read More →
Top Privacy Trees
Discover top tree varieties that provide natural privacy and enhance your outdoor space.
Read More →
