Gladiolus growing stages are key to understanding how to care for this tall, elegant flower that brings vertical drama to summer gardens. From the moment you plant the corms to the final deadheading at season’s end, each stage plays a role in producing healthy, vibrant blooms. Whether you’re a beginner or seasoned gardener, knowing the timeline and care needs of the gladiolus ensures you’ll enjoy bold, colorful spikes year after year. In this guide, we’ll walk through the seven stages of gladiolus plant growth—what to expect, what to do, and how to help your plants thrive every step of the way.
Table of Contents
1. Begin with Rooting
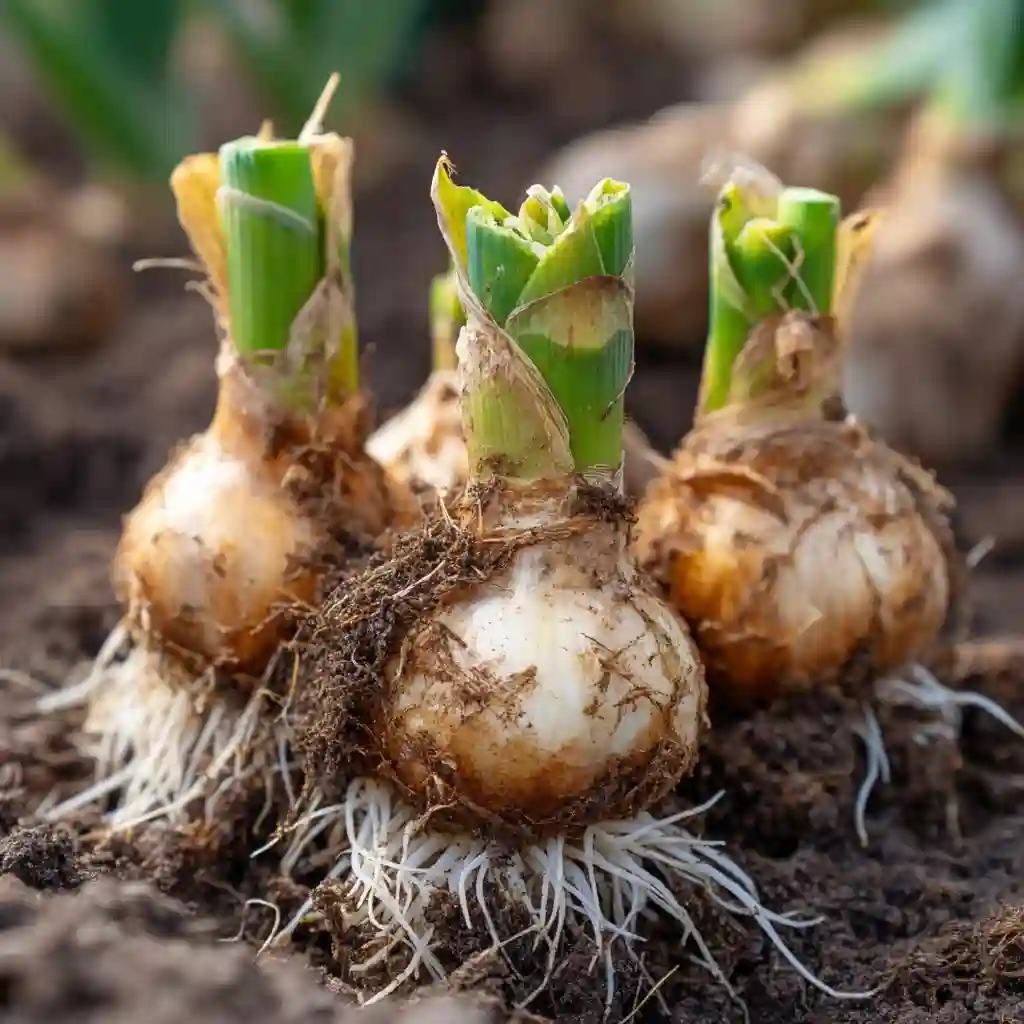
The first of the gladiolus growing stages begins underground, with rooting. Gladiolus plants grow from corms, which are compact, bulb-like storage organs filled with the energy needed to kickstart growth. Before planting, inspect each corm for firmness and signs of mold or softness—only healthy ones should make it into the soil.
Once placed in slightly moist, well-aerated soil, the corms begin sending out fine white roots. This rooting process anchors the plant and lays the groundwork for nutrient uptake. Without strong roots, future stages—especially flowering—can be delayed or diminished. To encourage healthy rooting, keep the soil lightly damp and ensure it’s loose enough for root expansion.
2. Planting the Corms
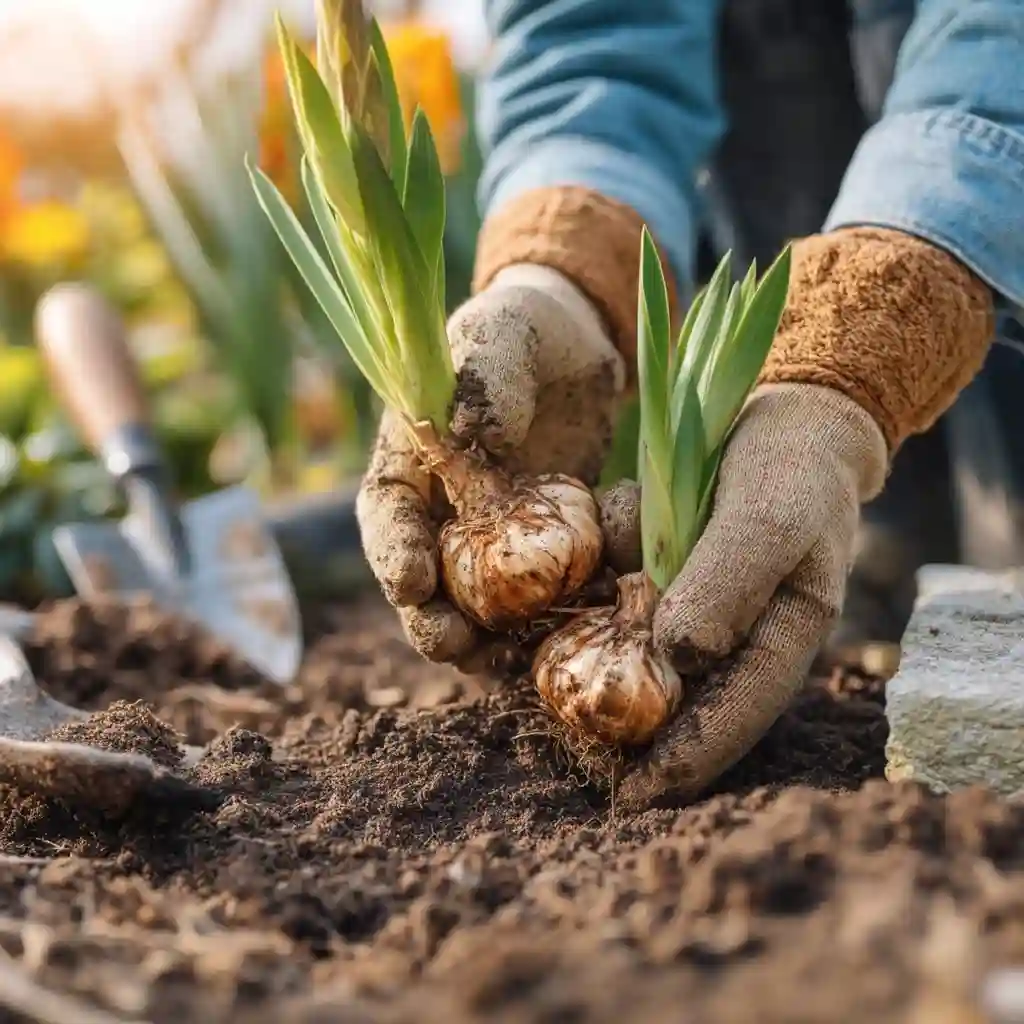
Planting is the most hands-on part of the gladiolus growing stages, and timing matters. Wait until all danger of frost has passed and your soil has warmed to at least 55°F (13°C). Choose a sunny, well-drained spot—gladiolus won’t tolerate soggy roots.
Dig holes about 2 to 4 inches deep, spacing corms 6 inches apart with the pointed end facing up. For a continuous display, stagger plantings every 10 to 14 days during spring. This method extends the blooming season well into summer.
Cover lightly with soil and water thoroughly to help settle the roots. Avoid overwatering at this point—moist, not muddy, is key. A light mulch can help retain moisture and suppress early weeds.
3. Germination
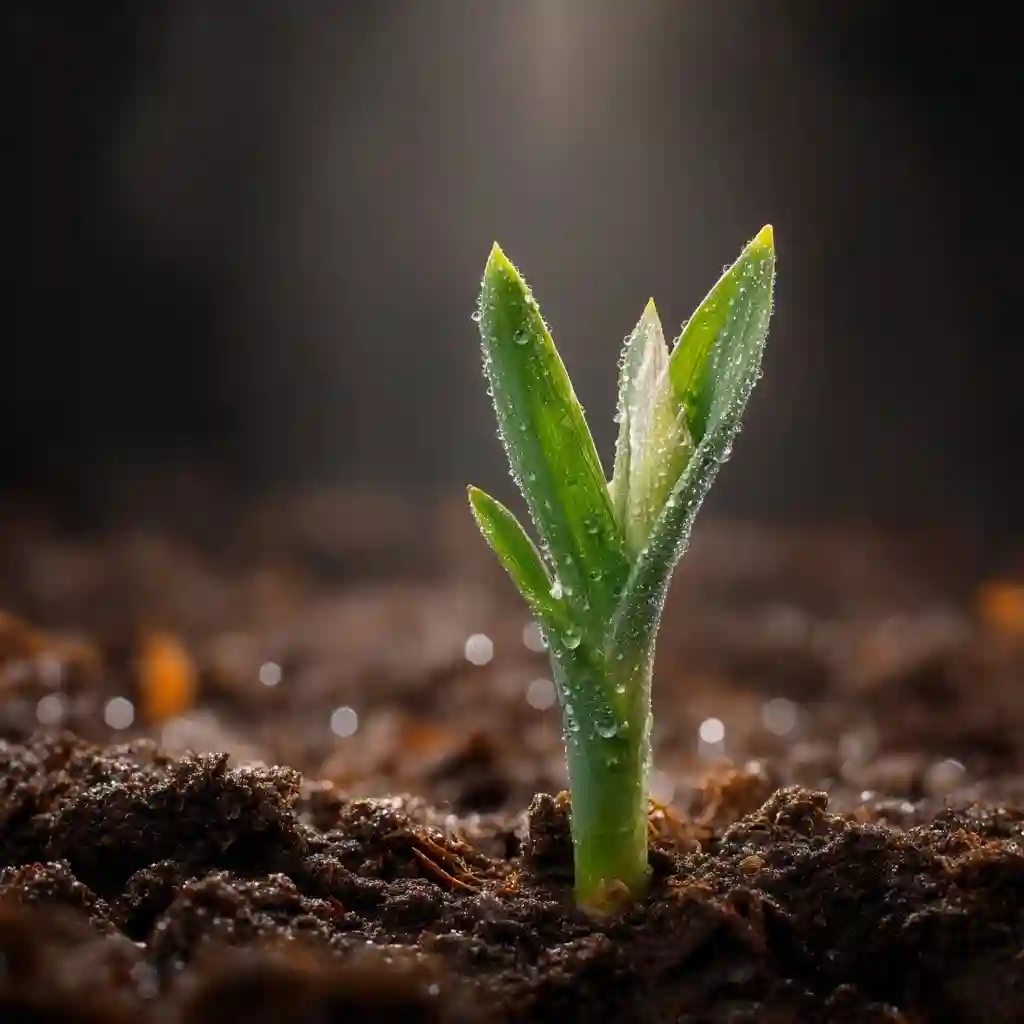
Once planted, the next step in the gladiolus growing stages is germination. This is when the corm wakes up and sends its first green shoots above the soil. Under ideal conditions—daytime temperatures around 65–75°F and nighttime lows above 55°F—germination typically takes 10 to 21 days.
During this time, it’s crucial to maintain consistent soil moisture without allowing the ground to become soggy. Overwatering can cause corm rot, while letting the soil dry out can slow or halt growth.
You may first notice a thin spike of green emerging—this is the gladiolus leaf. It’s a strong sign that the plant has successfully rooted and is moving into active growth. Keep the area free of weeds, which compete for nutrients and light.
4. Vegetative Growth
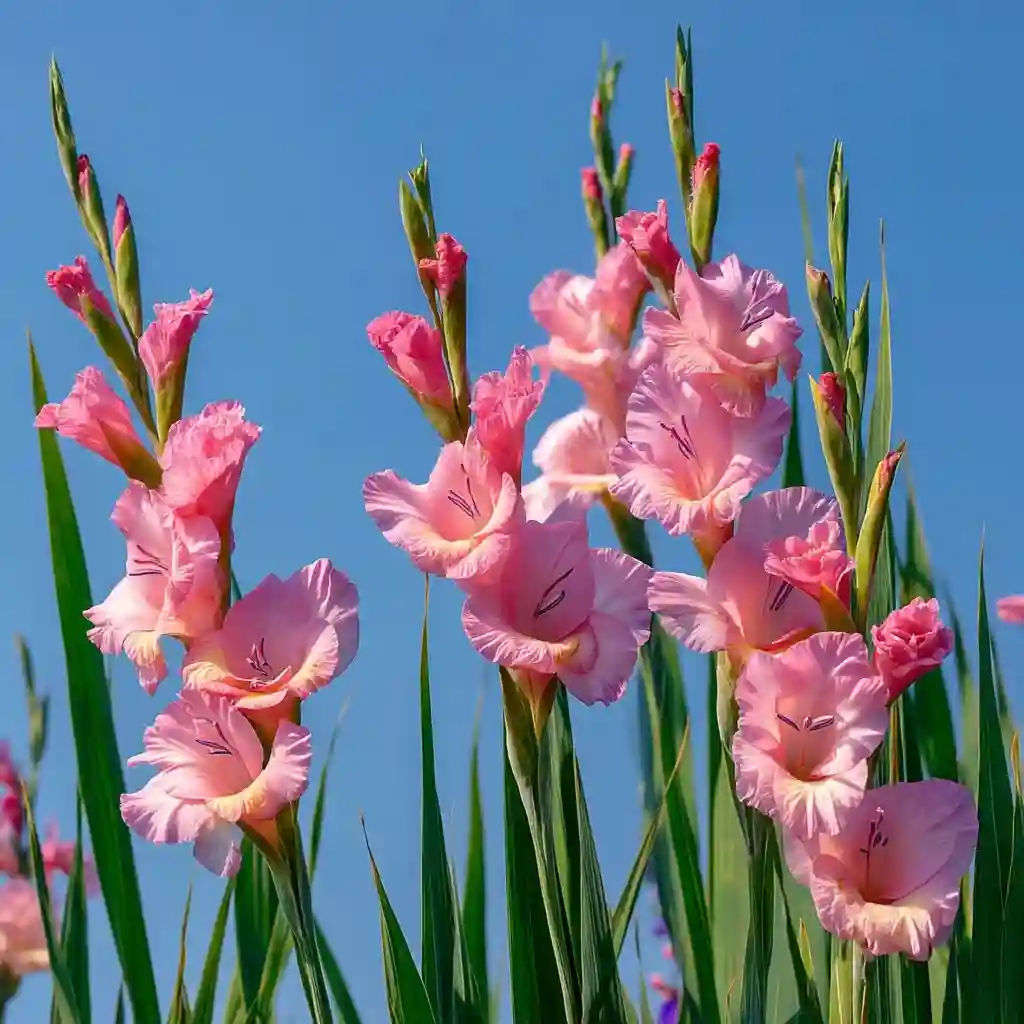
The vegetative stage is one of the most important gladiolus growing stages, as this is when the plant builds the energy reserves needed for flowering. During this phase, gladiolus plants produce long, sword-like leaves that absorb sunlight and support rapid growth.
To encourage lush, strong foliage, provide full sun—at least 6 to 8 hours per day. Gladiolus thrives in warm conditions, so ensure daytime temperatures remain above 70°F. Water deeply once or twice a week, keeping the soil consistently moist but not waterlogged.
Apply a balanced, low-nitrogen fertilizer once the shoots are 6 inches tall. This helps support root strength and foliage without promoting leggy growth. Weed regularly to prevent competition and ensure air circulation between plants.
Healthy vegetative growth directly affects bloom quality, so this is a good time to stake taller varieties to prevent wind damage later.
5. Blooming
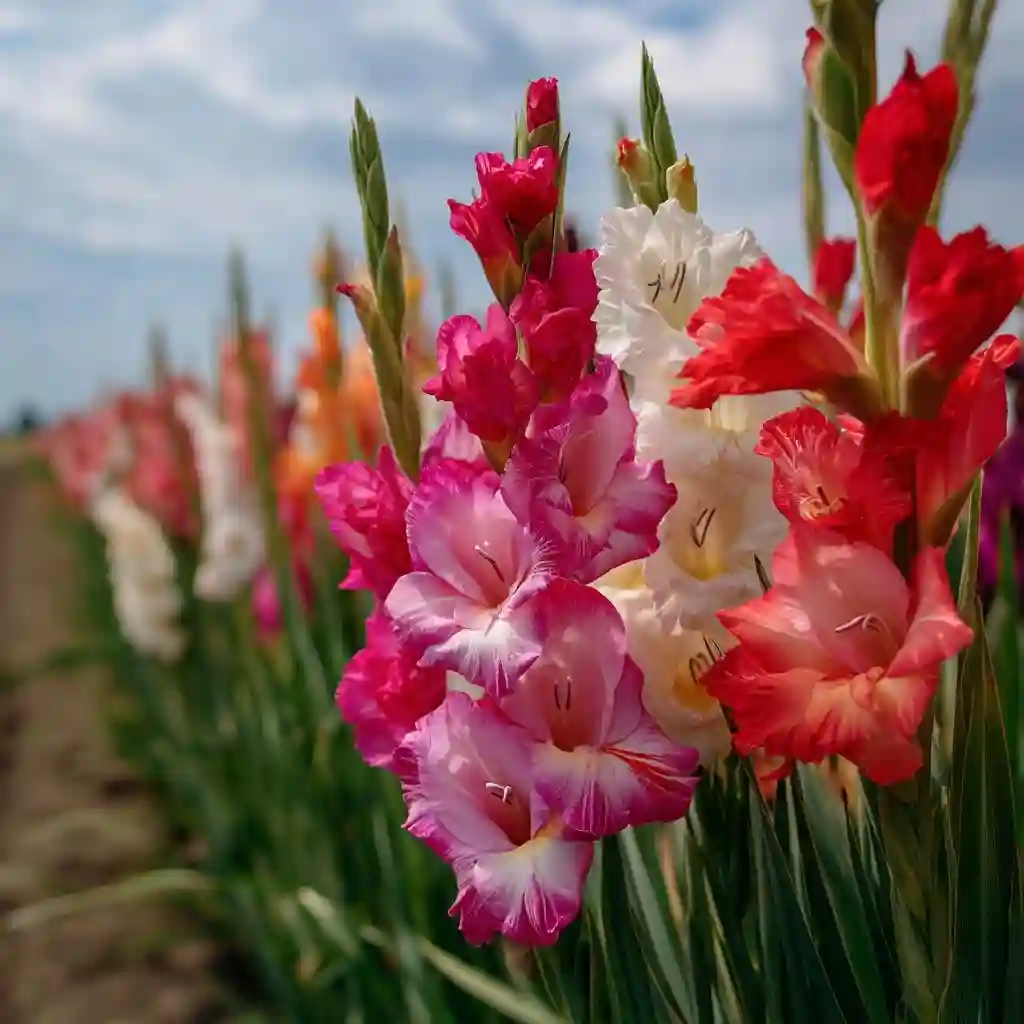
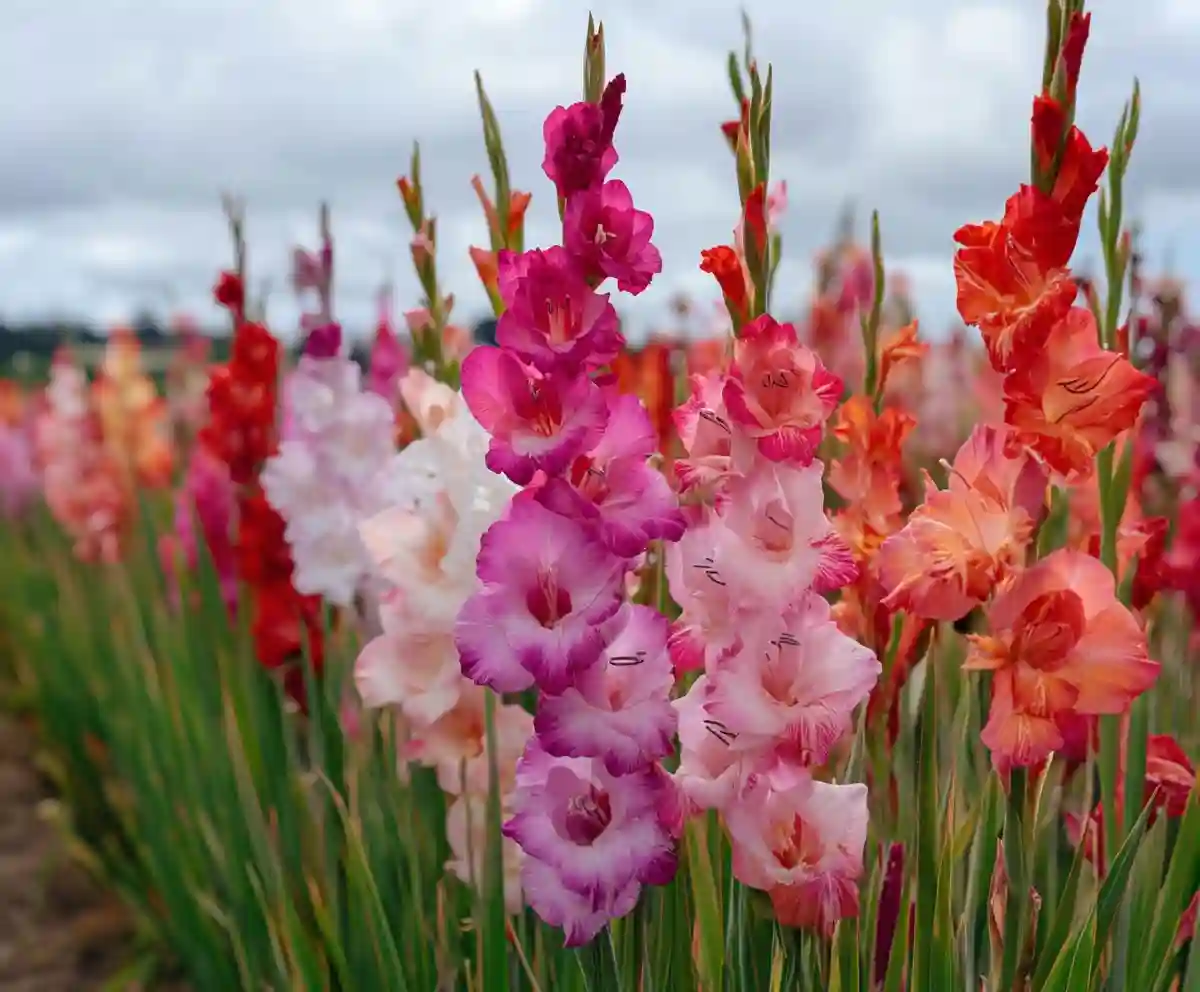
The most rewarding of all the gladiolus growing stages is blooming—when tall spikes burst open with brilliant, trumpet-shaped flowers. Depending on your planting schedule, blooms typically appear about 70 to 90 days after planting.
Gladiolus flowers open from the bottom of the stalk upward, giving you several days of colorful display. To support tall flower spikes, especially in windy areas, use garden stakes or rings to prevent bending or breakage.
During blooming, continue watering consistently and avoid overhead irrigation to reduce the risk of fungal issues. You can also apply a phosphorus-rich fertilizer to encourage larger, longer-lasting blooms.
Cutting gladiolus stems for arrangements? Snip them in the early morning when the bottom flowers are just beginning to open, and leave at least four leaves on the plant so it can still feed the corm for next year.
6. Storing Corms for the Next Year
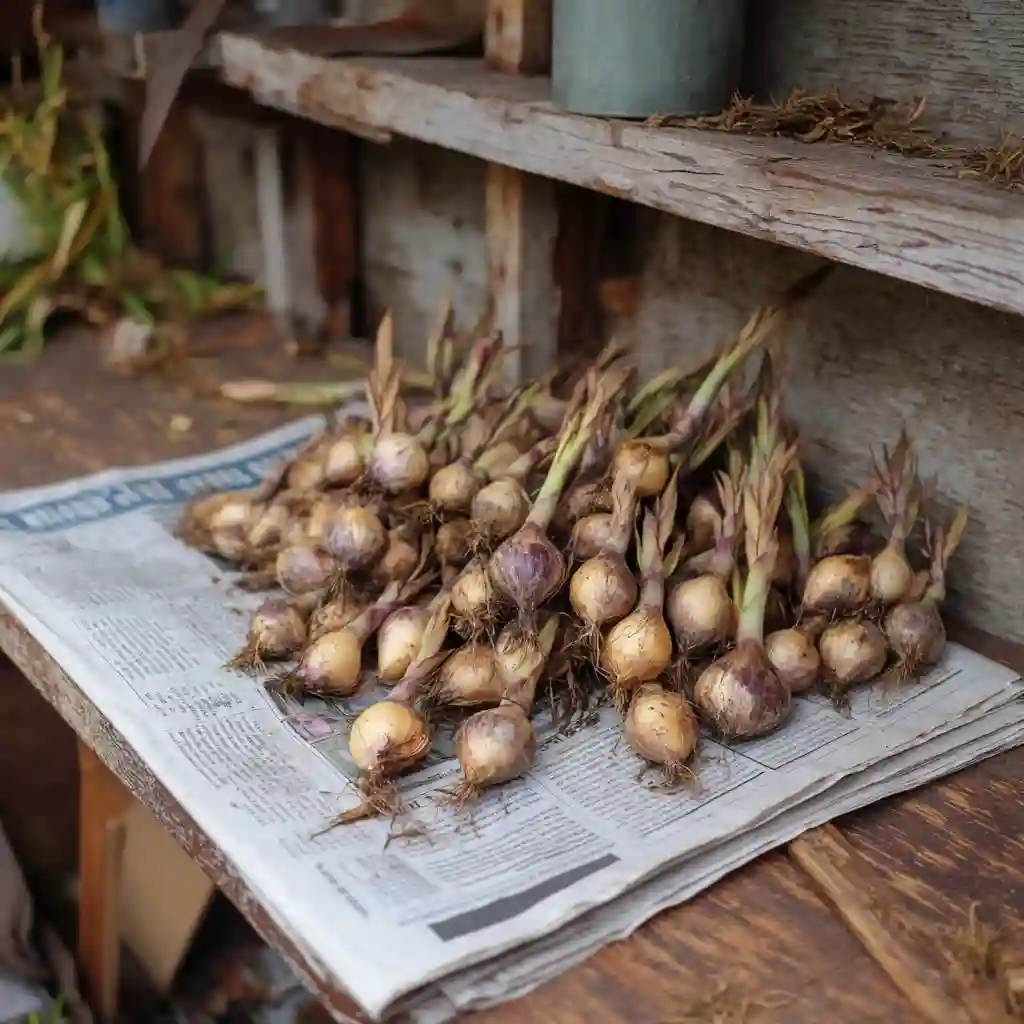
As the growing season winds down, storing corms becomes a crucial step in the gladiolus growing stages, especially in regions with cold winters. Once flowering ends and the leaves begin to yellow and die back naturally—usually about six weeks after blooming—it’s time to lift the corms.
Use a garden fork to gently loosen the soil and remove the entire plant. Shake off excess dirt and snip the foliage a couple inches above the corm. You’ll likely notice small “cormlets” (baby corms) forming at the base—these can be saved and planted next season, though they may take a couple of years to flower.
Allow the corms to cure in a dry, shady place with good airflow for 7 to 10 days. Once dry, clean them gently and store in paper bags or mesh containers in a cool, dark place around 40–50°F.
Proper storage protects against rot and ensures healthy growth when spring returns.
7. Deadheading
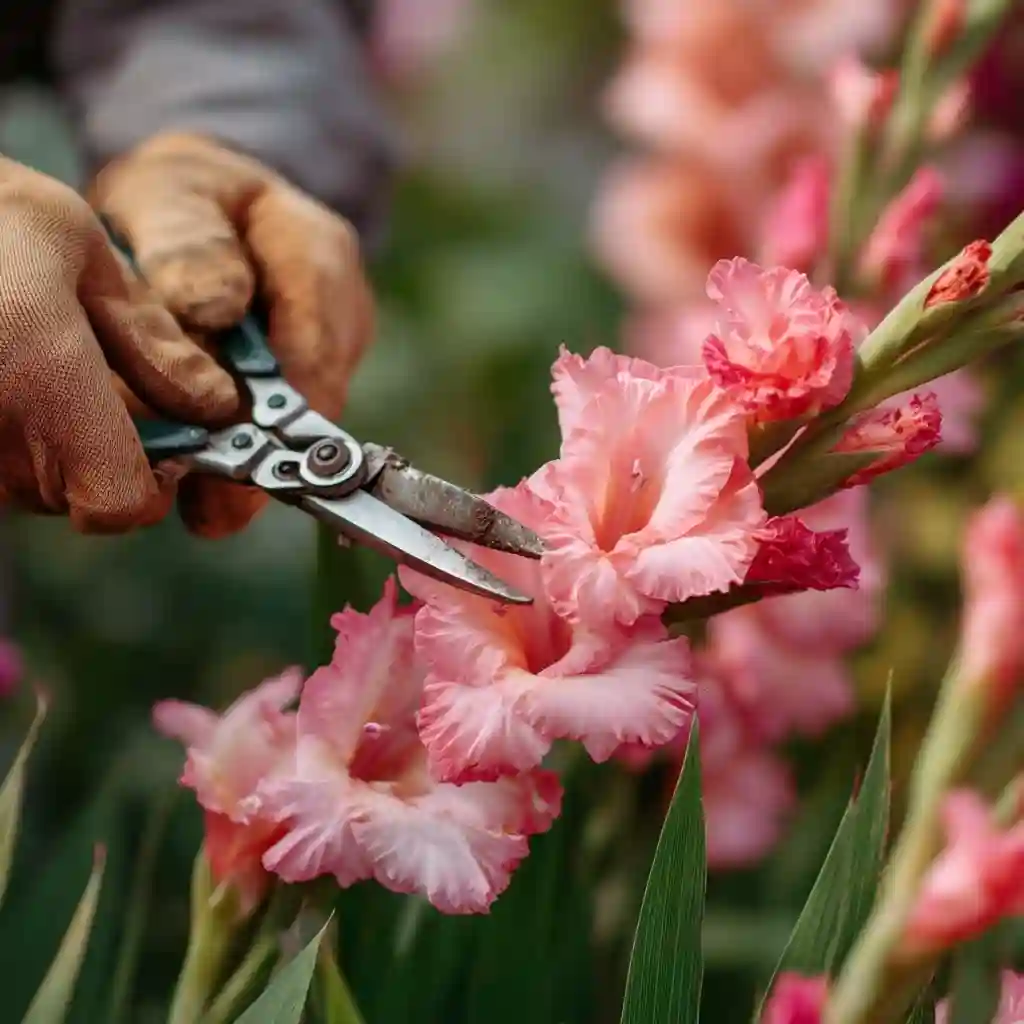
Deadheading is the final active task in the gladiolus growing stages—and it’s one that keeps your garden looking its best. As each flower fades on the spike, removing spent blooms helps redirect the plant’s energy from seed production back into strengthening the corm.
Use clean, sharp garden shears to snip off flowers just below the spent bloom, but above any remaining buds. If the entire spike is finished flowering, cut it back to the base, leaving the foliage intact. These leaves are still busy photosynthesizing and feeding the corm beneath the soil.
Regular deadheading encourages a tidier garden and can extend the blooming window slightly. It also helps prevent unwanted cross-pollination if you’re growing multiple gladiolus varieties.
This simple habit wraps up the season by promoting long-term plant health and better blooms in future years.
Conclusion
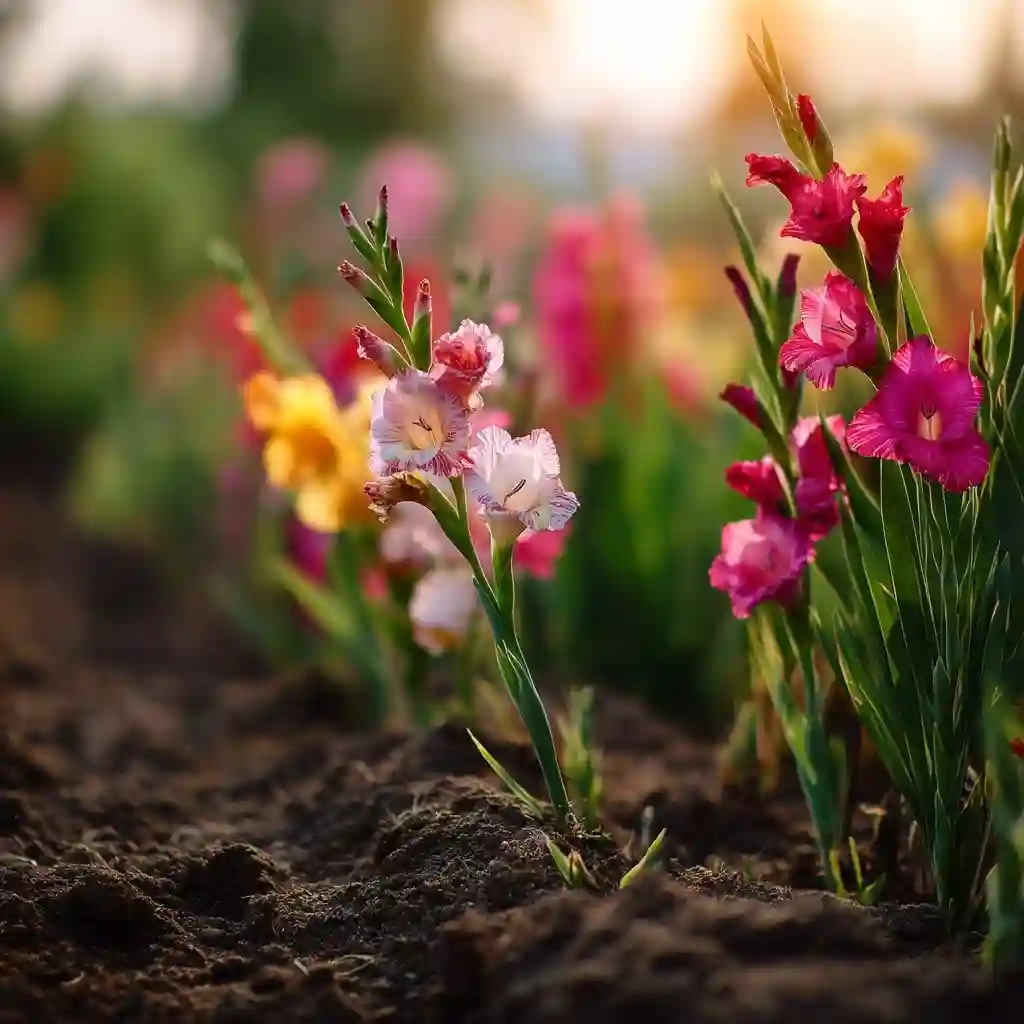
Understanding the gladiolus growing stages helps you not only enjoy their dazzling display but also grow stronger, more vibrant plants year after year. From rooting and planting to blooming and storing, each phase plays a unique role in the life cycle of this summer favorite. With the right care at every stage—sunlight, spacing, watering, and seasonal cleanup—you’ll set your garden up for long-lasting beauty and success.
Whether you’re planting for cut flowers or landscape flair, mastering these stages ensures your gladiolus grow tall, bloom brightly, and return stronger each season.
FAQs
How long does it take gladiolus to grow?
From planting to bloom, gladiolus typically take 70 to 90 days to complete their growing cycle. The exact timing can vary based on soil temperature, variety, and weather conditions.
When should I plant gladiolus corms?
Plant corms in spring, after the last frost, when the soil temperature reaches at least 55°F (13°C). For a longer blooming season, stagger your plantings every two weeks through early summer.
Can I leave gladiolus corms in the ground year-round?
Only in warmer zones (USDA 8–11). In colder climates, lift and store corms in fall to protect them from freezing temperatures.
Why are my gladiolus not blooming?
Common causes include insufficient sunlight, overcrowded corms, poor drainage, or inadequate fertilization during vegetative growth. Healthy foliage doesn’t always guarantee flowering—pay attention to spacing, feeding, and planting depth.
Can I regrow gladiolus from cormlets?
Yes, but cormlets (the small offshoots) usually need two to three seasons to mature enough to flower. Plant them just like full-sized corms, but space them closer together.
🌿 Love gardening inspiration? Follow me on Pinterest for bold plant ideas, tips, and seasonal color!
More Posts
