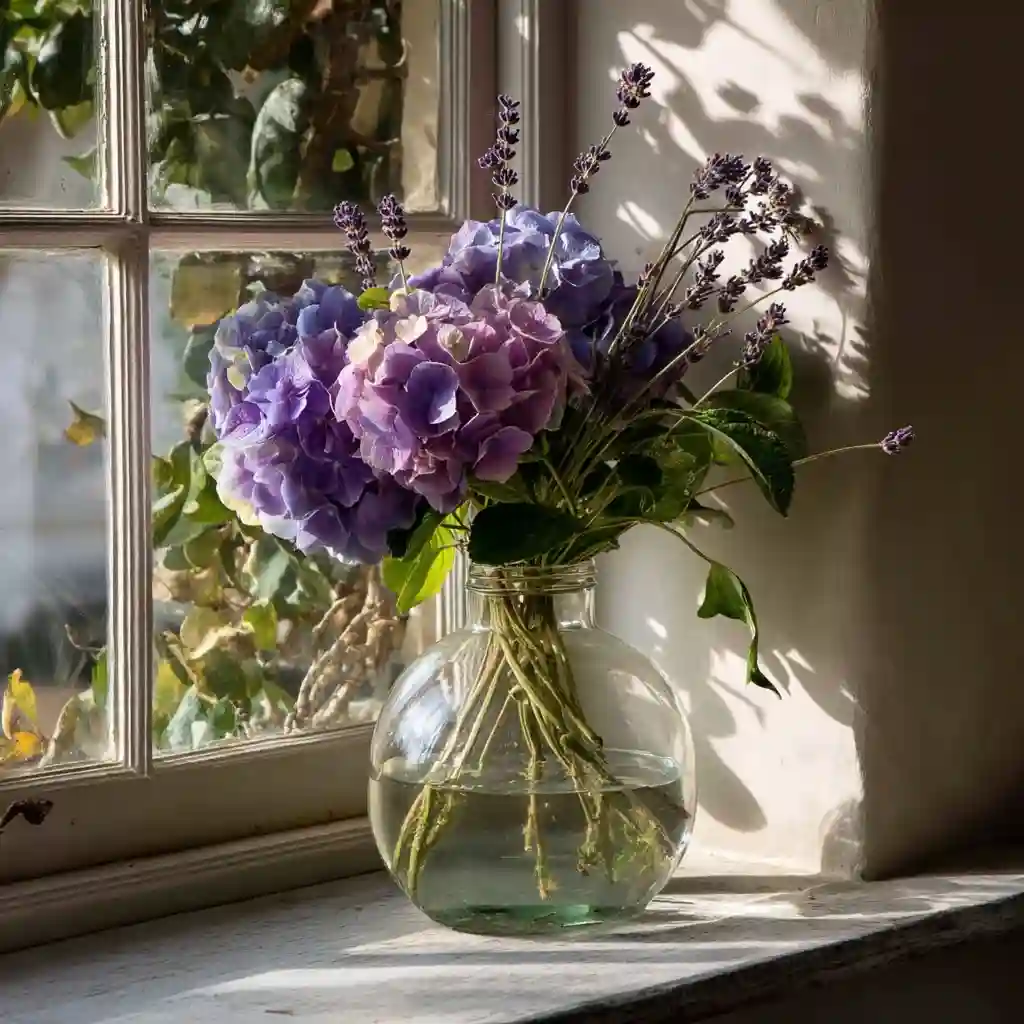
Drying flowers is a timeless way to hold onto the beauty of your garden long after petals fade from their stems. Whether you’re saving a wedding bouquet, preserving a special gift, or just love the look of dried botanicals, knowing how to dry flowers properly can help retain their color, shape, and charm for months—or even years.
With just a few tools and a little patience, you can turn fresh blooms into long-lasting arrangements, handmade cards, or natural home decor. From air drying in a simple vase to using a microwave or even paraffin wax, the best method depends on your flowers and your goals.
Below, you’ll find eight tried-and-true ways to dry flowers at home, each suited to different bloom types and creative uses.
Table of Contents
1. Air Drying Flowers in a Vase of Water
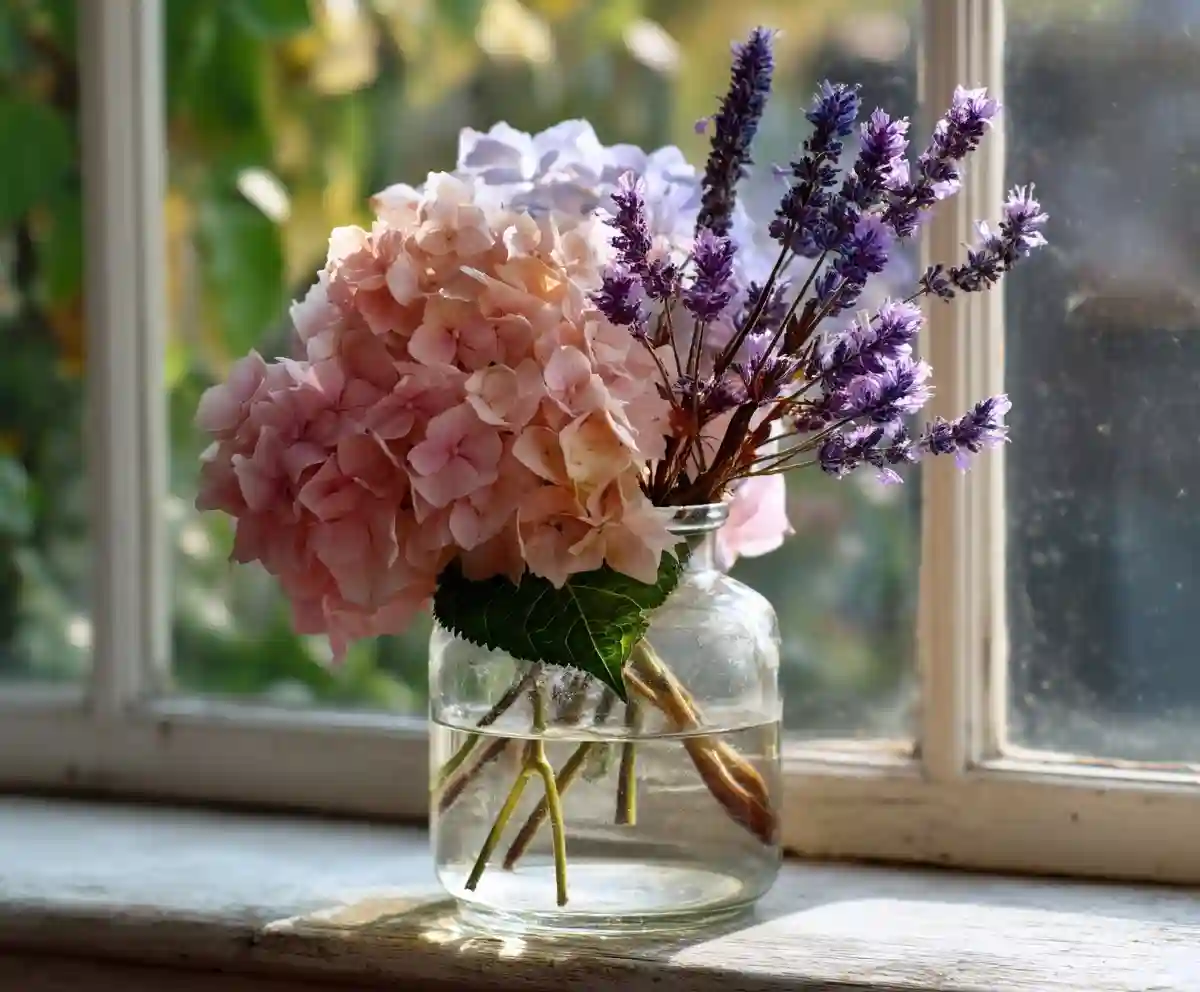
Some flowers dry more gracefully in water than when hung upside down. This gentle approach allows certain blooms to hold their shape while gradually dehydrating.
What You’ll Need:
- A vase
- Water
- Liquid glycerin (optional but helps with softness)
Steps:
- Fill the vase with about 2 inches of water. For best results, mix it 50/50 with liquid glycerin.
- Cut your flower stems at an angle and place them in the vase.
- Let the water naturally evaporate over several days.
- Once the petals start to wilt slightly, remove the stems, trim the bottoms, and lay them flat on a paper surface to finish drying.
This method works especially well for:
- Hydrangeas
- Lavender
- Yarrow
- Carnations
- Globe artichoke
- Chicory
It’s an ideal technique for anyone who enjoys a slow, hands-off drying process with minimal tools.
2. Flowers Hung Using the “Head Down” Method
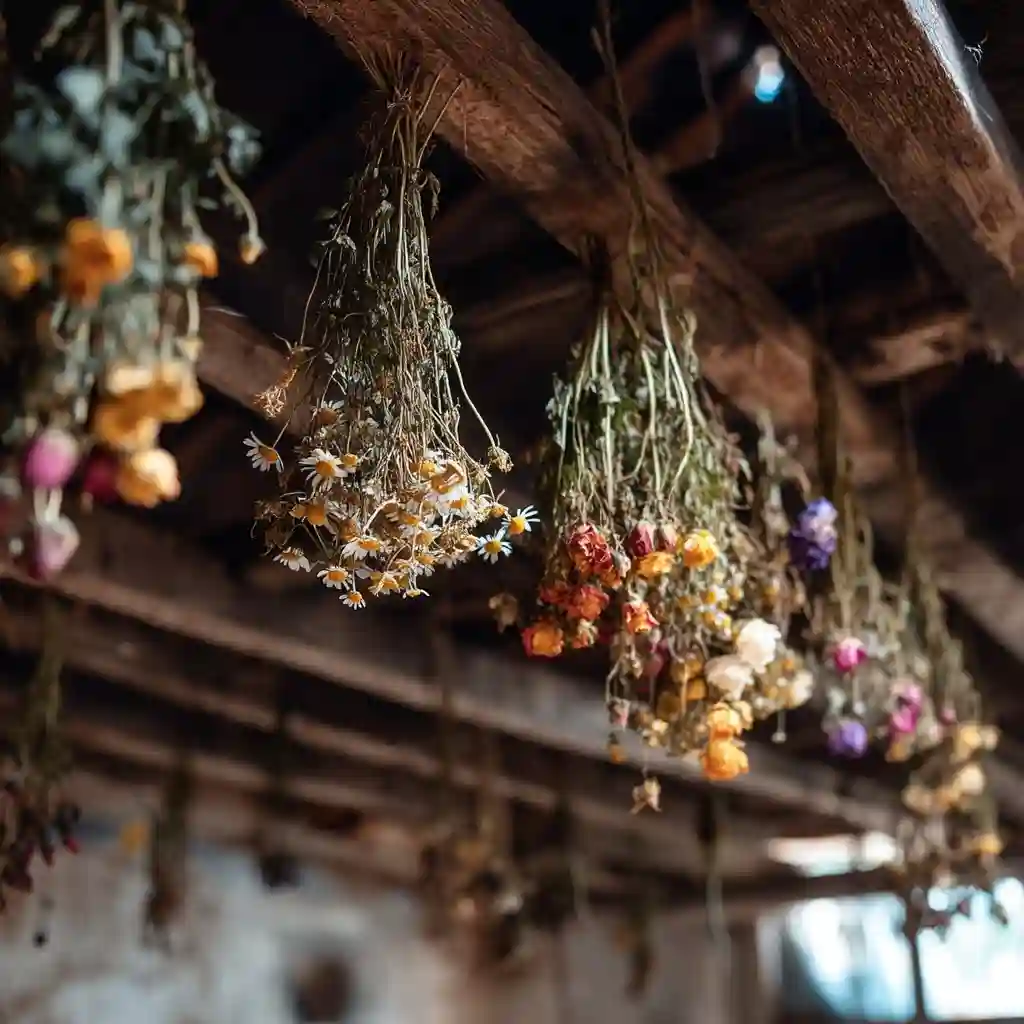
One of the oldest and most reliable methods for how to dry flowers is to simply hang them upside down. This air-drying technique works best in a dark, dry, and well-ventilated space like an attic, closet, or garage.
How to Hang Flowers for Drying:
Harvesting Tips:
- Cut flowers just as they begin to bloom.
- Strip most of the leaves to prevent mold.
Bundling:
- Group 5–10 stems together using string or elastic bands.
- Tie the stems loosely to allow for airflow between them.
Hanging:
- Suspend bouquets upside down from a string, wire, or hanger.
- Leave at least 6 inches between each bunch to avoid crowding.
- Keep them away from direct sunlight to help preserve color.
Drying Time:
- Most flowers dry in 2–4 weeks.
- Large or thick blooms like roses and peonies may take longer.
- Flowers are ready when the petals feel papery and crisp.
Best Flowers for This Method:
- Roses (unpinned)
- Peonies
- Lilacs
- Yarrow
- Amaranth
- Bee balm
- Chamomile
Bonus Tips:
- Tie different flower types separately, as drying times vary.
- Even grasses and grains can be hung—harvest just before flowering or when the heads turn straw-colored.
This method is simple and ideal for those who want a rustic, natural look. It’s one of the best techniques for preserving full, dimensional blooms without needing special tools.
3. Pressing Flowers in a Book
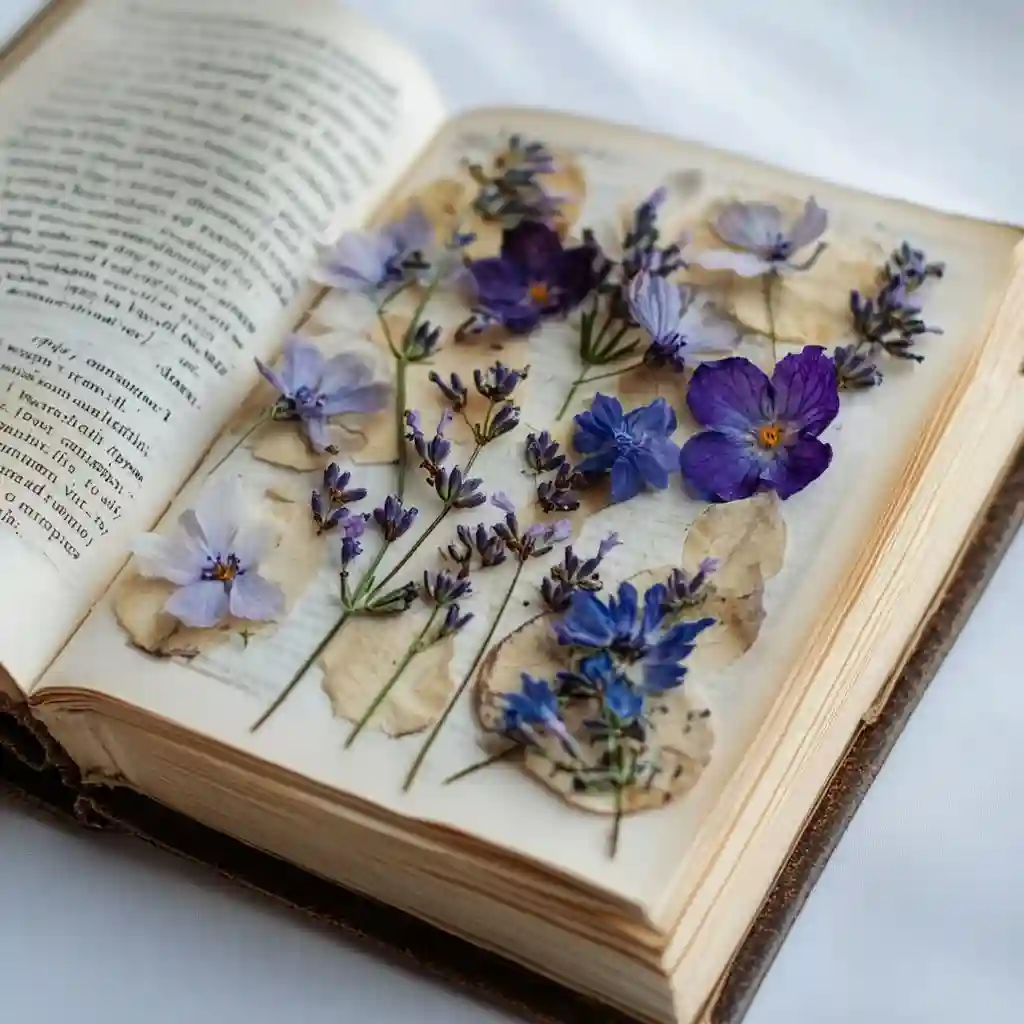
If you’re looking for a flat, delicate result—perfect for bookmarks, journals, or botanical art—pressing flowers in a book is one of the simplest ways to learn how to dry flowers at home.
Materials Needed:
- A thick, heavy book
- Absorbent paper (printer paper or paper towels work well)
- A weight (optional but helpful)
- Scissors or pruners
How to Press Flowers Step-by-Step:
- Prepare the Flowers
Choose freshly picked blooms that are not too thick. Trim away excess leaves and moisture-heavy stems. - Layer with Paper
Place the flower between two sheets of paper to prevent staining the book and to absorb moisture. - Close the Book
Insert the papered flower in the center of the book. Add additional pages between different flowers to allow for airflow. - Add Weight
Stack more books or a heavy object on top to increase pressure. - Wait
Allow the flowers to press and dry for 3 to 6 weeks. Thinner flowers like pansies will dry faster; thicker ones may take longer.
Ideal Flowers for Book Pressing:
- Pansies
- Ferns
- Anemones
- Cosmos
- Primroses
- Violets
- Lilacs
- Poppies
Helpful Tips:
- Use an old book with absorbent pages for better results.
- Label your pages with flower names and dates if you’re preserving a collection.
- Avoid mixing fresh and nearly dry flowers to reduce the risk of mold.
Pressed flowers are perfect for craft lovers, scrapbookers, and anyone who appreciates the elegance of flat, preserved blooms.
4. Drying Flowers Under a Press
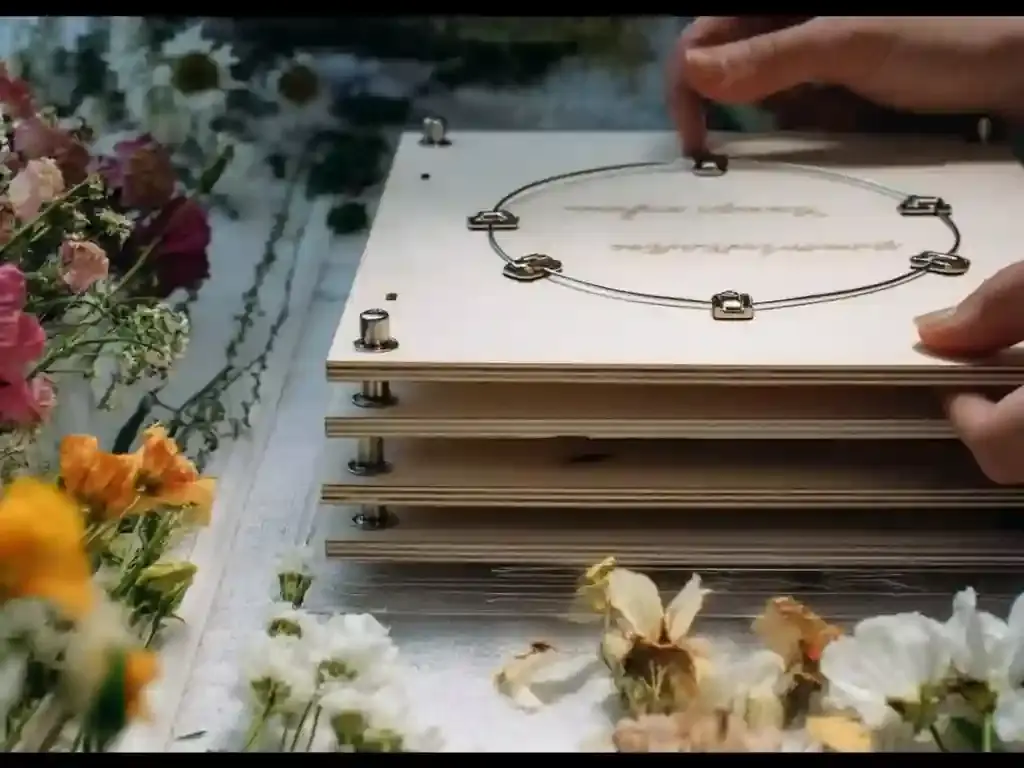
If you want more control over shape and flatness than book pressing provides, using a flower press—or a DIY version—offers a structured and reliable way to master how to dry flowers for art, resin crafts, and framing.
What You’ll Need:
- Cardboard or plywood
- Absorbent paper (newspaper, office paper, or blotting paper)
- Heavy books or bricks
- Optional: screws or clamps for a homemade press
Step-by-Step Instructions:
- Layer Your Materials
Create a sandwich: cardboard → absorbent paper → flower → absorbent paper → cardboard. - Apply Pressure
Place a heavy weight on top (or clamp down if using a wooden press). Ensure even pressure across the surface. - Swap Paper Regularly
Every 2–3 days, replace the damp paper with dry sheets. This speeds up the drying and prevents mildew. - Final Touch
Once mostly dry, lay flowers in a tray of fine sand or semolina for another day or two. This helps remove any last moisture and prevents curling.
Best Flowers for Press Drying:
- Pansies
- Mallows
- Primroses
- Clematis
- Ferns
- Bellflowers
- Aromatic herbs
Why Use a Press Instead of a Book?
- Accommodates multiple layers of flowers
- Dries faster with proper airflow
- Reduces uneven flattening
This technique is ideal for delicate wildflowers, herbs, and florals used in botanical displays or handmade paper crafts.
5. Drying Flowers in a Microwave Oven
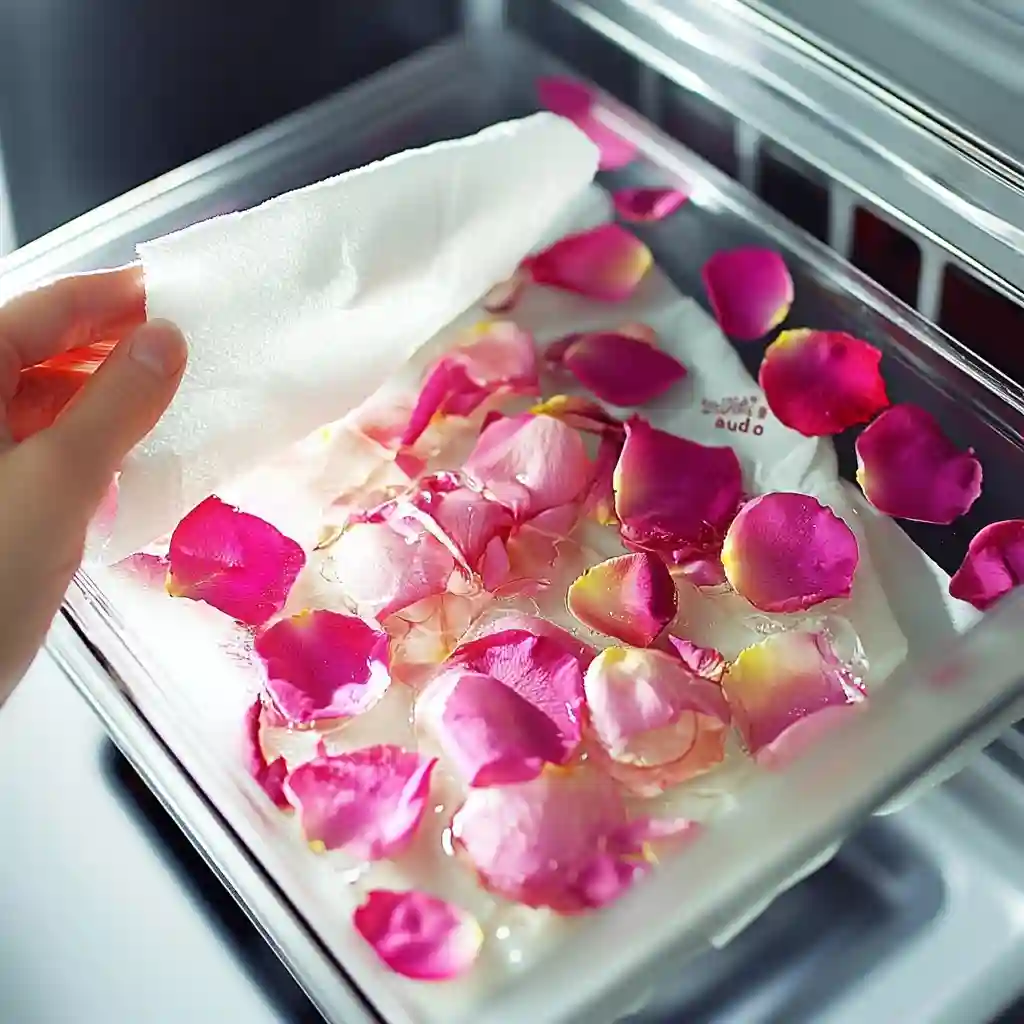
When you need fast results, the microwave method offers a quick and effective shortcut for how to dry flowers—especially if you’re working on a last-minute project or want to preserve a bloom before it wilts.
What You’ll Need:
- A microwave-safe container
- Silica gel (optional but highly effective)
- A cup of water (to prevent overheating)
- Toothpick (for checking dryness)
How to Do It:
- Choose the Right Flowers
Select half-open blooms with a 1–2 inch stem. Smooth, non-fuzzy petals work best. - Prepare for Microwaving
Place the flower upright in a container. Add a cup of water next to it inside the microwave to prevent scorching. For best results, embed the flower in silica gel or flour. - Microwave in Intervals
Set to medium power and heat for 2 minutes. Check dryness with a toothpick. Repeat in 1-minute increments as needed. - Cool and Cure
After microwaving, leave the flower in the container for 12–24 hours before removing it. This prevents cracking and helps finish the drying process.
Best Flowers for Microwave Drying:
- Pansies
- Roses
- Calendula
- Chamomile
- Zinnias
- Baby’s Breath
- Dahlia
- Lavender
Tips:
- Use the defrost setting for fragile flowers like daisies.
- Avoid thick-petaled flowers—they may burn or dry unevenly.
- Overdrying makes petals brittle, so watch closely during the process.
This method is perfect when you want quick turnaround and vibrant color—ideal for resin crafts, cards, or floral art pieces.
6. Drying & Preserving with Dry Salt or Silica Gel
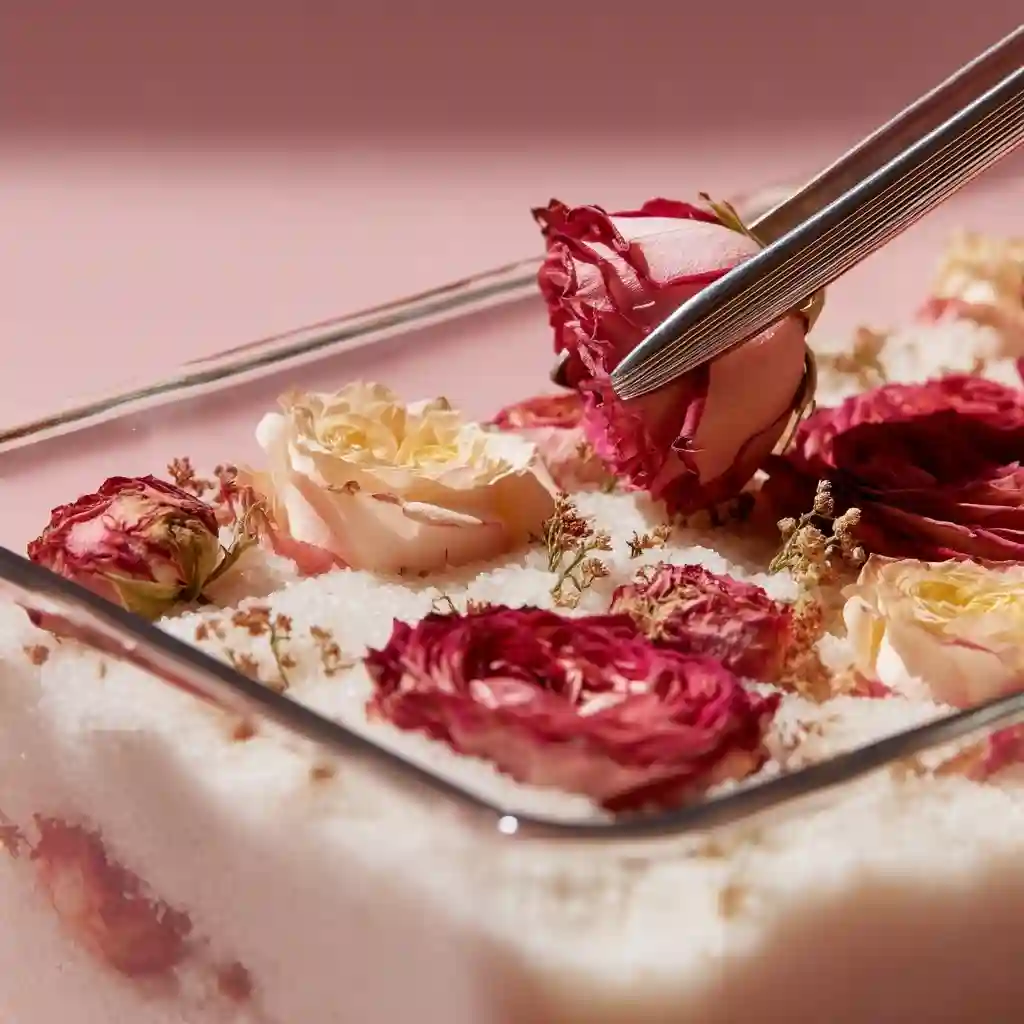
For anyone serious about preserving both the color and shape of flowers, using silica gel or dry salt is one of the most effective techniques in how to dry flowers. This method works especially well for fuller, three-dimensional blooms.
What You’ll Need:
- Silica gel (or fine dry salt or washing powder)
- Airtight container (jar, plastic tub, or box)
- Small tweezers or soft brush
- Optional: florist wire
How to Dry Flowers Using Desiccants:
- Prepare the Flowers
Choose dry, healthy blooms. Trim stems to 1–2 inches. Insert a florist wire into the base to support structure during drying if needed. - Create a Drying Bed
Pour 1–2 inches of silica gel into the bottom of your container. - Position Flowers
Place flowers face-down or upright depending on bloom shape. Gently pour more gel or salt around and into petals to cover them completely without flattening. - Seal & Store
Close the container tightly. Keep it in a dry, warm space for 2–7 days depending on flower size and type. - Check & Remove
Use a toothpick to test dryness. If petals are stiff but not brittle, they’re ready. Carefully remove with tweezers and brush off excess gel or salt.
Recommended Flowers:
- Roses
- Zinnias
- Peonies
- Chrysanthemums
- Orchids
- Daisies
- Carnations
- Tulips
Tips for Success:
- Use ground silica cat litter if gel isn’t available.
- Reactivate used silica gel by baking it at 200°F (93°C) for 2–3 hours.
- Store finished flowers in a dry, sealed box to prevent moisture damage.
This technique delivers long-lasting results with excellent color retention—ideal for wedding bouquets, displays, and keepsakes.
7. Drying Flowers With an Iron
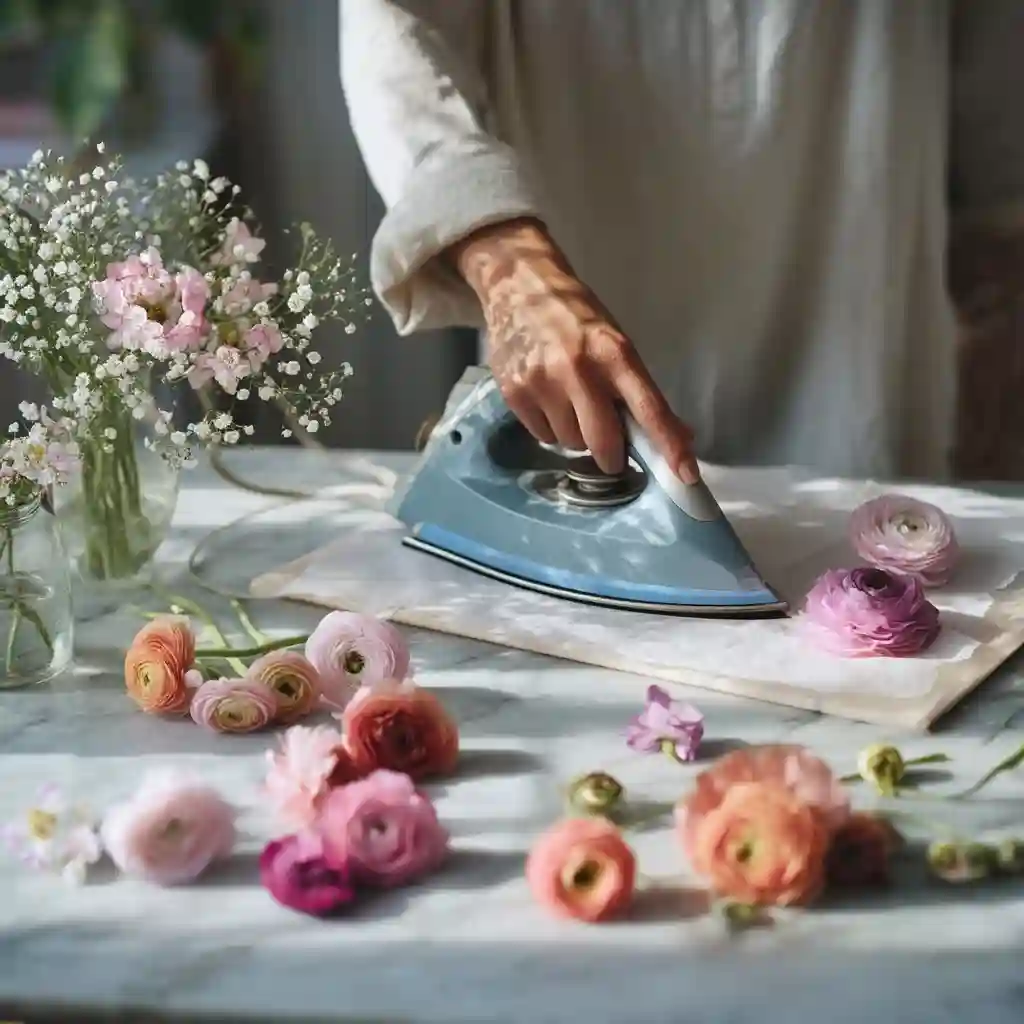
If you’re short on time and need a flat, fast-dried flower, using a household iron is a surprisingly effective technique. It’s not only quick but also great for leaves or small, thin blooms—and it’s a handy method for learning how to dry flowers with basic tools.
Supplies You’ll Need:
- Household iron (with steam turned off)
- Two sheets of absorbent paper (plain office or blotting paper)
- Towel or cloth (optional, to protect surfaces)
Step-by-Step Iron Drying:
- Prepare the Flowers
Select small or thin flowers and leaves. Place them between the two sheets of paper to protect the iron and avoid direct contact. - Set the Iron
Adjust to a low or medium heat setting with no steam. High heat can scorch petals. - Press Gently
Press the iron on top of the paper for about 10 seconds. Don’t slide the iron—just hold and lift. Repeat in sections until the moisture is removed. - Check and Replace Paper
After each press, check progress and swap out damp paper for fresh sheets. This step ensures even drying and prevents sticking. - Cool Down
Let the flower cool completely before handling. It should feel crisp and lay flat.
Best for:
- Iris leaves
- Crocosmia leaves
- Thin-petaled flowers like daisies, pansies, and cosmos
Important Tips:
- Always turn off steam. Moisture is the enemy here.
- Ironing too long can burn delicate flowers—short bursts work best.
- This method works better for crafting than floral arrangements, due to the flatness of the finished product.
Iron drying is perfect when you’re in a rush or working on a creative project like cards, bookmarks, or botanical art.
8. Waxing Cut Flowers with Paraffin
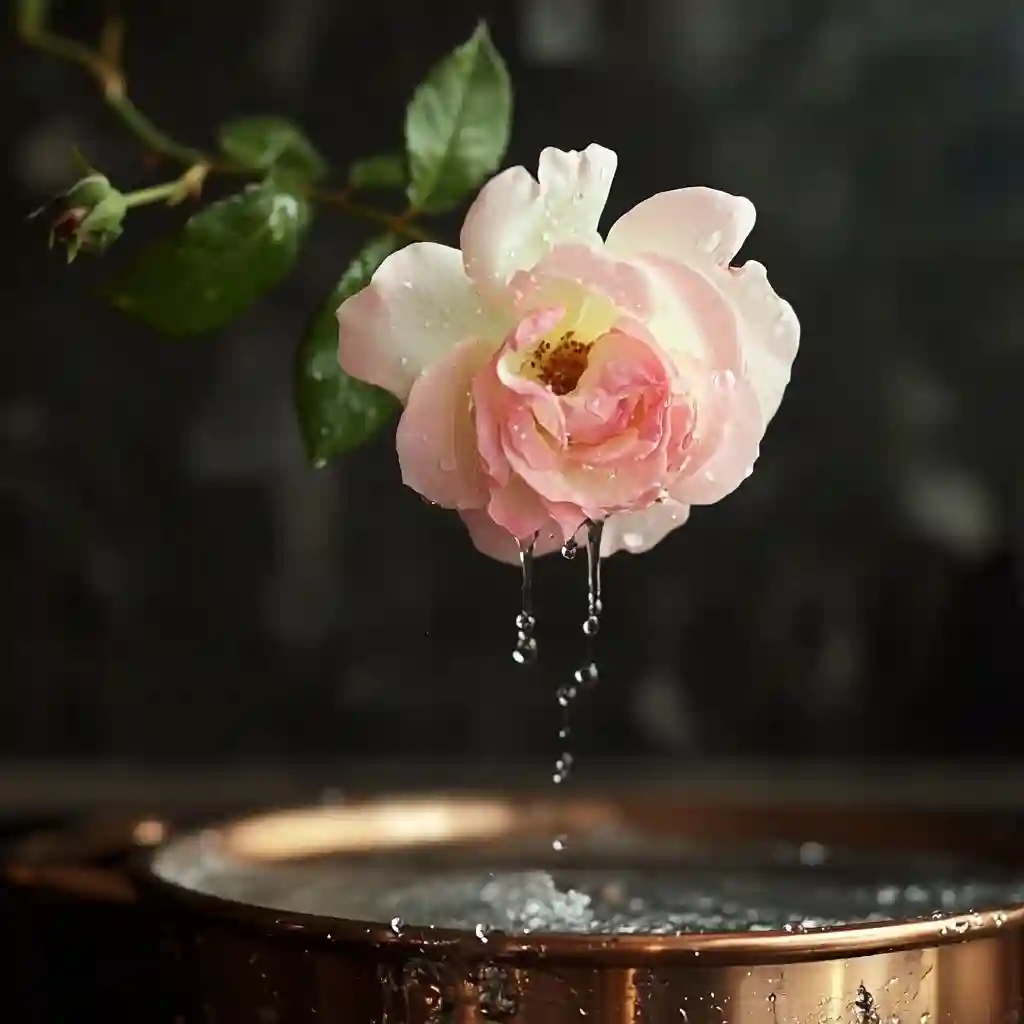
If you’re looking to preserve the texture and appearance of fresh flowers while extending their lifespan, waxing is a lesser-known but highly effective method for how to dry flowers. This technique is ideal for sentimental bouquets and floral crafts that require soft, pliable petals.
What You’ll Need:
- Paraffin wax (neutral or clear)
- Double boiler or heat-safe bowl
- Soft brush or tongs
- Ventilated workspace
- Old newspaper or drying rack
How to Wax Flowers:
- Melt the Wax
Gently melt paraffin in a double boiler over low heat. Do not overheat or allow it to smoke. - Prepare the Flowers
Choose freshly cut flowers that are clean and dry. Ideal blooms should be at peak freshness—not wilted or damp. - Apply the Wax
Use a soft brush to coat petals, starting from the tips and moving toward the base. For smaller flowers, you can dip the entire bloom briefly into the wax and let excess drip off. - Let Them Dry
Lay the waxed flowers on wax paper or a drying rack. Allow them to cool and harden fully before handling. - Display or Store
Once set, your flowers will feel slightly stiff but still retain their color and softness. Store them in a cool, dry place away from direct sun.
Best Flowers for Waxing:
- Roses
- Zinnias
- Peonies
- Daisies
- Tulips
- Chrysanthemums
- Lilies
Tips:
- Always work in a well-ventilated area when heating wax.
- Avoid colored wax, which may stain lighter petals.
- Paraffin preservation is perfect for wedding keepsakes or crafting projects.
Waxing gives your dried flowers a more natural appearance than many other drying methods. It’s especially great for preserving color and flexibility while maintaining the structure of larger blooms.
Conclusion
Knowing how to dry flowers opens up endless possibilities for creative decorating, memory-keeping, and handmade gifts. Whether you’re working with a bouquet of roses, a handful of wildflowers, or delicate herbs, there’s a method that fits your style and timeline.
From slow, natural air drying to fast techniques like ironing or microwaving, each method has its strengths. Choose the one that best preserves the color, shape, and feel of your blooms—and enjoy the beauty of your garden year-round.
FAQ
How long does it take to dry flowers?
It depends on the method. Air drying can take 2–4 weeks, while microwave or iron drying may take just minutes. Pressing typically takes several weeks.
What is the best flower drying method?
For color and shape, silica gel is the most effective. For speed, the microwave method is fastest. For simple decor, air drying works best.
Can I dry any flower?
Most flowers can be dried, but results vary. Thick or moisture-rich petals (like tulips) are harder to preserve, while flatter blooms (like pansies) dry easily.
How do I prevent dried flowers from fading?
Keep dried flowers away from sunlight, humidity, and heat. Store them in a dry, cool space for the longest life.
Can dried flowers be used in crafts?
Absolutely! Dried flowers are great for resin art, handmade cards, pressed art, wreaths, and more.
🌿 Love gardening inspiration? Follow me on Pinterest for bold plant ideas, tips, and seasonal color!
More Posts


