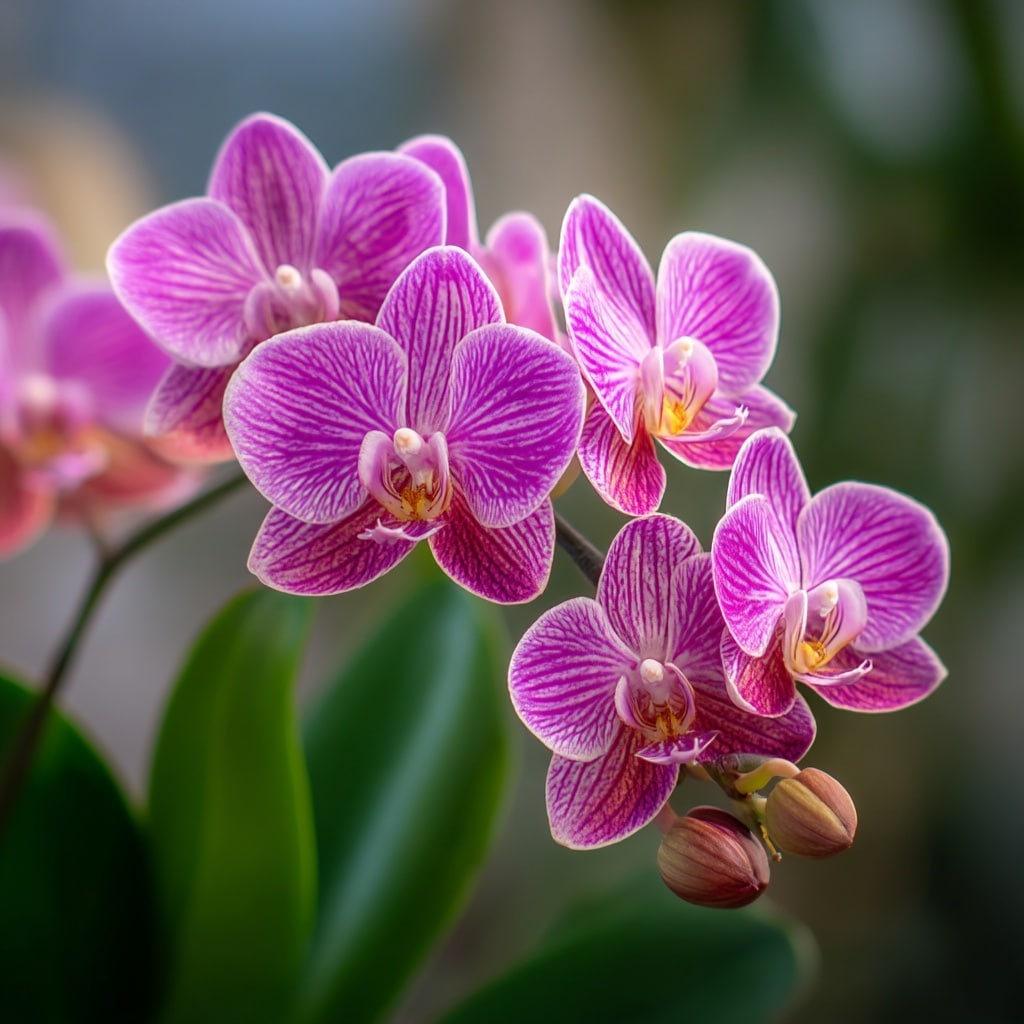
Orchid plants have a reputation for being fussy, but the truth is—they’re one of the easiest indoor plants to grow when you understand their needs. With their graceful blooms and elegant foliage, orchids bring a touch of tropical beauty to any home. Whether you’re a first-time plant parent or just hesitant because of their exotic look, you’ll be happy to know that orchids are surprisingly low-maintenance. This guide will walk you through five easy tips to help your orchid thrive indoors, from choosing the right variety to mastering watering and light.
Table of Contents
Table of Contents
1. Start with the Right Orchid Variety
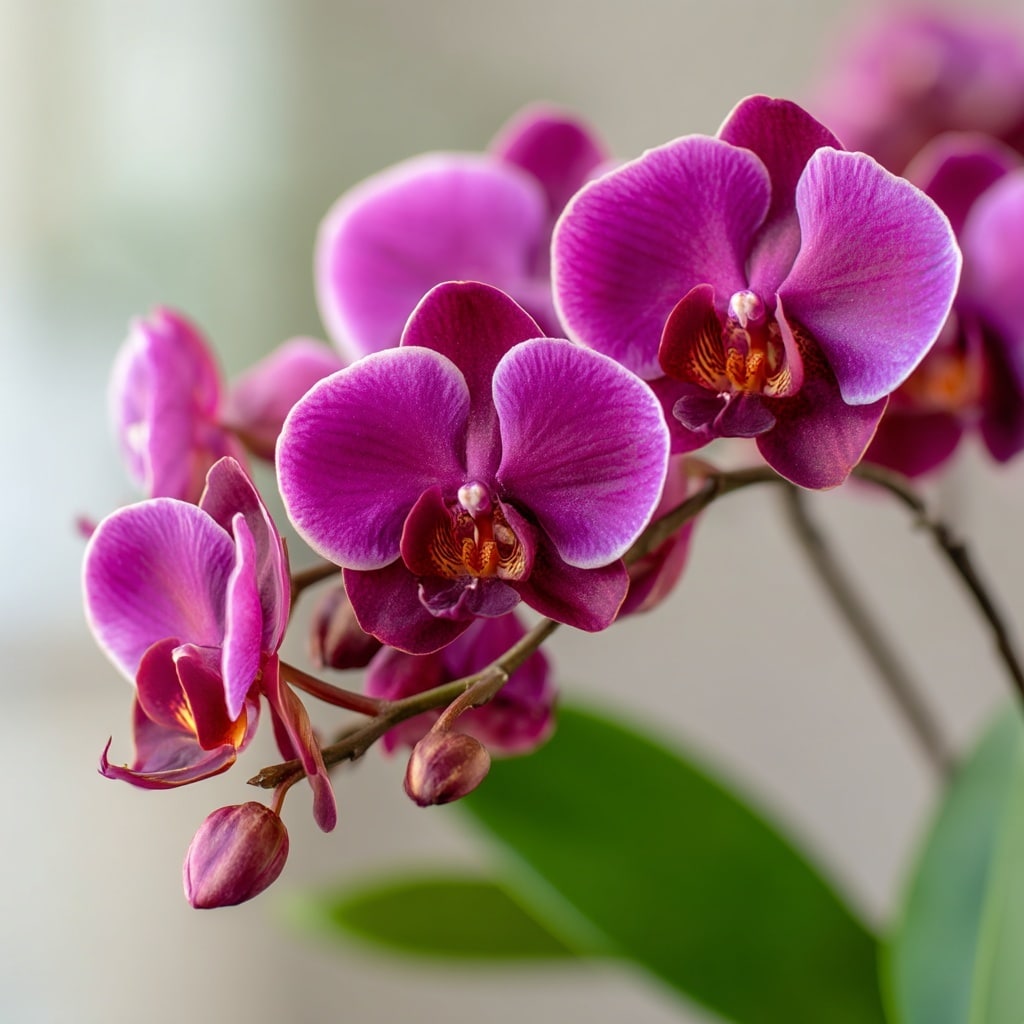
If you’re new to growing orchids, choosing the right variety makes all the difference. For beginners, the Phalaenopsis orchid—commonly known as the moth orchid—is the most forgiving and rewarding choice. These orchids are widely available, affordable, and bloom beautifully in a range of colors, from crisp white and pastel pinks to bold purples and yellows.
Moth orchids have wide, glossy leaves and tall stems that produce butterfly-like blooms that can last for weeks. Even better? With just a little care, they can rebloom year after year. Stick with this variety until you get comfortable with the basics of orchid care. Once you’ve mastered moth orchids, you can explore other types like Dendrobium or Cattleya.
✅ Quick Tip: Look for healthy green leaves and firm roots when selecting an orchid from the store. Avoid plants with yellowing leaves or mushy roots.
2. Give Your Orchid the Right Amount of Light
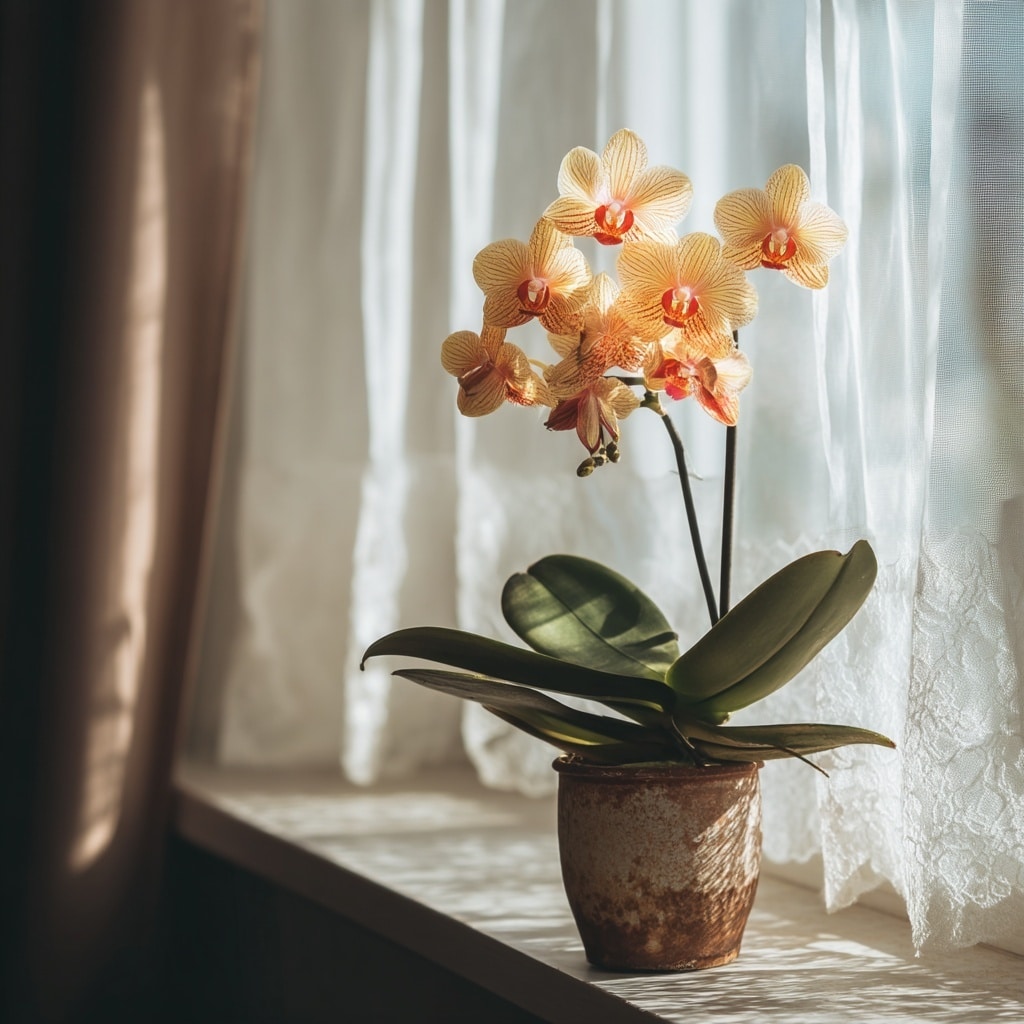
Lighting is one of the most important elements of orchid care. Orchids thrive in bright, indirect light—think of the dappled sunlight they’d receive under tree canopies in their natural habitat. A windowsill with filtered light or a spot near a sheer-curtained window is ideal.
Too much direct sunlight can scorch the leaves, turning them yellow or even brown. On the other hand, not enough light may result in poor blooming or limp growth. If you’re unsure whether your orchid is getting the right amount, observe the leaves: healthy leaves are a rich, medium green. Dark green leaves may mean it needs more light, while yellowing can signal too much.
🌿 Pro Tip: East-facing windows usually provide the perfect balance of morning light without the harsh afternoon sun.
🪴 Need a solution for low-light homes? Consider using a grow light to supplement natural light, especially during the winter months.
3. Water Orchids the Right Way
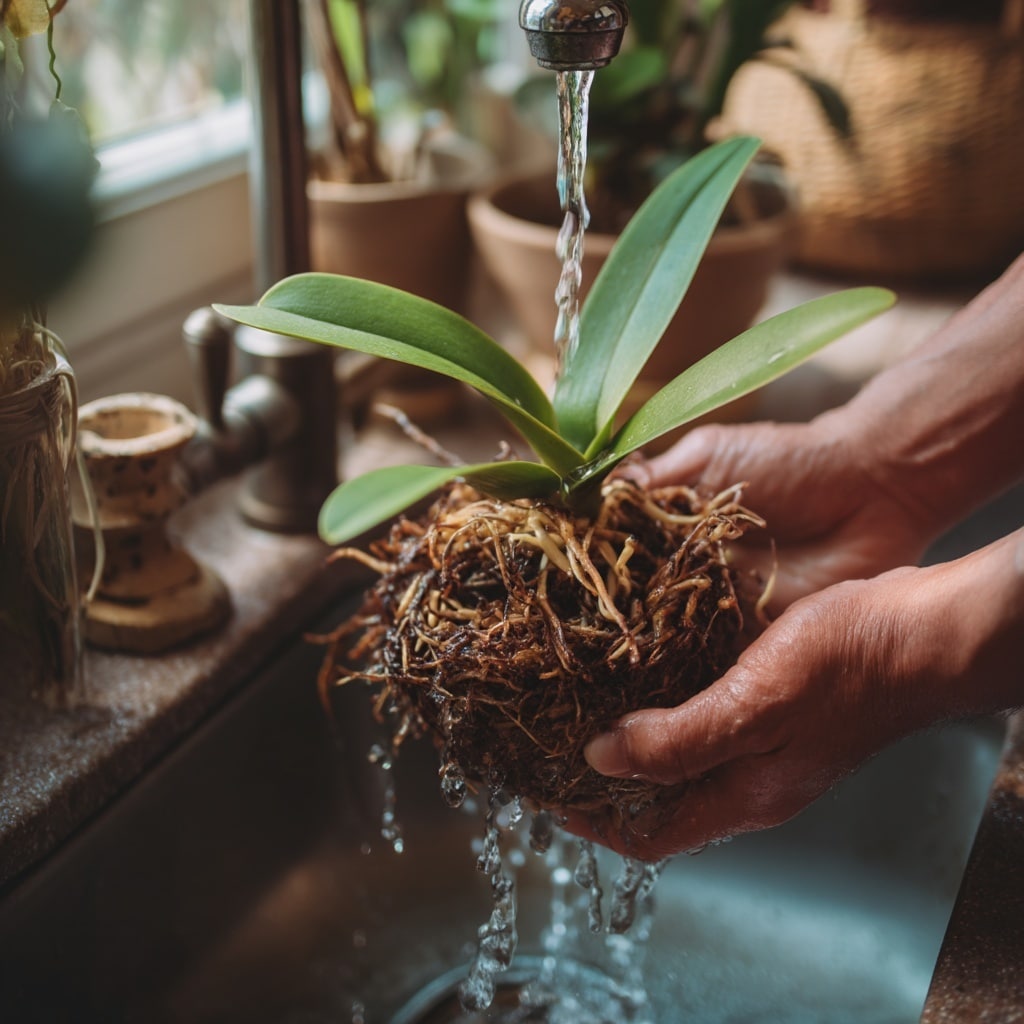
When it comes to watering, orchids don’t like soggy roots—in fact, overwatering is the most common reason these plants struggle. Orchids aren’t grown in soil like most houseplants; instead, they’re typically potted in bark, moss, or a special orchid mix that allows airflow around the roots.
To water your orchid properly, take the pot to the sink and gently run lukewarm water over the roots for about 10–15 seconds. Then, let all excess water drain completely. Do this every 7 to 10 days, allowing the potting medium to dry out between waterings.
💡 Why it matters: In nature, orchids cling to trees and absorb moisture from rain and humidity—so their roots need air as much as they need water.
🚫 Avoid these common mistakes:
- Never let your orchid sit in standing water.
- Don’t water on a fixed schedule—always check if the medium is dry before watering again.
- Skip ice cube watering—it doesn’t evenly hydrate the roots and can shock tropical plants.
4. Create a Humid Environment for Your Orchid
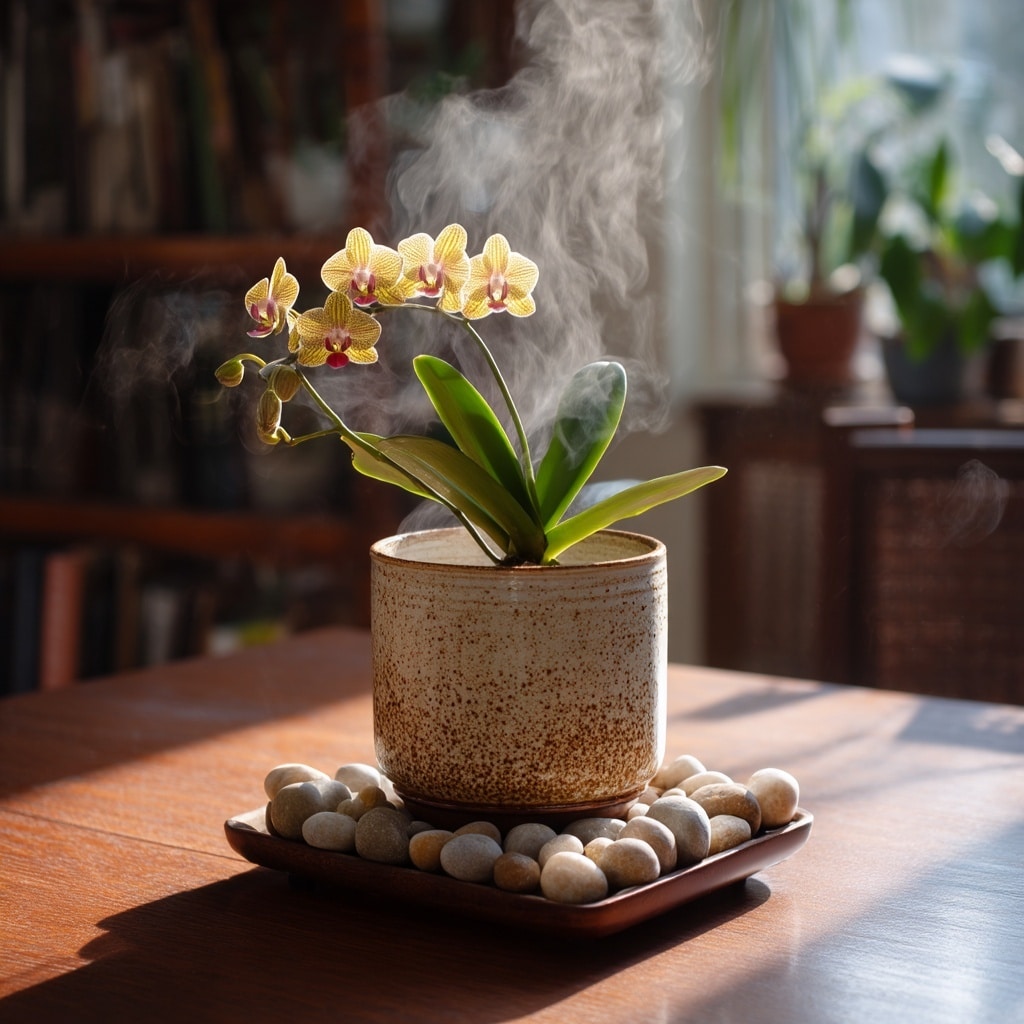
Orchids naturally grow in humid, tropical environments, so creating a similar atmosphere at home can really boost their health—especially during winter, when indoor air tends to be dry due to heating.
The easiest way to increase humidity around your orchid is to place the pot on a humidity tray. Simply fill a shallow dish with pebbles and water, then set your orchid pot on top (making sure the pot itself isn’t sitting directly in the water). As the water evaporates, it adds moisture to the surrounding air.
Avoid misting your orchid—it can lead to water sitting in the crown of the plant, which increases the risk of rot. If you have several houseplants grouped together, that’s even better—they create a microclimate that naturally increases humidity.
🌬️ Ideal humidity range: Orchids prefer 40–60% humidity. If your home is very dry, consider using a small room humidifier near your plant.
💤 Bonus benefit: Some people find that orchids placed near the bedroom window help improve sleep due to their calming aesthetic and clean-air potential.
5. Feed Your Orchid to Encourage Blooming
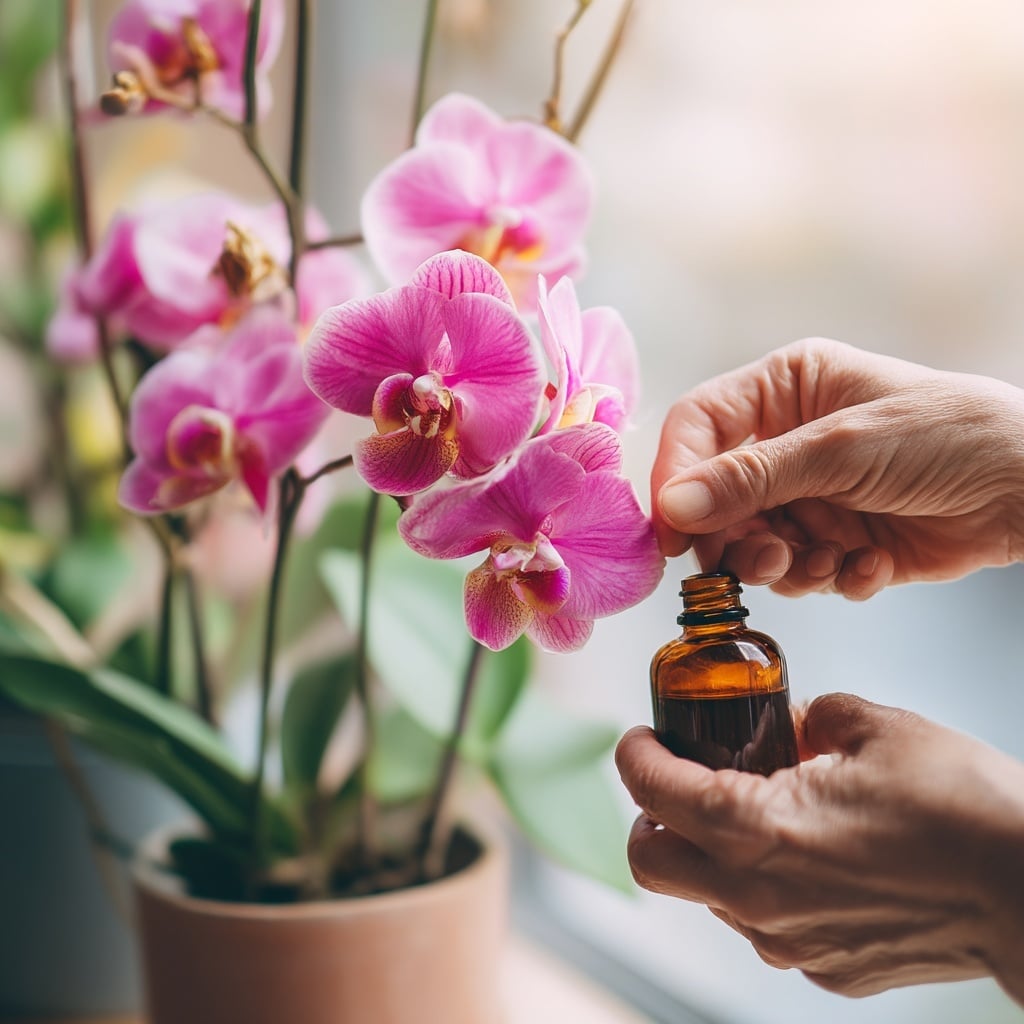
To keep your orchid healthy and encourage it to bloom again, regular feeding is essential. Orchids aren’t heavy feeders, but they do benefit from a balanced, orchid-specific fertilizer during their active growing season—typically spring through early fall.
Look for a fertilizer labeled for orchids and apply it according to the package instructions, usually every two to four weeks. Many growers use the “weakly, weekly” method—diluting the fertilizer to one-quarter strength and applying it more often. This gentle approach avoids overfeeding while supporting steady growth and flower production.
Once your orchid’s flowers fade, don’t toss it! Simply trim the empty flower spike back to the base or just above a node (a small bump on the stem), and with patience and proper care, your orchid may bloom again within a few months.
🌼 Key tip: Never fertilize a dry orchid—always water first to avoid burning the roots.
🔁 Bloom cycle reminder: Many orchids naturally rest for a while after blooming. This is normal! Keep up with care, and your patience will pay off.
Conclusion
Caring for an orchid doesn’t have to be complicated. With the right variety, proper lighting, thoughtful watering, adequate humidity, and regular feeding, your orchid can thrive indoors and reward you with stunning blooms year after year. These five simple tips will help you build confidence and enjoy one of the most beautiful and low-maintenance houseplants around.

