Starting an apple orchard in your backyard isn’t just about growing fruit—it’s about growing joy, patience, and the quiet pride of self-sufficiency. Whether you dream of baking pies with your own harvest or simply enjoying the sight of apple blossoms each spring, creating a home orchard is a rewarding experience.
But before you start planting, it’s important to understand that apple trees are a long game. With the right planning, thoughtful variety choices, and proactive care, your backyard can become a thriving orchard that feeds your family and attracts pollinators for years to come.
In this guide, we’ll walk through six essential tips that every beginner should know when starting an apple orchard—from picking the best tree varieties to managing pests the smart way.
Table of Contents
1. Pick Disease-Resistant Apple Varieties
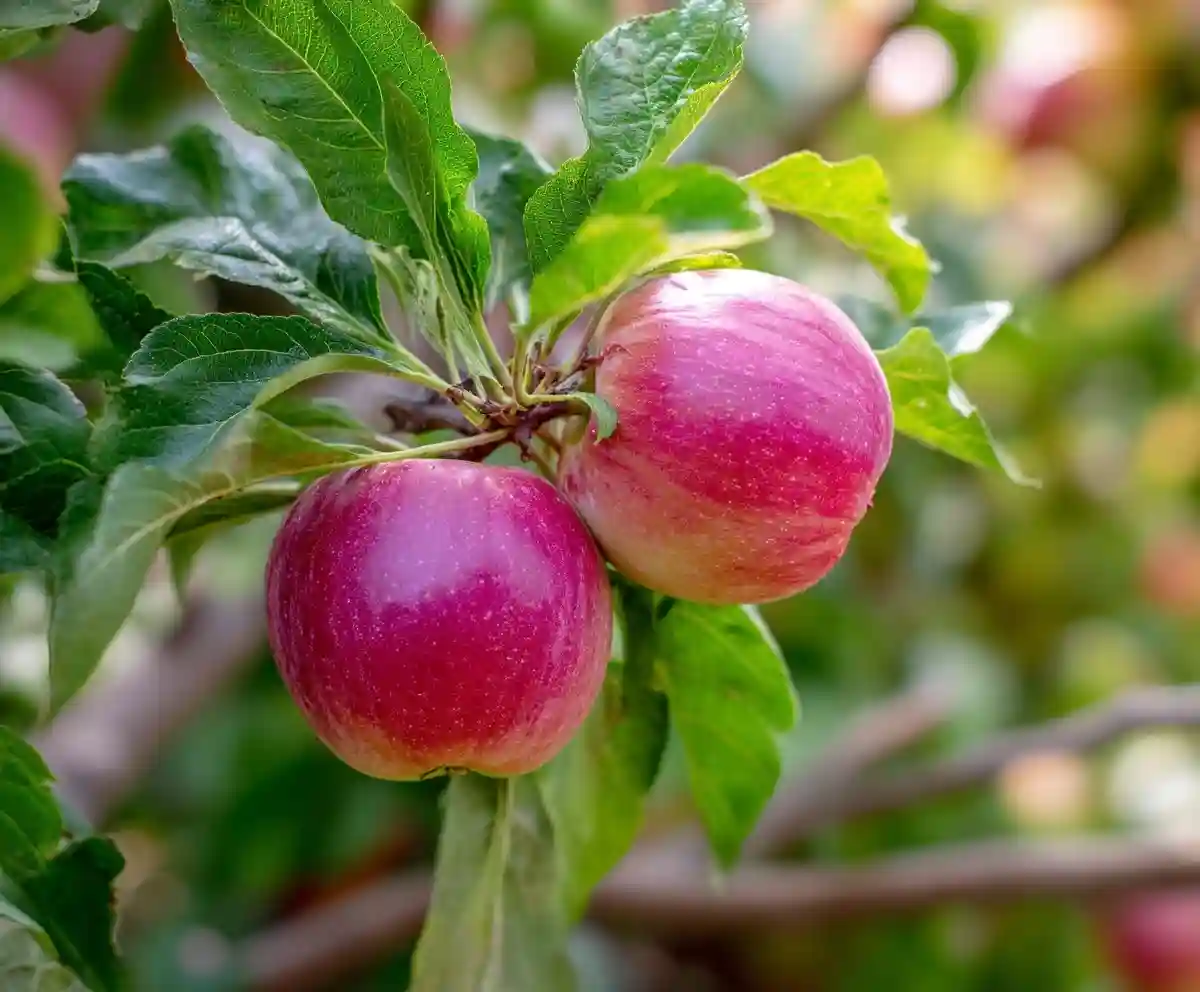
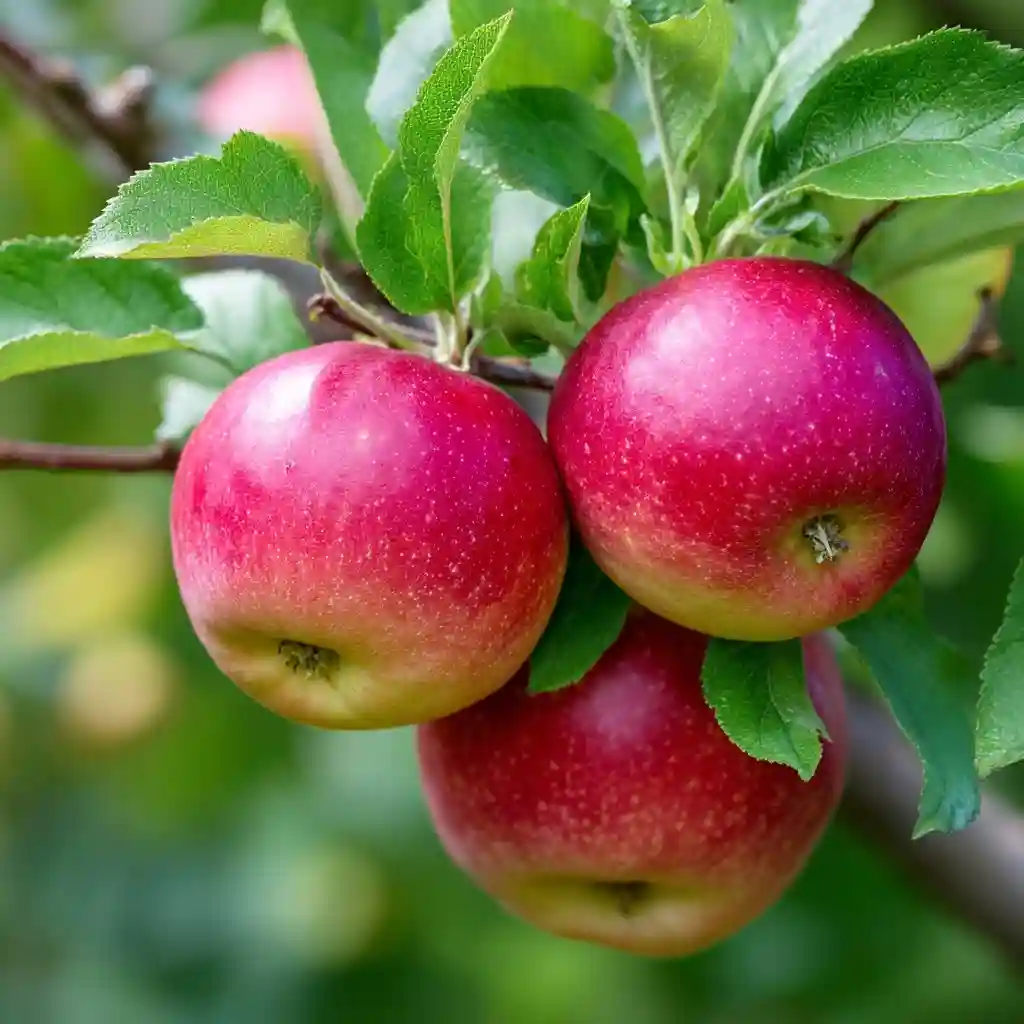
One of the smartest decisions you can make when starting an apple orchard is selecting disease-resistant apple varieties. These cultivars are bred to stand up to common problems like apple scab, fire blight, and cedar apple rust—saving you time, stress, and potentially costly treatments down the line.
Some excellent beginner-friendly varieties include:
- Liberty – Very resistant to scab and rust, with a crisp, slightly tart flavor.
- Enterprise – A late-season apple with strong disease resistance and a great shelf life.
- GoldRush – Offers a complex flavor, good keeping qualities, and excellent scab resistance.
Choosing resistant trees doesn’t mean you’ll avoid all disease, but it significantly reduces the amount of chemical intervention and maintenance required. Plus, you’ll be setting your orchard up for long-term success by planting trees that can thrive in your local climate and soil conditions.
Before purchasing, consult your local extension office or nursery to ensure your chosen varieties are suited to your region. Cold hardiness, bloom time, and chill-hour requirements all matter when starting out.
2. Think About Pollination
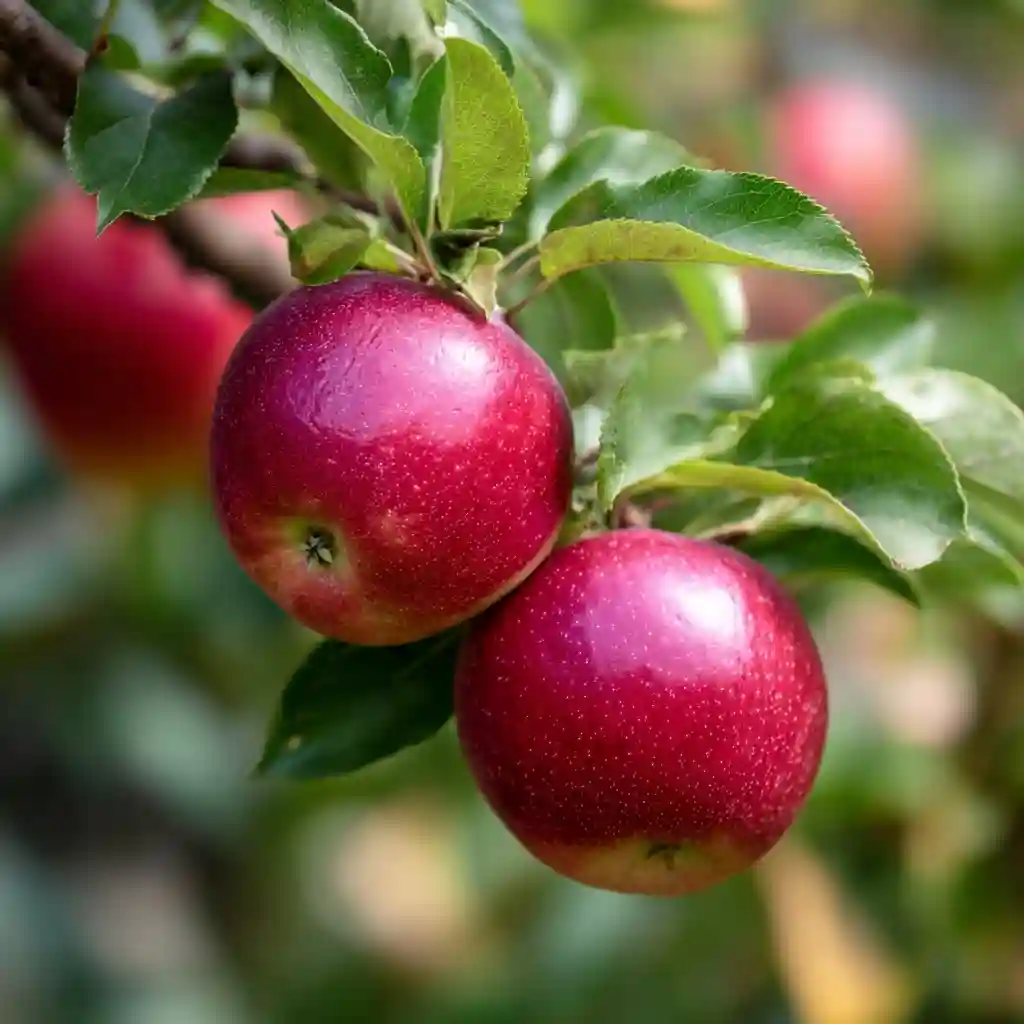
Pollination is not optional when starting an apple orchard—it’s essential. Most apple trees are not self-pollinating, which means they need a compatible pollinator nearby to produce fruit. Without it, even the healthiest tree won’t bear apples.
To ensure good fruit set, here are a few pollination tips:
- Plant at least two different apple varieties that bloom at the same time.
- Choose varieties with overlapping bloom periods (e.g., Liberty and Enterprise).
- Space pollinators within 100 feet of each other to ensure bees can travel between them easily.
- If space is limited, consider grafted trees with multiple varieties on a single rootstock.
Also, remember: bees are your best pollinating partners. Avoid using broad-spectrum insecticides during bloom, and consider planting native flowers nearby to attract pollinators.
Understanding how pollination works early on prevents the common disappointment of a tree full of blossoms but no apples. So, when starting an apple orchard, always plan with pollination in mind.
3. Choose the Right Spot
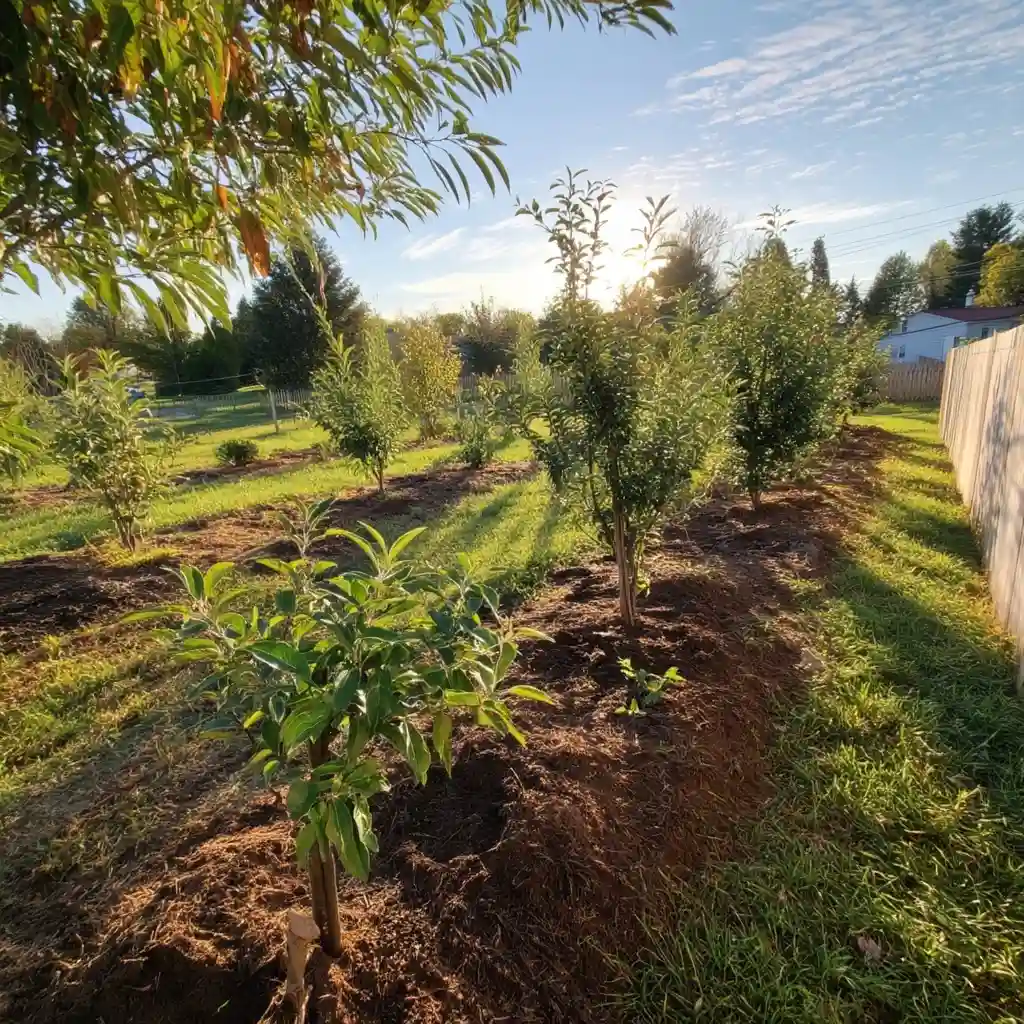
When starting an apple orchard, your trees’ success depends heavily on where you plant them. Even the best apple variety won’t thrive in the wrong location. Apples need three key environmental conditions: full sun, good airflow, and well-drained soil.
Here’s what to look for:
- Sunlight: Your trees need at least 6–8 hours of direct sunlight daily to produce quality fruit. Shaded spots will result in fewer blooms and weak growth.
- Air circulation: Avoid low-lying areas where cold air and moisture can settle, increasing the risk of disease. Gentle slopes are ideal for airflow and frost protection.
- Soil drainage: Apple trees hate “wet feet.” Choose soil that drains well—heavy clay or compacted areas should be amended or avoided entirely. Consider raised beds or mounds if drainage is an issue.
A soil test before planting can help you adjust pH levels (ideal range: 6.0–6.8) and nutrient deficiencies. Healthy roots start with healthy soil.
In short, setting your orchard in the right spot from the beginning saves you years of struggle—and gives your young trees the best possible head start.
4. Grow the Tree, Not the Apples (at First)
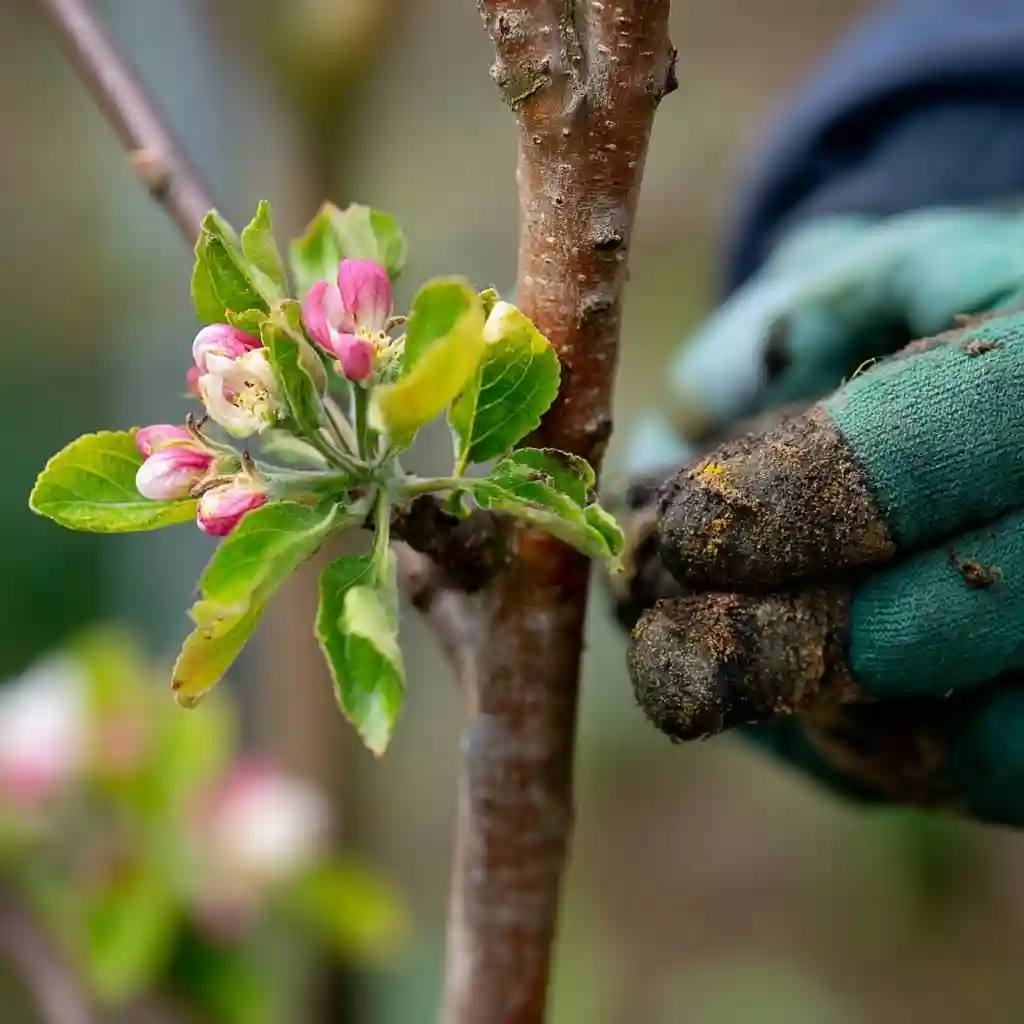
One of the hardest things for new orchard growers to do is remove those first-year blossoms—but it’s also one of the most important steps when starting an apple orchard. Why? Because in the early years, your focus should be on building strong roots and structure, not rushing fruit production.
Here’s why removing blossoms is smart:
- Directs energy into root development and branch structure.
- Prevents limb damage from carrying fruit before branches are strong enough.
- Encourages better fruiting in future years.
For most young apple trees, you should:
- Remove all blossoms in year one.
- Consider removing most blossoms in year two, depending on tree vigor.
- By year three, allow light fruiting if the tree appears healthy and well-established.
It may feel counterintuitive, but this early investment in the tree’s foundation leads to a stronger, more productive orchard in the long run. Think of it like training an athlete—you want endurance before sprinting.
5. Deal with Pests Early
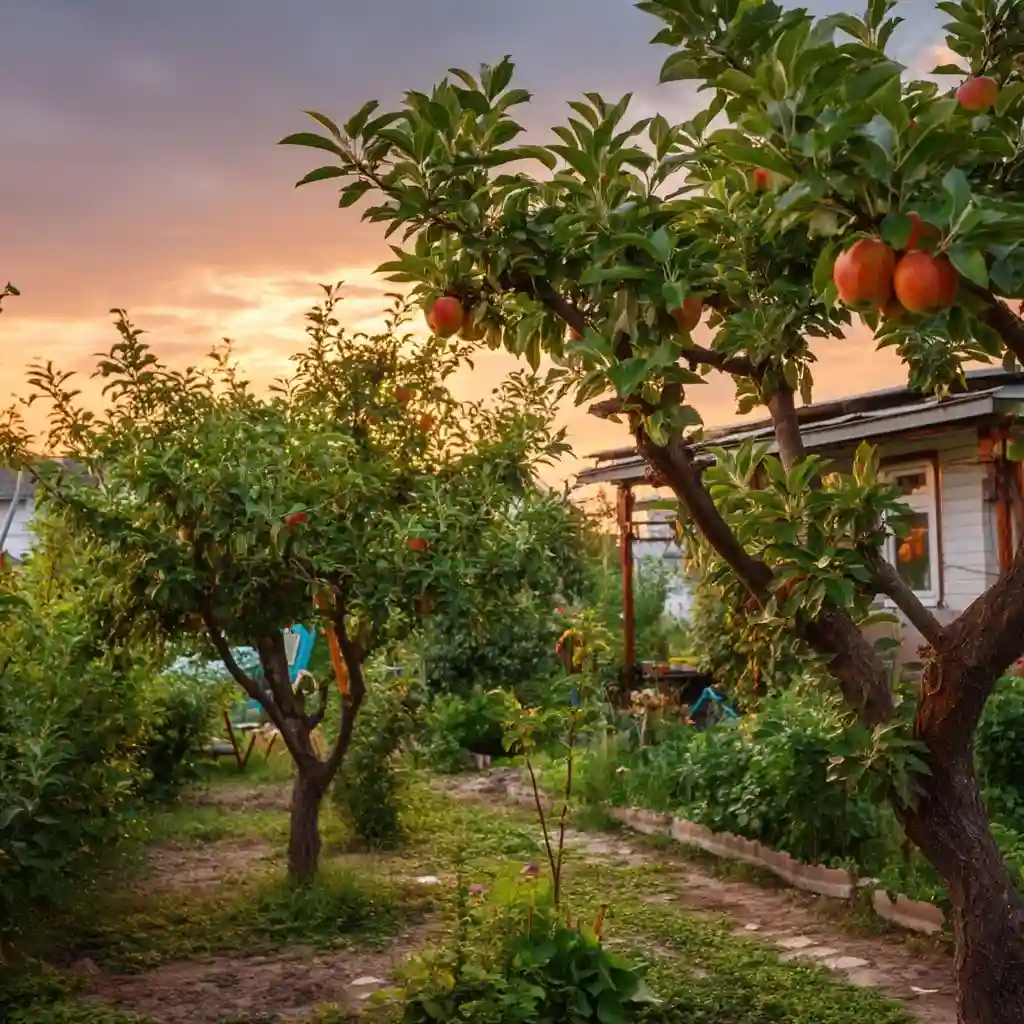
When starting an apple orchard, pests and diseases aren’t a maybe—they’re a guarantee. But don’t panic. The key is early, consistent monitoring and preventive care before things get out of hand.
Here are a few of the most common apple threats and how to handle them:
Common Apple Pests & Problems:
- Apple Scab & Cedar Apple Rust – Fungal diseases that cause leaf spotting and fruit blemishes. Prevent with resistant varieties and good airflow.
- Codling Moth – The classic “worm in the apple.” Use pheromone traps and remove infested fruit promptly.
- Japanese Beetles – Leaf skeletonizers that can defoliate young trees. Hand-pick, use row covers, or apply neem oil early in the season.
Prevention Tips:
- Clean up fallen fruit and leaves — They harbor disease and pests.
- Use dormant oil sprays in late winter — Controls overwintering insects.
- Apply mulch wisely — Keep it away from the trunk to avoid hiding spots for pests.
By addressing pest issues early and consistently, you can reduce the need for harsh chemicals and protect your orchard’s long-term health. A little vigilance goes a long way when starting an apple orchard.
6. Be a Supportive—Not Helicopter—Parent
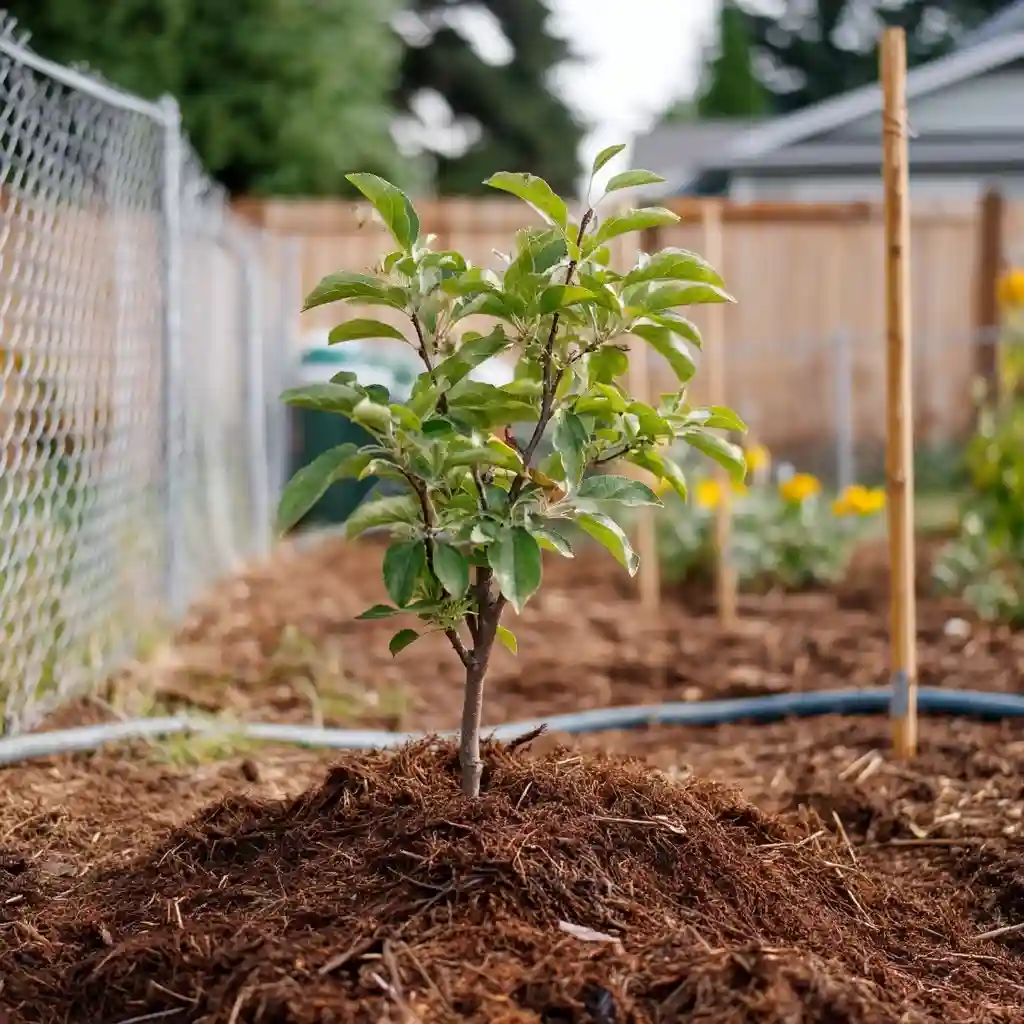
When you’re starting an apple orchard, it’s easy to overdo it with care. After all, those young trees look so vulnerable. But micromanaging every leaf or over-fertilizing too soon can do more harm than good.
The goal is balanced support—not overprotection.
Here’s how to give your trees the care they need without smothering them:
Smart Support Strategies:
- Water deeply once a week – Consistent, infrequent watering encourages deep root growth.
- Mulch wisely – Keep a 2–4 inch layer around the base, but never let mulch touch the trunk.
- Hold off on fertilizer – Wait until the second growing season unless the tree shows signs of deficiency.
- Stake only when necessary – Over-staking can weaken the trunk; allow for some movement to build strength.
- Use trunk guards – Protects young bark from rodents and sunscald.
Just like kids, apple trees need space to grow, some healthy stress, and protection from real threats—not constant interference. Learning when to step in (and when to step back) is part of the orchard journey.
Good Luck and Good Growing!
Starting an apple orchard is a journey that rewards patience, planning, and a little bit of dirt under your nails. By choosing the right varieties, ensuring good pollination, picking the ideal site, and supporting your trees through their early years, you’re setting yourself up for sweet, homegrown success.
Remember: you don’t need a massive field to grow great apples. Even a few trees in a suburban backyard can yield delicious results for years to come.
Here’s to crisp bites, shady branches, and the satisfaction of growing your own little orchard—one season at a time.
FAQ
How many apple trees do I need to start?
At least two different varieties for cross-pollination unless you’re using a self-fertile or grafted tree.
How long does it take for apple trees to produce fruit?
Most trees start producing in 2–4 years, depending on the rootstock and variety.
Can I grow apples in containers?
Yes, dwarf varieties can thrive in large pots, though they require more frequent watering and care.
What’s the best time of year to plant apple trees?
Early spring or late fall when the tree is dormant and the ground is workable.
🌿 Love gardening inspiration? Follow me on Pinterest for bold plant ideas, tips, and seasonal color!
More Posts
