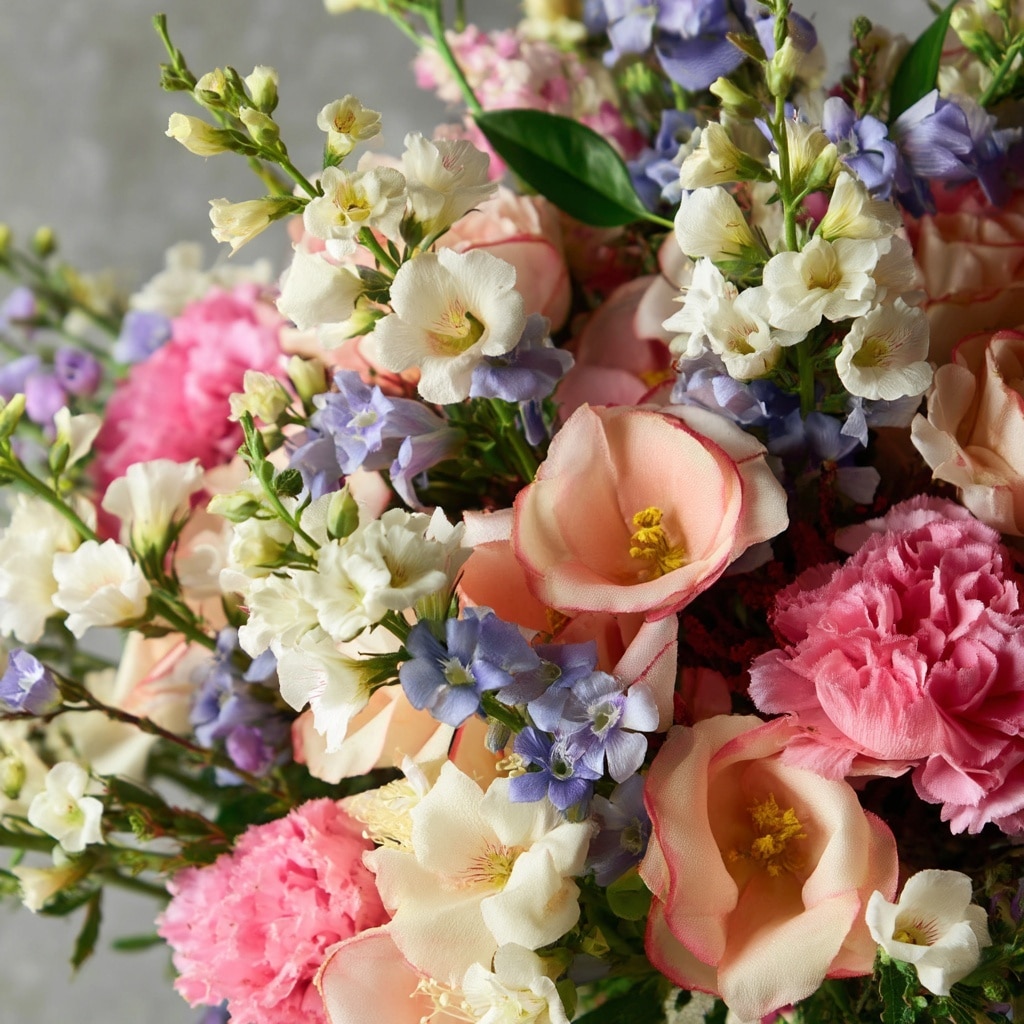
Flower arrangements are one of the easiest ways to bring beauty, life, and personality into any space—when done right. Whether you’re styling a dining table centerpiece or a thoughtful gift bouquet, the key to a successful design isn’t just the flowers you choose, but how you arrange them.
With a few practical steps and the right techniques, flower arrangements can look polished, natural, and long-lasting, even if you’re not a professional florist. You don’t need expensive tools or rare blooms—just a clear plan, a little patience, and a willingness to experiment with shapes, textures, and color.
In this guide, we’ll walk through eight simple steps that will help you create stunning flower arrangements that feel effortless and look like they came from a boutique floral studio.
Table of Contents
Step 1: Choose Your Flower Arrangement Style and Color Scheme
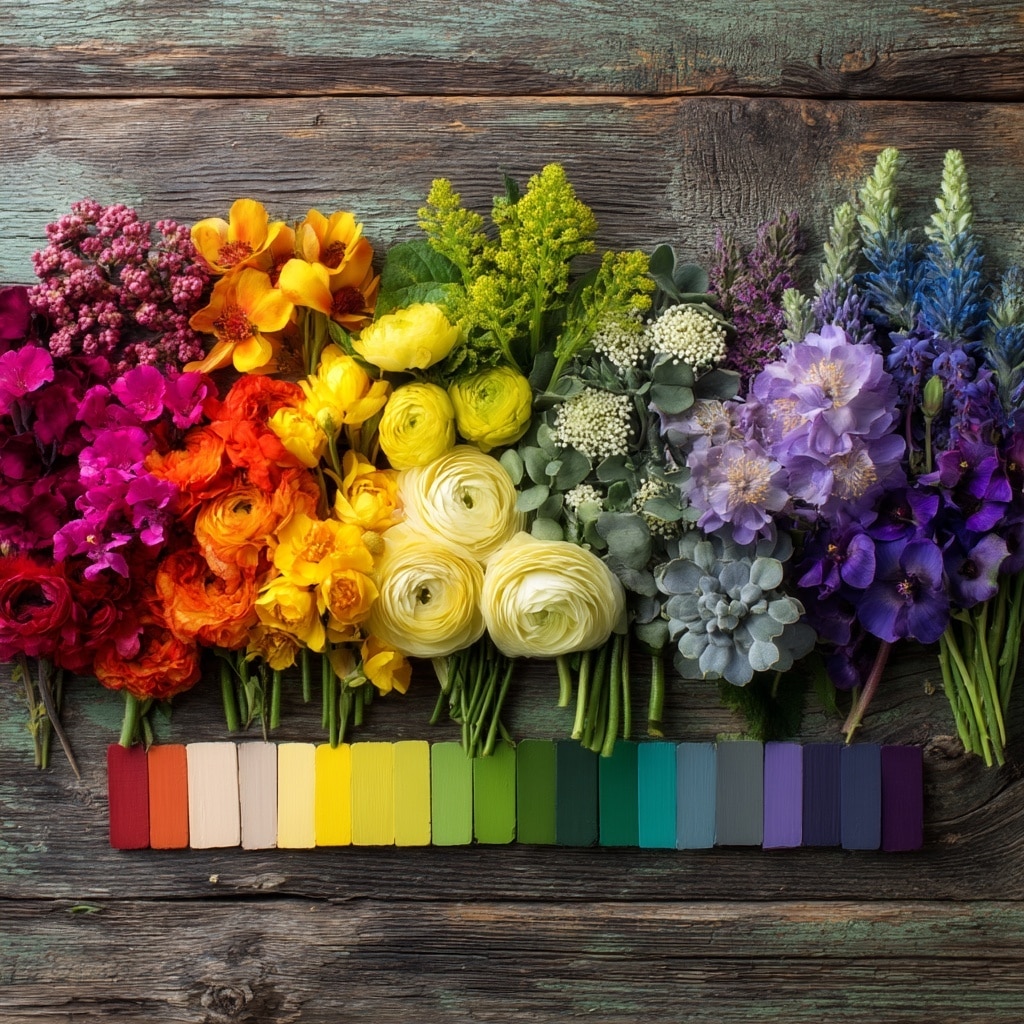
Every great flower arrangement starts with a vision. Before snipping a single stem, take a moment to decide on the style and mood you want to create. Are you going for soft and romantic, wild and garden-inspired, or bold and modern? Your intention will guide your color choices, flower types, and even the shape of your arrangement.
Think in terms of color relationships. A flower arrangement using a monochromatic palette (different shades of the same color) can feel elegant and cohesive. For something more vibrant, try complementary colors—opposites on the color wheel, like purple and yellow, or blue and orange.
Don’t feel restricted to a strict plan. Some of the most beautiful flower arrangements come from using what’s in season, what’s in your garden, or what catches your eye at the market.
Step 2: Trim and Prepare Your Flowers
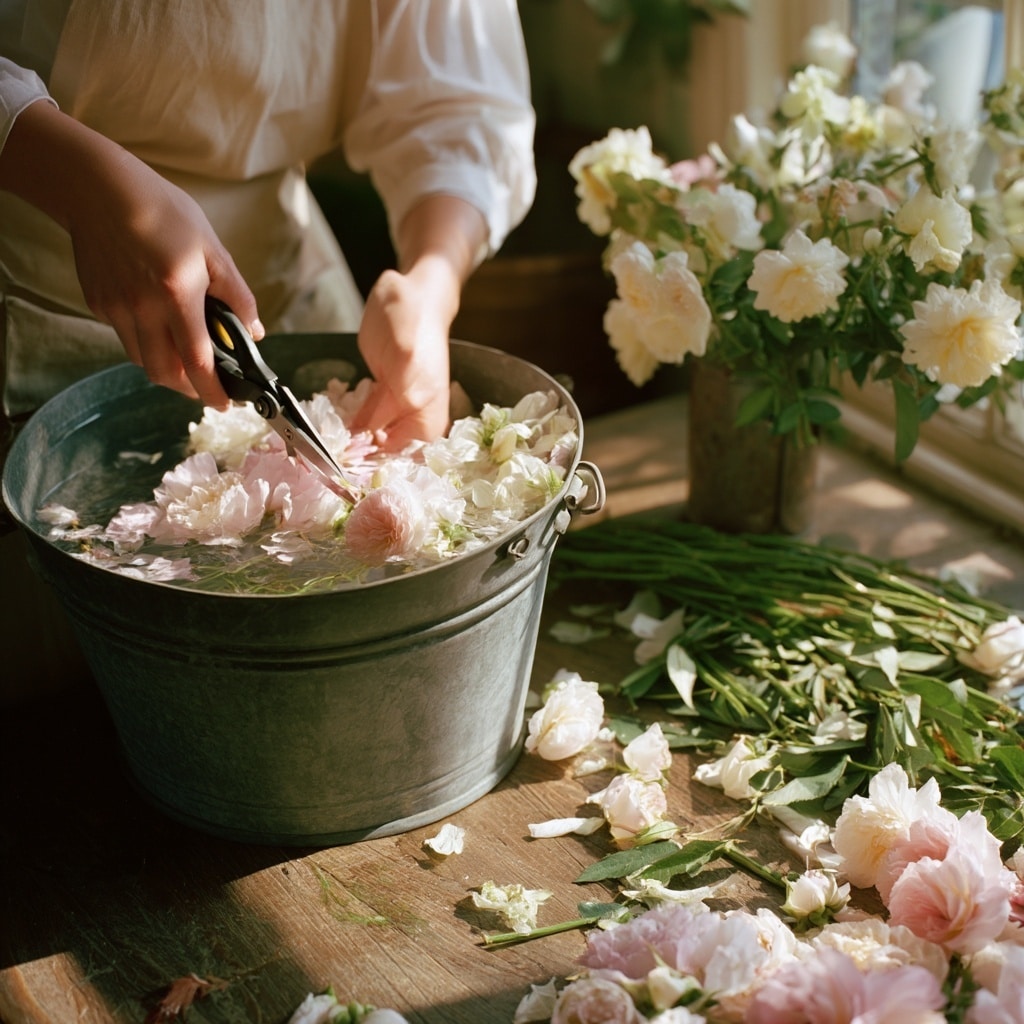
The secret to long-lasting flower arrangements begins before the first stem hits the vase. Proper prep not only improves appearance—it helps blooms stay fresh for days.
Start by removing any leaves that will sit below the waterline, as they can rot and cause bacteria to build up. Gently peel off any damaged petals or outer layers that look wilted. If your stem has multiple buds, snip off the ones you don’t want to showcase so energy goes to the main bloom.
Use sharp scissors or floral shears to cut each stem at a 45-degree angle. This increases the surface area for water absorption. Immediately place the trimmed flowers into a clean container with cool water and a packet of flower food.
Even the most casual flower arrangements will benefit from this small step—it’s what makes the difference between droopy and stunning.
Step 3: Pick the Perfect Vase or Container
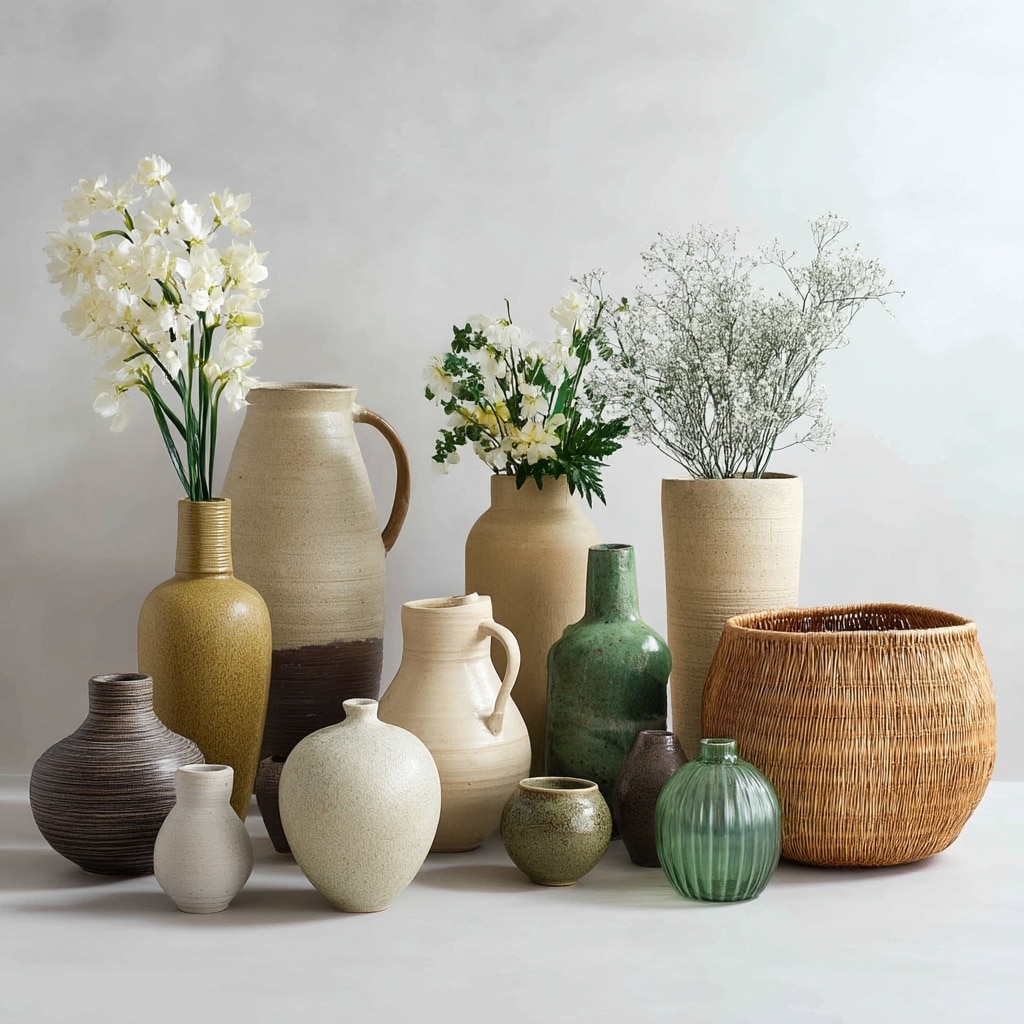
The container you choose can elevate your flower arrangements just as much as the flowers themselves. A well-matched vase supports your design and helps the whole composition feel intentional and balanced.
Consider both shape and scale. Tall flowers like lilies or gladiolus need a sturdy, high-sided vase for support. Softer blooms like tulips benefit from a snug, upright vessel that keeps them from flopping. If you’re working with wildflowers or mixed garden stems, a wide-mouthed mason jar or ceramic jug can create a more casual, gathered look.
You don’t have to limit yourself to traditional vases. Try baskets, bowls, pitchers—even repurposed glass bottles. Just be sure they’re watertight. If using a decorative or porous container, tuck a plastic liner or cup inside to keep the water where it belongs.
Great flower arrangements don’t just sit in a vase—they belong to it. Choose one that matches your flowers’ personality and your personal style.
Step 4: Set Up a Structure for Support
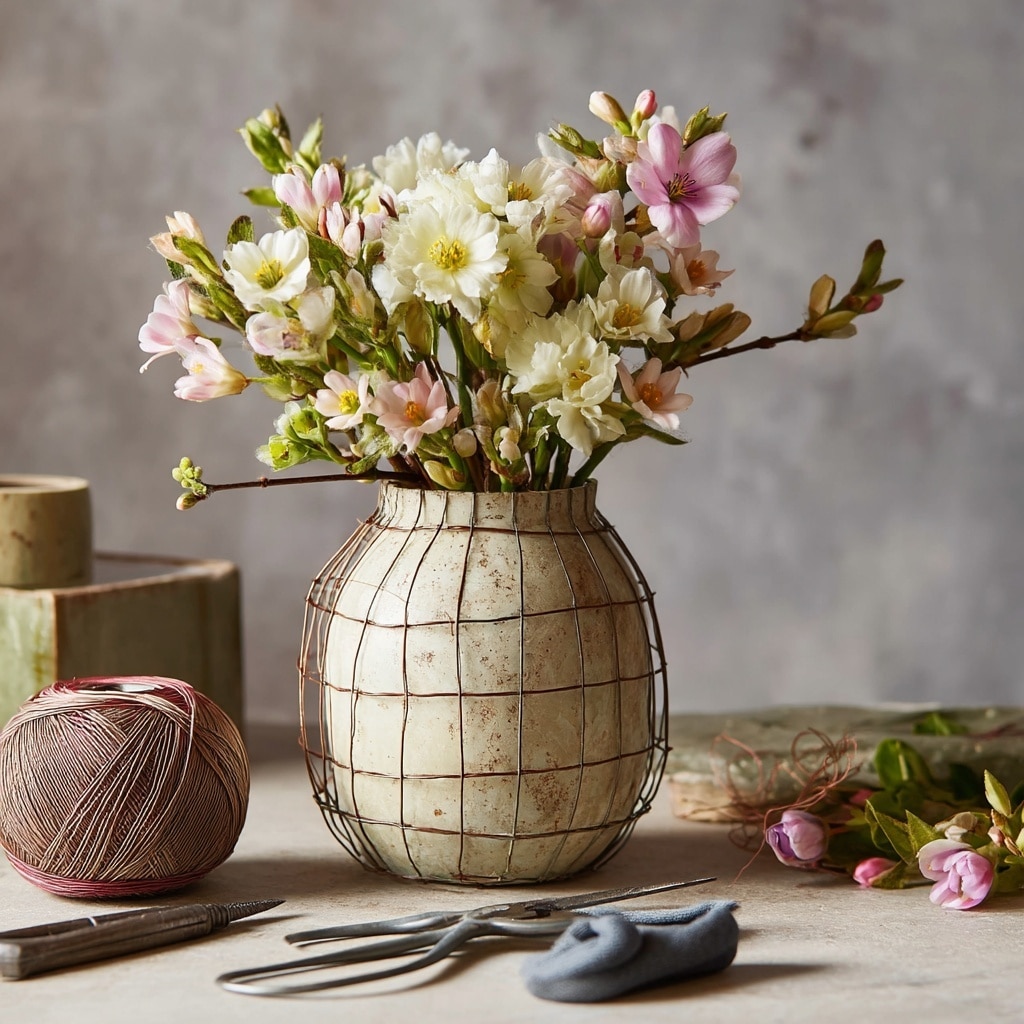
Even the most beautiful flower arrangements can fall flat—literally—if your blooms don’t have the right support. Without a solid base, stems shift, topple, or lean, leaving your bouquet looking messy instead of intentional.
To keep flowers in place, create a grid over the opening of your vase using clear floral tape. This crisscross pattern forms small holes that guide each stem into position and hold it steady. For round bowls or low containers, try using a floral frog (a weighted insert with pins) or a ball of chicken wire shaped to fit your vessel.
These subtle tools allow you to control spacing and balance without overcrowding. If you’re working with a wide opening, consider layering moss or pebbles at the bottom to help anchor stems.
A strong structure is what transforms loose flowers into show-stopping flower arrangements—don’t skip it.
Step 5: Start with a Greenery Base
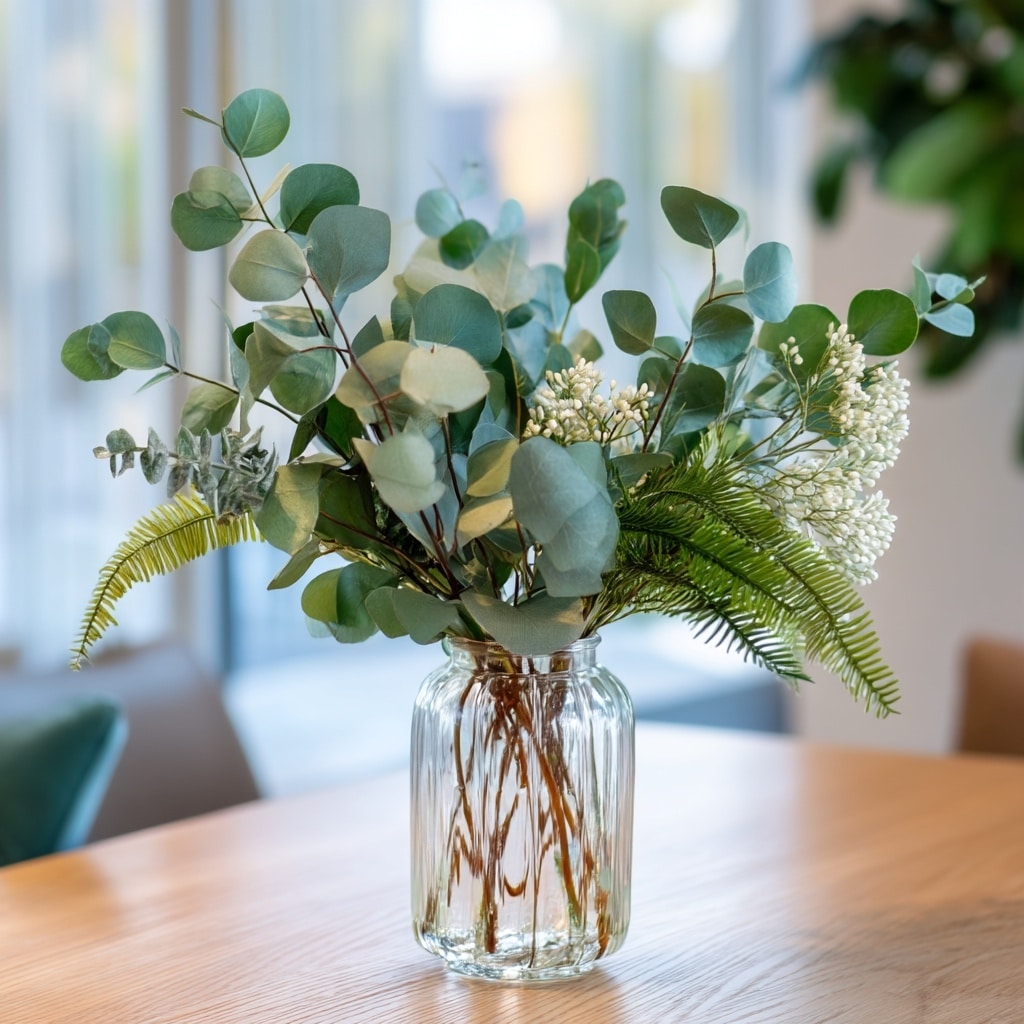
Every beautiful bouquet begins with a foundation—and in flower arrangements, that means greenery. Adding foliage first helps shape the overall structure, gives the design depth, and provides support for the flowers that follow.
Use hardy greens like eucalyptus, ruscus, ferns, or ivy. Start by placing stems in an inverted triangle formation to create a sense of fullness both vertically and horizontally. This not only defines the silhouette of the arrangement but also sets the stage for how the flowers will sit within the design.
Re-trim greenery stems before placing them in the vase to ensure good water uptake. Vary the textures and heights slightly for a more organic, layered look.
While often overlooked, greenery plays a critical role in successful flower arrangements—it frames your blooms and gives them space to shine.
Step 6: Add Focal Flowers with Intention
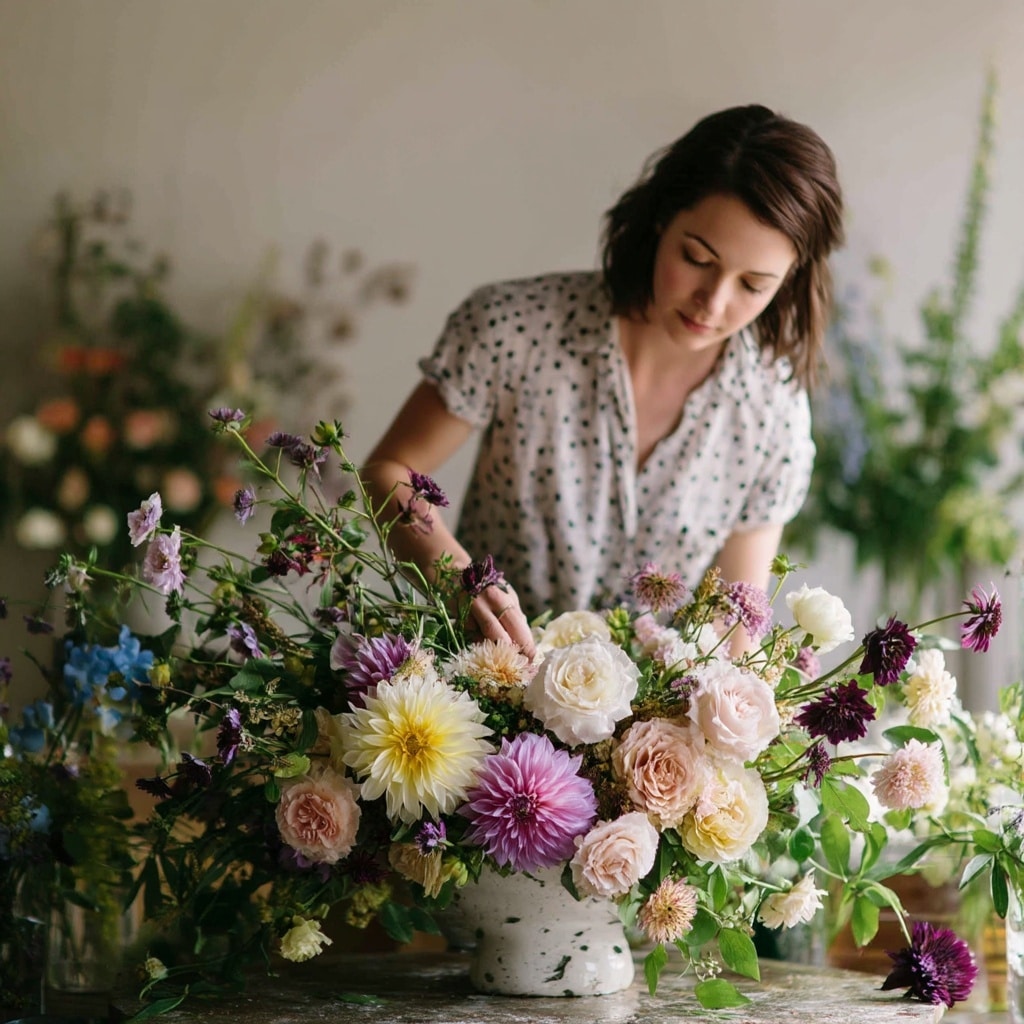
Focal flowers are the stars of your flower arrangements—the bold, eye-catching blooms that draw attention and set the tone for the entire design. These are usually the largest or most uniquely colored flowers in your mix, like roses, peonies, dahlias, or sunflowers.
Add them after your greenery, spacing them evenly throughout the arrangement. Use odd numbers—three, five, or seven—for a more natural look. Don’t cluster all your focal flowers at the top or edges. Instead, vary their heights and angles slightly so they feel like they’re growing into the space, not just stuck in.
Turn your vase as you work to make sure the arrangement looks good from all sides. A lazy Susan works great for this, especially if you’re designing a centerpiece.
The best flower arrangements don’t rely on symmetry—they rely on flow. Let your focal blooms guide the eye and build energy through the design.
Step 7: Fill In with Supporting Flowers
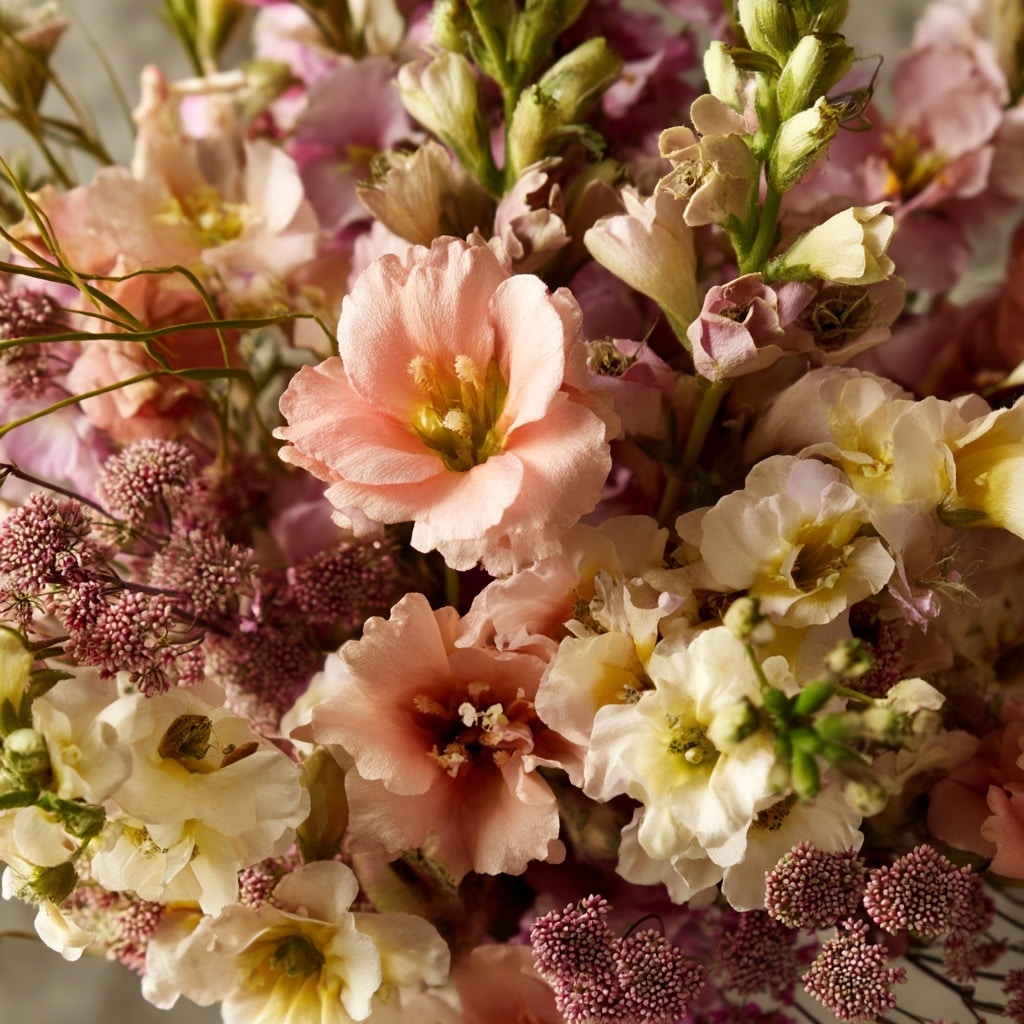
Once your focal flowers are in place, it’s time to build out the rest of your flower arrangement with supporting blooms—also called filler flowers. These smaller, more delicate varieties fill gaps, soften edges, and bring the whole design together.
Good options include spray roses, snapdragons, wax flowers, scabiosa, or chamomile. Cluster them in small groups of three or five to mimic how flowers grow naturally in a garden. Tuck them between focal blooms and greenery to create depth and dimension.
Think of your arrangement as a dome, not a flat circle. Fill in at different heights and angles, including toward the base and center. Avoid placing all fillers in a straight, upright position—tilt a few to give the design movement and life.
Supporting flowers may not take center stage, but in well-balanced flower arrangements, they make everything look fuller, more natural, and beautifully complete.
Step 8: Add the Finishing Touches
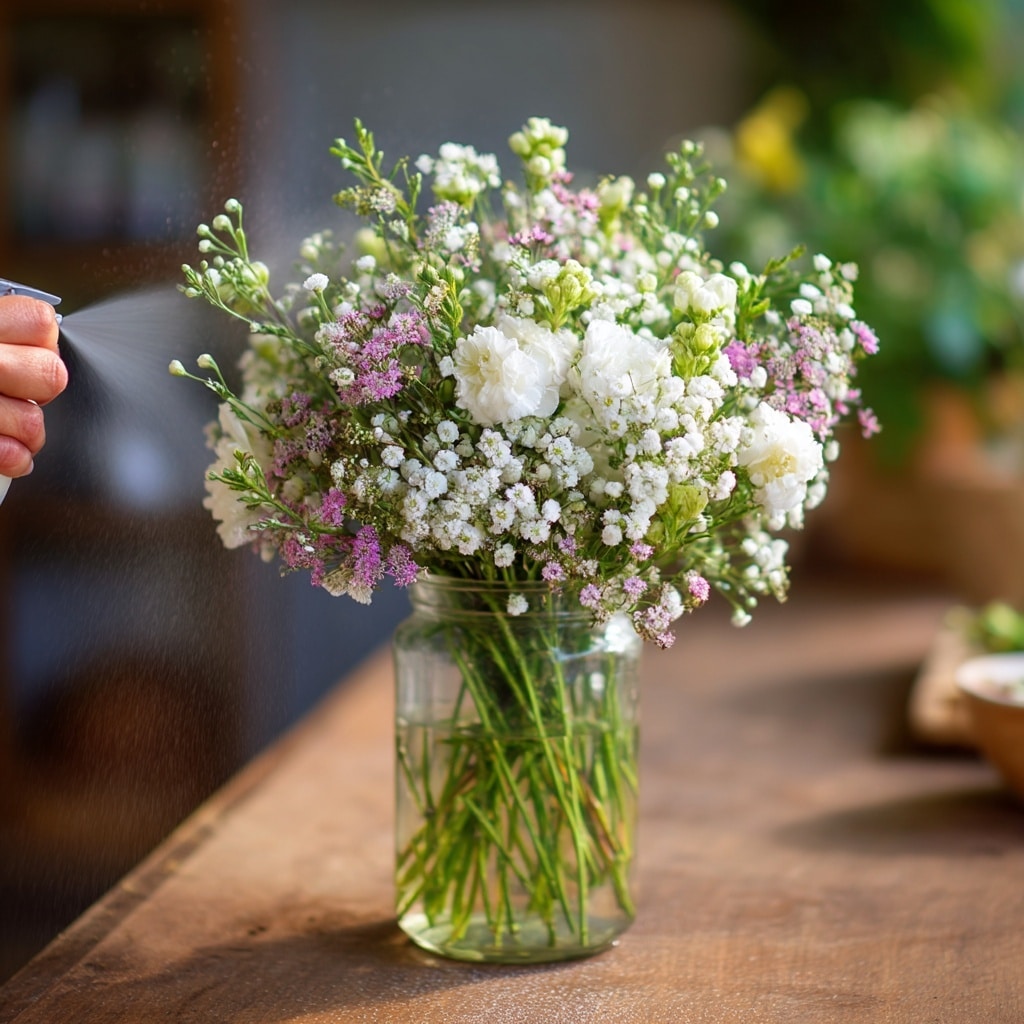
The final details can take your flower arrangements from good to truly special. Once your focal and filler flowers are in place, it’s time to layer in the delicate elements—the floaters, textures, and soft touches that give your design polish.
Use light, airy blooms like baby’s breath, yarrow, sedum, or Queen Anne’s lace. These should be added last so they don’t get crushed under heavier flowers. Gently place them around the edges or between larger blooms for a hint of softness and contrast.
Finish by misting the arrangement lightly with water to mimic fresh morning dew. Then double-check that all stems are submerged, and top off the vase with clean water if needed.
To keep your flower arrangement looking fresh, change the water every day or two and trim stems regularly. With just a little care, your creation can last well beyond the first few days—and look just as beautiful.
Conclusion
Creating beautiful flower arrangements isn’t about following rigid rules—it’s about expressing your creativity with nature’s most stunning elements. With just a bit of prep and a few thoughtful techniques, anyone can design floral displays that look professional and feel personal.
Whether you’re decorating your dining table, gifting a bouquet, or just brightening up your kitchen, these eight simple steps will help your flower arrangements stand out and last longer. And as you practice, you’ll find your own rhythm and style.
Remember: a little care goes a long way. Trim stems, change the water, and let your flowers speak for themselves.

