Grafting plants is a timeless gardening technique that combines the best of two plants to create one stronger, more productive specimen. From fruit trees like apples and citrus to ornamentals like roses, grafting is used to improve plant health, boost yields, and extend growing possibilities. By joining a disease-resistant root system with a top-producing variety, gardeners can grow healthier, longer-living plants tailored for specific conditions.
Whether you’re cultivating backyard fruit trees or shaping decorative shrubs, grafting allows you to control size, strengthen disease resistance, and even produce multiple varieties on a single plant. It’s not only a tool for professionals—home gardeners, too, can benefit from the magic of merging compatible plants into one thriving, unified whole.
Table of Contents
Key Terms: Scion vs. Rootstock; Compatibility Basics
At the core of grafting plants lies the union between two key components: the scion and the rootstock. Understanding the roles of each is essential before making your first graft.
- Scion: This is the upper portion of the grafted plant. It’s typically a young shoot or bud taken from a plant known for desirable traits—like superior fruit quality, vibrant flowers, or resistance to specific diseases. Everything above the graft, including branches, leaves, flowers, and fruit, will grow from the scion.
- Rootstock: This is the lower part of the plant, including the roots and base stem. The rootstock provides the foundation—anchoring the plant and influencing characteristics like drought tolerance, soil compatibility, disease resistance, and growth rate (e.g., dwarf vs. standard trees).
Why Compatibility Matters
For a successful graft to take, the vascular tissues of the scion and rootstock must align perfectly. These tissues are the channels through which water, nutrients, and signals flow between plant parts. If the layers don’t match up or the plants are too genetically different, the graft is unlikely to survive.
While the scion and rootstock don’t need to come from the exact same species, they do need to be closely related—typically within the same genus. For example, grafting different varieties of apple trees works well, but attempting to graft an apple onto a cherry tree usually leads to failure due to incompatibility.
Maintaining tight contact between both parts during the initial healing phase is crucial. This is when the graft union begins to callus and the two plants biologically “accept” one another.
When to Graft: Season/Timing for Hardwood vs. Budding
Timing is everything when grafting plants, and the season you choose can make or break your success. The right timing depends on the type of graft you’re performing and the plants involved.
Hardwood Grafting (Dormant Grafting)
Hardwood grafting is typically done in late winter to early spring, when both the rootstock and scion are dormant, just before buds begin to swell. This method is commonly used for fruit trees like apples, pears, and cherries.
Key reasons to graft during dormancy:
- Minimizes sap flow, which helps reduce stress on both scion and rootstock
- Encourages a strong union as plants awaken in spring
- Ideal for techniques like cleft grafting and whip-and-tongue grafting
Dormant grafting is usually done indoors or in sheltered areas, especially in colder climates, to avoid frost damage while the graft heals.
Budding (Summer Grafting)
Budding, a grafting method that uses a single bud instead of a full scion, is typically done in mid to late summer when the plant’s sap is flowing and bark “slips” easily from the rootstock. This allows for smoother bud insertion and better contact.
Best conditions for budding:
- Warm temperatures (70–85°F)
- Actively growing rootstock
- Flexible bark for easy incision
Popular budding techniques like the T-bud and chip bud are often used for citrus, roses, and stone fruits. These methods heal quickly and are ideal when only a small piece of plant material is available.
Regardless of method, always match your grafting window to the plant’s growth cycle for the best results.
Tools & Materials: Knives, Pruners, Wraps, Sealants, Sanitation
To graft plants successfully, having the right tools and materials on hand is just as important as timing and technique. Precision and cleanliness are key to ensuring a strong graft union and preventing disease.
Essential Grafting Tools
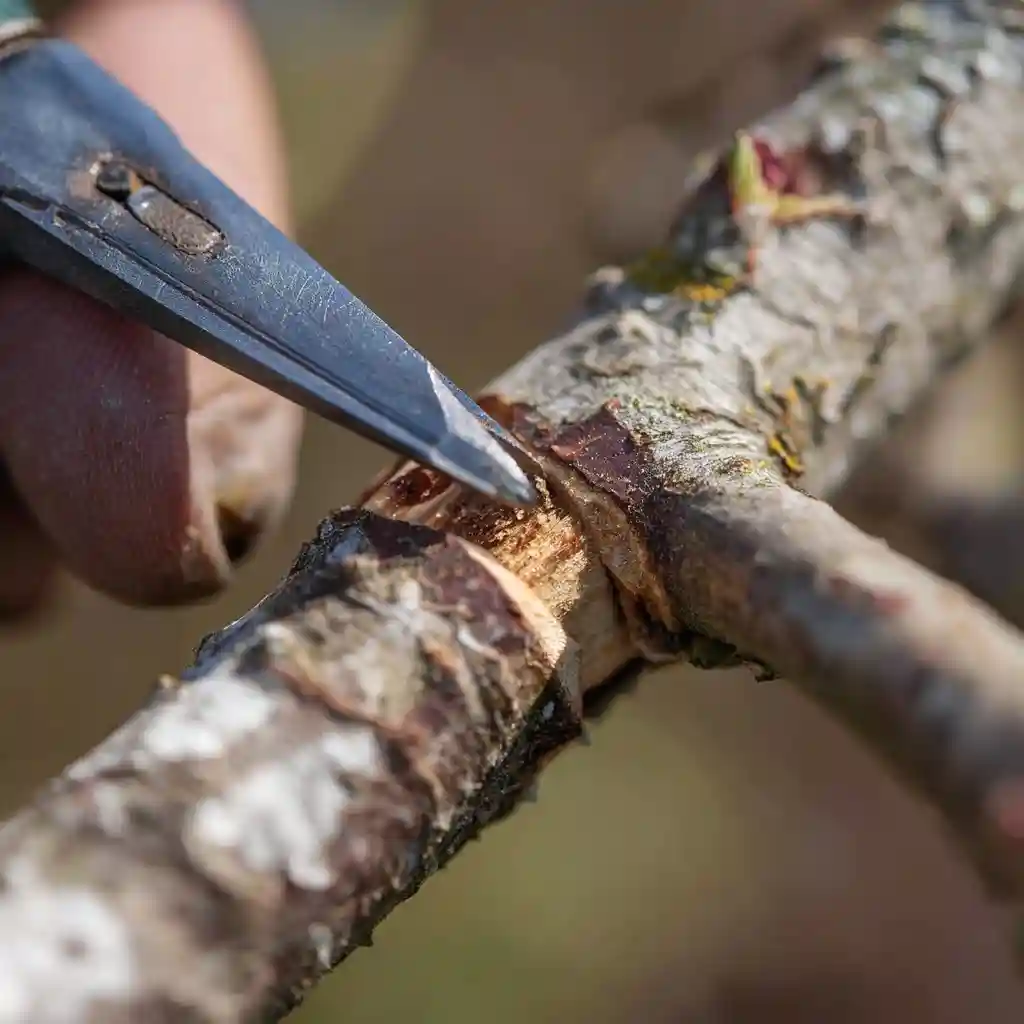
- Grafting Knife: A sharp, single-beveled knife is ideal for making clean, controlled cuts on both scion and rootstock. Some grafting knives are curved for specific techniques like whip-and-tongue grafts.
- Pruners: Bypass pruners are best for trimming scions and removing unnecessary shoots or branches. Keep them sharp to avoid crushing plant tissue.
- Grafting Tape or Stretchable Wraps: These hold the graft union tightly in place while still allowing room for the plant to grow. Parafilm, nursery tape, or rubber grafting bands are commonly used.
- Grafting Wax or Sealant: Applying a sealant protects the cut surfaces from drying out and prevents pathogens from entering. Some growers use commercial grafting wax, while others prefer natural options like beeswax.
- Budding Knife (for Budding Techniques): A smaller, precise tool specifically designed for T-budding or chip budding.
- Labeling Tags: It’s easy to forget which variety you grafted onto which rootstock, so clear labels help you track your combinations, especially when using multiple scions.
Sanitation is Non-Negotiable
Sanitizing your tools between grafts is crucial to avoid spreading bacteria, fungi, or viruses. Use:
- Isopropyl alcohol (70% or higher)
- A bleach solution (1 part bleach to 9 parts water)
- Commercial horticultural disinfectants
Even your hands should be clean while working. A single contaminated blade can ruin an entire batch of grafts.
Pro Tip: Work in a shaded, low-wind area to prevent grafts from drying out quickly during the process.
Grafting Methods

There are many ways to graft plants, and the technique you choose depends on your experience, the type of plant, and the season. Below are the most commonly used methods in both home gardens and commercial nurseries. Each has its advantages, but all require careful cuts, alignment of vascular tissues, and secure wrapping for the graft to succeed.
Whip-and-Tongue Graft
This technique is best suited for small, dormant hardwood shoots of similar diameter (¼–½ inch). It creates a strong union due to the extended contact between cambium layers.
- When to use: Late winter to early spring (dormant season)
- How it works: A diagonal cut is made on both scion and rootstock, followed by a small tongue cut in each. The two are slid together like puzzle pieces and tightly wrapped.
- Best for: Apples, pears, and other pome fruits
Cleft Graft
Ideal for grafting a smaller scion onto a larger rootstock or tree branch. Often used to change varieties on established trees.
- When to use: Early spring, just before bud break
- How it works: A cleft (split) is made in the center of the rootstock, and one or two wedge-shaped scions are inserted into the cut.
- Best for: Apples, cherries, plums
Bark (Rind) Graft
Used when the rootstock is much larger in diameter than the scion. This method takes advantage of bark that’s slipping easily during active growth.
- When to use: Mid-spring to early summer
- How it works: Vertical cuts are made in the bark of the rootstock, and flat-cut scions are inserted between the bark and wood.
- Best for: Citrus trees, nut trees, and top-working large branches
Side-Veneer Graft
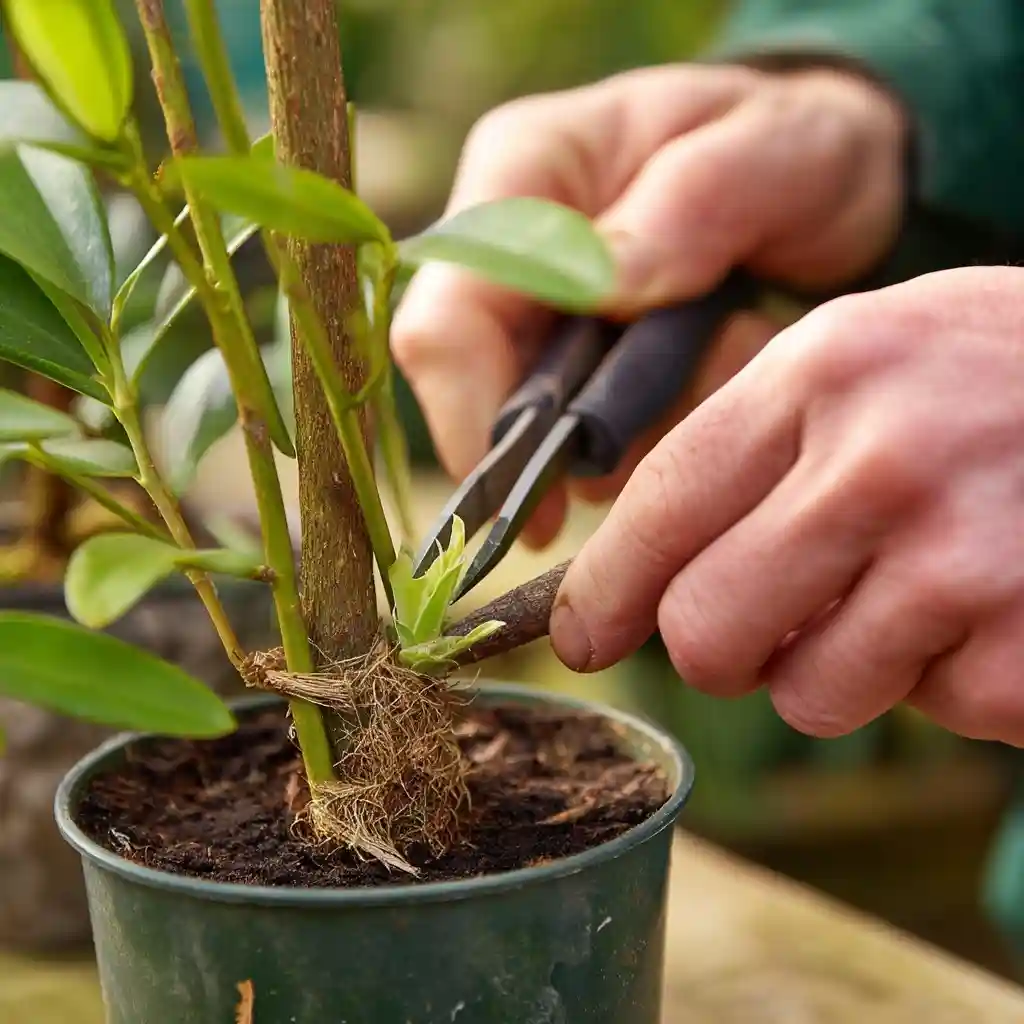
A common nursery technique for propagating evergreens and woody ornamentals.
- When to use: Late spring through summer
- How it works: A shallow cut is made into the side of the rootstock, and the scion is shaped to match and inserted flush with the cambium.
- Best for: Camellias, maples, junipers, pines
Approach Graft
This method joins two actively growing plants while both are still rooted in the soil, allowing them to heal before one is severed.
- When to use: Spring to summer
- How it works: Matching cuts are made on both scion and rootstock stems, which are then bound together until the tissues fuse. Once healed, one stem is removed.
- Best for: Hard-to-graft plants, or beginners seeking a high success rate
Budding (T-Bud and Chip Bud)
A single bud replaces a scion, making this one of the most efficient and widely used methods in commercial propagation.
- When to use: Midsummer when bark slips easily
- T-Budding: A T-shaped cut is made in the rootstock, and a bud is inserted under the flap.
- Chip Budding: A chip of bark and wood containing a bud is fitted into a matching notch on the rootstock.
- Best for: Roses, peaches, citrus, ornamental trees
Step-by-Step Example: Whip-and-Tongue Graft
Among the many methods used for grafting plants, the whip-and-tongue graft stands out for its strong, stable union and high success rate—especially when joining scion and rootstock of similar size. Here’s how to do it, step by step.
🧰 What You’ll Need:
- Healthy dormant scion wood (¼–½ inch thick, 2–3 buds)
- Compatible rootstock of equal diameter
- Sharp grafting knife
- Grafting tape or parafilm
- Optional: grafting wax or sealant
🪴 Step-by-Step Instructions:
- Prepare the Rootstock
- Choose a smooth, straight portion of the rootstock stem.
- Make a diagonal cut about 1½ inches long at a 45° angle.
- Make the Tongue Cut
- About one-third of the way down from the top of the diagonal cut, make a vertical incision into the wood, about ½ inch deep.
- This creates a “tongue” that will interlock with the scion.
- Prepare the Scion
- Select a healthy piece of scion wood with 2–3 buds.
- Repeat the same diagonal and tongue cut on the base of the scion, mirroring the rootstock cut.
- Join the Pieces
- Slide the two pieces together, aligning the tongues so they interlock tightly.
- Make sure the cambium layers (just beneath the bark) are aligned on at least one side.
- Secure the Graft
- Wrap the union tightly with grafting tape or rubber bands to hold everything in place.
- Cover all exposed areas to prevent drying or infection.
- Seal the Cut
- Optional but recommended: apply grafting wax or sealant over the tape and cut edges for extra protection.
- Label the Graft
- Mark the graft with the scion variety and date using a weatherproof label.
🌱 Aftercare:
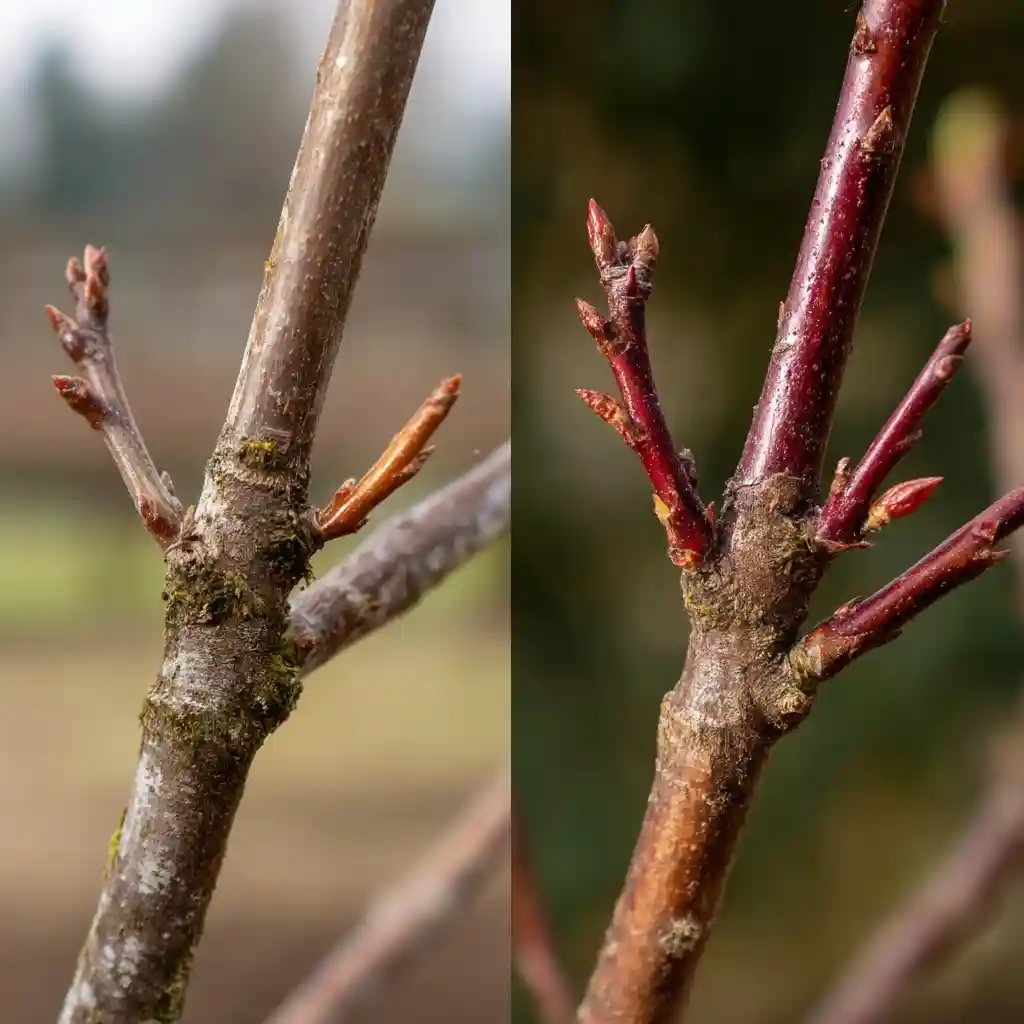
Place the grafted plant in a shaded, sheltered area until it heals—typically within 2–3 weeks. You’ll know the graft has “taken” when the buds on the scion begin to swell and grow.
Aftercare: Tying, Sealing, Callusing, Staking, Shading, Watering

Proper aftercare is what turns a successful graft into a thriving plant. Once you’ve completed the grafting process, your job isn’t over—grafting plants requires a few weeks of attentive care to ensure the union heals and the plant continues to grow without stress or infection.
🪢 Tying and Securing
Even after wrapping during the graft, it’s important to regularly check the binding. If the graft begins to loosen or shift:
- Rewrap gently but firmly using grafting tape or parafilm.
- Avoid wrapping too tightly, which can girdle the plant as it grows.
Once the graft begins to swell or the scion shows signs of growth, you can loosen or remove the wrap to prevent constriction.
🧴 Sealing and Moisture Retention
If you haven’t already, apply grafting wax or wound sealant to all cut surfaces, especially around the graft union. This:
- Prevents the wound from drying out
- Protects against bacteria, fungi, and insects
- Helps retain internal moisture needed for callusing
Avoid petroleum-based sealants on delicate scions—they can inhibit oxygen exchange.
🧬 Callusing
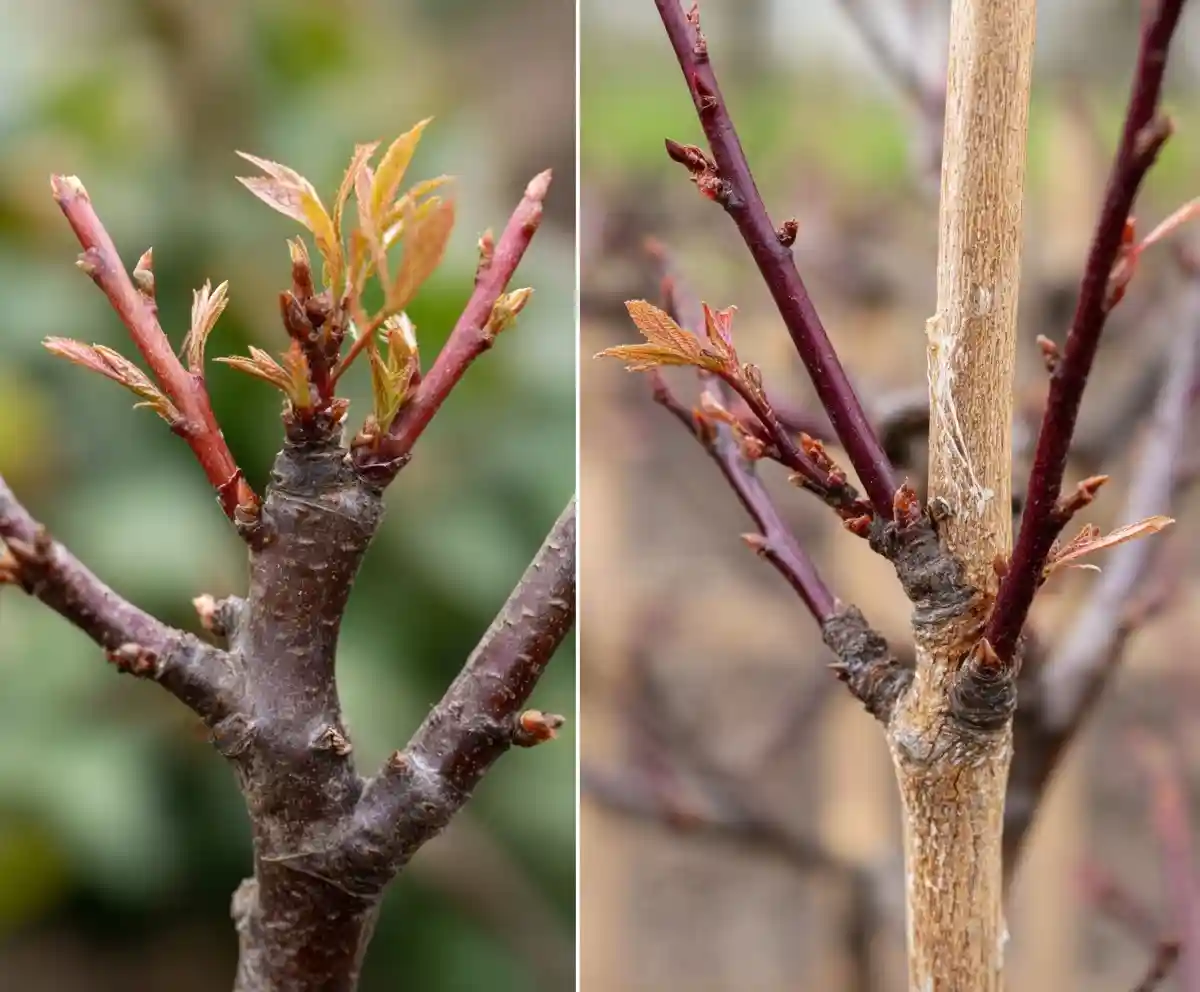
Callus tissue is the white or cream-colored growth that forms where the scion and rootstock meet. This tissue is what bonds the two plants together.
For optimal callus formation:
- Maintain a temperature between 65–75°F (18–24°C)
- Avoid excess sunlight or exposure to frost
- Keep humidity moderate to reduce drying
Callus formation usually begins within 7–14 days but varies depending on the plant type and conditions.
🪴 Staking and Support
New grafts are vulnerable to movement from wind or handling. Support them with:
- Stakes or plant ties secured just below and above the graft
- A gentle touch—too much pressure can damage the healing union
Remove stakes gradually once the graft has healed and the plant is independently stable.
🌤 Shading and Temperature Control
Scions can dry out quickly, especially in direct sun. To prevent sunscald and dehydration:
- Provide partial shade using cloth or other materials
- Avoid placing grafted plants in areas with high heat or dry winds during healing
Once established, they can be transitioned back into full sun as appropriate.
💧 Watering
Keep the rootstock consistently moist—but not soggy—while healing takes place.
- Check soil moisture daily in warm climates
- Avoid watering directly onto the graft union
- Mulch can help retain soil moisture without overwhelming the plant
Consistent watering is especially important for budding grafts, which dry out faster due to their small size.
Caring for your grafts properly during this crucial healing phase dramatically improves survival rates and overall plant health.
Troubleshooting & Common Failures
Even with careful technique and ideal conditions, not all grafts will succeed. Understanding the most common problems when grafting plants helps you identify issues early and improve your success rate over time.
🚫 Graft Not Taking
This is the most frequent failure, often caused by:
- Poor cambium alignment – even a small misalignment can prevent fusion
- Drying out – scion or rootstock loses moisture before callusing
- Loose binding – movement at the graft site prevents tissue connection
- Overtight wrapping – can restrict growth or cause tissue death
✅ Fix: Use sharp tools, work quickly, and secure the graft tightly—but not constrictively. Always keep cuts moist and covered until healed.
🌡 Inappropriate Timing
Grafting during the wrong season reduces the plant’s ability to heal.
- Dormant grafts done too late may not wake up
- Budding done in cool or dry weather may not callus properly
✅ Fix: Follow seasonal timing: dormant grafts in late winter/early spring; budding in midsummer during active growth.
🦠 Disease or Infection
Open wounds attract fungi, bacteria, and viruses—especially if tools aren’t sanitized.
Signs include:
- Blackened or mushy scion wood
- Foul odor at the graft union
- Wilting despite adequate moisture
✅ Fix: Always disinfect tools between cuts and apply protective sealant. Remove and destroy infected grafts promptly to protect nearby plants.
💨 Environmental Stress
Excessive wind, heat, or sunlight can dry out or dislodge newly grafted scions.
✅ Fix:
- Shade the grafted area for the first 1–2 weeks
- Stake and secure tall grafts
- Water consistently, but don’t oversaturate
🔁 Graft Rejection or Incompatibility
Sometimes, even well-matched species may fail to bond over time.
Possible causes:
- Genetic incompatibility (e.g., different genera)
- Latent disease in scion or rootstock
- Delayed failure from slow callus breakdown
✅ Fix: Research compatible pairings. Stick to species and varieties known to graft well together. Try again with different rootstock if failure is persistent.
🐛 Pest Interference
Insects can invade exposed grafts, spreading disease or chewing through healing tissue.
✅ Fix: Keep the area clean. Use insect barriers or safe repellents. Avoid sticky sealants that attract bugs.
Safety & Hygiene Tips
While grafting plants is a rewarding skill, it also involves sharp tools, delicate plant tissue, and potential disease spread. Taking safety and hygiene seriously not only protects you but also improves the success and longevity of your grafts.
🔪 Tool Safety
Grafting involves precise cuts, often with razor-sharp knives. Always use caution when working with these tools.
- Keep blades sharp: Dull tools are more likely to slip and cause injury.
- Cut away from your body whenever possible.
- Use a stable work surface when preparing scion or rootstock.
- Consider using protective gloves, especially when making deep cuts like cleft or tongue grafts.
If you’re new to grafting, practice your cutting technique on spare wood before attempting it on live plants.
🧼 Hygiene & Cleanliness
Plant wounds are highly vulnerable to infection. Even invisible pathogens can cause grafts to fail. Proper sanitation is non-negotiable.
- Disinfect tools between each graft with isopropyl alcohol, bleach solution, or a commercial horticultural disinfectant.
- Wash your hands or wear clean gloves when handling cut surfaces.
- Avoid touching the cambium or wound surface directly.
- Keep the grafting environment clean and free of plant debris or pests.
🦠 Avoid Cross-Contamination
If you’re grafting multiple plants or varieties in a single session:
- Use separate knives or disinfect between each plant
- Label all scions to prevent mix-ups
- Don’t reuse wrap or tape unless it’s sterilized and plant-specific
🌡 Environmental Hygiene
- Work in a dry, shaded, and well-ventilated area
- Avoid grafting on rainy or overly humid days, which can encourage rot
- Do not graft when plants are water-stressed or wilted
👁 Monitor for Post-Graft Issues
Continue good hygiene after grafting:
- Inspect the union regularly for mold, blackening, or sap leakage
- Remove any dead or rotting material immediately
- Sanitize tools again before making any adjustments or cuts
By combining sharp, clean tools with safe technique and sanitary practices, you not only protect your hands but also give each graft the best possible chance to thrive.
🌱 FAQs
Q: How long does it take for a graft to heal?
A: Most grafts take 1 to 3 weeks to callus and begin growing, depending on the method, plant species, and conditions.
Q: Can I graft any plant onto another?
A: No. Grafts only succeed between closely related plants, usually within the same genus. For example, different varieties of apples graft well, but an apple and a plum likely won’t.
Q: When can I remove the grafting tape?
A: Once you see clear signs of growth and the union appears stable—typically 4–6 weeks—gently remove or loosen the tape. Don’t leave it too long, or it may constrict the plant.
Q: What’s the best season to graft fruit trees?
A: For hardwood grafts like cleft or whip-and-tongue, late winter to early spring is ideal. For budding (T-bud, chip bud), late summer is best when bark slips easily.
Q: Can grafted plants be grown in containers?
A: Yes! Many dwarf fruit trees and ornamentals created through grafting are perfect for pots and small spaces.
🌿 Conclusion
Grafting plants is more than a gardening technique—it’s a blend of science, patience, and artistry that allows gardeners to create stronger, healthier, and more productive plants. From propagating rare fruit trees to enhancing ornamental shrubs, grafting offers a practical way to improve plant performance while preserving your favorite varieties.
Whether you’re experimenting in your backyard or working on a larger landscape, the ability to graft opens up countless possibilities. With the right tools, timing, and aftercare, even beginners can achieve high success rates and enjoy the rewards for seasons to come.
So go ahead—sharpen your knife, select your scions, and give grafting a try. The satisfaction of seeing your graft take and grow is one of gardening’s most rewarding experiences.


