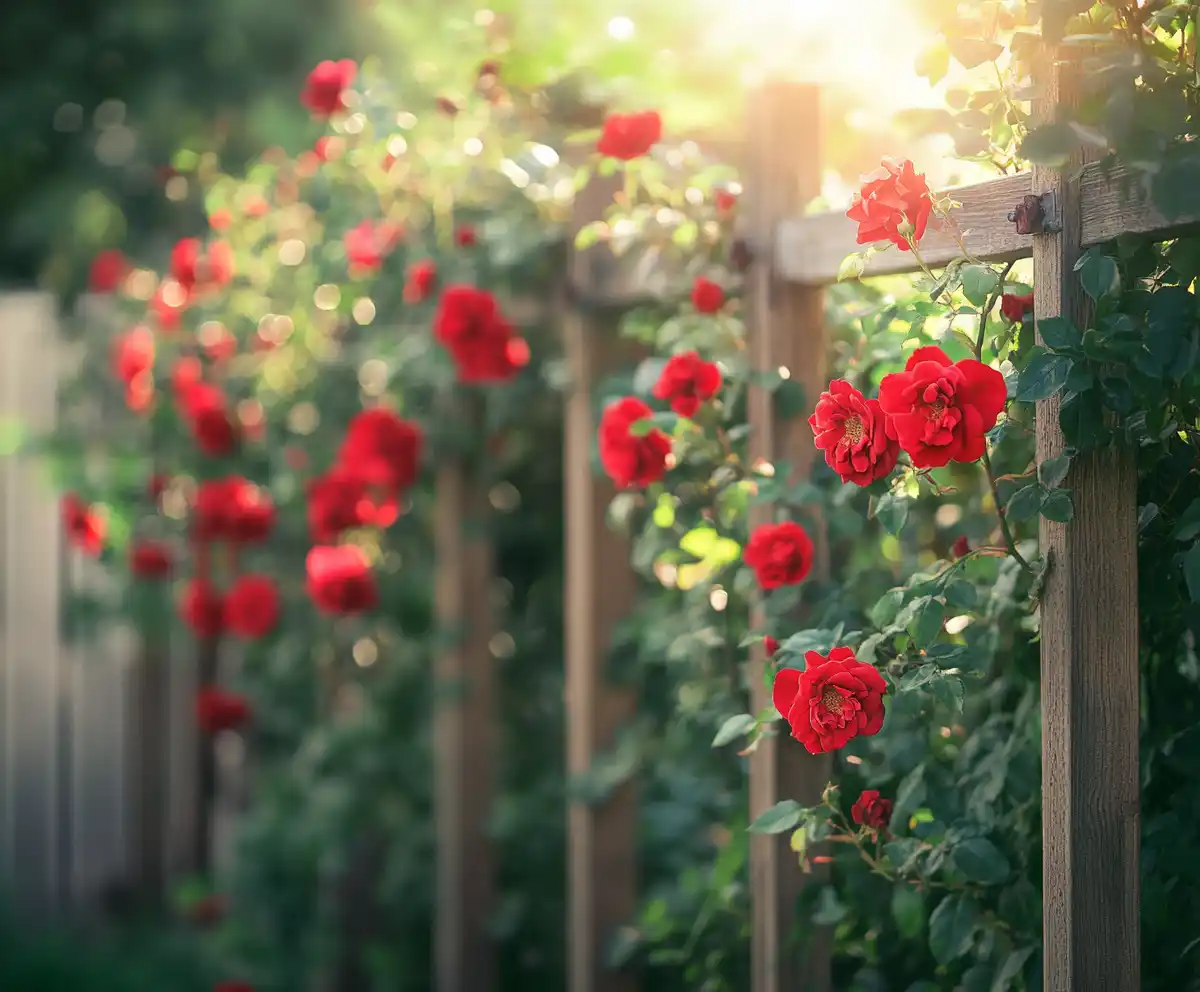
If you’ve ever dreamed of a backyard bursting with climbing roses, a DIY rose trellis is one of the most rewarding projects you can tackle. Not only does it provide essential support for your roses, but it also adds vertical charm and structure to your garden space. Whether you’re working with newly planted climbers or mature, vigorous varieties, building your own rose trellis can be simple, cost-effective, and incredibly satisfying.
As someone who’s always had a soft spot for gardening, especially roses, creating a custom trellis felt like the perfect way to combine functionality with beauty. I’ve tried store-bought trellises in the past, but none offered the strength or aesthetic I was looking for. That’s when I decided to take matters into my own hands — quite literally — and design a trellis that would not only support my roses as they grew, but also create a living wall of blooms.
This guide walks you through how to build your own rose trellis using minimal supplies, plus a few smart upgrades as your plants grow. Let’s dig in!
Materials You’ll Need for Your DIY Rose Trellis
One of the best parts about this DIY rose trellis is how few materials it actually requires. You don’t need to be a carpenter or spend a fortune at the garden center. With just a handful of affordable supplies, you can create a strong, long-lasting trellis that enhances your garden and supports your roses beautifully.
Here’s what you’ll need:
- 1 wooden lattice panel (approx. 8 ft long)
This serves as the main structure for your trellis. You can find basic wood lattice panels at most hardware stores for around $14. - 3 wooden garden stakes (at least 36 inches tall)
Choose stakes with pointed ends to make installation easier. These will provide stability and support for the lattice. - Wood screws
You’ll need a few screws to attach the stakes securely to the lattice. A drill makes this job much easier. - Spray paint (optional but recommended)
A weather-resistant spray paint like Rust-Oleum in flat black not only looks sleek but also adds a layer of protection against moisture and rot. Feel free to pick a color that complements your garden. - Hammer or mallet
To drive the stakes into the ground and anchor your trellis firmly. - Zip ties or garden ties
These are handy for training your rose canes onto the trellis at the right angle.
All set? Once you have your materials, it’s time to bring your trellis to life.
Step-by-Step Instructions to Build Your DIY Rose Trellis
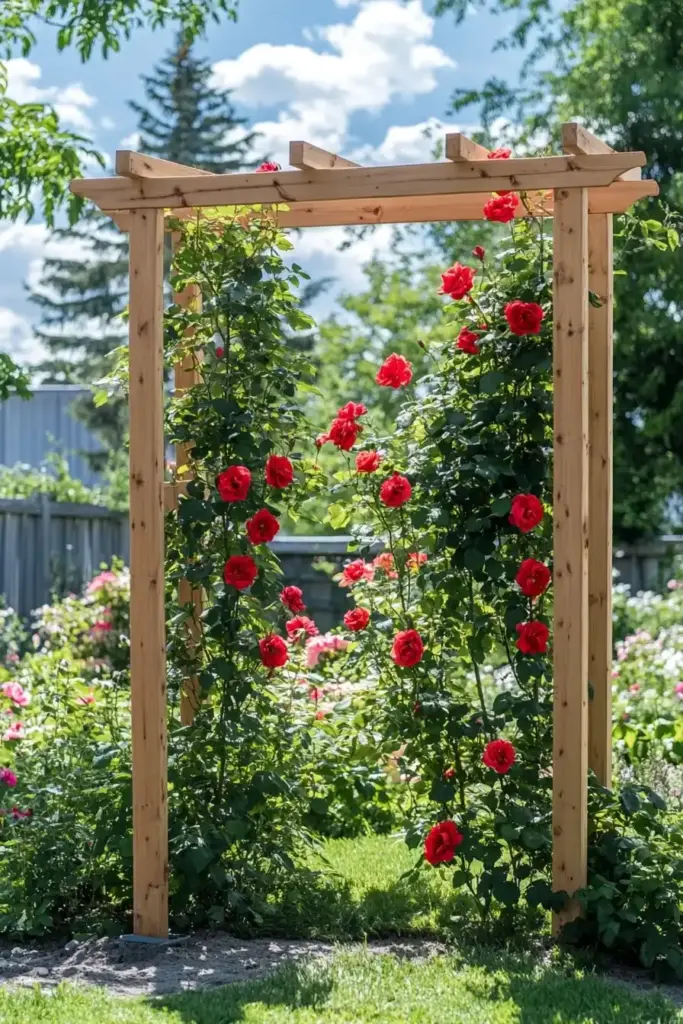
Building your DIY rose trellis is straightforward, even if you’re new to garden projects. In just an afternoon, you can create a structure that will support your roses for years and elevate the look of your outdoor space.
Step 1: Attach the Stakes to the Lattice
Lay your wooden lattice flat on the ground. Position the three stakes vertically — one on each end and one in the center.
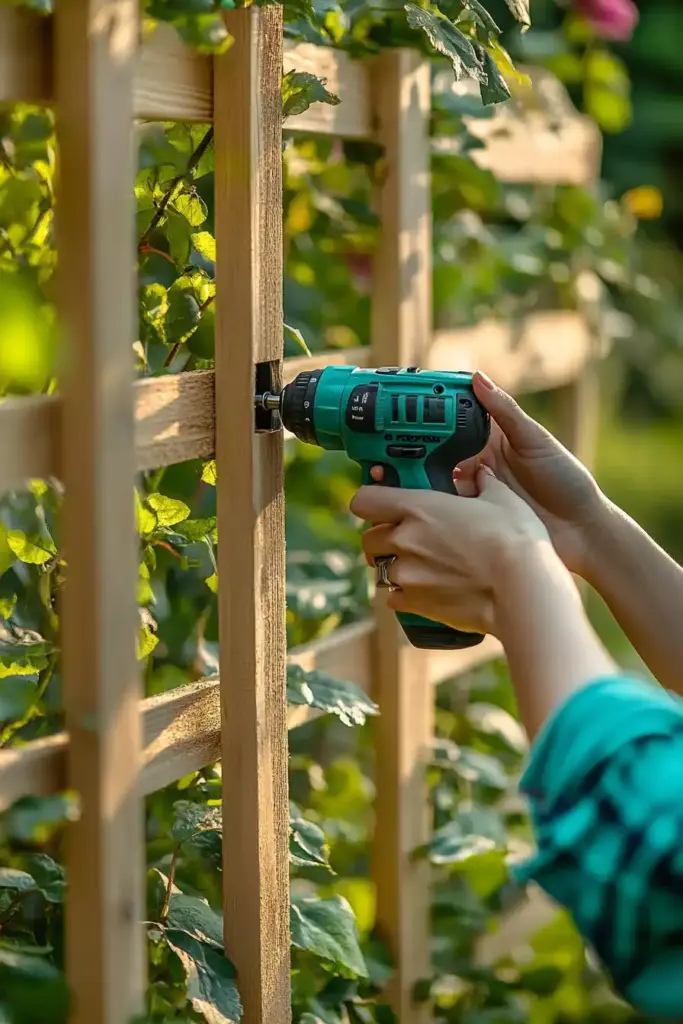
Use wood screws to attach the stakes to the back of the lattice, ensuring they’re evenly spaced and aligned. The stakes don’t have to reach the very top but should sit high enough to offer firm support.
Pro tip: Using a drill instead of a screwdriver will save you time and effort here.
Step 2: Paint the Trellis (Optional but Recommended)
Once your lattice and stakes are assembled, it’s time to paint. Spray the entire structure evenly with a weatherproof spray paint.
Black is a sleek, classic choice that also helps protect the wood from rot, but feel free to get creative with color.
Let the trellis dry completely before moving to the next step.
Step 3: Install the Trellis
Choose a spot in your garden where your climbing roses are planted or will be planted. With a hammer or mallet, gently drive the stakes into the ground a few inches deep until the trellis stands firmly upright.
Make sure it’s level and secure — especially important in windy areas.
Need more support? If your soil is loose or your roses are heavy growers, you can anchor the stakes with rocks at the base or even use quick-set concrete for a more permanent installation.
Step 4: Train Your Roses
Use zip ties or soft garden ties to gently secure rose canes to the trellis at about a 45-degree angle. This encourages side shoots and more blooms.
Be sure not to tie too tightly — your roses will continue to grow, and you don’t want to restrict them.
That’s it! Your custom trellis is ready to support stunning walls of blooms.
Trellis Upgrades for Bigger, Bolder Roses
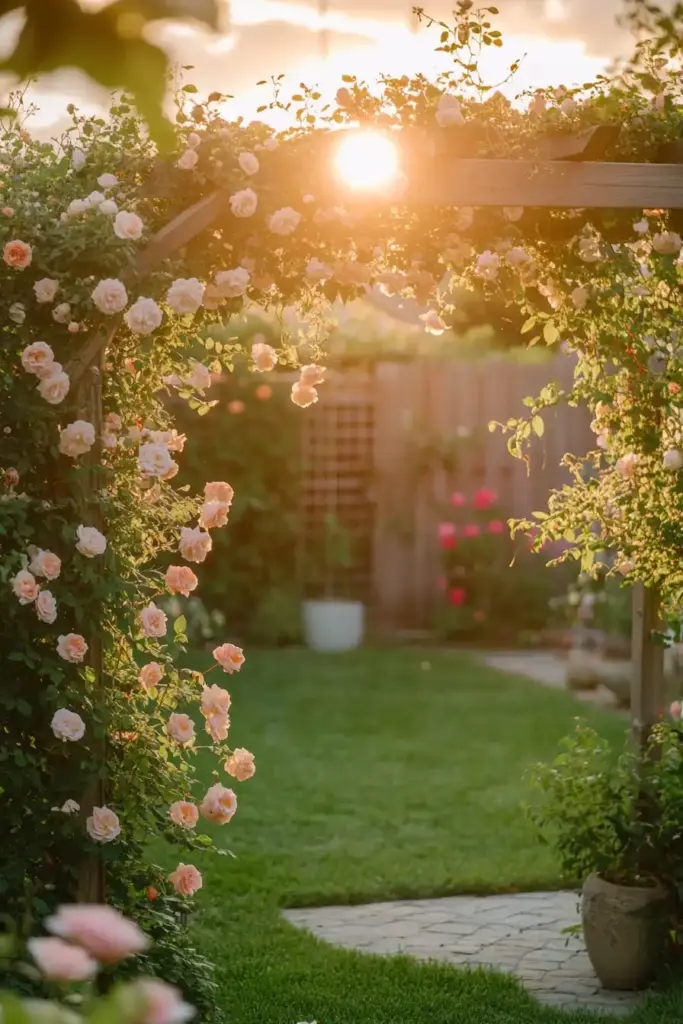
If you’ve already built your DIY rose trellis and your climbing roses are thriving, you might notice that the original structure starts to feel… a little small. That’s a good problem to have! As your roses mature, you can easily enhance your trellis to give them more space to climb and continue creating that lush wall-of-flowers effect.
Here’s how to upgrade your trellis setup:
- Add an Extension Panel
Simply attach another lattice panel on top of the existing one. This gives your roses more vertical space to grow and prevents the canes from falling over once they get top-heavy. - Build a Wooden Frame Around the Trellis
For extra strength, surround your lattice with a custom wood frame and screw it in place. This reinforces the entire structure, especially helpful in windy or storm-prone areas. - Anchor the Trellis with Extended Legs
Use longer wood stakes or “legs” that go over a foot into the ground. For maximum durability, consider anchoring them in concrete or using heavy rocks to keep everything secure. - Paint and Seal for Longevity
If you didn’t get a chance to paint the frame earlier, now’s the time. A fresh coat of paint not only enhances the look but also protects the wood from moisture damage over time.
This upgraded version not only supports your larger rose bushes better but also turns your trellis into a standout garden feature — almost like a blooming fence.
Do Climbing Roses Really Need a Trellis?

Short answer? Yes — climbing roses absolutely benefit from a trellis.
While it’s true that climbing roses have long, arching canes that can sprawl naturally, they won’t look nearly as elegant or controlled without proper support. A well-built DIY rose trellis gives your plants structure, keeps them healthy, and dramatically improves their visual appeal.
Here’s why a trellis matters:
- Prevents Damage: Without support, long canes can get whipped around by the wind and snap easily.
- Improves Airflow: A trellis helps keep foliage off the ground, reducing the risk of fungal diseases like black spot.
- Encourages Better Blooms: Training canes at an angle promotes lateral growth — and that means more flowers.
- Adds Vertical Interest: A trellis transforms your roses into a focal point, giving your garden a charming, vertical element.
Even if your rose bush starts out small, giving it a trellis from the beginning ensures strong, upright growth and a much more manageable plant in the long run.
Think of it as giving your roses a beautiful frame to grow into — and trust us, they’ll thank you with an explosion of color.
author:Final Thoughts: Bring Your Garden to Life with a DIY Rose Trellis
Creating your own DIY rose trellis isn’t just a fun weekend project — it’s a long-term investment in the beauty and health of your garden. Whether you’re nurturing young climbing roses or upgrading for your flourishing bloomers, a sturdy, stylish trellis helps your roses thrive while adding elegance to your outdoor space.
Plus, building it yourself means you can customize it to fit your garden’s vibe and your roses’ needs — and that’s something store-bought options just can’t compete with.
So grab your tools, follow the steps, and get ready to watch your roses grow skyward in style. 🌹
🌿 Love gardening inspiration? Follow me on Pinterest for bold plant ideas, tips, and seasonal color!
More Posts


