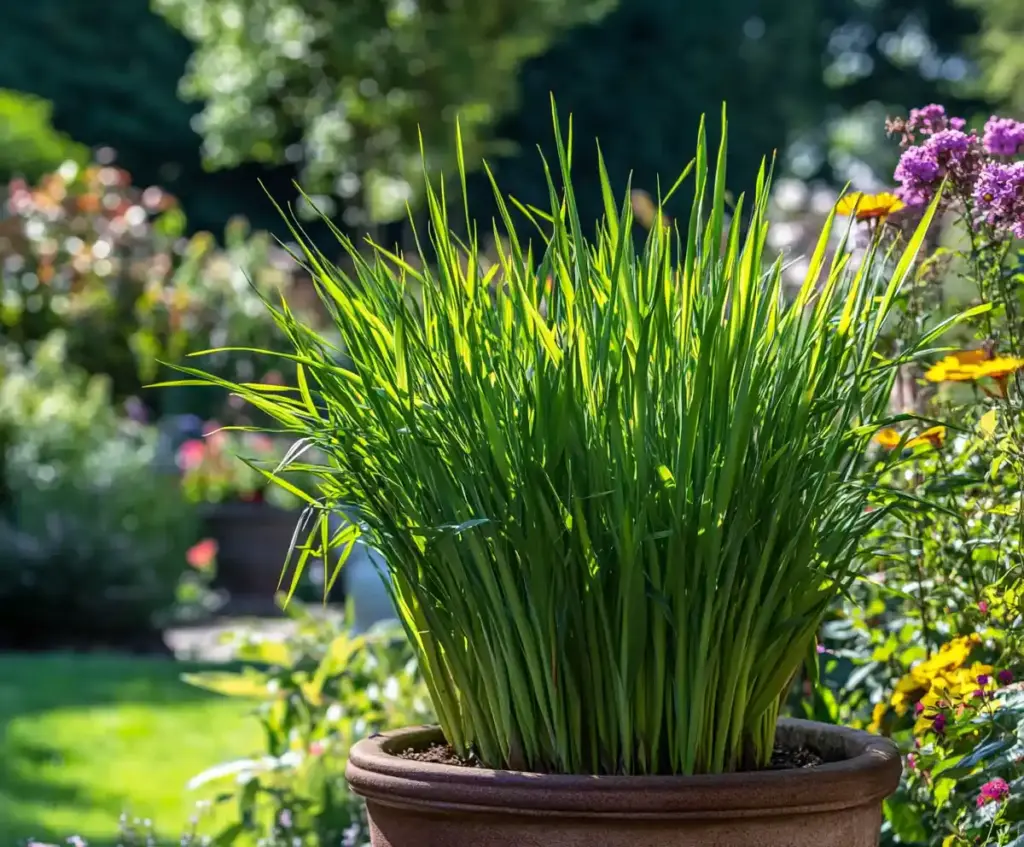
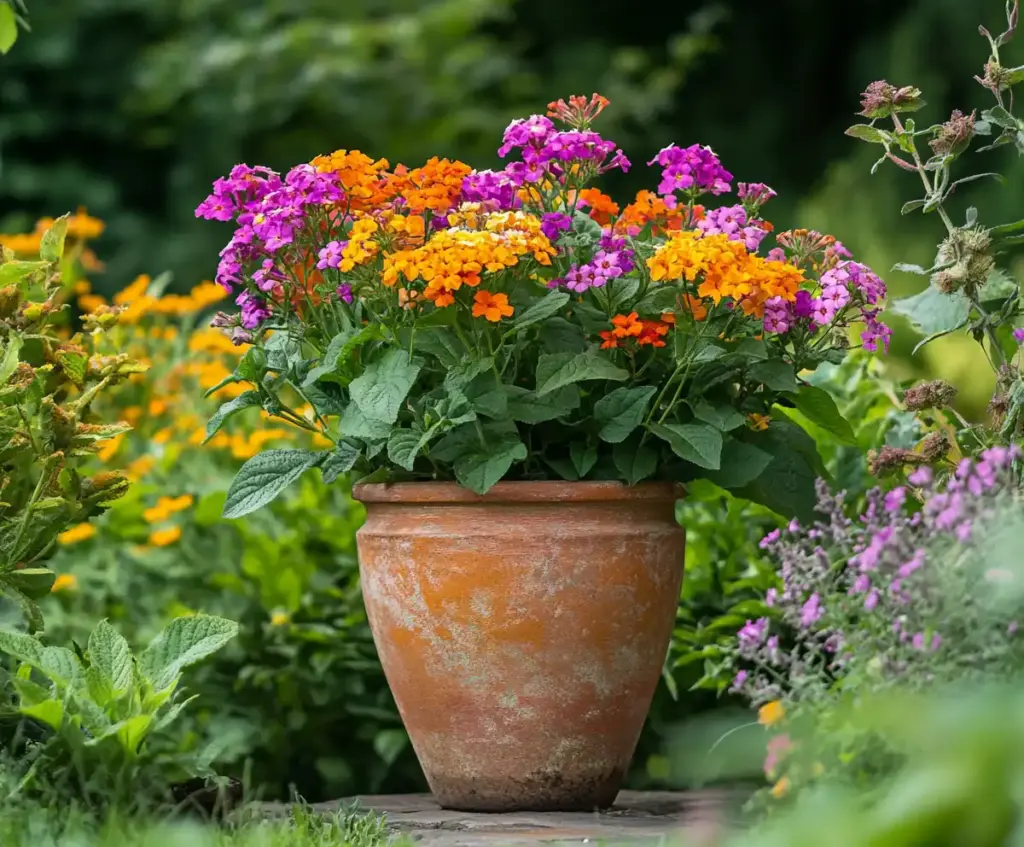
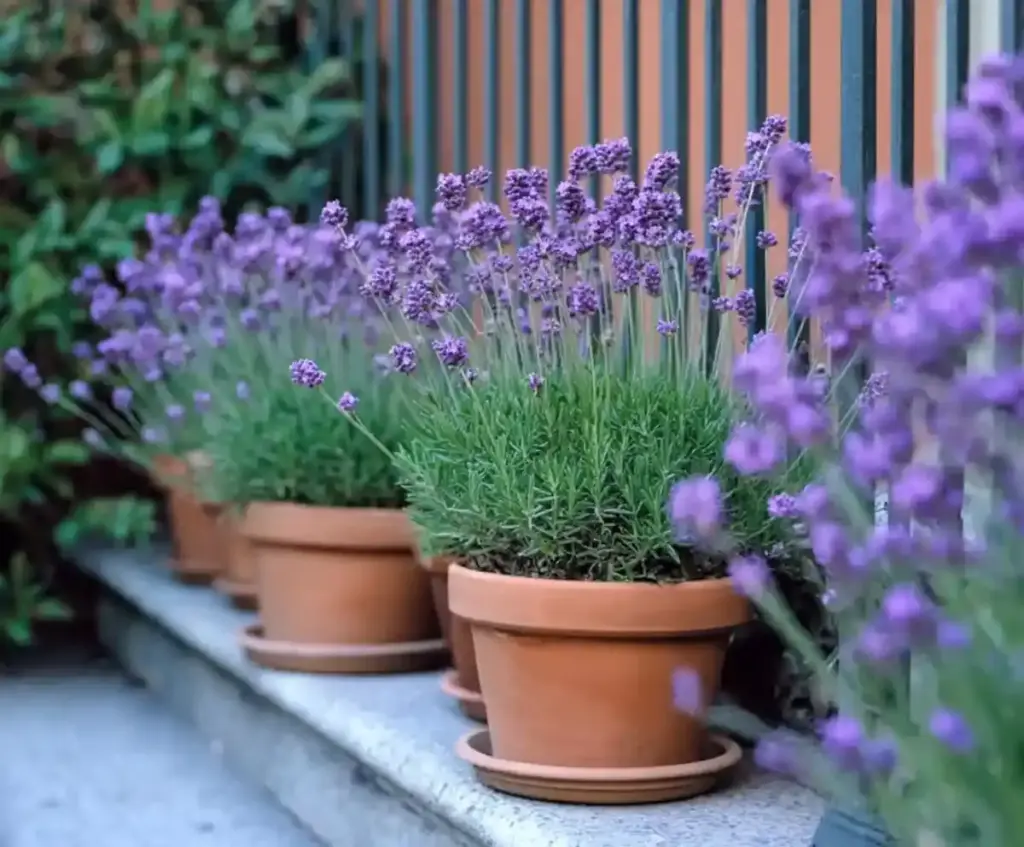
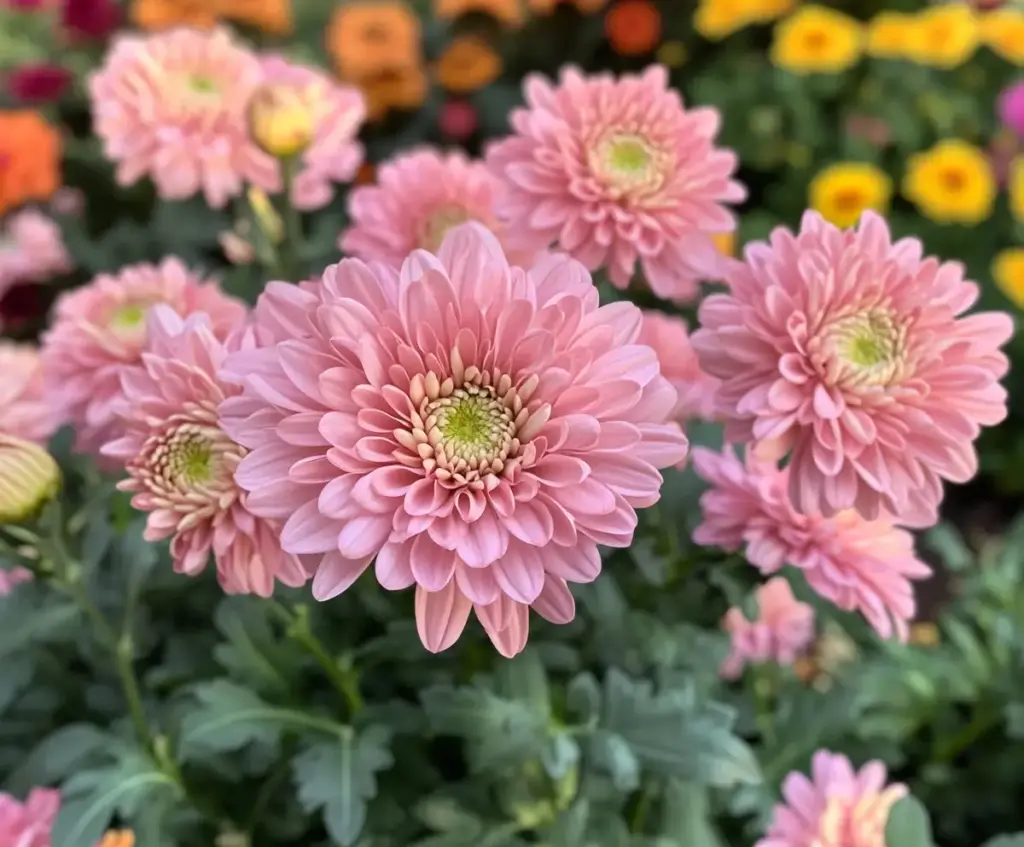
Perennial plants are the true workhorses of any garden, offering vibrant color and structure year after year with relatively low upkeep. But even these dependable beauties need the right care to perform at their best. Understanding the care and maintenance of perennials not only helps them thrive through each season—it also ensures they return stronger, fuller, and more floriferous every spring.
Whether you’re a novice gardener planting your first bed or a seasoned green thumb looking to fine-tune your methods, this guide will walk you through the essentials. From soil prep and spacing to watering, fertilization, and seasonal care routines, we’ve got you covered with practical advice grounded in horticultural science.
Let’s begin with the basics—what exactly is a perennial, and how do you know if yours needs special attention?
Quick Facts & Botanical Insights
Before diving into garden care techniques, it’s essential to understand what makes perennials unique—and why they’re such an asset in the landscape.
What Is an Herbaceous Perennial?
- Perennials are plants that live for more than two growing seasons.
- Herbaceous perennials are a specific type that dies back to the ground in winter, with only the roots or underground buds surviving until spring.
- Come warmer months, they resprout from the root zone, producing fresh foliage and blooms year after year.
While some perennials live only a few seasons (known as short-lived perennials), others like peonies or daylilies may persist and multiply for decades with minimal effort.
Why Choose Perennials?
- Longevity: You plant once and enjoy for years.
- Lower Maintenance: Once established, many perennials require less water and fertilizer than annuals.
- Seasonal Rhythm: Their dormancy in winter gives the garden a natural cycle of rest and renewal.
- Pollinator Support: Many perennials—like coneflowers, bee balm, and yarrow—are excellent for attracting bees, butterflies, and hummingbirds.
Common Types of Herbaceous Perennials
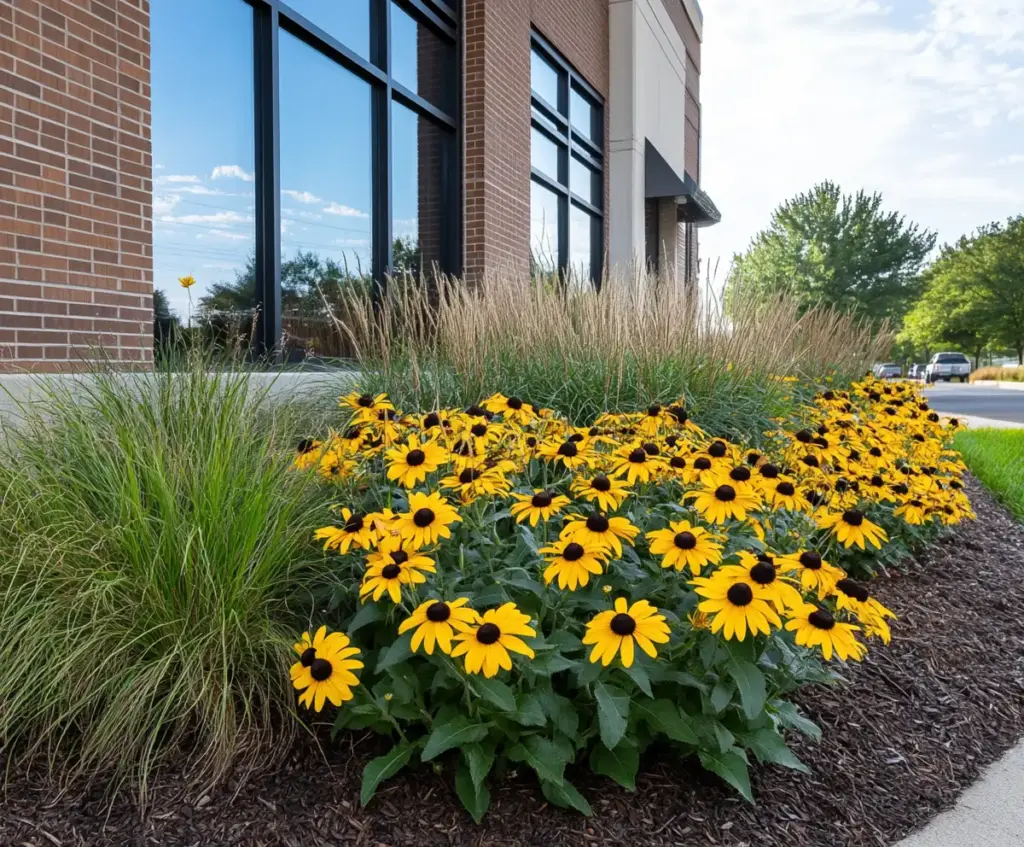
- Sun-Lovers: Coneflower (Echinacea), Black-eyed Susan (Rudbeckia), Russian Sage (Perovskia)
- Shade-Tolerant: Hosta, Astilbe, Ferns
- Moisture-Loving: Ligularia, Joe-Pye Weed, Japanese Iris
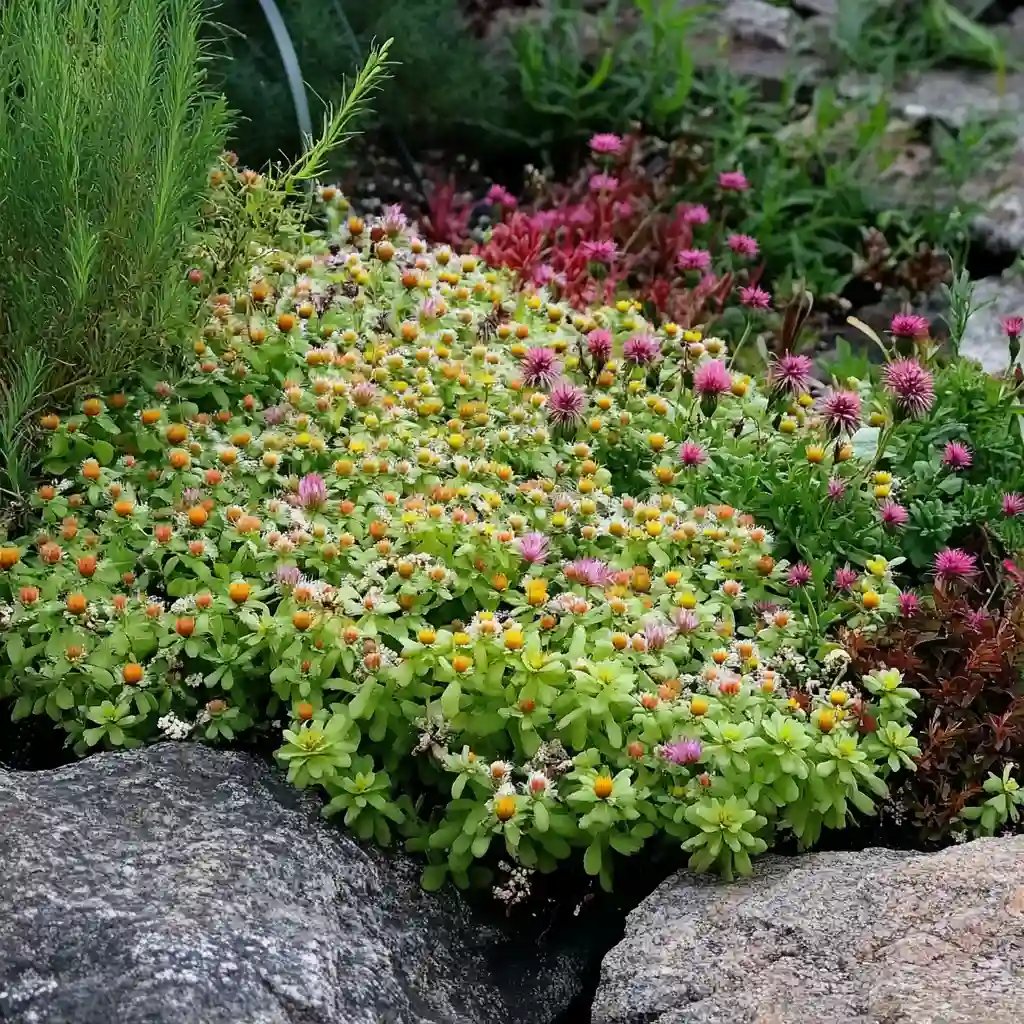
- Drought-Tolerant: Sedum, Lavender, Yarrow
Knowing the type of perennial you have will directly influence how you care for it. Up next, we’ll explore the ideal growing conditions needed to help them thrive year after year.
Ideal Growing Conditions for Perennials
Setting your perennials up for success starts with choosing the right location and providing favorable conditions. While some perennials are incredibly adaptable, most will reward you with better growth and blooms when their environmental needs are met.
1. Site Selection
Understanding your garden’s microclimate is the first step:
- Light: Know whether your area receives full sun (6+ hours), part sun, or full shade. Place sun-loving perennials like Salvia or Coreopsis in sunny spots, and shade-lovers like Heuchera or Tiarella in low-light areas.
- Drainage: Perennials hate soggy roots. Avoid areas that puddle after rain. Raised beds or amended soil can help in poorly draining spots.
- Air Circulation: Good airflow reduces the risk of fungal issues. Avoid placing plants too close to structures or in tight corners.
2. Soil Requirements
Soil health is the foundation of a thriving perennial garden.
- Texture: Loamy soil is ideal—crumbly, rich, and well-draining.
- pH Range: Most perennials prefer a pH of 6.0 to 7.0.
- Amendments: Add compost, leaf mold, or aged manure to improve fertility and structure.
- Mulching: Apply a 2–3 inch layer of mulch to:
- Conserve moisture
- Suppress weeds
- Moderate soil temperature
🌿 Pro Tip: Apply a winter mulch (e.g., evergreen boughs or straw) after the ground freezes to protect young or recently-divided perennials from freeze-thaw cycles. Remove gradually in early spring.
3. Watering Guidelines
Water is essential, especially for newly planted perennials.
- Establishment Phase: Water deeply and regularly during the first growing season.
- Ongoing Care: Once established, many perennials need about 1 inch of water per week, preferably in one deep watering session.
- Drought-Tolerant Varieties: Plants like Sedum or Yarrow still require consistent watering early on to develop deep root systems.
4. Spacing & Airflow
Overcrowding leads to poor air circulation and increased disease pressure. Use this spacing guide:
- Tall plants (3+ feet): Space 2–3 feet apart
- Medium plants (2–3 feet): 1.5–2 feet apart
- Low-growing plants (<2 feet): About 1 foot apart
Step-by-Step Planting & Setup Guide
Whether you’re starting a new perennial bed or adding to an existing one, a thoughtful planting process is key to long-term success. Here’s a comprehensive, step-by-step guide to help you get it right the first time.
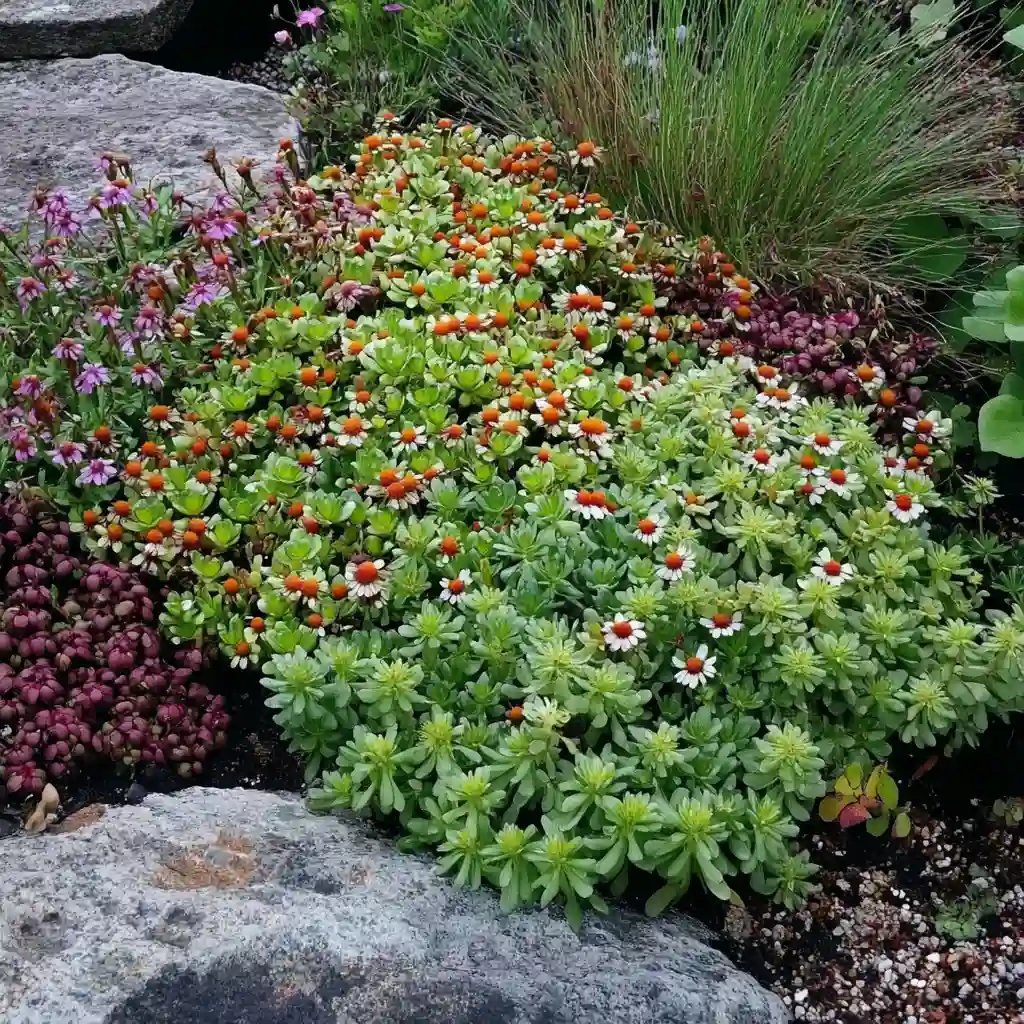
Step 1: Plan Your Garden Layout
- Sketch a rough design showing plant groupings based on height, color, and bloom time.
- Place taller plants toward the back (or center in island beds) and shorter ones near the edges.
- Group plants with similar light, moisture, and soil needs together for easier maintenance.
Step 2: Prepare the Site
- Clear existing weeds, sod, or debris from the planting area.
- Loosen the soil to a depth of at least 12 inches.
- Incorporate organic matter such as compost, leaf mold, or aged manure to enrich the soil.
🛠 Optional: Conduct a soil test before planting to adjust pH or nutrient levels if needed.
Step 3: Lay Out Your Plants
- Space them based on their mature size (refer to spacing tips from the previous section).
- Set plants still in pots in position to visualize the layout before digging.
Step 4: Dig & Plant
- Dig a hole as deep and twice as wide as the root ball.
- Gently remove the plant from its container, teasing out any circling roots.
- Place the plant at the same depth it was growing in the pot.
- Backfill with soil, pressing lightly to eliminate air pockets.
Step 5: Water Thoroughly
- Soak the area well after planting to settle the soil.
- Continue watering every few days for the first couple of weeks, depending on weather conditions.
Step 6: Mulch the Bed
- Apply a 2–3 inch layer of mulch, keeping it a few inches away from plant crowns.
- Mulch helps retain moisture, suppress weeds, and regulate soil temperature.
Step 7: Install Supports if Needed
- Add stakes, cages, or supports early for perennials prone to flopping, such as delphiniums or peonies.
- Early installation allows plants to grow through the supports naturally.
Maintenance & Ongoing Care
Once your perennial garden is planted, consistent care will help your plants flourish year after year. While perennials are generally low-maintenance, a little seasonal attention goes a long way toward vibrant blooms, lush foliage, and healthy roots.
🌿 Watering Wisely
- Newly Planted Perennials: Water frequently (every 2–3 days) for the first few weeks.
- Established Perennials: Water deeply once a week, aiming for about 1 inch of water.
- Dry Spells: Increase watering frequency during hot, dry weather.
- Use mulch to help reduce evaporation and retain moisture between watering sessions.
🌿 Fertilization
- Less is more when it comes to feeding perennials.
- Over-fertilizing can lead to lush leaves but few flowers.
- Use a balanced slow-release fertilizer like 10-10-10 or 5-10-5 in early spring.
- If in doubt, test your soil to determine if additional nutrients are truly needed.
🌿 Deadheading & Pinching
- Deadheading (removing spent blooms) encourages more flowers and keeps the garden tidy.
- Pinching back early in the season promotes bushier growth in plants like asters and chrysanthemums.
- Stop pinching mums by mid-July to allow buds to set for fall blooming.
🌿 Dividing Perennials
- Every 3–4 years, many perennials benefit from lifting and dividing.
- Best done in early spring or fall, depending on the plant.
- Use a spade or garden fork to split the plant, then replant divisions with amended soil.
- Not all perennials like being disturbed—plants like peonies often prefer to be left alone.
🌿 Staking Tall Growers
- Stake tall or heavy-blooming perennials like:
- Delphiniums
- Peonies
- Dahlias
- Install supports early in the season, allowing plants to grow naturally through them.
🌿 Seasonal Bed Care
Here’s a simplified month-by-month maintenance checklist:
Spring (March–May)
- Cut back grasses and prune roses
- Remove winter mulch gradually
- Divide crowded perennials
- Plant new perennials
- Edge and mulch beds
Summer (June–August)
- Weed and water regularly
- Deadhead and pinch as needed
- Fertilize heavy feeders like daylilies
- Stake and monitor for pests
Fall (September–November)
- Divide and move perennials
- Cut back declining plants
- Weed thoroughly
- Apply winter mulch after ground freezes
🍁 Tip: Avoid cutting back all perennials in fall—leave seed heads on plants like coneflowers for birds and winter interest.
Common Pests & Diseases (and Eco-Friendly Solutions)
Even with excellent care, perennial gardens can occasionally attract unwanted visitors. The key to managing pests and diseases is early detection, proper plant spacing, and organic intervention when necessary. Here’s what to watch for—and how to handle problems naturally.
🐛 Common Perennial Pests
1. Aphids
- Symptoms: Sticky leaves, curling foliage, stunted growth.
- Eco-Friendly Control:
- Spray with a strong blast of water to dislodge them.
- Use insecticidal soap or neem oil.
- Encourage beneficial insects like ladybugs and lacewings.
2. Slugs & Snails
- Symptoms: Irregular holes in leaves, slimy trails.
- Eco-Friendly Control:
- Place beer traps or copper barriers around vulnerable plants.
- Hand-pick in the evening.
- Use iron phosphate slug baits labeled for organic gardens.
3. Spider Mites
- Symptoms: Fine webbing, speckled or dry-looking leaves.
- Eco-Friendly Control:
- Rinse plants with water frequently (mites hate humidity).
- Apply neem oil or insecticidal soap.
- Keep plants well-watered to reduce stress.
4. Japanese Beetles
- Symptoms: Skeletonized leaves, visible metallic beetles.
- Eco-Friendly Control:
- Hand-pick and drop in soapy water.
- Use floating row covers during peak feeding times.
- Avoid beetle traps—they often attract more beetles than they trap.
🍂 Common Perennial Diseases
1. Powdery Mildew
- Symptoms: White, powdery coating on leaves.
- Prevention:
- Space plants properly for airflow.
- Water at the base, not overhead.
- Apply sulfur-based fungicides or neem oil if needed.
2. Rust
- Symptoms: Orange, rust-colored spots on undersides of leaves.
- Prevention:
- Remove and dispose of infected foliage.
- Improve air circulation.
- Avoid wetting leaves during watering.
3. Crown or Root Rot
- Symptoms: Sudden wilting, blackened stems, mushy roots.
- Prevention:
- Plant in well-drained soil.
- Avoid overwatering.
- Don’t bury crowns too deeply when planting.
🦋 Proactive, Eco-Conscious Gardening Tips
- Rotate planting locations every few years to break pest and disease cycles.
- Compost carefully—don’t include diseased plant material.
- Attract beneficial wildlife like birds, frogs, and beneficial insects with native plants and water sources.
- Use companion planting to deter pests—try planting garlic or marigolds near vulnerable perennials.
Expert Tips & FAQs
With the foundational care steps covered, let’s wrap up with some pro-level tips and answers to common questions gardeners often have about perennials. These nuggets of wisdom can make the difference between a good garden and a great one.
🌟 Expert Tips for Perennial Success
1. Stagger Bloom Times
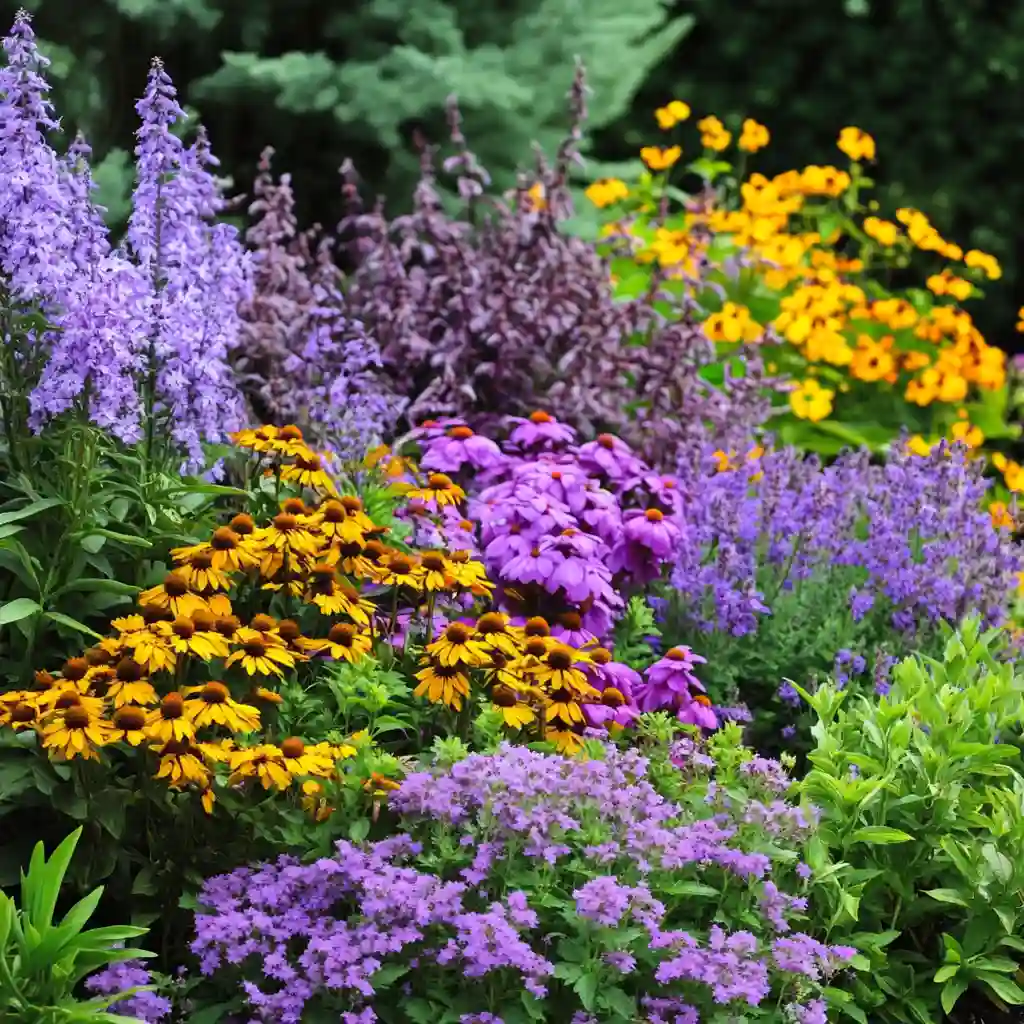
- Mix early, mid-season, and late-blooming perennials to ensure color from spring through fall.
- Example: Try pairing spring-blooming bleeding hearts with summer phlox and fall asters.
2. Label Your Plants
- Keep durable plant markers in the ground or create a garden map to remember plant names, especially during dormancy.
3. Leave Seed Heads
- Coneflowers, black-eyed Susans, and ornamental grasses add winter interest and feed birds—resist the urge to over-clean in fall.
4. Use Native Perennials
- Native plants like Joe-Pye weed, butterfly weed, and blazing star are adapted to local climates and often need less care and water.
5. Rotate Dividing Tasks
- Instead of dividing all at once, spread the job out over a few seasons to reduce garden disruption and labor.
❓ Frequently Asked Questions (FAQs)
Q: Do all perennials need to be divided?
A: No. Some, like peonies, dislike being disturbed. Others (hostas, daylilies) benefit from dividing every 3–4 years to maintain vigor.
Q: When is the best time to plant perennials?
A: Early spring or fall (4–6 weeks before the first frost) are ideal. These times allow roots to establish without the stress of extreme heat or cold.
Q: Can I grow perennials in containers?
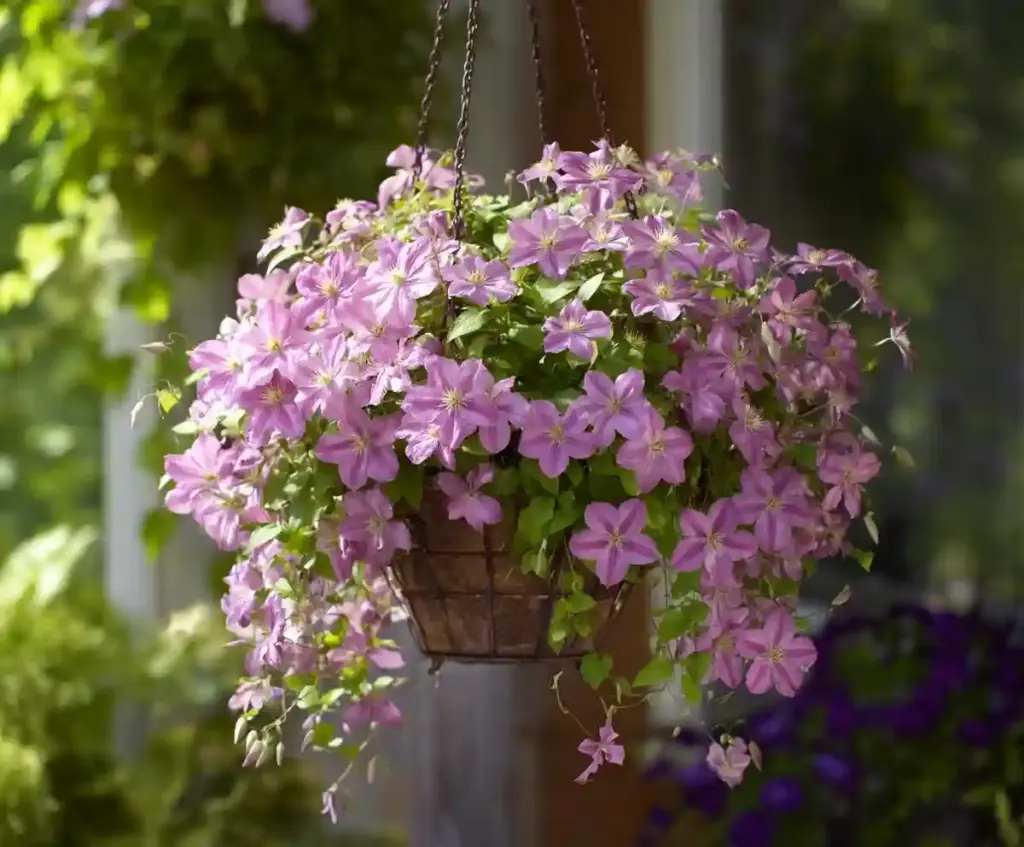
A: Yes! Choose compact varieties, ensure excellent drainage, and protect containers in winter to prevent root freeze.
Q: Why aren’t my perennials blooming?
A: Common causes:
- Too much nitrogen (leafy growth, no blooms)
- Not enough sunlight
- Overcrowding
- They’re still establishing (some take a full year to bloom well)
Q: Is it okay to cut back perennials in the fall?
A: It depends. Many gardeners cut back herbaceous perennials after the first frost, but leaving seed heads and stems can benefit wildlife and protect the crown over winter.
author:Conclusion
Build a Perennial Paradise 🌼
Perennials are the backbone of a vibrant, low-maintenance garden. With just a bit of planning, seasonal attention, and an eye toward natural care methods, your perennial beds can become more beautiful and resilient with each passing year.
By mastering the care and maintenance of perennials, you’ll enjoy waves of color, structure, and pollinator activity through every season—without having to start from scratch each spring.
Next Steps:
- Share this guide with fellow gardeners.
- Bookmark for seasonal reference.
- Check out our related post: [How to Divide and Replant Perennials Like a Pro].
Happy growing, and may your garden thrive year after year!
🌿 Love gardening inspiration? Follow me on Pinterest for bold plant ideas, tips, and seasonal color!
More Posts
