Looking to give your climbing roses the perfect support without spending a fortune or hours on setup? You’re in the right place. In this guide, we’ll show you how to create an affordable trellis for climbing roses using simple, accessible materials—and it takes less than five minutes!
Whether you’re new to rose gardening or just want a budget-friendly solution, this DIY trellis method is not only effective but has also stood up to real-world weather tests. It’s ideal for beginners and seasoned gardeners alike who want their roses to thrive without overcomplicating things.
🌿 Why Climbing Roses Need Support
Climbing roses are a stunning addition to any garden, offering vertical interest and a burst of blooms that can transform fences, walls, and arches into living art. But to help them reach their full potential, these beauties need the right kind of support—and that’s where a trellis comes in.
Unlike shrub roses that grow in a bushy form, climbing roses send out long, flexible canes that need to be trained and supported. Here’s why that’s crucial:
🌸 More Blooms, Less Space
Climbing roses are ideal for gardeners who want maximum impact in smaller spaces. Their upward growth means you can cover a narrow wall or post with vibrant flowers without sacrificing ground space.
🌿 Encouraging Lateral Growth = More Flowers
Here’s a little-known trick for maximizing your rose blooms: bend the canes at about a 45-degree angle as they grow. This technique encourages the plant to produce more lateral shoots, which are the branches responsible for most of the flowering.
Why this matters:
- Canes that grow straight up often produce fewer flowers
- Bending them horizontally or diagonally tricks the plant into branching out
- More branches = more blooms
So if you’re dreaming of a rose-covered trellis bursting with color, training those canes correctly is the secret sauce.
🧱 Support Options: From Fancy to Frugal
There are plenty of trellis options on the market—metal arches, wooden lattice panels, wrought iron obelisks—but they can get pricey fast. If you’re just starting out or want something quick and simple, a homemade trellis can be just as effective, especially in the first few years.
And the best part? It doesn’t have to be complicated or expensive to work well.
🧰 Materials & Tools You’ll Need
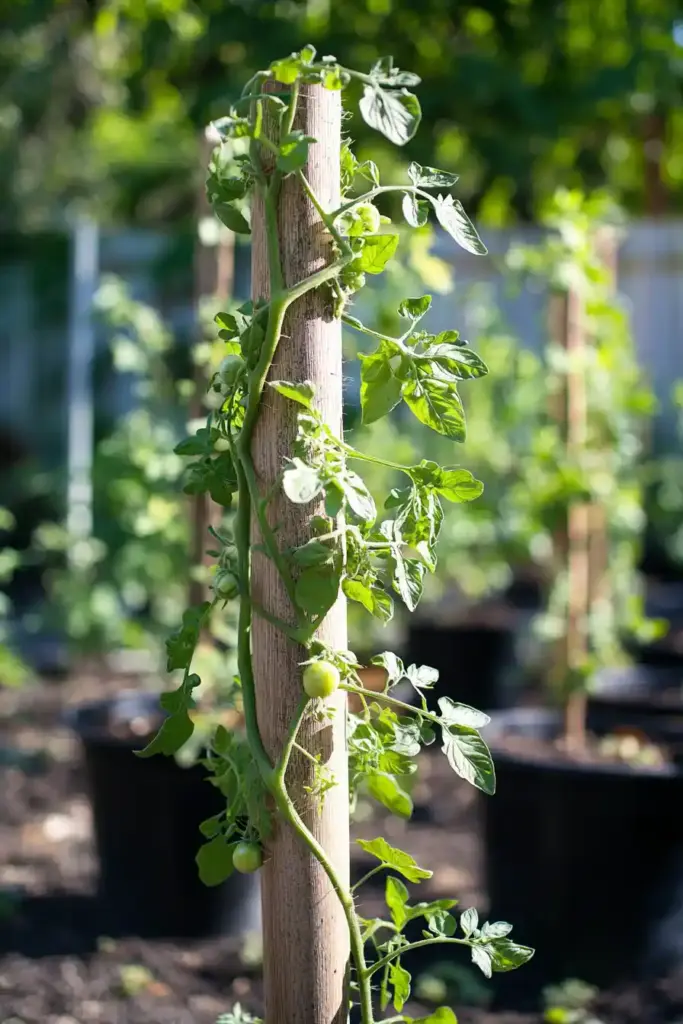
Creating an affordable trellis for climbing roses doesn’t require a trip to a specialty store or any power tools. You can pick up everything you need from your local garden center, big-box store, or even order online for just a few bucks.
Here’s your simple shopping list:
✅ Materials Checklist
- 2 to 3 bamboo sticks per rose plant
Choose sticks that are about 4–6 feet tall, depending on how big your rose is or will grow. - Twine or garden wire
Natural jute twine works great. It’s gentle on your rose canes and biodegradable. - Scissors or garden snips
You’ll use these to cut your twine and trim off any small branches in the way.
💡 Optional (but helpful):
- Garden gloves – Climbing roses are often thorny, so protect your hands.
- Garden stakes – If your soil is hard or rocky, stakes can help anchor the bamboo more securely.
- Rubber garden ties – A flexible, plant-safe alternative to twine for especially thick canes.
🏗️ Step-by-Step Guide to Building Your 5-Minute Rose Trellis
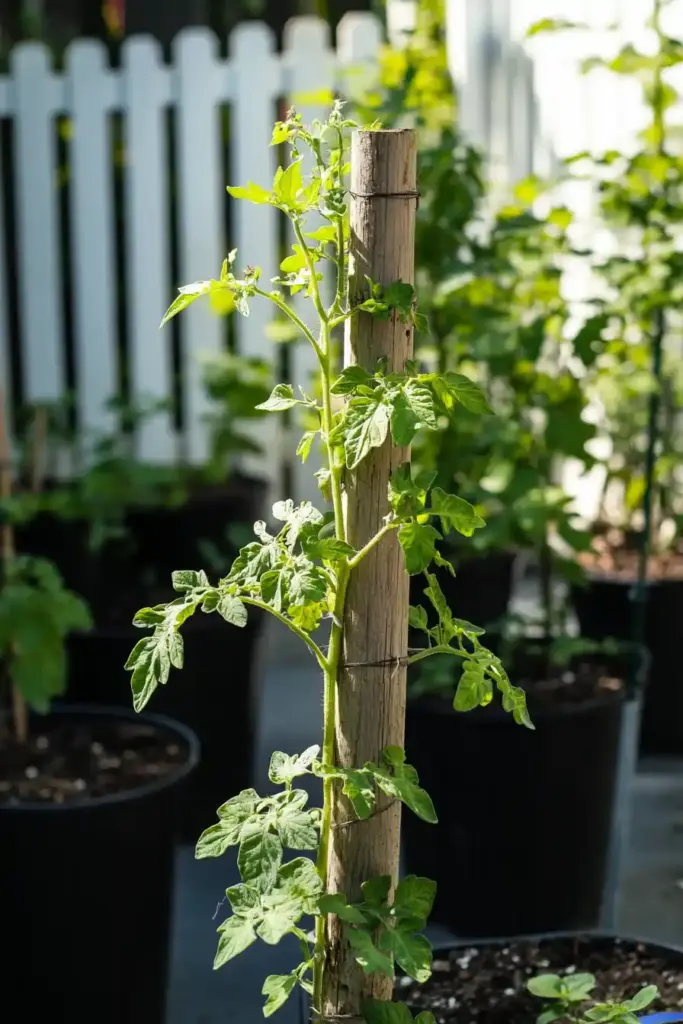
Now that you have your materials ready, it’s time to assemble your DIY trellis. The beauty of this method is how simple and quick it is—yet incredibly effective for training your climbing roses properly.
🌟 Position Your Bamboo Sticks
- Place 2 to 3 bamboo sticks into the ground around the base of your climbing rose.
- Space them about 6 to 10 inches apart in a teepee or tripod shape.
- Push the sticks at least 6–8 inches into the soil for stability.
Tip: If the soil is too hard, use a metal garden stake or tool to make small pilot holes.
🌟 Tie the Sticks Together at the Top
- Use a piece of twine to securely tie the tops of the bamboo sticks together, forming a cone-like shape.
- Wrap the twine several times for strength, and knot it tightly.
This structure gives the canes something to lean on and makes the trellis more wind-resistant.
🌟 Train the Rose Canes
Now comes the fun part—gently training your rose canes onto the trellis.
- Choose canes that are thicker than a pencil—these are usually strong and mature enough.
- Begin bending them at about a 45° angle to encourage lateral shoots.
- Use twine to tie the canes gently to the bamboo sticks.
🌟 Be Gentle and Patient
- If a cane is flexible, you may be able to wrap it lightly around the structure.
- For shorter or stiffer canes, don’t force them—just use a longer piece of twine to pull them toward the trellis and secure them gently.
- Avoid tying too tightly; allow some room for growth and movement.
Safety Reminder: Wear gloves when handling thorny canes, and move slowly to avoid snapping them.
🌿 Step 5: Adjust As Needed
- Check your trellis every couple of weeks.
- Retie loose twine or add new supports as your rose grows.
- As the plant matures, the bamboo may begin to deteriorate—by then, your rose should be trained enough to support itself or transition to a more permanent structure.
🌱 Maintenance Tips & Why This Method Works
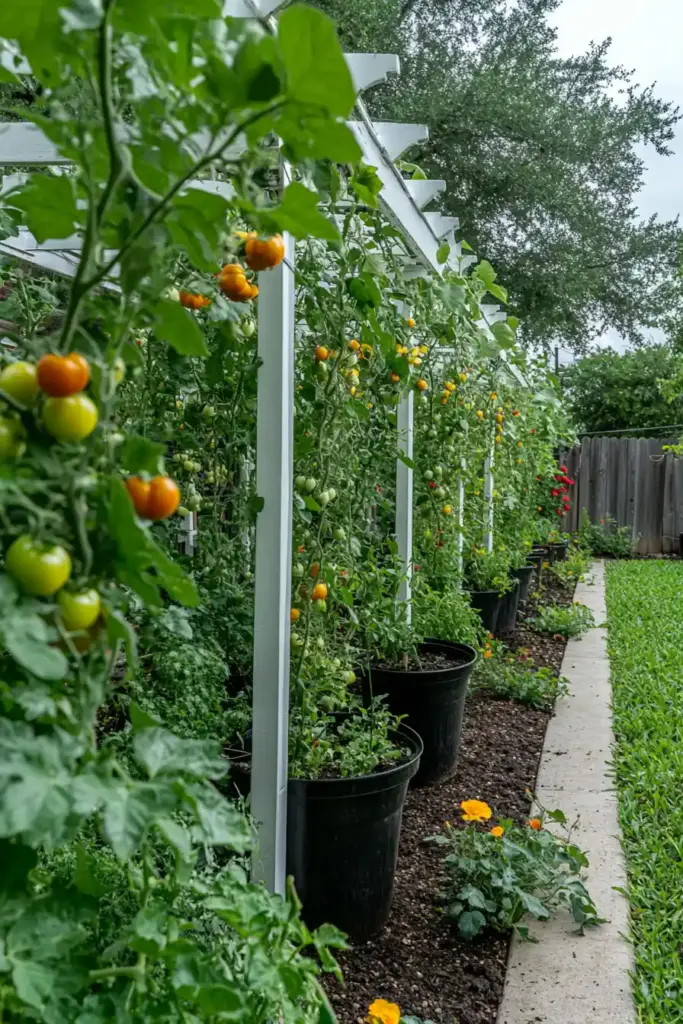
Building an affordable trellis for climbing roses is only the beginning. To get the most out of this DIY setup, a little regular care goes a long way.
🔄 Regular Maintenance Tips
- Check your ties monthly – As the rose canes thicken, you may need to loosen or retie twine to avoid constriction.
- Replace twine as needed – Exposure to sun and rain will wear it down over time.
- Inspect bamboo sticks – They’re durable, but not forever. Most will last 1 to 3 years, making them a great temporary solution while your rose matures.
- Guide new growth – Keep bending and tying new canes at a diagonal to encourage lateral blooms.
⚠️ Common Issues & Easy Fixes
| Problem | Solution |
|---|---|
| Canes snapping while bending | Choose older, more flexible canes. Warm days soften canes slightly. |
| Trellis feels wobbly | Push sticks deeper into the soil or tie to a nearby post/fence for support. |
| Rose not blooming much | Check if canes are trained at a 45° angle to encourage lateral shoots. |
🌹 Why This Method Is So Effective
- Low cost: You can set up multiple rose plants for under $20.
- Quick setup: Ideal for busy gardeners or anyone starting out.
- Customizable: Add or adjust supports as your rose grows.
- Encourages healthier growth: The angled training leads to a more flower-heavy plant.
author:Many gardeners assume you need fancy arches or metal frames to grow climbing roses. This method proves that a little creativity and a few bamboo sticks can go a long way in supporting a vibrant, blooming garden.
Conclusion
Creating a beautiful garden doesn’t have to be expensive or complicated. With just a few bamboo sticks, some twine, and five spare minutes, you can build an affordable trellis for climbing roses that’s sturdy, flexible, and surprisingly long-lasting.
Whether you’re a gardening newbie or a seasoned green thumb, this budget-friendly method gives your roses the support they need while encouraging more blooms and better structure. Plus, it’s totally customizable—you can scale it up or adapt it as your plant grows.
So next time you think you need to drop a fortune on fancy garden structures, remember: sometimes the simplest solutions are the most effective—and charming.
🌿 Love gardening inspiration? Follow me on Pinterest for bold plant ideas, tips, and seasonal color!
More Posts


