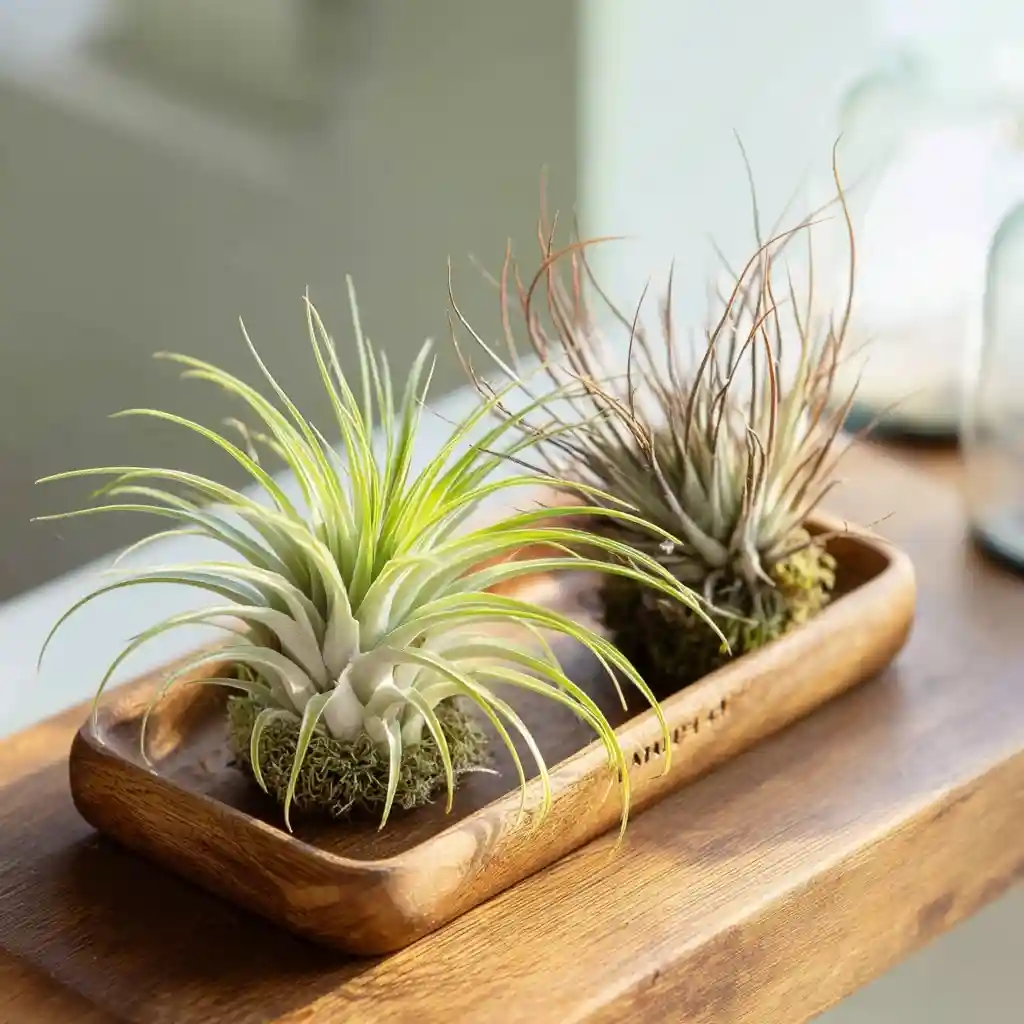
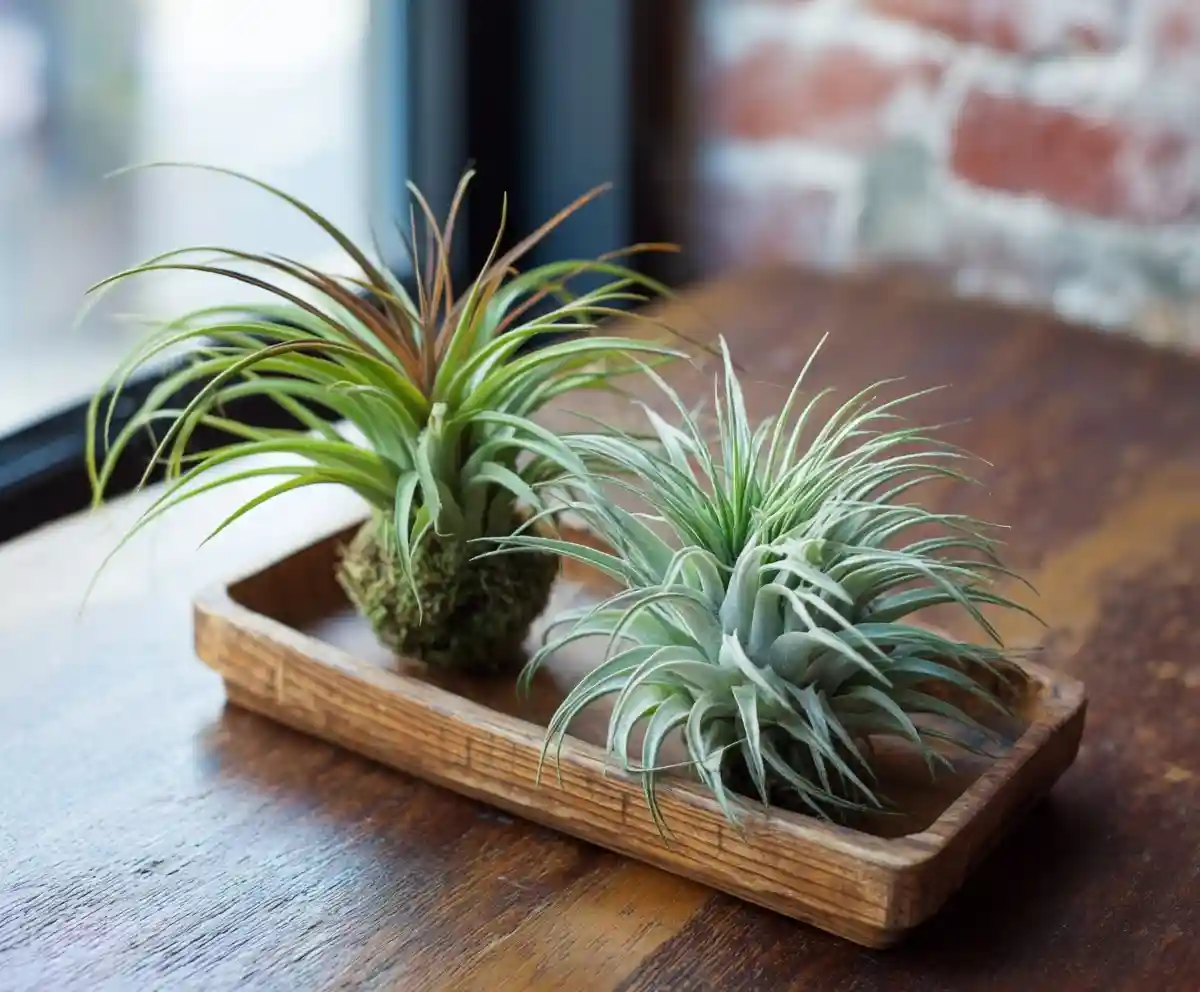
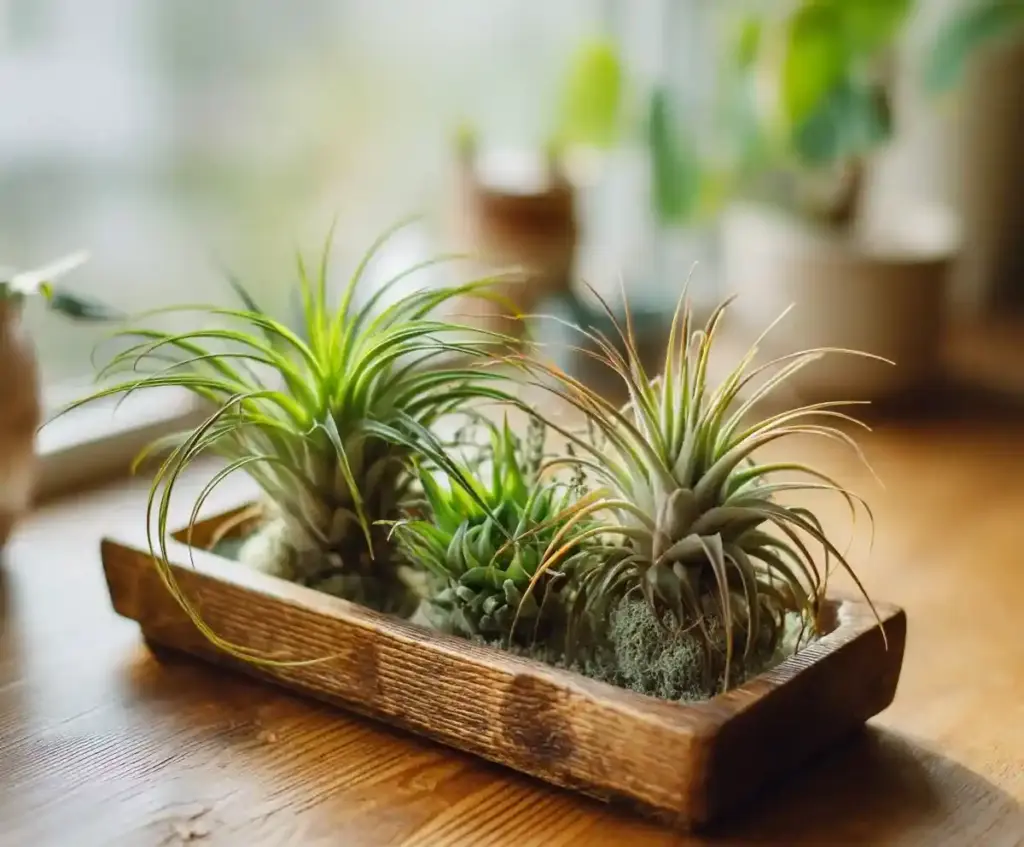
Air plants are a fun and fascinating addition to any indoor garden, and learning how to care for air plants is simpler than you might think. Unlike most houseplants, these leafy wonders don’t need soil at all. That’s right—no messy potting mix, just light, water, and air. Whether you’re new to houseplants or a seasoned green thumb, air plants offer a unique way to bring greenery into your space without the traditional upkeep.
Their low-maintenance habits, sculptural shapes, and flexible display options make them ideal for modern homes, small spaces, or even work desks. However, despite their reputation for being easy, understanding the right light, water, and environmental needs is key to keeping your air plants thriving.
Table of Contents
Care
✅ Light
Air plants grow best in bright, indirect light—the kind they’d naturally receive beneath a tree canopy in the wild. A north- or east-facing window works well. Avoid placing them in direct sunlight for long periods, as this can scorch their thin leaves.
If your space is a bit dim, you can supplement with a full-spectrum fluorescent or LED grow light for a few hours each day.
✅ Water
Despite their name, air plants need more than just air to live. They absorb moisture through their leaves, not roots, so a regular watering routine is essential. Here are three common watering methods:
- Soaking: Submerge your air plant in room-temperature, filtered water for 20–30 minutes once a week.
- Dunking: A quick dip in water, ideal for drier types that can’t handle excess moisture.
- Misting: Works well for daily upkeep, especially in humid rooms like bathrooms.
Always shake off excess water and let them dry upside-down to prevent rot. Never let them sit wet for too long, especially in cool or poorly ventilated spaces.
✅ Temperature & Humidity
Air plants prefer temperatures between 60°F and 85°F, similar to most indoor environments. They thrive in moderate to high humidity—think bathrooms, kitchens, or spaces with a humidifier.
Avoid placing them near heating vents, air conditioners, or drafty windows, which can dry them out too quickly.
✅ Fertilizer
Feeding your air plant once or twice a month with a bromeliad or air plant-specific fertilizer can boost growth and encourage blooming. Mix it into your soaking or misting routine. Use a gentle, water-soluble formula that won’t burn their leaves.
Display
One of the biggest perks when you care for air plants is the freedom to get creative with how you display them. Since they don’t need soil or heavy pots, air plants can be placed just about anywhere with the right light and airflow. This makes them perfect for artistic or space-saving arrangements.
🌿 Easy and Stylish Display Ideas:
- Mounted on driftwood or bark
Attach with floral wire or non-toxic glue. This mimics how they grow naturally in forests. - Glass terrariums
Ideal for humid-loving varieties. Keep the container open for airflow. - Wall-mounted holders or frames
Use hooks, baskets, or decorative wireframes to turn your plants into living wall art. - Hanging holders from the ceiling
Macramé hangers or glass orbs work beautifully near windows. - Tucked into shells, stones, or decorative bowls
Just make sure you can remove the plant easily for watering.
⚠️ Display Tips:
- Always choose locations with good airflow. Stagnant air can encourage rot.
- Make sure you can easily remove them for soaking or misting.
- Avoid closed containers unless humidity is monitored carefully.
By integrating air plants into your décor, you add a natural element that’s easy to refresh and rearrange as your mood or season changes.
Types
When learning how to care for air plants, it’s helpful to know that this isn’t a one-size-fits-all group. While most people associate air plants with the Tillandsia genus, many plant families include species that thrive without soil. Understanding the types can help you tailor care more precisely to their needs.
🌱 Common Types of Air Plants
1. Tillandsia (Bromeliad Family)
These are the most widely recognized air plants. They come in two main categories:
- Mesic Tillandsia: Prefer humid environments and indirect light. Great for terrariums and bathrooms.
- Xeric Tillandsia: Adapted to drier climates, with silver, fuzzy leaves that reflect light. Need less water but more sun.
2. Orchids (Orchidaceae)
Many tropical orchids are epiphytes. They cling to tree bark and absorb moisture from rain and air. Phalaenopsis orchids are a common example and often grown mounted.
3. Epiphytic Cacti
Tropical species like Rhipsalis, Christmas Cactus, and Fishbone Cactus are true air plants, growing on trees in rainforests. These need regular moisture but well-draining conditions.
4. Epiphytic Ferns
Ferns like Staghorn (Platycerium) and Bird’s Nest (Asplenium nidus) can grow without soil, especially when mounted. They love humidity and filtered light.
💡 Choosing the Right Type
- If your space is humid and shady → Go with mesic Tillandsia or ferns
- If you have bright, dry conditions → Choose xeric Tillandsia or epiphytic cacti
Matching the right type to your space will make care more intuitive and help your plants thrive longer.
Pruning
Pruning may not be the first thing that comes to mind when you care for air plants, but it plays a vital role in keeping them healthy and attractive. These plants naturally shed older leaves as they grow, but an occasional tidy-up helps prevent rot and improves airflow to newer growth.
✂️ When and How to Prune
- Remove dead or dried leaves
Gently pull away brown or crispy outer leaves by hand. If they don’t come off easily, you can snip them with sterilized scissors near the base. - Trim damaged tips
Use sharp scissors to cut away leaf tips that have dried out or browned. Always cut at an angle to maintain a natural look. - After blooming
Once the bloom fades, you can trim the flower stalk close to the base. This encourages the plant to shift energy into producing new offshoots (called pups).
⚠️ Pruning Precautions
- Never cut into the central base (“heart”) of the plant — doing so can cause irreparable damage.
- Always use clean tools to prevent spreading bacteria or fungi.
Regular pruning not only makes your air plants look better, but also prevents water from collecting in old, decaying leaves — which could lead to rot.
Propagating
One of the most rewarding aspects when you care for air plants is watching them multiply. Air plants naturally produce “pups”—small offshoots that grow from the base of the mother plant. With a little patience and the right approach, you can propagate these to grow an entirely new plant family.
🌿 Propagation by Division (Most Common Method)
This method works best with Tillandsia and other common air plant varieties.
Step-by-Step:
- Wait until pups are about 1/3 the size of the parent
This ensures they’re mature enough to survive on their own. - Gently separate the pup
Hold the base of the mother plant and wiggle the pup free. If it resists, use clean, sharp scissors to snip it off. - Let it dry for 24 hours
Air-dry the pup in a warm, ventilated area before soaking or misting. - Care for like an adult plant
Provide bright, indirect light and follow regular watering routines.
🌱 Propagation by Stem Cuttings (For Epiphytic Cacti & Some Ferns)
Some air plant types like tropical cacti can also be propagated by stem cuttings.
Here’s how:
- Cut a healthy stem about 4–5 inches long with sterile scissors
- Let the cut end callous over for 24–48 hours
- Place in a glass of filtered water or mount it in a moist, well-ventilated area
- New roots will develop within a few weeks
🧠 Tip:
Always research the specific air plant species before propagation—some may respond better to one method over another.
Growing in Pots
It might sound strange, but yes—you can grow air plants in pots, even though they don’t need soil. When you care for air plants this way, the key is to focus on support, not soil. These plants anchor themselves rather than root, so any pot or container should allow for airflow, easy removal for watering, and no water buildup.
🪴 Choosing the Right Pot or Holder
Air plants don’t absorb nutrients through roots, so your container is more about presentation and practicality.
Great options include:
- Open glass bowls or terrariums (avoid closed ones)
- Ceramic planters without drainage holes
- Hanging planters with wide openings
- Wire baskets or mounted wood displays
- Shallow dishes filled with pebbles or sand
Avoid anything that collects and holds water—this creates a perfect environment for rot.
🌬️ Potting Tips for Healthy Growth
- Always remove air plants from their pot or holder before soaking them
- Let them dry fully upside-down before placing them back
- Rotate their position occasionally to ensure even light exposure
- If your plant outgrows its display piece, move it to something larger or more open
🔄 When to “Repot”
Because air plants don’t root into their containers, “repotting” simply means moving them to a new holder if they’ve outgrown the old one or if you want to refresh your décor.
Air plants are incredibly flexible and adapt well to different containers—as long as they’re getting proper light, moisture, and air circulation.
Common Pests & Diseases

Even though they’re generally low-maintenance, knowing how to care for air plants also means staying alert to pests and diseases that can sneak in. The good news? With proper watering and ventilation, most issues can be prevented.
🐛 Common Pests
Mealybugs
- What to look for: White, cotton-like spots on leaves or in leaf joints
- Treatment: Dab with rubbing alcohol using a cotton swab every few days until the infestation clears
Scale Insects
- What to look for: Small, brown or gray bumps on the undersides of leaves
- Treatment: Gently scrape off with your fingernail or cloth dipped in alcohol
Prevention Tips:
- Keep air plants dry between waterings
- Don’t place them too close to infested houseplants
- Use neem oil as a natural preventive spray
🍄 Fungal & Bacterial Diseases
Rot
- What to look for: Mushy, brown or black spots on the base or leaves
- Cause: Overwatering or poor air circulation
- Treatment: Trim off affected areas and allow the plant to dry completely. Skip watering for at least a week.
Leaf Spot or Mold
- Symptoms: Discoloration or fuzzy growth
- Solution: Improve airflow and reduce humidity. If needed, treat with a gentle fungicide.
🧼 Proactive Care Tips
- Always dry your plant upside-down after watering
- Ensure good ventilation, especially in humid environments
- Quarantine new plants before placing them near your collection
A healthy air plant will resist most pests and diseases, but quick action is key when problems appear.
Bloom
One of the most exciting moments when you care for air plants is witnessing their bloom. Though each air plant only blooms once in its lifetime, the display can be striking—vibrant flowers in shades of pink, red, purple, or blue, and in some species, even a subtle fragrance.
🌸 When Do Air Plants Bloom?
- Timing depends on species, but most blooms occur once the plant reaches full maturity
- Some plants bloom within a year, others may take several years to flower
⏳ How Long Do Blooms Last?
- Smaller varieties may bloom for just a few days
- Larger species can display flowers for several weeks or even months
- After blooming, the plant begins focusing on producing pups, or baby air plants
👃 Do Air Plants Smell?
Some species have pleasant, unique scents:
- Tillandsia duratii → Grape soda aroma
- Tillandsia purpurea → Cinnamon-like scent
- Many others are unscented but just as visually striking
🌞 How to Encourage Blooming
You can’t force it, but you can create the ideal conditions:
- Provide bright, indirect sunlight
- Fertilize monthly with an air plant or bromeliad-specific fertilizer
- Keep a consistent watering schedule and ensure proper humidity
✂️ Post-Bloom Care
Once blooming is over:
- Trim the flower stalk near the base to help the plant redirect energy toward growth
- Continue regular care—watering, feeding, and lighting remain important
- Watch for pups forming near the base of the mother plant
With the right care, you’ll eventually have new air plants from the original—each with the potential to bloom all over again.
Common Issues
Even if you care for air plants diligently, problems can still arise. Most of the time, issues are tied to watering habits, humidity levels, or placement. The key is catching signs early and adjusting your care routine quickly.
🍂 Browning Leaf Tips
- Cause: Too little moisture or low humidity
- Solution: Mist more frequently or move the plant to a more humid area like the bathroom or kitchen. You can also place a small humidifier nearby.
🌫️ Faded or Dull Leaves
- Cause: Lack of light or aging
- Solution: Move your air plant to a brighter location (avoid direct sun). If the plant is older, fading may simply be part of its life cycle.
🟤 Mushy or Soft Base
- Cause: Overwatering or water trapped in the base
- Solution: Remove any mushy parts, let the plant dry out thoroughly, and reduce watering frequency. Always dry plants upside-down after soaking.
💦 Water Pooling Inside the Plant
- Cause: Improper drying after watering
- Solution: Shake off excess water and let the plant dry completely in a ventilated space. Prevent water from collecting in tight leaf crevices.
⚠️ General Tips to Avoid Issues
- Don’t place air plants in closed terrariums without airflow
- Avoid sitting them directly on soil or moss that holds moisture
- Always adjust care to the specific type of air plant you’re growing
By observing changes in texture, color, or shape, you’ll get better at identifying what your air plant needs — and correcting problems before they become fatal.
FAQ
Do air plants really not need soil?
Correct — air plants don’t need soil at all. They absorb water and nutrients directly through their leaves from the air and surrounding environment. Soil can actually harm them by holding too much moisture.
How often should I water an air plant?
It depends on your climate and the type of air plant:
- Most air plants need soaking once a week
- In drier environments, mist lightly 2–3 times a week
- Xeric varieties (from arid climates) may need less frequent watering than mesic types
Always allow them to dry completely after watering.
Why is my air plant turning brown or crispy?
This usually signals underwatering or low humidity. Increase misting frequency and consider placing the plant in a more humid room like a bathroom or kitchen.
Can I grow air plants outside?
Yes — if you live in a warm, humid climate (USDA zones 9–11). Just protect them from:
- Direct midday sun
- Frost or cold drafts
- Excess rain that can lead to rot
How long do air plants live?
Most air plants live 2 to 5 years, depending on the species and how well they’re cared for. They reproduce by forming pups, which can be separated to grow new plants and continue the cycle.
Are air plants safe for pets?
Yes, most Tillandsia and common air plants are non-toxic to pets. However, keep them out of reach—especially curious cats who might chew on the leaves.
Conclusion
Caring for air plants is simple, rewarding, and incredibly flexible. With no soil to worry about, these adaptable plants offer creative styling options and thrive in many indoor environments. Just remember the essentials: bright, indirect light, regular watering, good airflow, and the occasional trim or feed.
Whether you’re placing them in a hanging orb, mounting them on driftwood, or lining them up along a sunny shelf, your air plants will thrive with just a bit of consistent care. And as they bloom and produce pups, your small collection can turn into a full-fledged air plant garden—all without a single bag of potting mix.


