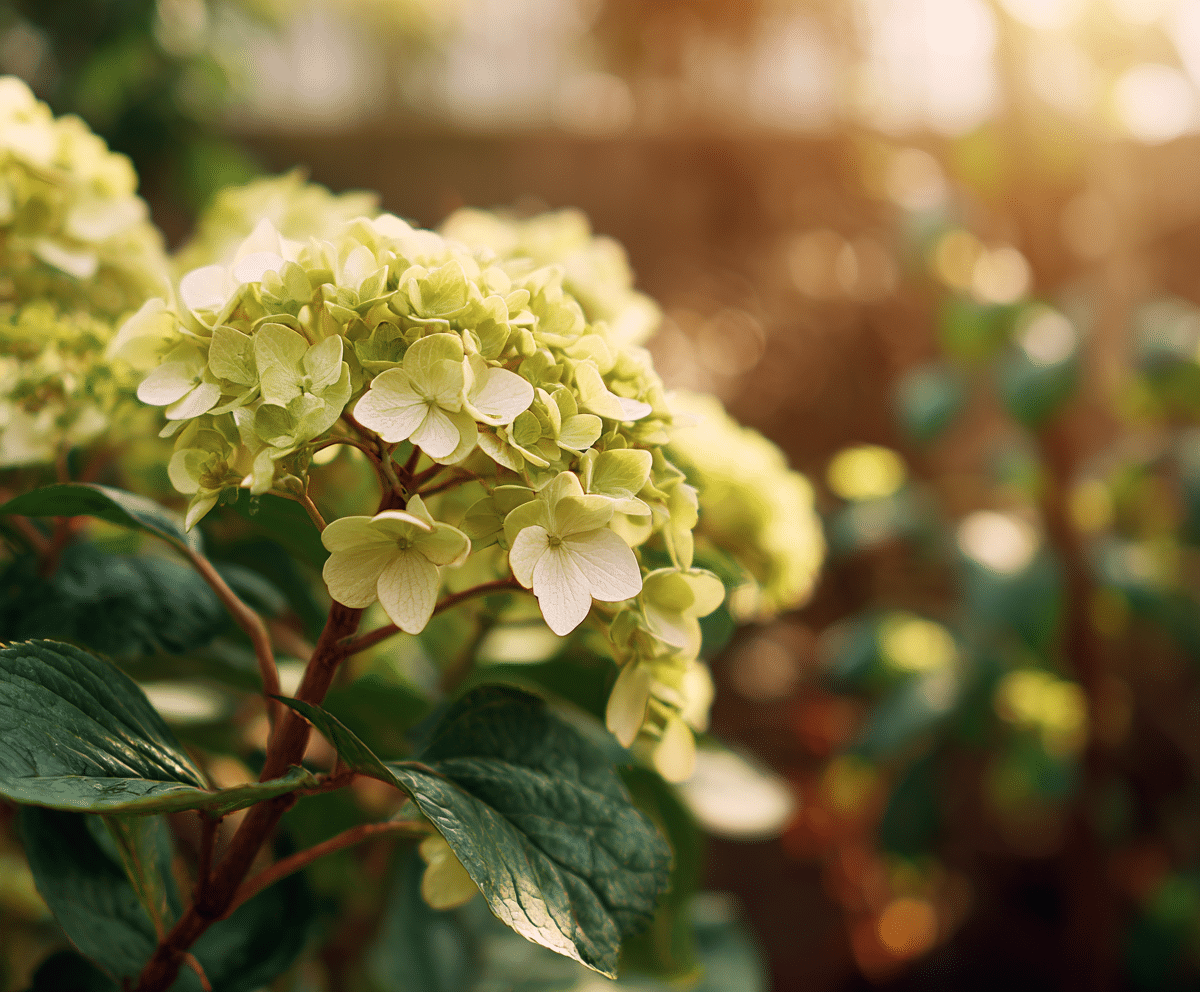
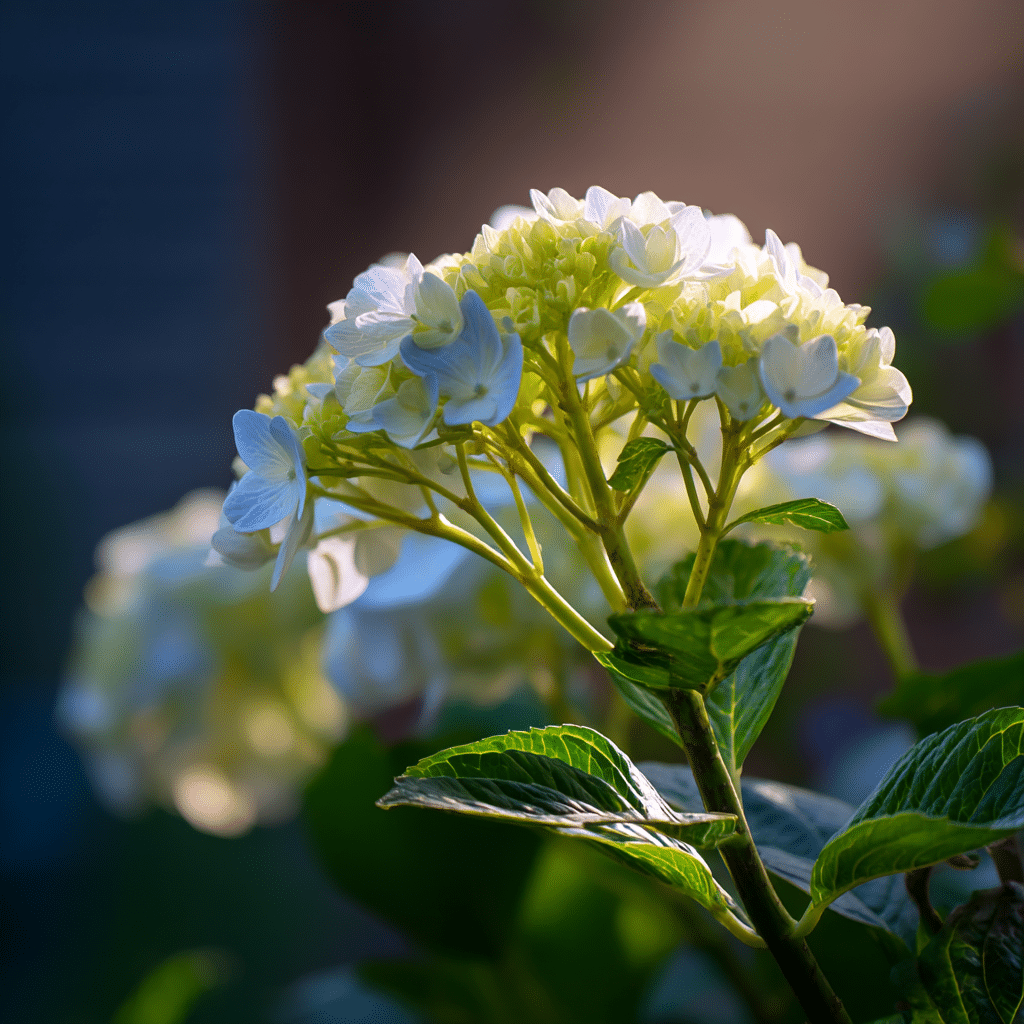
9 tactics to grow hydrangeas shrubs from clippings and cuttings can turn even a first-time gardener into a confident propagator. Instead of buying new plants every season, you can multiply your favorite hydrangea varieties at home—with just a few snips, the right timing, and a little patience.
Hydrangeas are beloved for their bold blooms and elegant foliage, and growing them from cuttings is surprisingly simple once you understand the key steps. This guide will walk you through exactly how to get it right—starting from choosing the right stem all the way to transplanting strong, rooted shrubs into your garden.
Let’s get started.
Table of Contents
1. Choose the Right Time
Timing is everything when it comes to growing hydrangeas shrubs from clippings and cuttings. The success of your propagation largely depends on when you take your cuttings.
The ideal window is in late spring to early summer, during the plant’s active growing phase. At this stage, stems are full of life, flexible, and more likely to root successfully. The plant is already focused on new growth, so your cuttings will be more responsive.
Avoid taking cuttings in autumn or winter, when the plant enters dormancy. During that time, energy is stored in the roots, not the stems—making root development from cuttings far less likely.
Get the timing right, and you’re off to a strong start.
2. Select Healthy Stems
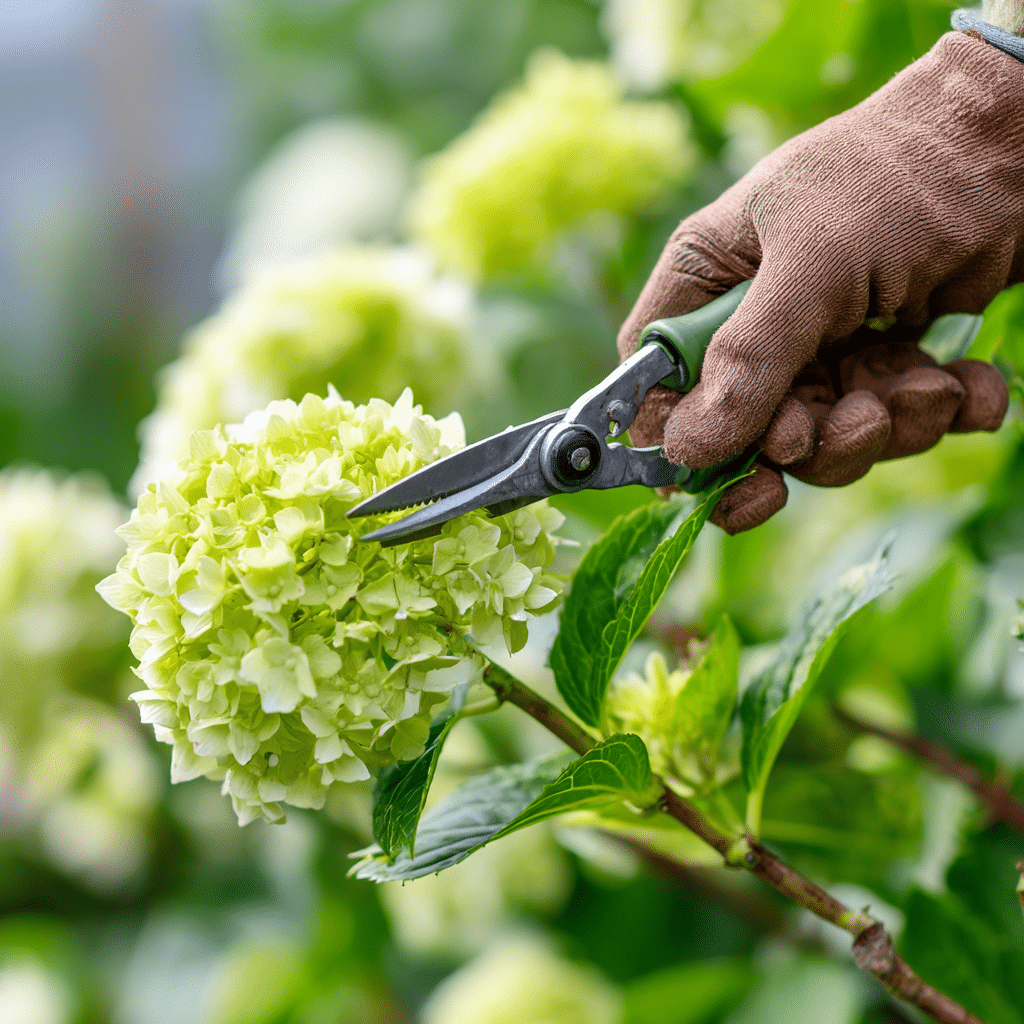
When you’re learning 9 tactics to grow hydrangeas shrubs from clippings and cuttings, choosing the right stem is absolutely critical. Not all stems are created equal, and selecting the wrong one can set you back weeks.
Look for young, green, and healthy stems that haven’t yet bloomed. These are called softwood cuttings, and they root much more easily than woody or flowering ones. Avoid any stems that show signs of disease, discoloration, or damage.
Make sure your chosen stem is about 4 to 6 inches long, and use clean, sharp scissors or pruning shears to make a cut just below a leaf node. That’s the spot where roots are most likely to form.
Healthy cuttings equal healthy roots—and ultimately, beautiful hydrangea shrubs.
3. Prep Your Cuttings
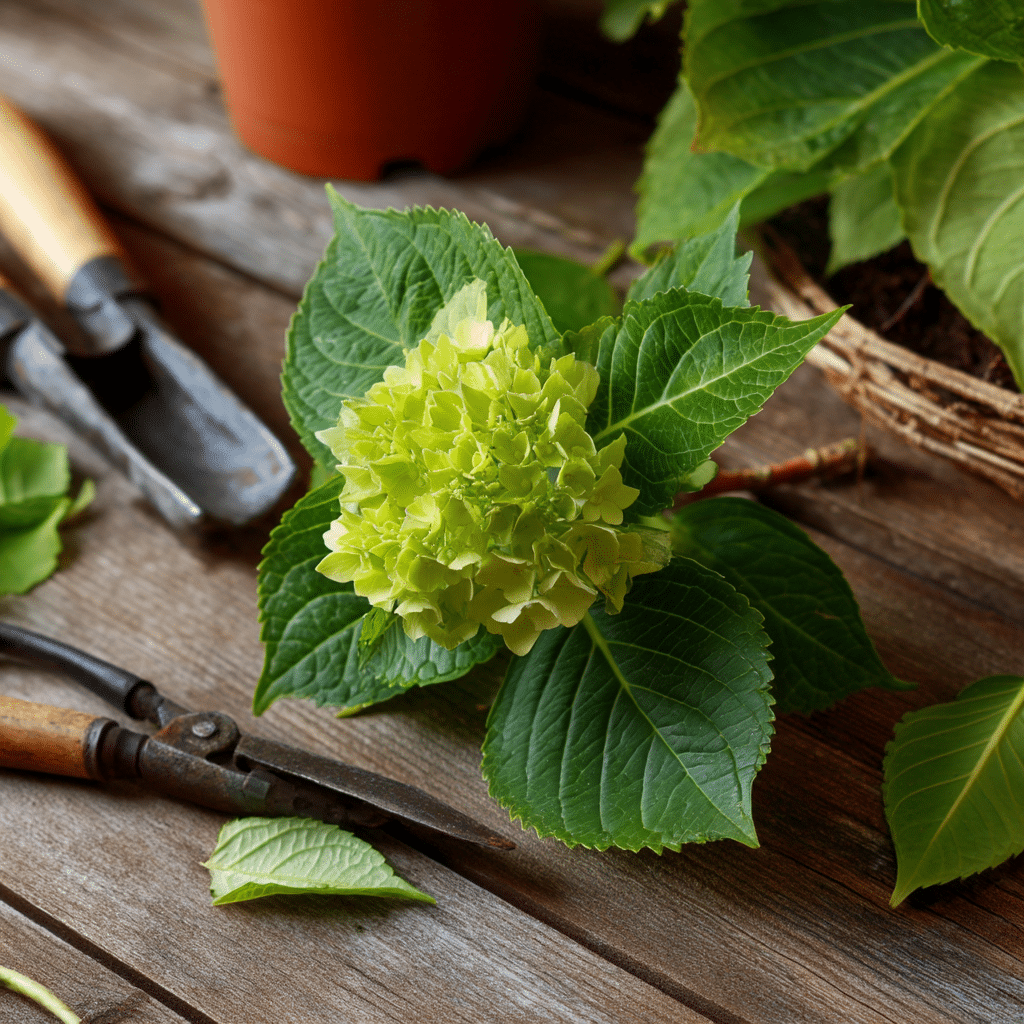
Prepping your cuttings correctly is a make-or-break step in the process of using these 9 tactics to grow hydrangeas shrubs from clippings and cuttings. Once you’ve selected a healthy stem, it’s time to get it ready for rooting.
Start by removing the lower leaves, leaving only one or two small leaves at the top. This reduces moisture loss and helps the cutting focus its energy on developing roots rather than supporting unnecessary foliage.
If the remaining leaves are large, you can cut them in half with clean scissors. This further minimizes water evaporation without harming the cutting.
By reducing stress on the cutting, you give it the best possible environment to start forming roots quickly and efficiently.
4. Dip in Rooting Hormone
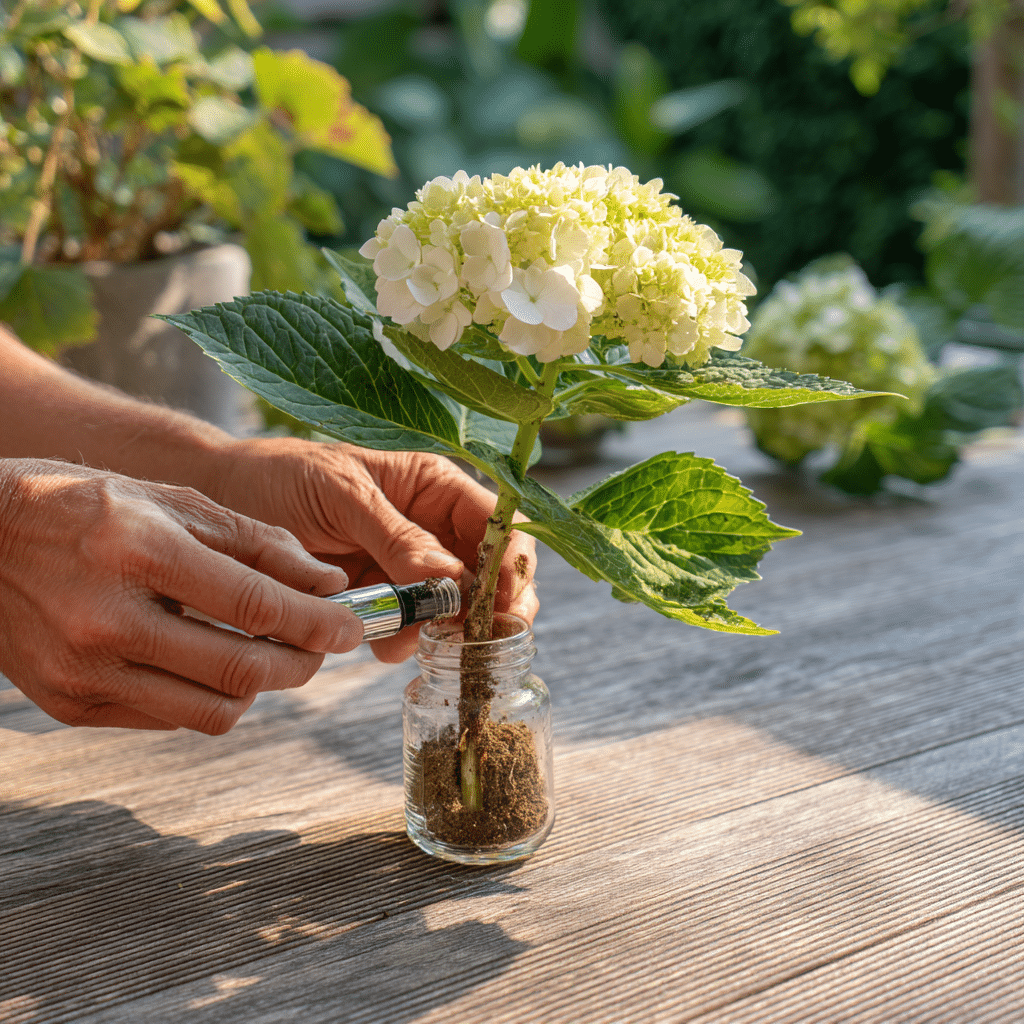
While not strictly required, applying rooting hormone can dramatically boost your success rate when following these 9 tactics to grow hydrangeas shrubs from clippings and cuttings. It’s a small step with big rewards.
Once you’ve prepped your cutting, dip the cut end into rooting hormone powder or gel. Make sure the hormone covers the area just below the leaf node—the zone most likely to produce roots.
Rooting hormone contains compounds that stimulate root development and may also help protect the cutting from soil-borne diseases.
Even though some gardeners skip this step, using rooting hormone often means faster root formation and stronger young plants—especially for beginners or in less-than-ideal conditions.
5. Plant the Cuttings
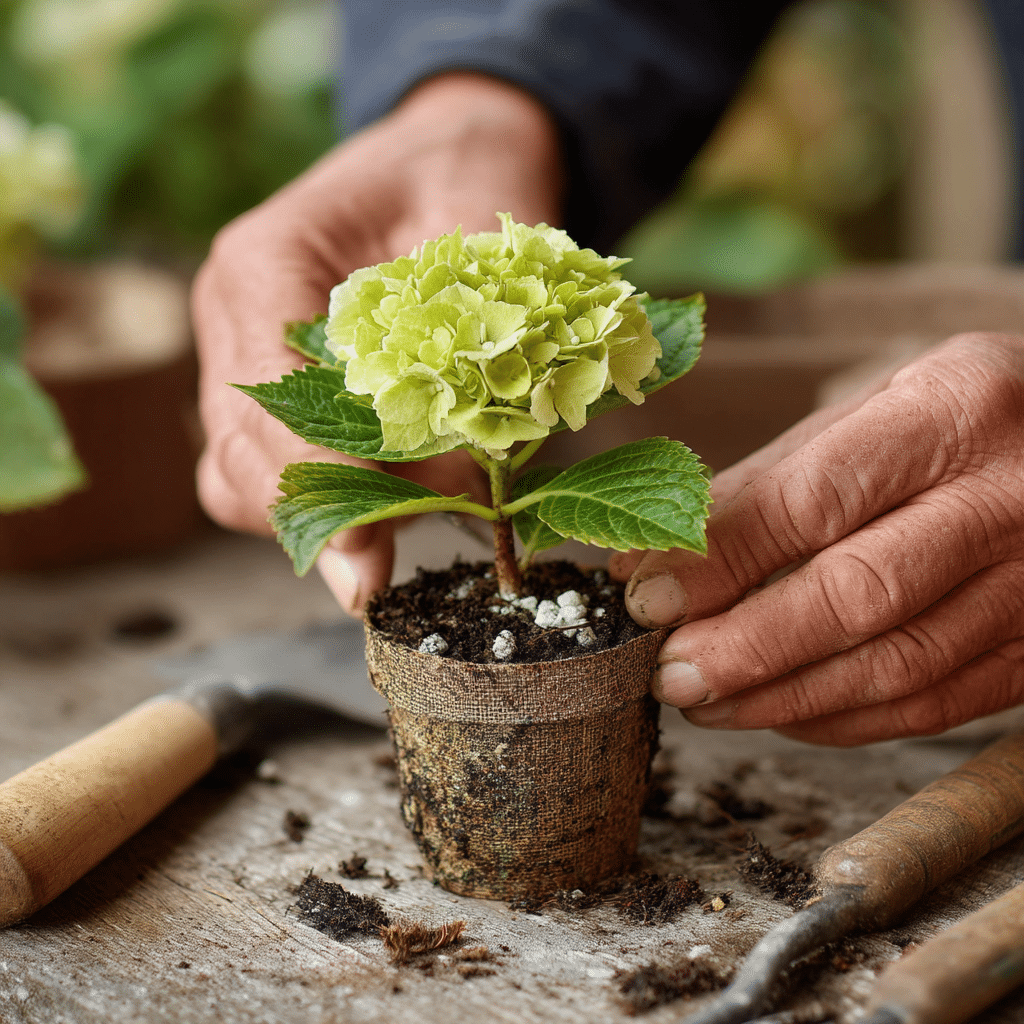
Now that your cuttings are prepped and treated, it’s time to plant them—the most hands-on step in these 9 tactics to grow hydrangeas shrubs from clippings and cuttings.
Fill a small pot or seed tray with a well-draining soil mix. A combination of potting soil with added perlite or coarse sand works well. The goal is to retain moisture without suffocating the stem.
Use a pencil or stick to poke a small hole in the soil, then gently insert the cutting about halfway in. Press the soil around it lightly but firmly to hold the cutting upright and stable.
Finish by watering lightly—just enough to moisten the soil without making it soggy. This sets the stage for successful rooting in the weeks ahead.
6. Create a Humid Environment
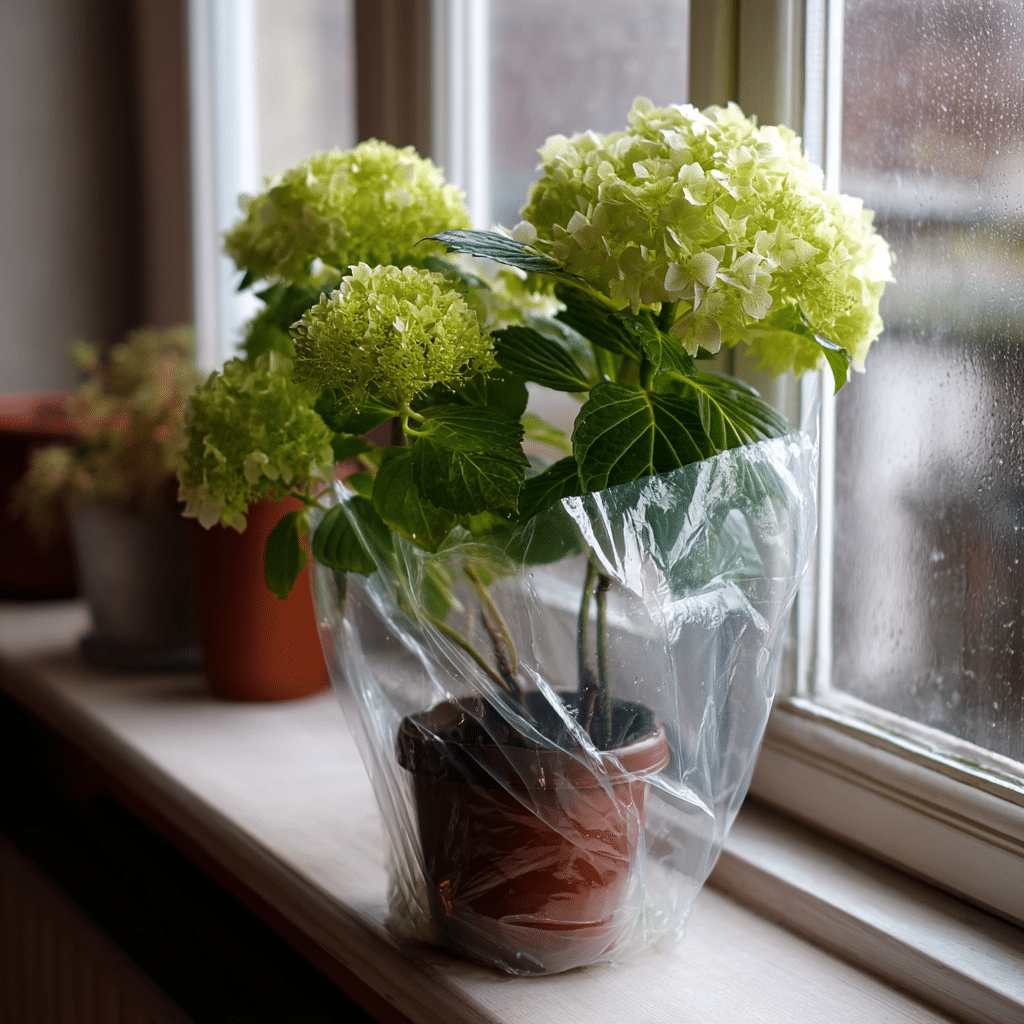
Humidity is your best friend when it comes to the 9 tactics to grow hydrangeas shrubs from clippings and cuttings. Without it, your cuttings can dry out before they even begin to root.
To create the perfect microclimate, cover your pot or tray with a clear plastic bag, plastic dome, or plastic wrap. This traps moisture and creates a mini greenhouse effect that keeps the cutting hydrated.
Make sure the plastic doesn’t touch the leaves—use sticks or skewers to create a little space if needed.
Place the covered pot in a bright area with indirect sunlight. Avoid direct sun, which can overheat the cutting or dry it out.
Mist the inside of the plastic occasionally to keep humidity levels up. With the right moisture and warmth, your cuttings will soon begin rooting beneath the surface.
7. Wait for Roots to Develop
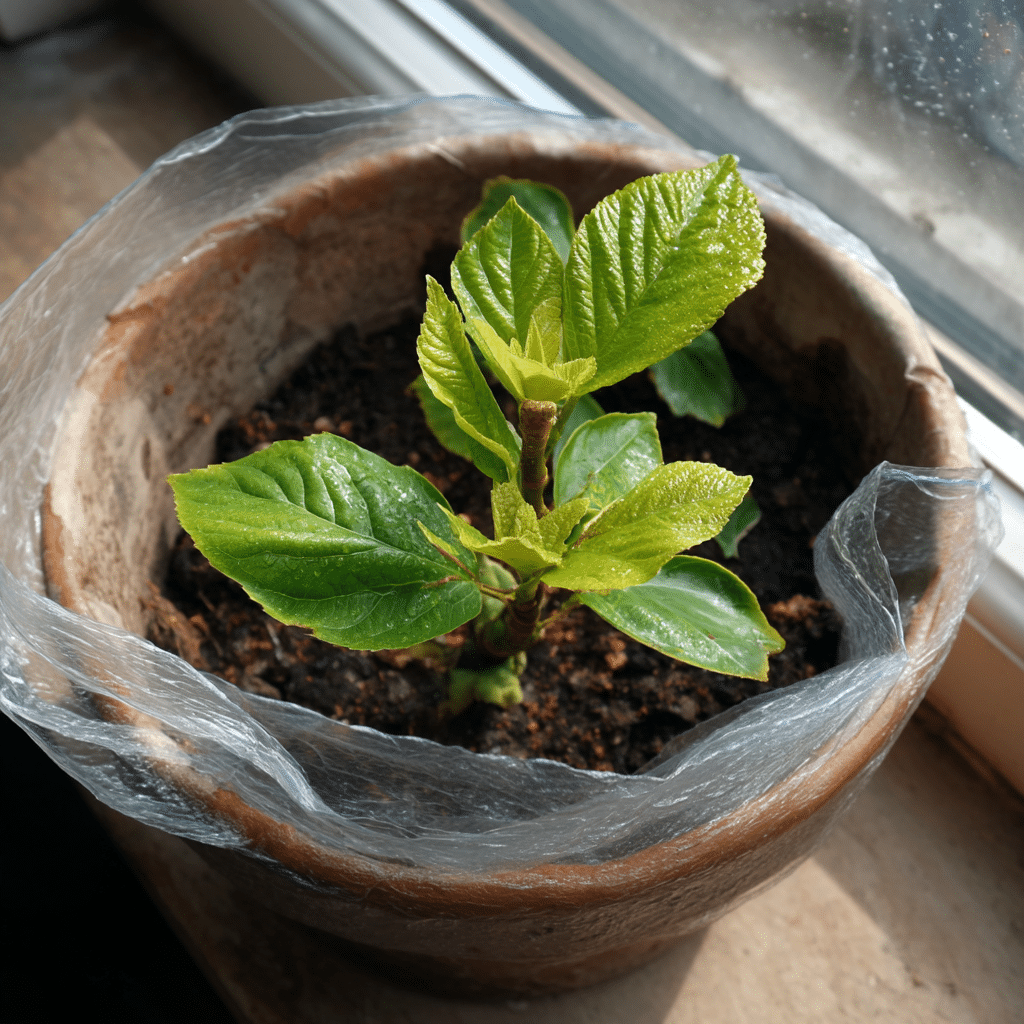
This is the part where patience really pays off. Among the 9 tactics to grow hydrangeas shrubs from clippings and cuttings, giving your plants time to develop strong roots is essential.
It typically takes 2 to 4 weeks for roots to form, depending on the temperature, humidity, and health of the cutting. During this time, resist the urge to tug or disturb the plant—it needs stability to succeed.
You’ll know your cutting has rooted when you see new growth at the top, such as small leaves or bud activity. That’s a sign the roots are strong enough to support the plant.
Once you spot this new growth, gradually remove the humidity cover over a few days to help your cutting adjust to normal air conditions.
8. Transplant Your New Plants
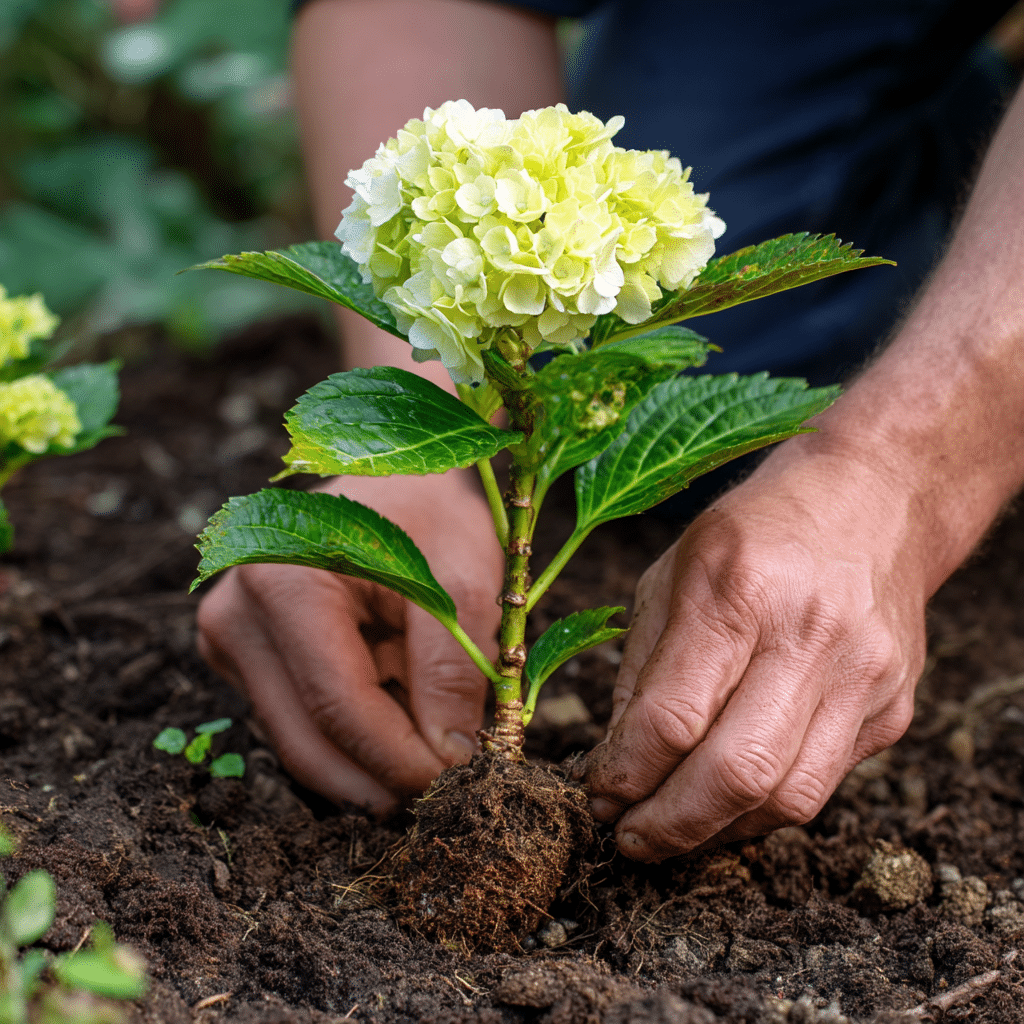
Once your cuttings have formed a healthy root system, it’s time to give them room to grow—an exciting milestone in these 9 tactics to grow hydrangeas shrubs from clippings and cuttings.
Gently remove each rooted cutting from its starter pot, taking care not to disturb the delicate roots. Transfer it to a larger pot or directly into your garden soil, depending on your growing conditions and climate.
Choose a spot with partial sun, well-draining soil, and some protection from harsh wind or direct afternoon sun. Hydrangeas thrive in locations that get morning sun and afternoon shade.
After transplanting, water thoroughly and keep the soil evenly moist (but not soggy) as the young plant adjusts. Over the next few weeks, you’ll see your baby shrub settle in and start to flourish.
9. Enjoy Your New Shrubs!
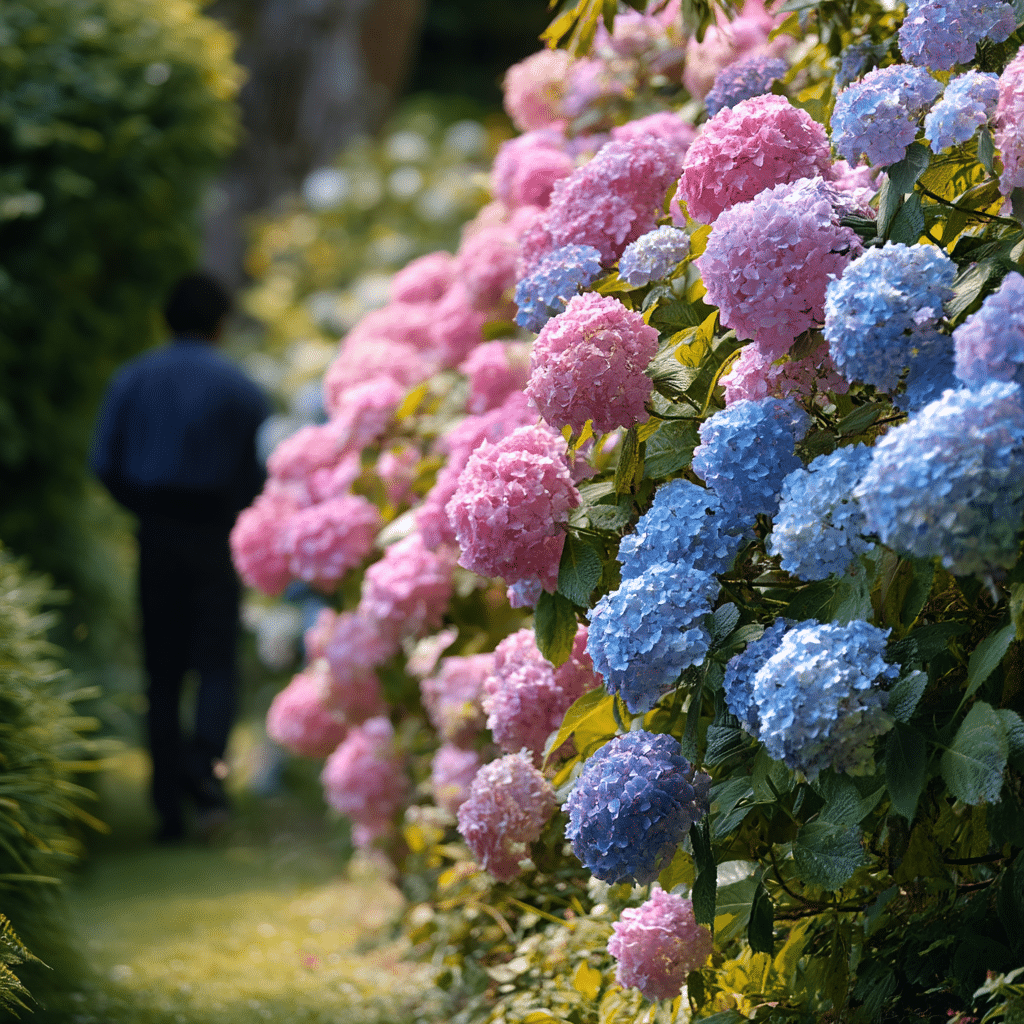
You’ve made it to the final step in the 9 tactics to grow hydrangeas shrubs from clippings and cuttings—and now it’s time to enjoy the results.
With proper care, your young hydrangeas will grow into lush, flowering shrubs that brighten your garden year after year. Keep them well-watered, mulch around the base to retain moisture, and consider light pruning after their first full season to shape future growth.
Propagation isn’t just a budget-friendly way to multiply your plants—it’s incredibly satisfying. Watching your own cuttings transform into full-grown shrubs is a quiet reward that few gardening experiences can match.
So, step back, admire your work, and enjoy your flourishing hydrangea collection.
Conclusion: Multiply Your Hydrangeas with Confidence
Now that you’ve mastered the 9 tactics to grow hydrangeas shrubs from clippings and cuttings, you have everything you need to expand your garden naturally and affordably. From timing and stem selection to humidity and transplanting, each step builds toward a successful, thriving new plant.
With a little patience and care, your homegrown hydrangeas will reward you with stunning blooms and lush foliage for seasons to come. And once you’ve done it once, you’ll never look at a healthy stem the same way again—every branch holds the potential for a new beginning.

