Growing raspberries at home is one of the most satisfying gardening experiences — there’s nothing quite like stepping into your backyard and harvesting plump, sun-warmed berries straight from the vine. However, raspberry canes have a tendency to sprawl, tangle, and overtake garden beds if left unsupported. That’s where raspberry trellis tips can truly transform your gardening success. With the right trellis system in place, your raspberry patch will stay tidy, well-ventilated, and disease-resistant — all while making harvesting easier and more enjoyable.
Whether you’re a beginner starting your first berry patch or a seasoned gardener refreshing an existing bed, implementing raspberry trellis tips early on can make a massive difference in both yield and ease of care. A structured trellis setup helps prevent fungal issues, improves sun exposure, and reduces the need to wade through prickly brambles. Plus, training raspberry canes vertically saves space — perfect if you’re working in compact gardens or alongside other productive features like a DIY tomato trellis or a compact cucumber trellis.
These raspberry trellis tips will walk you through everything from post placement to cane maintenance — so you can enjoy a healthy, productive, and beautiful raspberry harvest season after season.
Table of Contents
1. Consider Sunlight Before Installation
Before sinking posts into the ground, it’s important to think about how your trellis might affect sunlight patterns in your garden. Trellises — especially taller ones — can cast shadows that impact neighboring plants. A top-tier raspberry trellis tip is to install your trellis on the north or rear side of your garden layout. This way, shorter plants in front get full access to the sun while your raspberries grow vertically in the back.
If you’re designing a larger garden, consider using trellised raspberries as a living edible hedge or a natural vertical backdrop. This adds visual interest while maximizing productive space. Vertical growth also allows sunlight to reach all sides of the canes, which encourages healthier development and improves berry yield.
☑️ Quick Tip: Observe how the sun moves across your garden over the course of a day before deciding on placement.
2. Prepare the Soil Ahead of Time
One of the most overlooked but essential raspberry trellis tips is setting your plants up for success with rich, well-prepared soil. Raspberries thrive in loose, well-draining soil that’s rich in organic matter — and giving them the right start will reduce stress and increase yields over time.
Start by clearing the area of grass and weeds, cutting them down close to the soil. For new beds, till the top 8–12 inches and blend in generous amounts of compost or aged manure to improve structure and nutrient content. If you’re working with a weedy patch, consider sheet mulching with cardboard for a few weeks before planting.
Already have established raspberry canes? No problem — just work around the roots carefully. Skip the tilling and instead gently top-dress with compost to avoid damaging shallow roots.
✅ Pro tip: Prepare a zone at least 2 feet wide and extend it 2–3 feet beyond your intended row length for best root expansion.
3. Space Raspberry Plants Properly
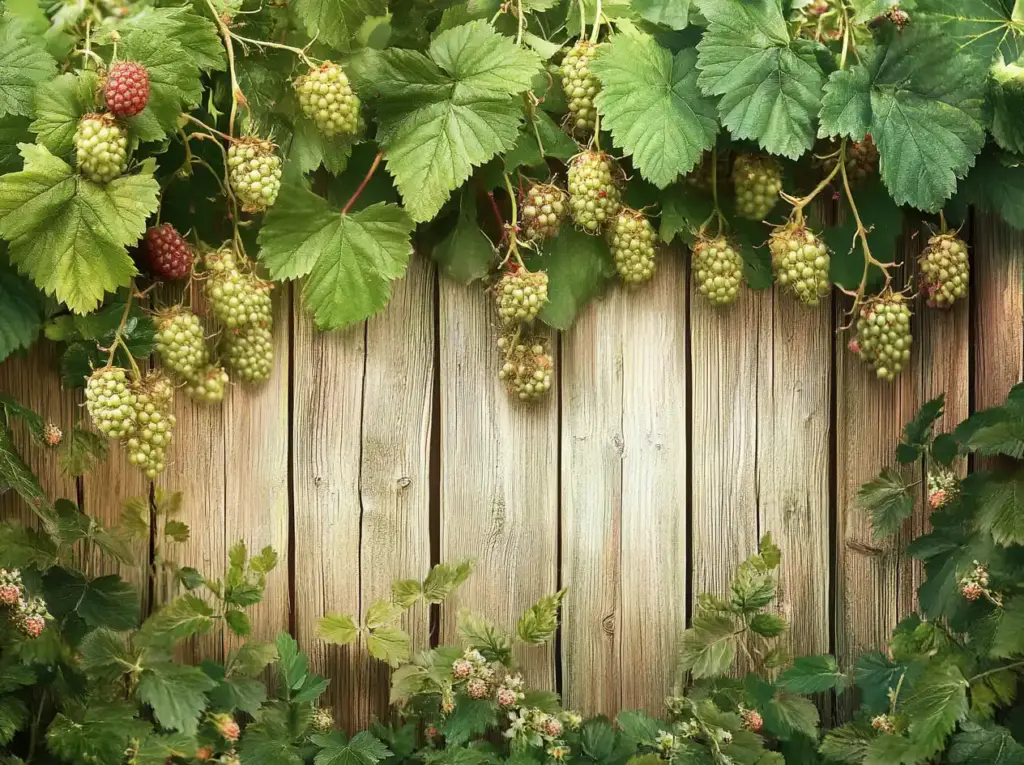
One of the most effective raspberry trellis tips for reducing disease and improving harvests is getting your spacing right. Proper plant spacing increases airflow, reduces fungal issues like powdery mildew, and allows room for each cane to thrive.
For best results:
- Plant raspberry canes 2 feet apart within the row.
- Space rows 4 feet apart to allow room for walking, airflow, and harvesting access.
- Soak bare-root plants in water before planting to rehydrate roots and promote strong establishment.
Once planted, cover the soil with a 1–3 inch layer of mulch. This suppresses weeds, retains moisture, and helps moderate soil temperature. Organic mulches like shredded bark or straw work well and will break down over time to improve soil quality.
🌱 Bonus tip: When plants are properly spaced, trellising becomes much easier — and your raspberry patch will be far more manageable in the long run.
4. Choose the Right Trellising System
When it comes to raspberry support, there’s no one-size-fits-all solution. But one of the smartest raspberry trellis tips is to pick a system that balances cost, durability, and ease of maintenance.
Popular trellis types include:
- T-shape trellis – horizontal wires extend from a center post, providing lateral support.
- V-shape trellis – angled arms give more space and airflow between canes.
- Simple post-and-wire system – the most budget-friendly option and ideal for most home gardens.
For any of these systems, use sturdy materials like:
- 6–8 foot T-posts (metal)
- Rot-resistant wooden posts like cedar
Secure your posts at both ends of the row and run high-tensile wire (12.5 gauge works well) or strong garden twine across the posts. This basic frame becomes the backbone for training and supporting your canes as they grow.
🛠️ Pro Tip: Choose materials that will last multiple seasons so you’re not rebuilding every year.
5. Install Sturdy Support Posts
No trellis can succeed without solid anchoring, and one of the most practical raspberry trellis tips is to invest time in properly placing your support posts. These posts will carry the weight of both the wires and fruit-laden canes, so stability is key.
Here’s how to do it right:
- Use T-posts or wooden posts spaced 15 to 20 feet apart along each row.
- Set posts 1–2 feet from the raspberry row to give canes some breathing room.
- Bury each post 1–2 feet deep, leaving about 3–4 feet above ground for training support wires.
For wooden posts, you may need to pre-dig holes with a post hole digger. T-posts can be driven directly into the soil using a post driver — a quick and efficient method for most DIYers.
🪵 Helpful tip: Secure posts tightly to prevent leaning as tension is applied with wires.
6. Add Earth Anchors (Optional but Helpful)
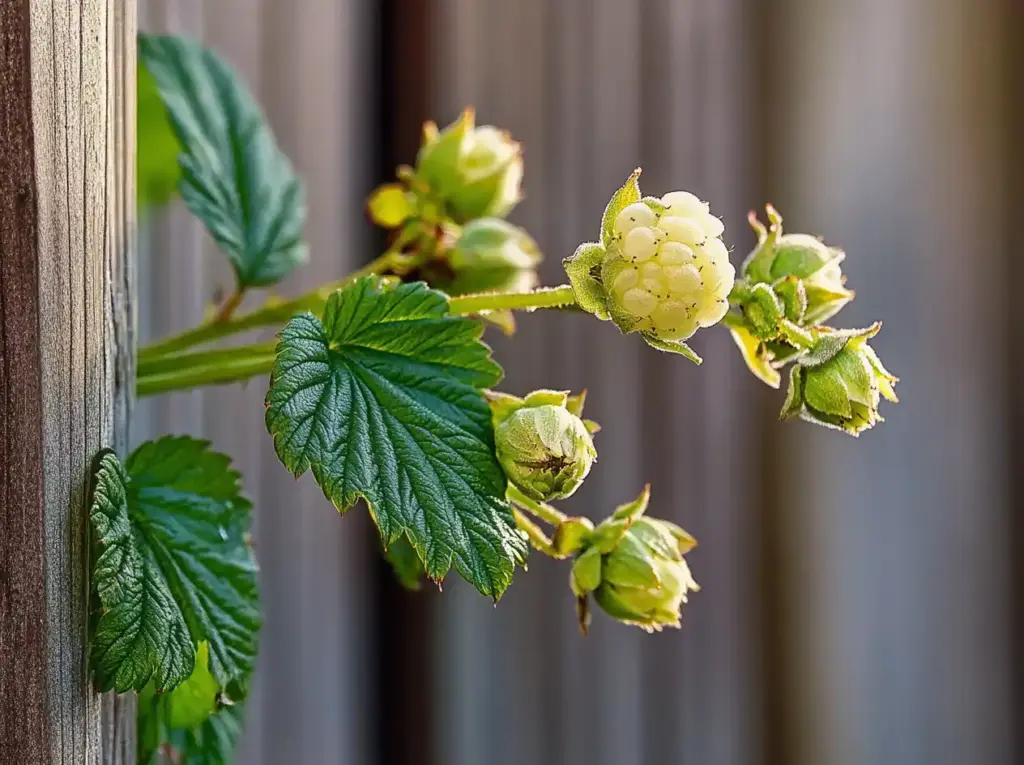
While not essential, adding earth anchors is one of the more advanced raspberry trellis tips that can significantly boost the durability of your setup. These anchors help resist the inward pull of tensioned wires, keeping your trellis upright and secure — especially during wind, rain, or heavy harvests.
Here’s how to install them:
- Position each earth anchor about 2–3 feet outside the end posts.
- Screw them into the soil until the top loop sits just above ground level.
- Run a short wire from the top of your trellis post to the earth anchor, then tighten using gripples or wire strainers.
This setup prevents the trellis from sagging or leaning over time, particularly when using high-tensile wires.
⚒️ Pro tip: Earth anchors are especially helpful in softer soils or if you’re building a longer row with multiple wires under tension.
7. Secure Multiple Lines of Support Wire or Twine
Once your posts and anchors are in place, it’s time to add the lines that will actually support your raspberry canes — and this is one of the most actionable raspberry trellis tips for stability and growth control.
Here’s a step-by-step for adding your wires or twine:
- Use 3 or 4 horizontal lines spaced at 2, 3, and 4 feet high.
- Cut each length at least 3 feet longer than the distance between your two support posts.
- Attach using eye hooks for wooden posts or thread through holes in T-posts.
- Secure wires with gripples, turnbuckles, or other tensioners to maintain tautness.
For maximum durability, choose 12.5-gauge galvanized wire. Twine can work in small gardens but may need replacing annually. Regardless of the material, always wear gloves and eye protection when installing to avoid cuts or injuries.
🧤 Quick Tip: Tight wires help keep canes upright and reduce sagging, especially when fruit becomes heavy.
8. Loosely Attach Canes to Support Wires
As your raspberry canes grow, guiding them onto the trellis wires is one of the most effective raspberry trellis tips for maintaining order and maximizing fruit exposure to sunlight.
Here’s how to do it:
- Wait until canes are tall enough to reach the lowest support wire (usually around 2 feet).
- Loosely tie each cane to the wire using soft plant ties, twine, or reusable garden clips.
- Space canes about 4 inches apart to prevent crowding and promote good airflow.
- As canes grow, tie them to higher wires to encourage upright growth.
Avoid tying too tightly — canes need room to expand and sway slightly with the wind. Overly tight bindings can damage the stems or restrict growth.
✂️ Extra tip: Remove any weak or overly crowded canes before tying — this ensures your strongest canes get the support they need to thrive.
9. Prune Dead Canes Annually
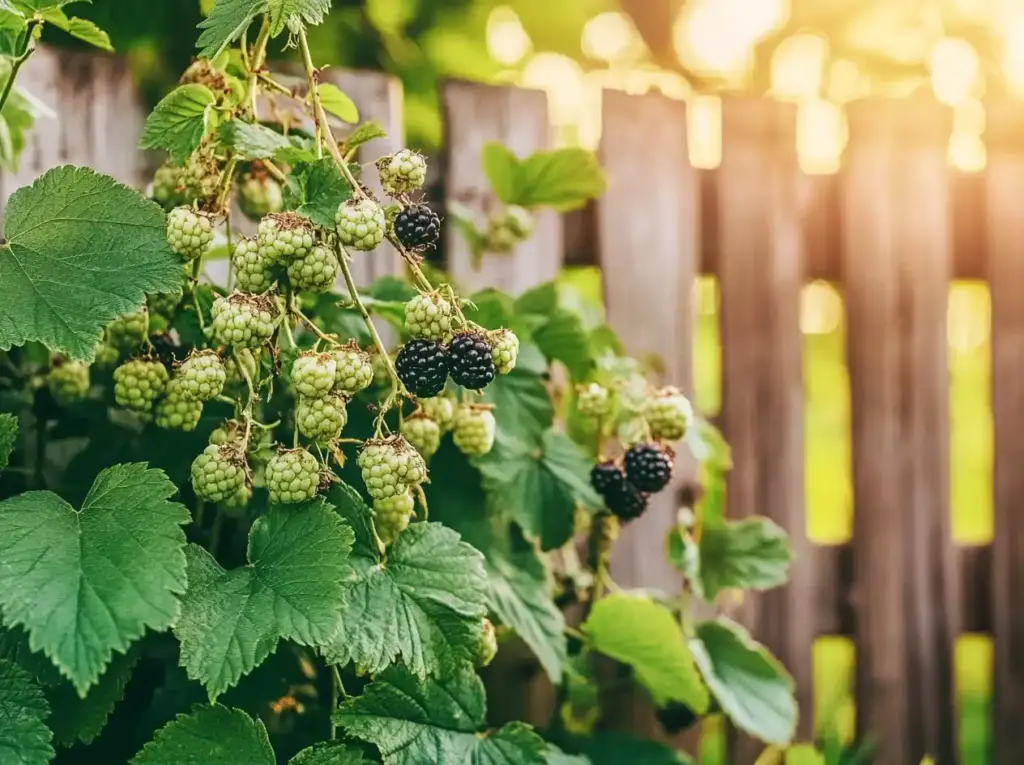
Among all raspberry trellis tips, annual pruning might be the most powerful for keeping plants healthy and productive. Raspberries can get overgrown quickly, and without regular pruning, dead or non-productive canes steal energy from the rest of the plant.
Here’s how to prune based on raspberry type:
For Summer-Bearing Raspberries:
- These produce fruit on second-year canes.
- After harvesting in late summer, cut those woody, fruited canes to the ground.
- Leave the green, first-year canes intact — they’ll fruit next season.
For Fall-Bearing Raspberries:
- These fruit on first-year growth.
- In late winter, you can cut all canes to the ground for a single fall harvest.
- Alternatively, leave some of the strongest canes standing to enjoy both summer and fall harvests the following year.
🌿 Tip for Trellised Plants: After pruning, reattach remaining canes to the support wires to keep your trellis looking tidy and efficient.
10. Remove Suckers
Raspberry plants are enthusiastic growers — sometimes too enthusiastic. One of the most often-overlooked raspberry trellis tips is managing suckers, which are offshoots that pop up a few feet away from your main canes. While they’re a sign of a healthy plant, they can quickly become a tangled mess if left unchecked.
Here’s what to do:
- Inspect the soil around your raspberry row regularly for new shoots.
- Use sharp pruners to cut them off at the base or dig them up entirely if you want to transplant them.
- Replant any strong suckers closer to the trellis if you’re looking to expand your patch.
Left alone, suckers drain energy from the main canes and reduce fruit production. But when managed properly, they’re an easy way to multiply your harvest over time.
🌱 Pro tip: Removing suckers also keeps walkways clear and helps maintain the tidy look of your trellised raspberry row.
❓ Frequently Asked Questions (FAQ)
Do all raspberry plants need a trellis?
While not strictly required, a trellis offers major benefits for both summer- and fall-bearing varieties. Most raspberry trellis tips emphasize that even a simple trellis improves air circulation, prevents sprawling growth, and simplifies harvesting.
What is the best trellis system for raspberries?
The best system depends on your space and resources. Common options include the T-trellis, V-trellis, or a basic post-and-wire setup. A top raspberry trellis tip is to choose one that provides firm support, allows easy access, and fits your garden layout.
When should I install a raspberry trellis?
The best time to install a raspberry trellis is before or immediately after planting, which allows you to position support posts and wires without disturbing delicate root systems. This proactive approach ensures your canes can be trained from the start — one of the smartest raspberry trellis tips for long-term success.
That said, if your raspberries are already growing, don’t worry — it’s absolutely possible to retrofit a trellis around established canes. The key is to work gently around the root zone. Use a narrow post driver or dig shallow holes to avoid damaging existing roots, then gradually guide canes toward the support wires over time.
Installing early offers more flexibility, but even a mid-season trellis can significantly improve airflow, sunlight exposure, and berry access. For new growers, our beginner gardening guide is a great place to explore more foundational techniques.
Whether you’re prepping in spring or upgrading midseason, these raspberry trellis tips will help you make the most of your growing space — without setting your plants back.
How high should a raspberry trellis be?
One of the most practical raspberry trellis tips is getting the height right — both for plant health and your own comfort during harvesting. In general, your trellis should have horizontal wires spaced at approximately 2, 3, and 4 feet from the ground. This tiered layout supports new growth at different stages while helping canes grow upright and fruit more abundantly.
The total height of your raspberry trellis system can vary depending on the variety you’re growing, but most gardeners use support posts between 6 and 8 feet tall, with about 3 to 4 feet remaining above ground once installed. This height gives enough room for vigorous cane development while keeping harvesting at a comfortable reach.
Keep in mind that different raspberry types (summer-bearing vs. fall-bearing) may grow slightly taller or shorter, so adjust accordingly. And if you’re also growing other climbers, be sure to explore vertical trellis ideas to find versatile setups that suit your garden space.
Dialing in the right height ensures these raspberry trellis tips pay off in both convenience and productivity.
Can I grow raspberries along a fence or wall?
Absolutely! In fact, many of the best raspberry trellis tips work beautifully when applied to fences, walls, or other vertical garden structures. If you’re working with limited space or want to maximize a sunny boundary, growing raspberries along a fence is a smart and visually appealing solution. Simply attach horizontal support wires, galvanized mesh, or trellis netting directly to the vertical surface, spacing them about 2–3 feet apart to support the canes as they grow.
Train the raspberry canes by tying them loosely to the wires, just as you would with a free-standing trellis. One important thing to remember is ensuring adequate sunlight and airflow, especially if the wall faces north or is shaded by buildings or trees. Proper air circulation helps reduce disease pressure and promotes healthier fruiting.
For more ideas on building sturdy, space-saving supports, check out our DIY garden trellis guide, which includes options perfect for fence-line berry growing.
These adaptable raspberry trellis tips make vertical gardening easy — even in tight spots.
🍓 Conclusion
With the right strategy, a raspberry trellis can turn even the most chaotic berry patch into a structured, high-yielding fruiting system that’s as beautiful as it is productive. These raspberry trellis tips go far beyond aesthetics — they’re about creating healthier plants through better airflow, easier pruning, and smoother harvesting. It’s a system that transforms maintenance into joy and maximizes every inch of growing space in your garden.
Whether you’re installing a trellis for the first time or retrofitting one into an existing bed, these ten time-tested raspberry trellis tips will help you grow smarter, not harder. And if you’re exploring vertical gardening more broadly, check out our guides on creative trellis ideas for pumpkins or beginner-friendly tomato trellising to expand your edible garden even further.
So grab your garden gloves, embrace the process, and let your raspberries climb toward a sweeter, easier harvest. Happy growing — and may your baskets always be full!
🌿 Love gardening inspiration? Follow me on Pinterest for bold plant ideas, tips, and seasonal color!
More Posts
19+ Budget-Friendly Backyard Makeover Ideas
Backyard makeover ideas can turn even the most ordinary outdoor space into a warm, inviting retreat—without draining your wallet.
Read More →
21 Stunning & Simple DIY Clematis Trellis Designs
DIY clematis trellis designs are a beautiful way to blend creativity with function in your garden.
Read More →
12 Full Sun Perennials That Bloom All Summer
Explore a selection of hardy perennials that flourish and bloom beautifully in full sun throughout the summer.
Read More →
Houseplants for Living Room
Find the perfect houseplants to brighten and purify your living room while adding a touch of nature indoors.
Read More →
Backyard Play Area for Kids
Create a fun and safe backyard play area for kids with these inspiring design ideas and tips.
Read More →
Top Privacy Trees
Discover top tree varieties that provide natural privacy and enhance your outdoor space.
Read More →


