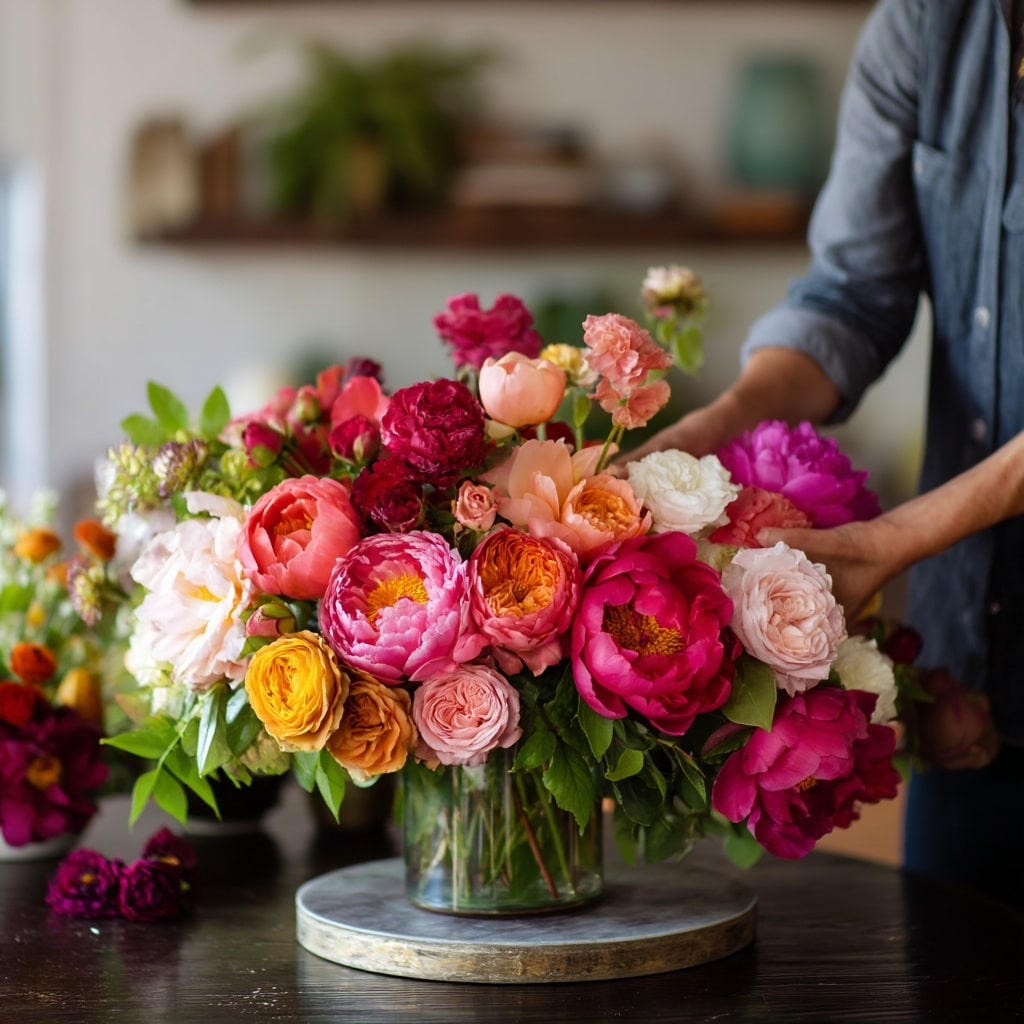
Flower arrangements can brighten any space, from a dining table centerpiece to a quiet reading nook. While tossing flowers in a vase might seem simple, creating a well-balanced, eye-catching bouquet takes a bit more intention—and a few clever tricks. Whether you’re styling a fresh-cut bunch from your garden or flowers picked up from the local market, learning how to arrange them properly can make all the difference. With just a few basic tools and a thoughtful approach, you’ll be arranging flowers like a pro in no time.
Table of Contents
Step 1: Choose a Flower Arrangement Design
Before picking up your clippers, the first step in making standout flower arrangements is choosing a design direction. Start by deciding on a color palette. Do you want a soothing monochromatic look, like various shades of pinks or purples? Or something bolder, like bright oranges and blues that contrast and pop? A cohesive color scheme can help your arrangement feel intentional rather than thrown together.
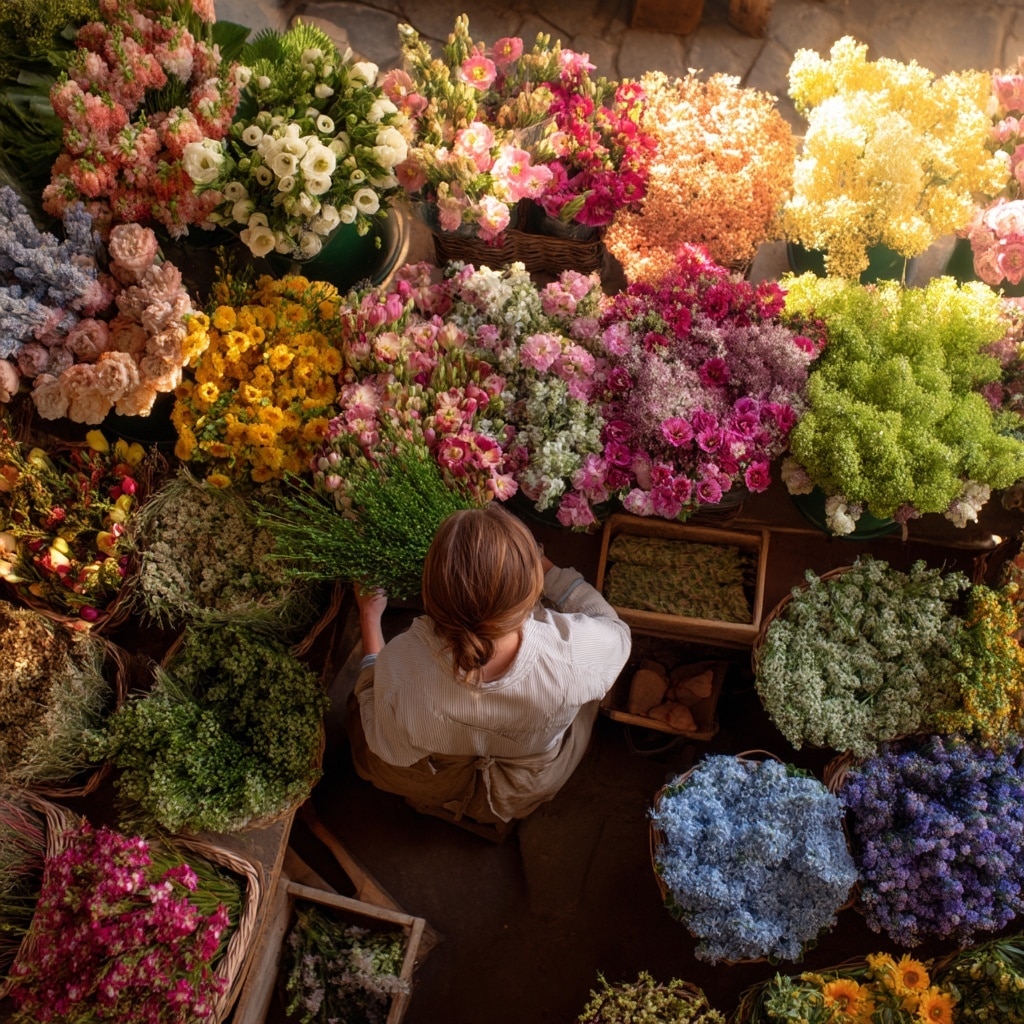
Instead of hunting for specific blooms, let your flowers choose you. Browse what’s in season at your local market or blooming in your own garden. Pick flowers that speak to you—whether it’s their color, shape, or even their scent. Look for a mix of bloom sizes and textures to create interest. Including flowers with different growth patterns ensures your arrangement won’t fall flat or look too uniform.
💡 Tip: Don’t stress about being too exact. Some of the most stunning flower arrangements come from simply pairing what’s fresh, available, and beautiful to you.
Step 2: Cut and Prepare Flowers
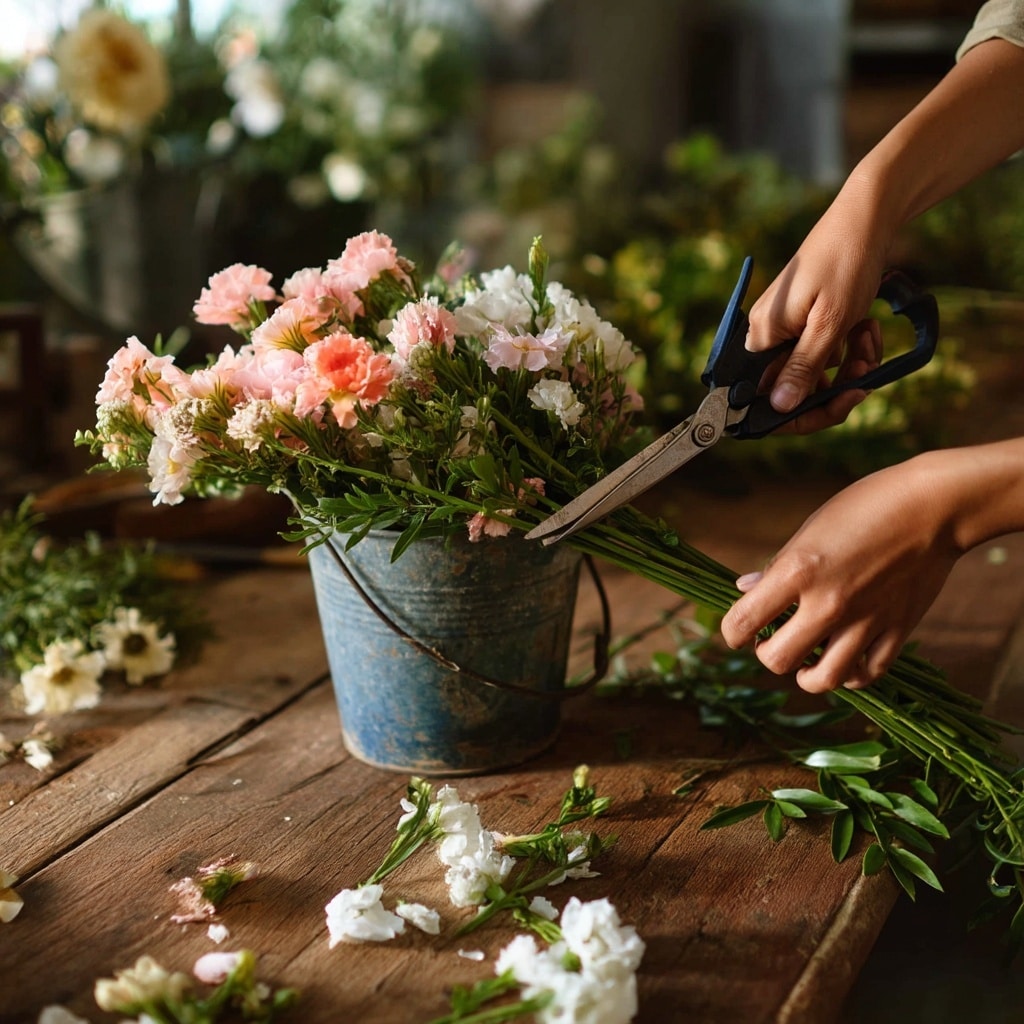
Before you begin placing blooms into your vase, it’s important to properly prep them. This step helps your flower arrangements last longer and look fresher.
Start by stripping any leaves that would sit below the waterline—these can rot quickly and encourage bacterial growth. Remove any wilted petals and extra buds that might steal energy from the main flower. Once cleaned, trim each stem at a 45-degree angle. This increases water absorption and helps your flowers stay hydrated.
Place the freshly cut stems into a clean container of water mixed with floral preservative. This doesn’t need to be your final vase—just a holding spot while you prep the rest. Give them at least 30 minutes to drink before arranging.
💡 Pro Tip: Always use sharp, clean clippers to avoid crushing the stems, which can block water uptake and shorten vase life.
Step 3: Choose a Vessel

The vessel you choose plays a major role in the final look and stability of your flower arrangements. It’s not just about style—it’s about structure and support.
For example, delicate flowers like tulips benefit from the upright support of a straight-sided vase. Heavier blooms or tall branches need a sturdier, weighted container to keep from tipping. If you want a more rustic or natural look, consider using woven baskets or vintage pitchers. Just be sure they’re watertight—or insert a plastic container inside to prevent leaks.
Don’t overlook the proportions either. Your container should complement the height and spread of your arrangement, not overpower or underwhelm it.
💡 Creative Idea: Upcycle an old mason jar, teacup, or kitchen jug. These can add personality and charm to everyday flower arrangements.
Step 4: Prepare Your Flower Vase
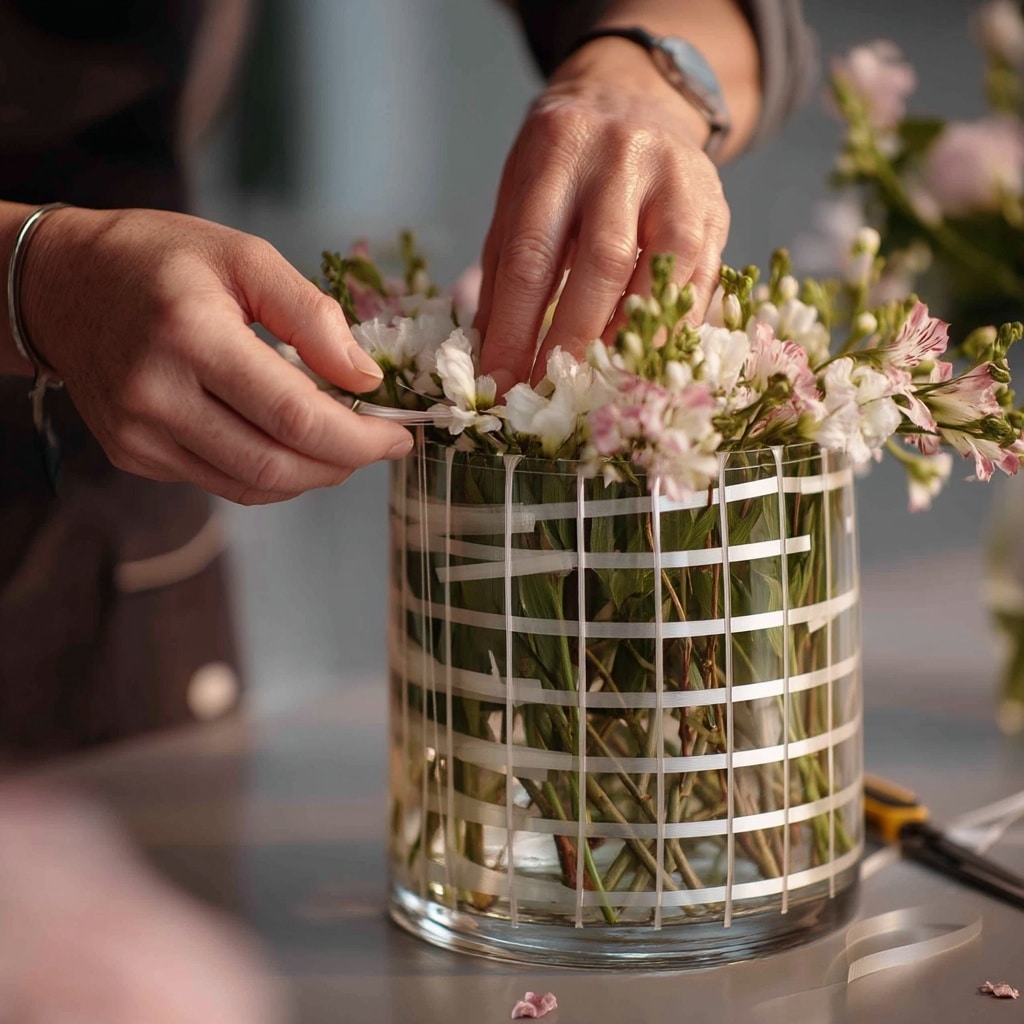
A strong base is essential for building stable, professional-looking flower arrangements. Without proper support, even the prettiest bouquet can fall apart or lean awkwardly.
Before placing any stems, set up a structure inside your vase. Use clear floral tape to create a simple grid across the opening. This acts like a guide, keeping your flowers in place as you build your design. If you prefer a reusable option, try a floral frog—these spiked holders anchor stems securely and come in various sizes.
You can also DIY your own stem support by shaping a piece of chicken wire into a loose ball and tucking it inside the vase. It offers flexible, natural-looking support, especially for fuller arrangements.
💡 Prep Reminder: Always rinse your vase thoroughly before arranging to remove any residue that could harm your flowers.
Step 5: Create a Base with Greenery
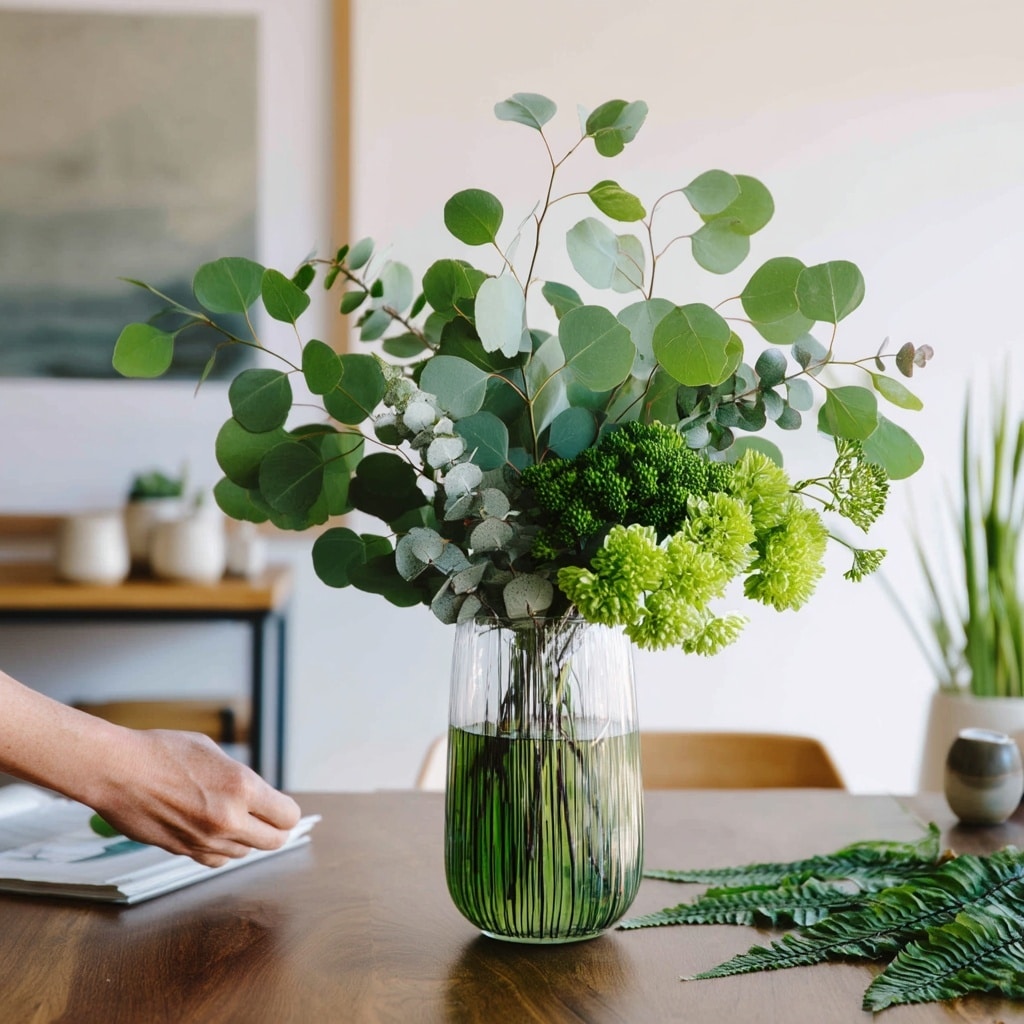
Every great flower arrangement starts with a solid foundation, and that means greenery. Adding foliage first gives your bouquet shape, structure, and depth before any blooms go in.
Use stems like eucalyptus, ivy, ruscus, or fern fronds to form an inverted triangle within the vase. This technique helps your arrangement look full from every angle and creates a balanced visual flow. Start by placing a few longer stems to define height, then add horizontal pieces to give width and volume.
Make sure to recut greenery stems at a 45-degree angle before placing them in the vase. This boosts water uptake and keeps everything looking fresh longer.
💡 Design Tip: Vary your textures—pair soft, airy ferns with waxy leaves like laurel or camellia for contrast and movement in your greenery base.
Step 6: Add Focal Flowers

Now that your greenery is in place, it’s time to add the focal flowers—the bold, eye-catching blooms that define your flower arrangements. These are usually your largest or most colorful flowers, like roses, dahlias, lilies, or peonies.
Start by placing them slightly off-center, using odd numbers (three, five, or seven) for a more natural, organic look. Don’t aim for symmetry. Instead, space the focal flowers at different heights and angles to give the arrangement dimension. Avoid placing blooms so they stick straight out to the sides, which can make them appear heavy or droopy.
Use a lazy Susan or turn your vase slowly as you work to check the balance from every angle. This ensures your arrangement looks great from all sides.
💡 Balance Tip: If one flower dominates too much, counter it with two smaller blooms nearby to keep the visual flow intact.
Step 7: Add Filler Flowers

With your focal flowers in place, it’s time to fill in the gaps and add softness with filler blooms. These smaller, often textural flowers help round out flower arrangements and create a more natural, full appearance.
Use varieties like spray roses, waxflowers, scabiosa, or asters. Arrange them in small clusters of three or five, mimicking the way flowers grow in nature. Place some deeper into the arrangement and others closer to the edges, always keeping that dome-like shape in mind.
Avoid inserting filler blooms in a uniform ring—they should support and frame the focal flowers, not compete with them. Continue turning the vase as you work to maintain balance from every viewpoint.
💡 Natural Touch: Tuck some filler flowers lower in the arrangement to add depth, like they’re just starting to bloom under the larger flowers.
Step 8: Finish the Arrangement
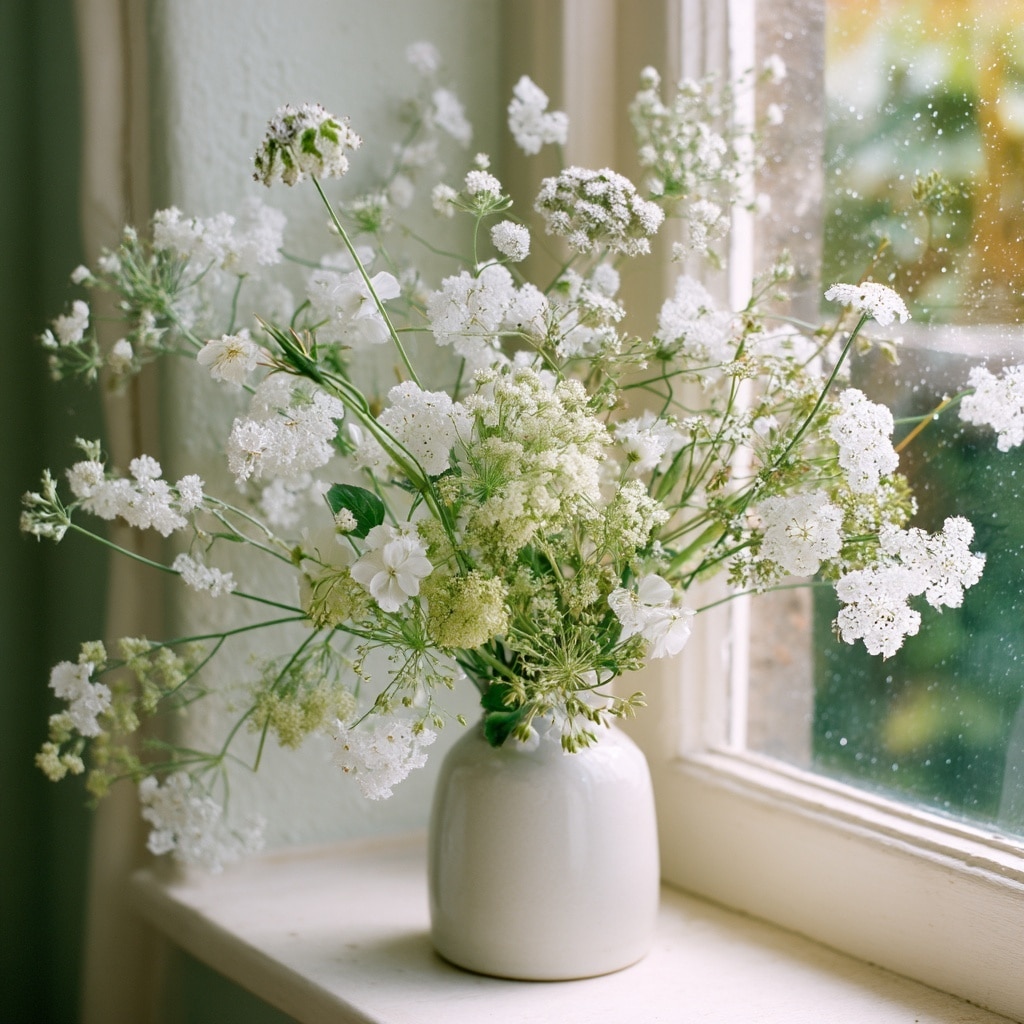
To complete your flower arrangements, add the final touches with delicate “floaters” or airy blooms. These are usually the lightest, most fragile flowers—like baby’s breath, yarrow, or sedum—that add movement and a soft, whimsical feel.
Insert them last so they don’t get crushed or hidden by the larger blooms. These finishing flowers should peek out between focal and filler flowers, giving the whole design a polished, natural look. Less is more here—just a few well-placed sprigs can elevate the entire arrangement.
Once finished, give your bouquet a gentle mist with clean water to mimic the look of fresh dew. Refill the vase with clean water as needed, and trim stems every couple of days to keep your flowers fresh for longer.
💡 Maintenance Tip: Keep your arrangement away from direct sunlight and heat sources to extend its life.
Conclusion
Creating beautiful flower arrangements isn’t just about following steps—it’s about expressing creativity and enjoying the process. With these eight simple techniques, anyone can craft stunning, professional-looking bouquets using fresh flowers, a little planning, and a thoughtful eye for design. Whether you’re preparing a centerpiece for a dinner party or just brightening your kitchen table, your floral skills will now bloom with confidence.

