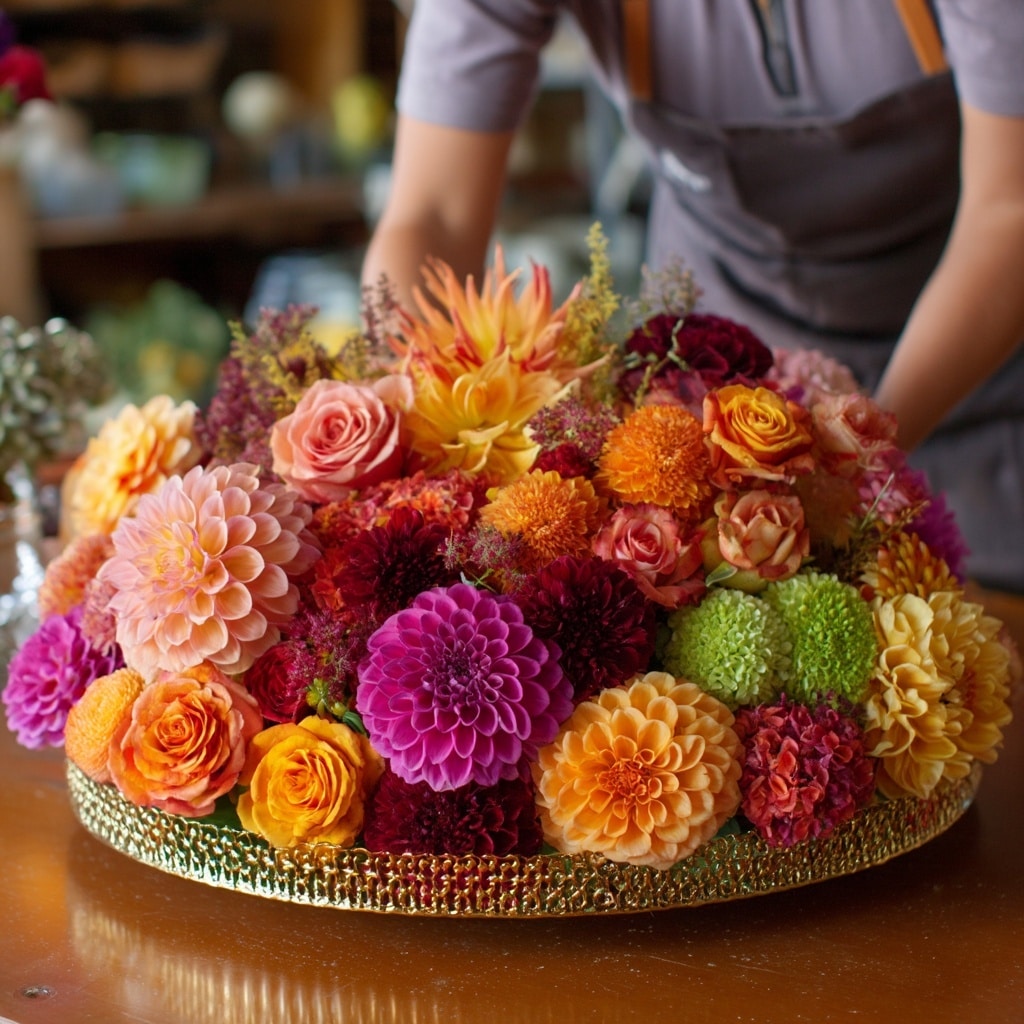
Flower arrangements bring color, elegance, and a sense of calm into any space—whether it’s your dining table, home office, or kitchen window. While tossing a few stems into a vase might do the trick in a pinch, creating truly stunning flower arrangements takes a little intention and technique. The good news? You don’t need to be a florist to master the basics. With the right approach, even beginners can make bouquets that look professionally designed. This guide will walk you through eight easy, foolproof steps to help you create vibrant, balanced, and long-lasting flower arrangements at home.
Table of Contents
1: Choose Your Flower Arrangement Design
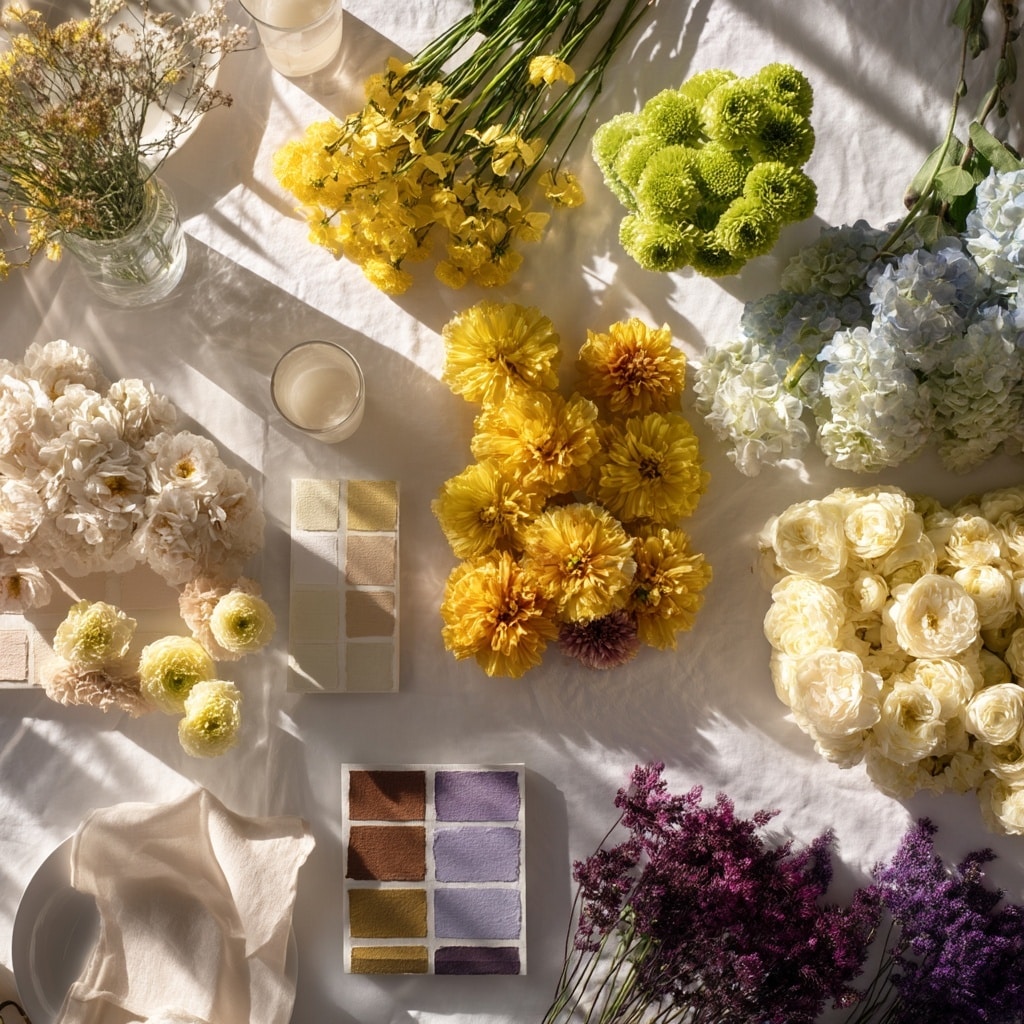
Before you pick up a single bloom, take a moment to think about the overall style of your flower arrangements. Start with a color palette—this sets the tone and creates visual harmony. If you love a soft, romantic look, go for monochromatic schemes using various shades of one color, like blush, rose, and deep burgundy. Prefer something bolder? Choose complementary colors like purple and yellow or pink and green for striking contrast.
While color planning helps, don’t stress over being too rigid. Let availability and seasonality guide you. Visit your local flower market or check your garden to see what’s in bloom. Often, the most beautiful flower arrangements come from spontaneous pairings. Look for a mix of textures, shapes, and sizes—this variety adds depth and visual interest to the final piece.
💡 Pro Tip: Don’t overlook the greenery. Even at this early stage, knowing what foliage pairs well with your color scheme can enhance balance and structure.
Cut and Prepare Your Flowers
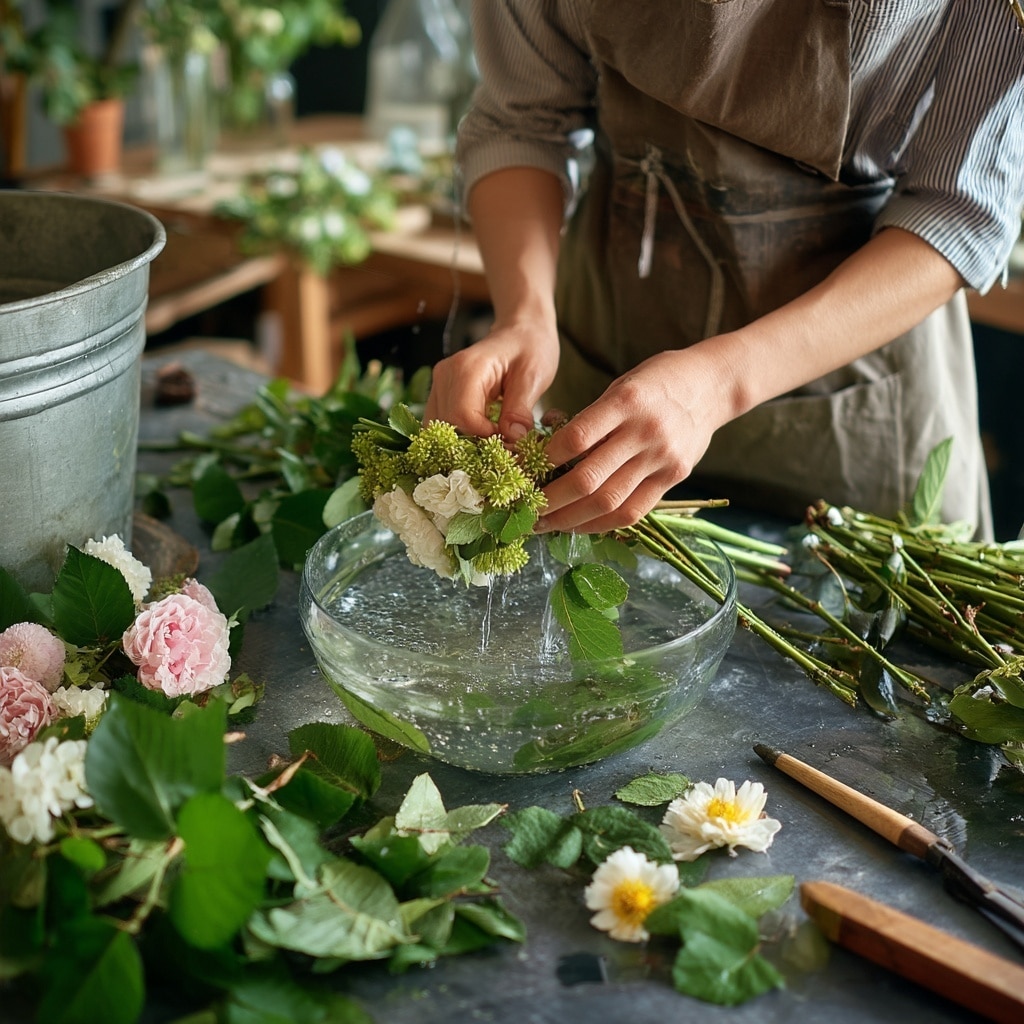
Proper preparation is key to making your flower arrangements look fresh and last longer. Once you bring your flowers home, resist the urge to start arranging immediately. A few simple prep steps will make a big difference in how your bouquet turns out.
Begin by stripping away any leaves that would sit below the waterline in your vase. These can rot quickly and cause bacteria to grow, shortening the life of your flowers. Also, remove any damaged petals and extra buds from each stem to encourage the main bloom to shine.
Next, give every stem a fresh cut at a 45-degree angle under running water. This angled cut helps the stem absorb more water, keeping your flowers hydrated and vibrant. Place the trimmed stems in a bucket of clean water mixed with flower food, and let them soak for at least 30 minutes before arranging.
💡 Pro Tip: Always use sharp floral shears or garden scissors to avoid crushing the stems, which can block water uptake and ruin your flower arrangements.
Choose the Right Vase or Vessel
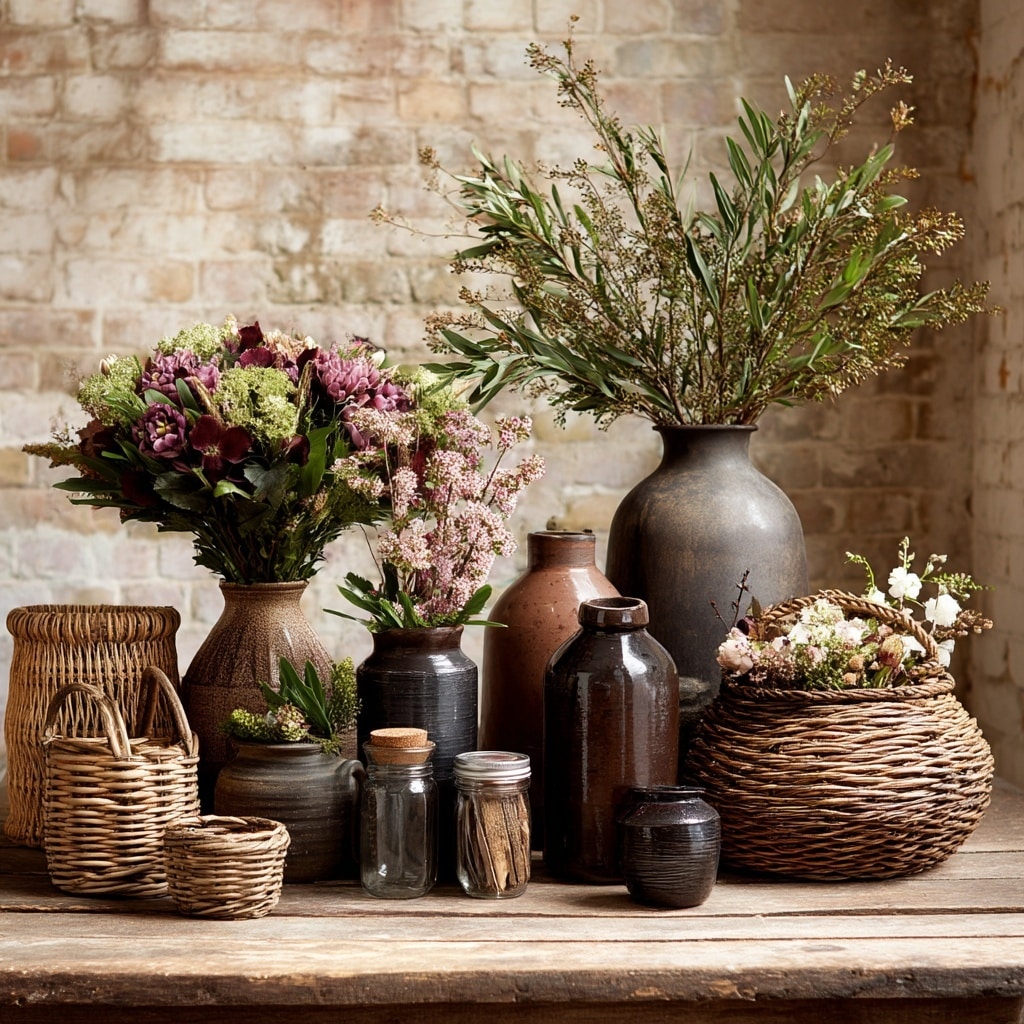
The container you choose can elevate or limit the look of your flower arrangements, so don’t treat it as an afterthought. Your vase should complement the flowers in both style and function. For example, long-stemmed tulips do best in tall, narrow vases that offer upright support. On the other hand, heavy blooms like hydrangeas or sunflowers might require a wider or heavier base to stay stable.
Want something more creative than a standard vase? Try a woven basket, vintage pitcher, or even a mason jar. Just be sure the container can hold water without leaking. If you’re using a non-traditional vessel, line it with a waterproof container or repurpose a plastic bottle or jar. Add moss or fabric around the liner to keep it hidden and stylish.
💡 Pro Tip: The height of your flower arrangements should be about one and a half to two times the height of the container. This proportion keeps the design looking intentional and balanced.
Prep Your Vase for Easy Arranging
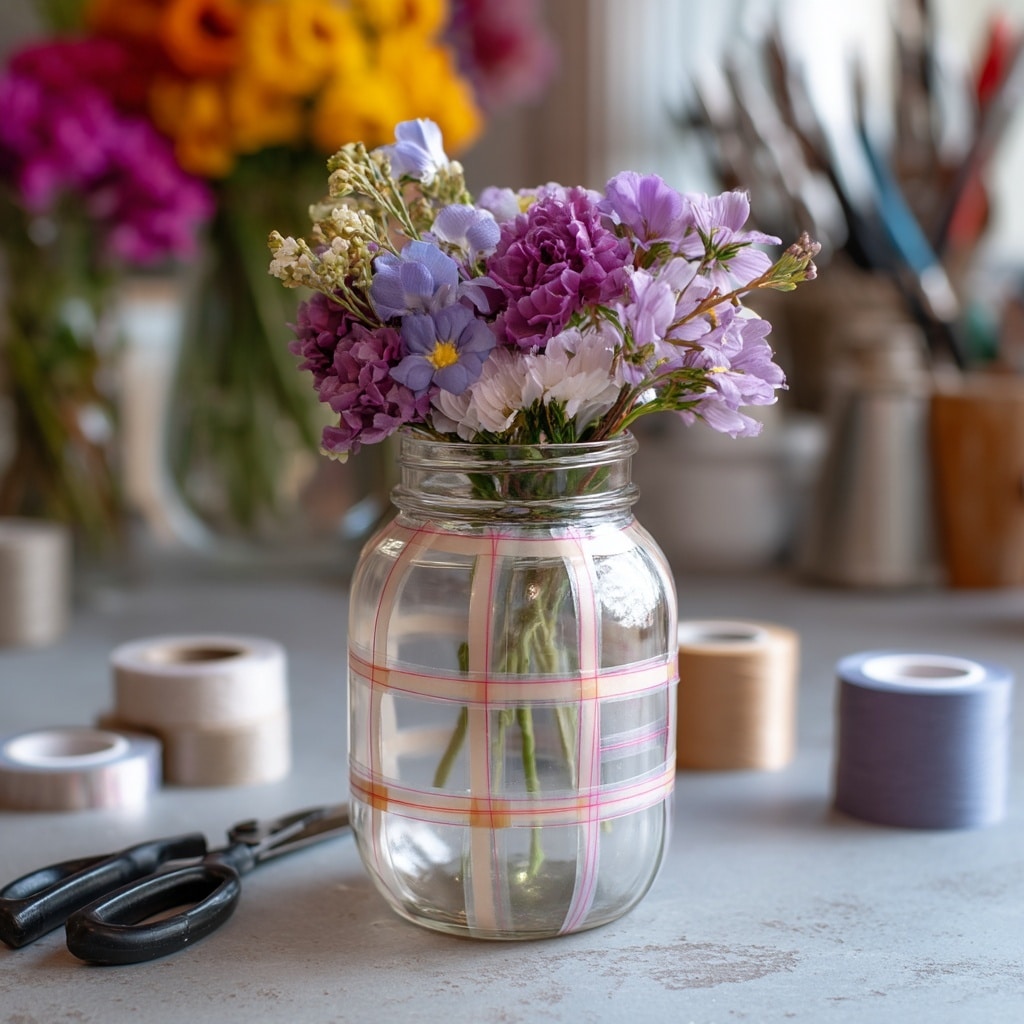
Now that you’ve picked the perfect vessel, it’s time to create a sturdy structure that holds your flower arrangements in place. Without proper support, your stems can shift, droop, or collapse—especially once you start adding layers of blooms.
One of the simplest methods is using clear floral tape to create a grid across the mouth of your vase. This invisible framework gives each stem a secure slot to sit in, helping you build your arrangement with precision. Aim for square openings about an inch wide.
Don’t have floral tape? No problem. A floral frog—a pin-covered insert placed at the bottom of the vase—works just as well. You can even make your own using a small ball of bent chicken wire. The key is to give your stems something to lean on, so your design stays intact from all angles.
💡 Pro Tip: Make sure the grid or insert is firmly attached before you add any water or flowers. A stable base sets the foundation for beautiful, long-lasting flower arrangements.
5: Build a Greenery Base
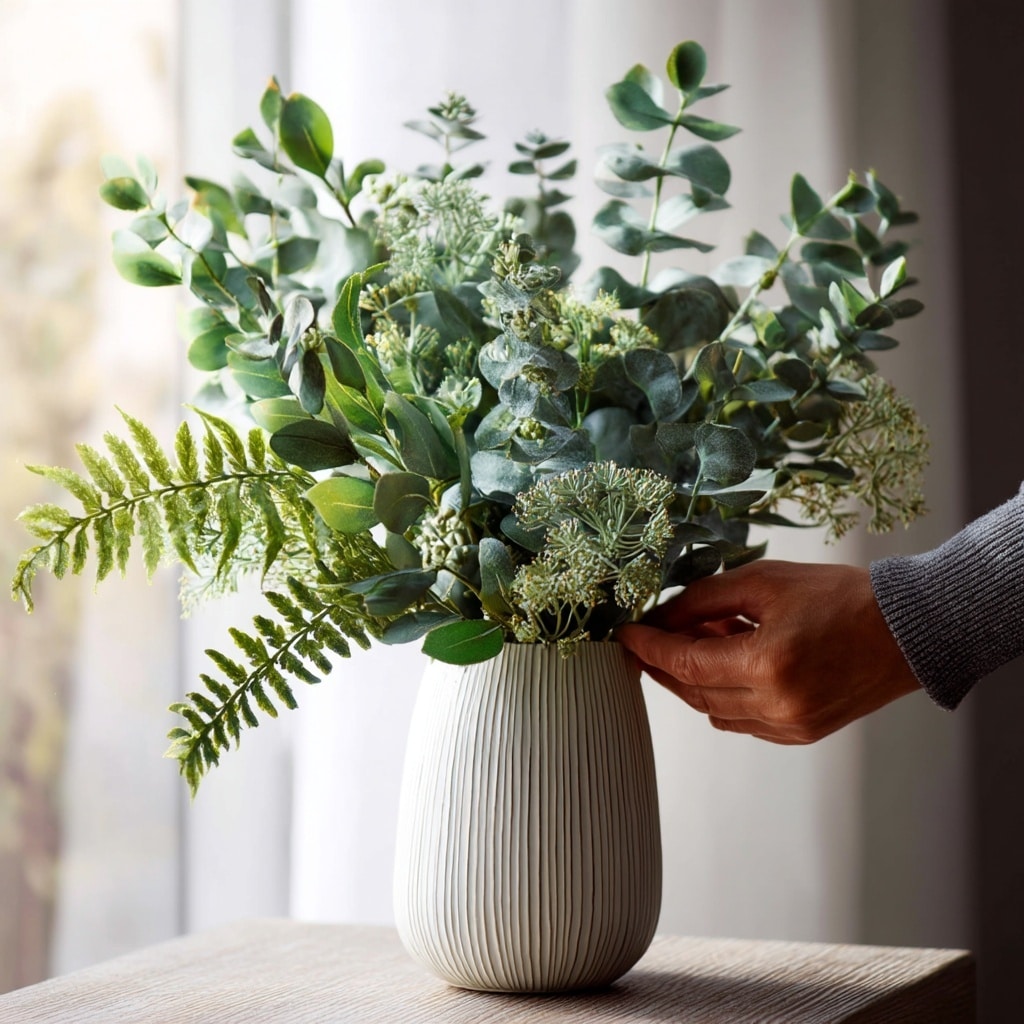
Before any blooms go in, start your flower arrangements with a solid base of greenery. This not only gives your arrangement structure and shape, but also provides visual depth and a natural-looking backdrop for the flowers.
Choose foliage with a mix of textures and shapes—think eucalyptus, fern fronds, ivy, or even herbs like rosemary or mint. Begin placing the stems at varying angles, creating an inverted triangle shape as your outline. This helps establish both vertical height and horizontal spread, which makes your bouquet look full and balanced from every angle.
As you insert the greenery, be sure to trim each stem again for a fresh water uptake and place them securely into your tape grid or frog. Your greenery should cover the mechanics (like floral tape or chicken wire) and provide a supportive nest for the flowers that follow.
💡 Pro Tip: Don’t overfill this stage. Leave space for your focal and filler flowers to shine within the flower arrangements.
6: Add Your Focal Flowers
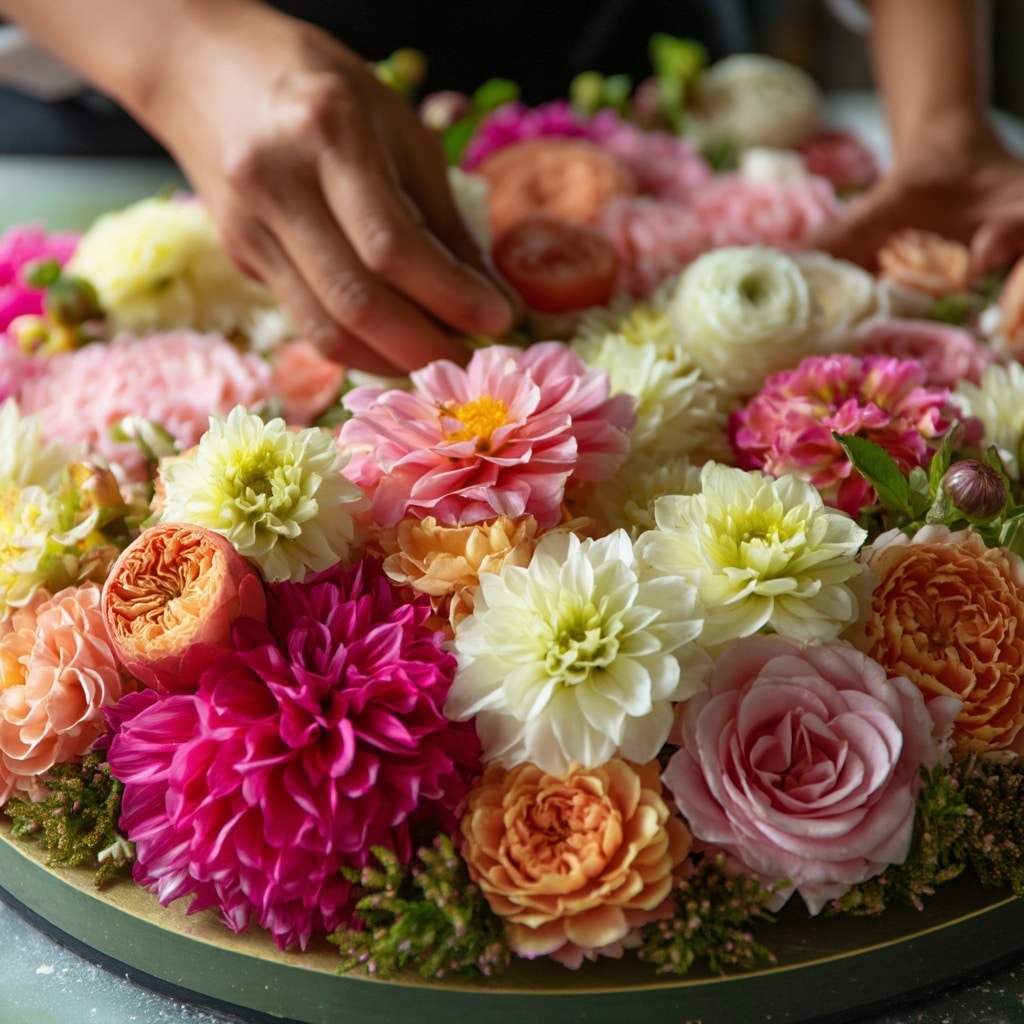
Focal flowers are the stars of your flower arrangements—the large, bold, or uniquely textured blooms that naturally draw the eye. Think roses, peonies, sunflowers, dahlias, or proteas. These should be added next, nestled into the greenery base you’ve already created.
Place them in odd numbers—like three or five—for a more organic, garden-like feel. Avoid symmetry, and don’t space them evenly. Instead, cluster them in slightly off-center groupings to mimic how flowers grow in nature.
Stems should be angled into the vase, not sticking straight up or out to the side. This creates a gentle curve and prevents the flowers from looking stiff or droopy. Turn your vase as you work to ensure the focal points are balanced from all angles.
💡 Pro Tip: Use a lazy Susan or rotate your work surface to check your flower arrangements from every side. What looks good from the front should also feel cohesive from behind and the sides.
7: Add Filler Flowers
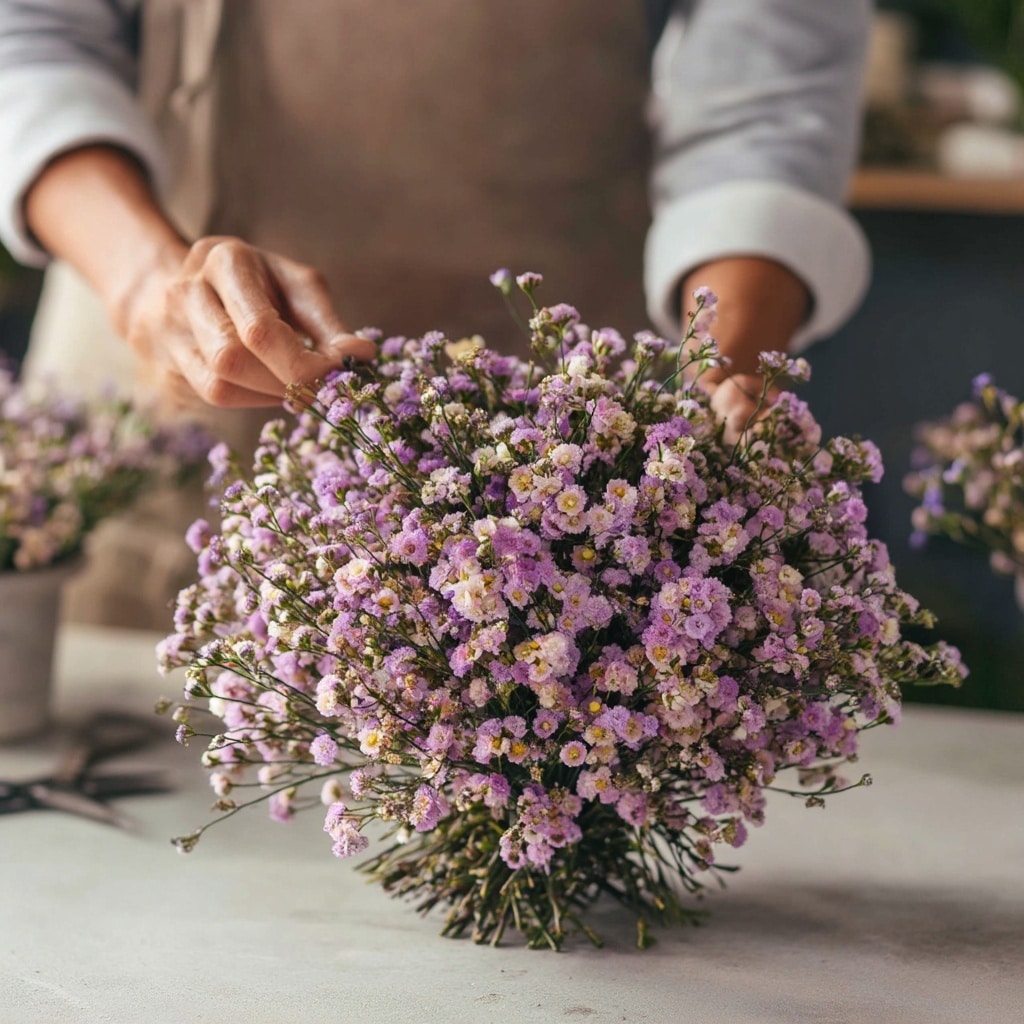
Filler flowers bring fullness, texture, and dimension to your flower arrangements, tying everything together between the greenery and focal blooms. These are typically smaller, lighter flowers that complement the main stars without stealing the spotlight.
Good choices include snapdragons, lisianthus, waxflower, statice, and asters. You can also use floral accents like seeded eucalyptus or flowering branches for added variety.
As you add fillers, aim to maintain the shape you started with—typically a loose dome. Fill the gaps around focal flowers, but don’t overcrowd. Create visual interest by grouping filler flowers in clusters of three or five, placing them at varying heights and angles. Think of them as soft transitions that blend one area of the design into another.
💡 Pro Tip: Use your filler blooms to correct any imbalances or “bald spots” in your flower arrangements, especially where greenery or focal flowers may be sparse.
8: Finish with Delicate Blooms
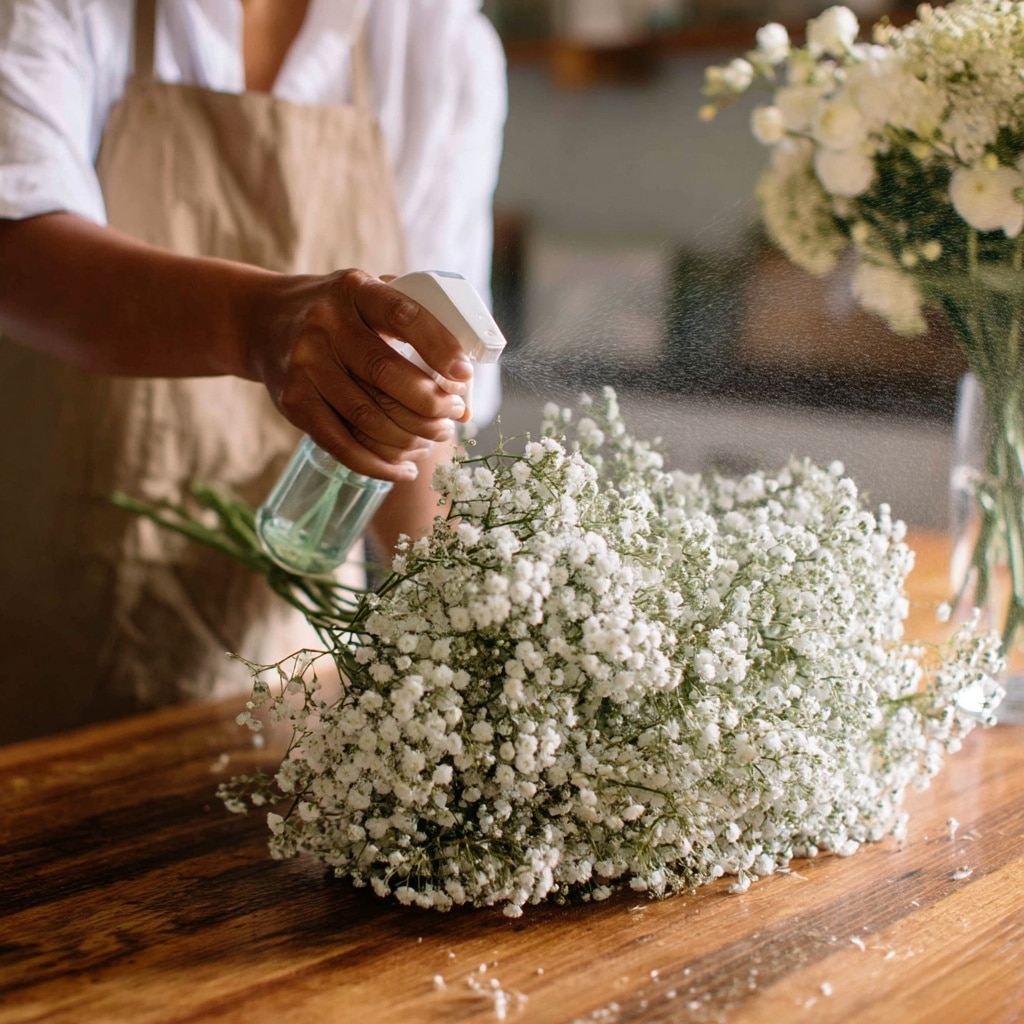
The final layer in your flower arrangements is where you add the lightest, most delicate touches—often called floaters. These are small, airy flowers that give your design softness and a natural, effortless finish.
Look for options like baby’s breath, yarrow, sedum, Queen Anne’s lace, or even small wildflowers. Because these blooms are more fragile, save them for last so they don’t get crushed or buried beneath heavier flowers.
Place them in open spaces or on the edges of the arrangement to add movement and a whimsical feel. These finishing touches help blur any hard lines and bring cohesion to the entire bouquet.
Before displaying your masterpiece, give it a gentle mist of water to simulate fresh morning dew. Be sure to check the water level daily and top it off as needed to keep your flower arrangements looking their best.
💡 Pro Tip: Rotate your vase once more and make small tweaks for balance. Sometimes a single bloom or sprig makes all the difference.
Conclusion
Creating beautiful flower arrangements doesn’t require a professional florist—just a bit of planning, creativity, and care. By following these eight simple steps, you’ll be able to craft bouquets that brighten your space, express your personal style, and even last longer with proper preparation. Whether you’re using garden blooms, store-bought stems, or seasonal picks, the right mix of greenery, focal flowers, and finishing touches will always make your arrangements shine.
Keep practicing and don’t be afraid to experiment. Each arrangement is a new opportunity to bring nature indoors in a meaningful, beautiful way.

