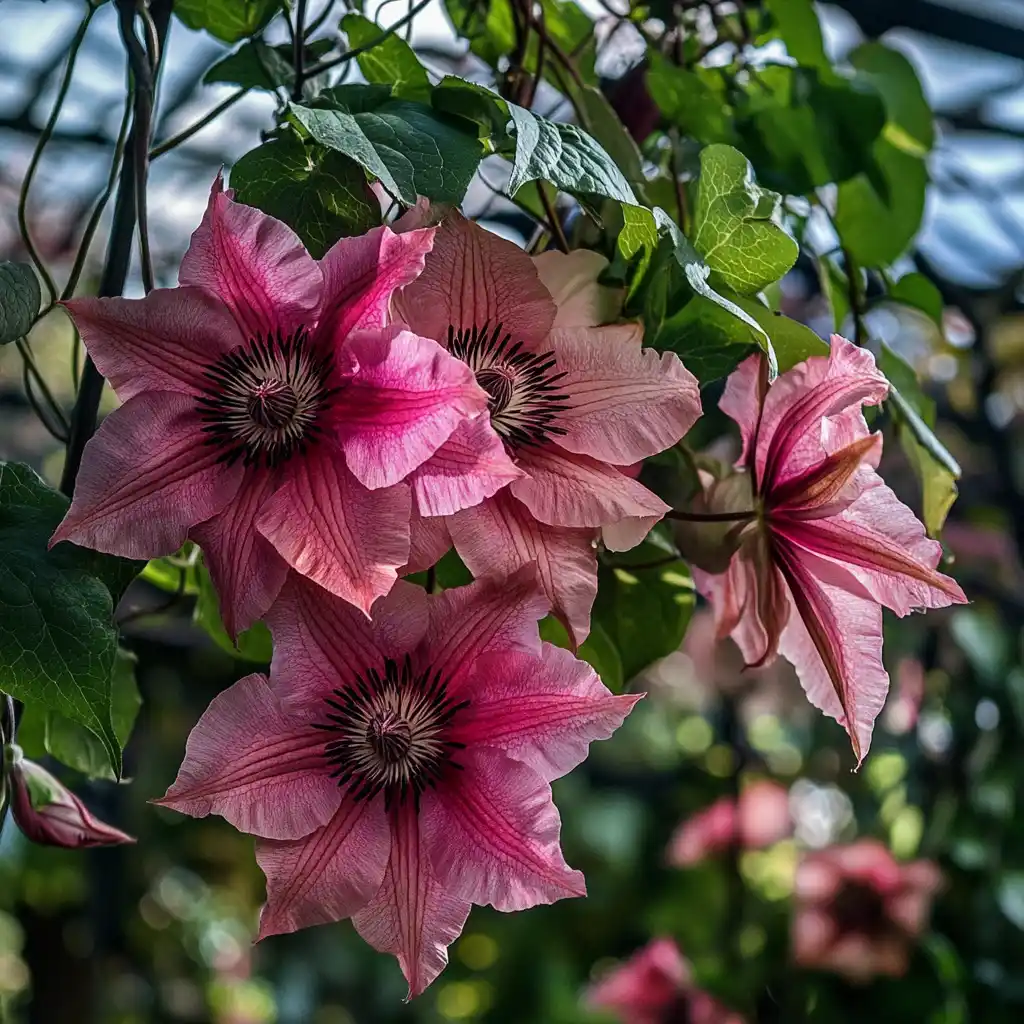
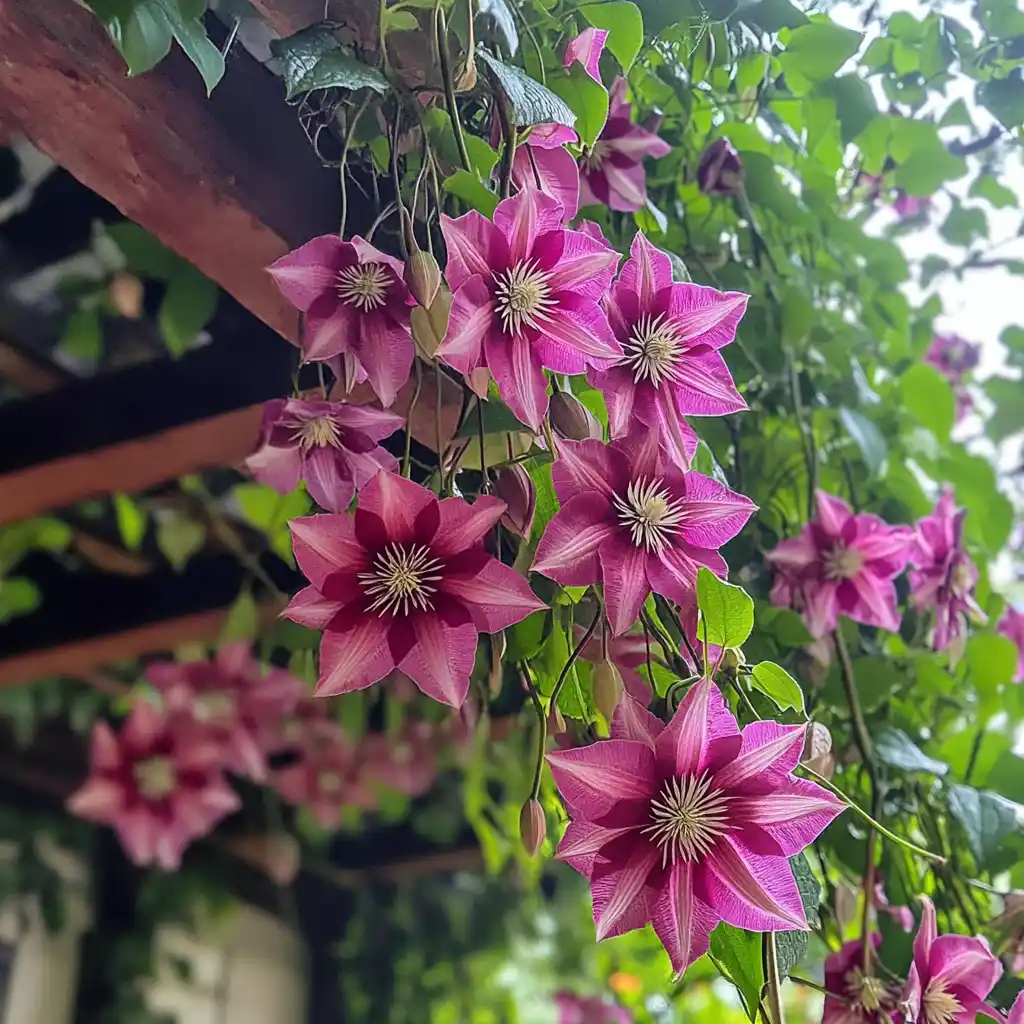
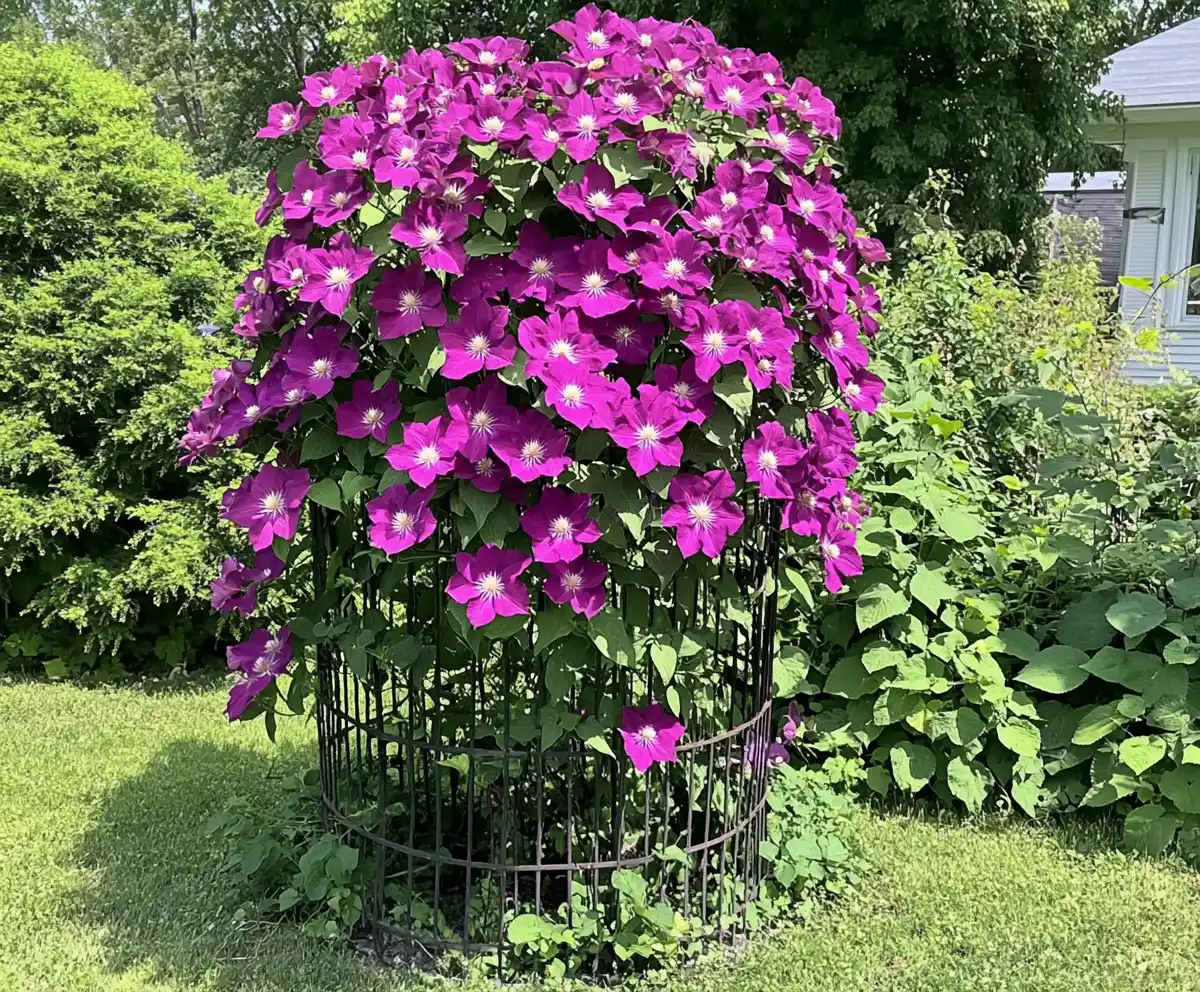
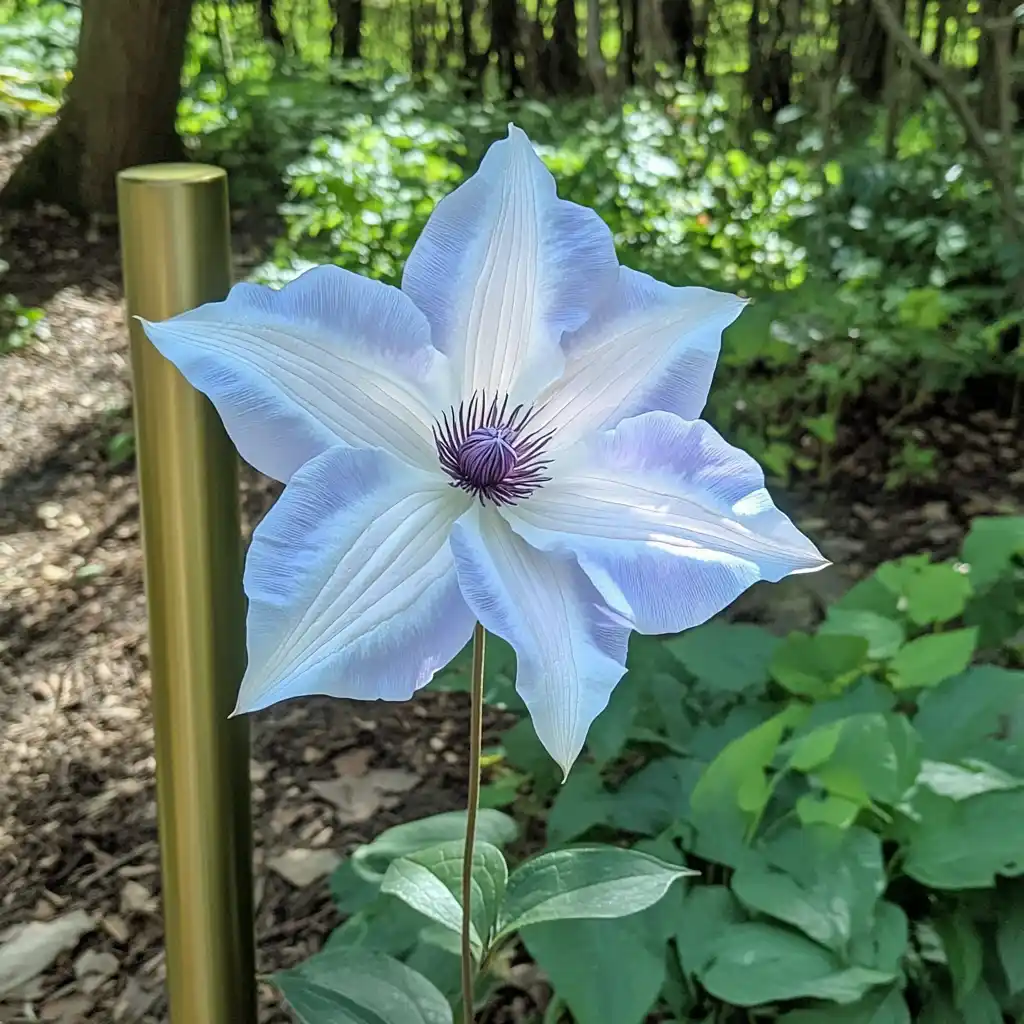
Clematis is one of the most beloved flowering vines for home gardeners, admired for its stunning, long-lasting blooms that light up any space from spring through fall. With so many colors, forms, and growth habits to choose from, it’s no wonder clematis is a favorite across the gardening world.
If you’ve been searching for expert advice on how to grow clematis, you’re in the right place. These elegant perennials are surprisingly easy to manage — once you understand what they need to thrive.
Whether you’re planting clematis in a decorative pot or planning to let it climb a beautiful clematis trellis, learning how to grow clematis the right way can dramatically improve your garden’s impact. It’s also a perfect choice for full sun perennial flower beds or even layered into low-maintenance garden borders.
In this guide, you’ll discover everything you need — from selecting the right variety to growing clematis in containers, perfecting your planting technique, and mastering pruning strategies that promote healthier, fuller blooms.
Let’s dive into how to grow clematis with confidence and create a garden that blooms with personality all season long.
🌿 Love gardening inspiration? Follow me on Pinterest for bold plant ideas, tips, and seasonal color!
Table of Contents
🌸 1. Choosing the Best Clematis for Your Space
Before diving into how to grow clematis, it’s essential to pick the right type for your garden goals and available space. Clematis isn’t a one-size-fits-all plant — and that’s part of its charm! From vigorous climbers that can blanket a pergola, to compact varieties ideal for containers, there’s a clematis for nearly every gardening situation.
Types of Clematis:
- Tall Vines: These can soar up trellises, arbors, or fences and are perfect for adding vertical interest. Some can reach heights of 10 feet or more with the right support.
- Compact Varieties: Ideal for patios or small gardens, these grow to about 3–5 feet tall and thrive in containers or tight borders.
- Bushy, Upright Types: These are not true vines but behave more like perennial shrubs. They look beautiful grown among other plants, through an obelisk, or even as groundcovers.
- Groundcover Clematis: Some low-growing types are perfect for cascading over slopes or weaving through low shrubs and rock gardens.
💡 Expert Tip: Before buying, think about how you want your clematis to grow — up, out, or across — and choose accordingly. Matching the growth habit to your garden plan is one of the most important steps in successful clematis cultivation.
📦 2. What to Do When Your Clematis Arrives


You’ve ordered your plant — exciting! Now what? Knowing how to grow clematis begins the moment it arrives at your doorstep. These delicate perennials need a gentle welcome to ensure they transition smoothly into your garden.
Step-by-Step: What to Do First
- Unpack Immediately: As soon as your clematis is delivered, open the box and carefully remove the plant. Letting it sit in packaging can lead to stress or mold.
- Let It Breathe: Place the plant in a sheltered outdoor spot (as long as it’s above 50°F) — somewhere with indirect light and no strong wind.
- Hydrate It: Water the clematis gently at the base if the soil feels dry. Avoid soaking it, as clematis doesn’t like soggy roots.
- Acclimate to the Outdoors: This transition, called “hardening off,” helps the plant adjust to outdoor conditions. Keep it outside in partial shade for a few days before planting.
- Plant Promptly: Ideally, get your clematis in the ground within 2–3 days. The sooner it’s planted, the sooner it can begin settling into its new home.
🌿 Quick Reminder: Handle the stems with care. Clematis vines are naturally brittle and prone to breakage — especially during transplanting.
🌞 3. Where to Plant Clematis
Choosing the right spot is crucial if you want to master how to grow clematis. While these plants are famously forgiving once established, location still plays a major role in their long-term health and flower production.
Sunlight: More Is More
Clematis loves sun — the more, the better. Aim for at least 6 hours of direct sunlight daily, especially for double-flowered varieties that need extra energy to bloom. Morning sun with afternoon shade is ideal in hotter climates.
Roots Need Shade
Though clematis loves sunshine up top, its roots prefer to stay cool and moist. The gardening mantra “head in the sun, feet in the shade” exists for a reason. You can:
- Plant low-growing perennials or groundcovers in front to shade the base.
- Use mulch (more on that soon!) to keep soil temperatures consistent.
Support Structures Matter
Clematis vines don’t have tendrils; instead, they twine their leaf stems around supports. This means they need something thin enough to grip.
- Use wires, twine, mesh, or narrow trellises (no thicker than your pinky).
- Avoid wooden lattice unless you add thinner crosswires.
Best Locations:
- Against sunny fences or walls
- Around pergolas, arbors, or lampposts
- In containers with obelisks or mini trellises
🏡 Pro Tip: Don’t plant too close to tree roots or thick shrubs — clematis doesn’t compete well with aggressive neighbors.
🪴 4. How to Plant Clematis
Once you’ve picked the perfect spot, it’s time to get your hands dirty — literally. Proper planting is foundational to how to grow clematis successfully. Clematis may be a diva when it comes to transplant shock, but if you plant it right, it will reward you with years of dazzling blooms.
Soil Preparation
Clematis prefers soil that’s:
- Rich in organic matter (add compost or humus)
- Well-draining (avoid soggy or clay-heavy spots)
- Neutral to slightly alkaline pH (add garden lime if your soil is acidic)
💡 Tip: Mix compost and a handful of lime into the planting hole for optimal results.
Digging the Hole
- Width: Dig a hole 2–3 times wider than the plant’s container.
- Depth: Make it about twice as deep, allowing space for root expansion and better anchoring.
Planting Technique
- Plant deeper than usual: Set the crown of the plant 2 inches below the soil surface. This helps protect the crown from wilt and frost.
- Leave the trellis attached: There’s no need to remove it — clematis stems are fragile and can break easily.
- Loosen roots: If the root ball is tightly wound, gently tease it apart to encourage outward growth.
Backfilling and Watering
- Fill the hole with your enriched soil mixture.
- Firm the soil gently around the base to eliminate air pockets.
- Water deeply right after planting to settle the roots.
🌿 Container Planting? Use a large, deep pot with excellent drainage. Fill with high-quality potting mix and follow the same planting depth and soil amendment guidelines.
🍂 5. Why Mulch Is Important
If there’s one gardening step that’s often underestimated, it’s mulching. But when it comes to how to grow clematis, mulch isn’t optional — it’s essential. These shallow-rooted plants thrive when their roots stay cool, moist, and protected, and that’s exactly what mulch provides.
Benefits of Mulching Clematis
- Regulates Soil Temperature: Prevents roots from overheating during hot spells.
- Retains Moisture: Reduces the frequency of watering by keeping the soil damp longer.
- Protects Shallow Roots: Shields fragile roots from harsh sun, wind, and frost.
- Reduces Plant Stress: A consistent environment means stronger growth and more blooms.
What to Use:
- Shredded bark
- Leaf mold or shredded leaves
- Compost or fine wood chips
Spread 2–3 inches of mulch around the base of the plant, being careful to keep it away from the stems. Allowing mulch to touch the crown can lead to rot, which is one of the few things clematis truly hates.
🌼 Bonus Tip: Combine mulch with low-growing groundcovers like sweet alyssum or hostas for both beauty and functional root shading.
🧼 6. Ongoing Maintenance
Now that your clematis is planted and mulched, it’s time to shift from setup to care. Fortunately, how to grow clematis doesn’t involve complicated maintenance — just a few consistent practices will keep your plant healthy, lush, and full of flowers year after year.
Watering
- Clematis prefers evenly moist soil, but not soggy.
- During hot or dry periods, water deeply 1–2 times per week.
- Avoid overhead watering to reduce the risk of fungal issues.
Fertilizing
- Clematis isn’t a heavy feeder.
- In spring, top-dress with compost or apply a slow-release fertilizer like Rose-Tone®.
- Avoid high-nitrogen fertilizers, which can lead to lots of leaves and fewer blooms.
Seasonal TLC
- Keep an eye out for wilting — a sudden collapse of the stems may indicate clematis wilt, a fungal issue. If it happens, cut the plant back to the base. Most healthy clematis bounce back quickly.
- If grown in containers, refresh the top few inches of soil each spring and check for root crowding every 2–3 years.
🌱 Expert Insight: A little neglect won’t ruin clematis. In fact, once it’s well-established, it tends to thrive with minimal fuss — just don’t forget about consistent watering and annual feeding.
✂️ 7. How to Prune Clematis
If you’ve made it this far in learning how to grow clematis, congratulations — you’re nearly a pro. But here’s where many gardeners get nervous: pruning. The truth? It’s only confusing if you don’t know your clematis group. Once you do, pruning becomes straightforward and incredibly beneficial for bloom production and plant health.
🔖 Know Your Pruning Group
Every clematis falls into one of three pruning groups, based on when and where it blooms. Save your plant tag or look up the variety online to identify its group.
Group 1: Blooms on Old Wood (Spring)
- When to prune: Right after the first flush of flowers in spring.
- How to prune: Only lightly. Remove dead or weak stems and shape as needed.
- Examples: Early bloomers like Montana varieties.
🪴 Don’t prune in fall or early spring — you’ll cut off next season’s flower buds!
Group 2: Blooms on Old + New Wood (Spring & Again in Late Summer)
- When to prune: Early spring (light trim only).
- How to prune: Remove dead stems and lightly cut back the top 12 inches to promote branching and reblooming.
- Examples: Classic large-flowered hybrids like Nelly Moser or The President.
🌀 These clematis bloom twice, so gentle pruning encourages more flowers while preserving older buds.
Group 3: Blooms on New Wood (Summer/Fall)
- When to prune: Late winter to early spring.
- How to prune: Cut back hard to about 12–36 inches from the ground, leaving 1–2 sets of healthy buds.
- Examples: Jackmanii, Sweet Autumn Clematis.
🌼 This group is the easiest — prune boldly, and the plant will bounce back beautifully.
🌱 Special Note: First-Year Pruning
No matter the group, cut new clematis back to 12 inches in their first year. This encourages root development and fuller, bushier growth in the long run — even if it means fewer flowers that season.
🌿 Renovation Pruning (Every 3–5 Years)
Got a woody, overgrown clematis? You can cut it back hard in early spring, just above a pair of strong buds. This rejuvenation technique resets the plant and encourages vigorous new growth — though you may sacrifice one season of blooms.
🌼 Conclusion
Learning how to grow clematis may seem intimidating at first, but with the right guidance, even beginners can enjoy this breathtaking vine. From selecting the perfect clematis type for your garden to mastering techniques for growing clematis in containers and applying the correct clematis pruning method, you now have all the essentials to grow clematis with confidence. Whether you’re training vibrant vines along a decorative trellis or letting bushy varieties enhance your flower beds, knowing how to grow clematis ensures a stunning, low-maintenance display year after year. With a bit of care and seasonal attention, clematis becomes not just a plant—but a centerpiece in your garden’s story.
❓ Frequently Asked Questions: How to Grow Clematis
1. When is the best time to plant clematis?
The best time to plant clematis is in spring or early fall, when temperatures are mild and the soil is workable. This allows roots to establish before extreme heat or cold.
2. Does clematis need full sun?
Yes — most clematis varieties thrive in full sun (at least 6 hours daily), especially those with large or double blooms. However, some varieties tolerate partial shade. Always shade the roots, even if the top enjoys the sun.
3. How often should I water my clematis?
Water once or twice a week, depending on weather and soil conditions. Keep the soil moist but not soggy, especially during the first growing season.
4. Why isn’t my clematis blooming?
Several reasons could be the cause:
- Incorrect pruning (cutting off old wood in some types)
- Too much shade
- Too much nitrogen fertilizer
- Plant still establishing (especially in the first 1–2 years)
Check your pruning group and growing conditions for clues.
5. Should I deadhead clematis flowers?
Deadheading is optional. It won’t harm the plant and can encourage repeat blooming in some varieties. Others form attractive seed heads, so it’s a personal choice.
6. Can I grow clematis in a container?
Yes! Choose a large, deep container (at least 18 inches wide) with good drainage. Use high-quality potting soil, and support the plant with a trellis or obelisk.
7. How do I protect clematis in winter?
Clematis is hardy, but mulch the base with 2–3 inches of organic matter in late fall. Avoid pruning late bloomers (Group 2 or 3) in fall unless absolutely necessary.
8. How long does it take for clematis to grow?
Clematis may take 2–3 years to fully establish and reach mature size. With proper care, it will then bloom reliably for decades.


