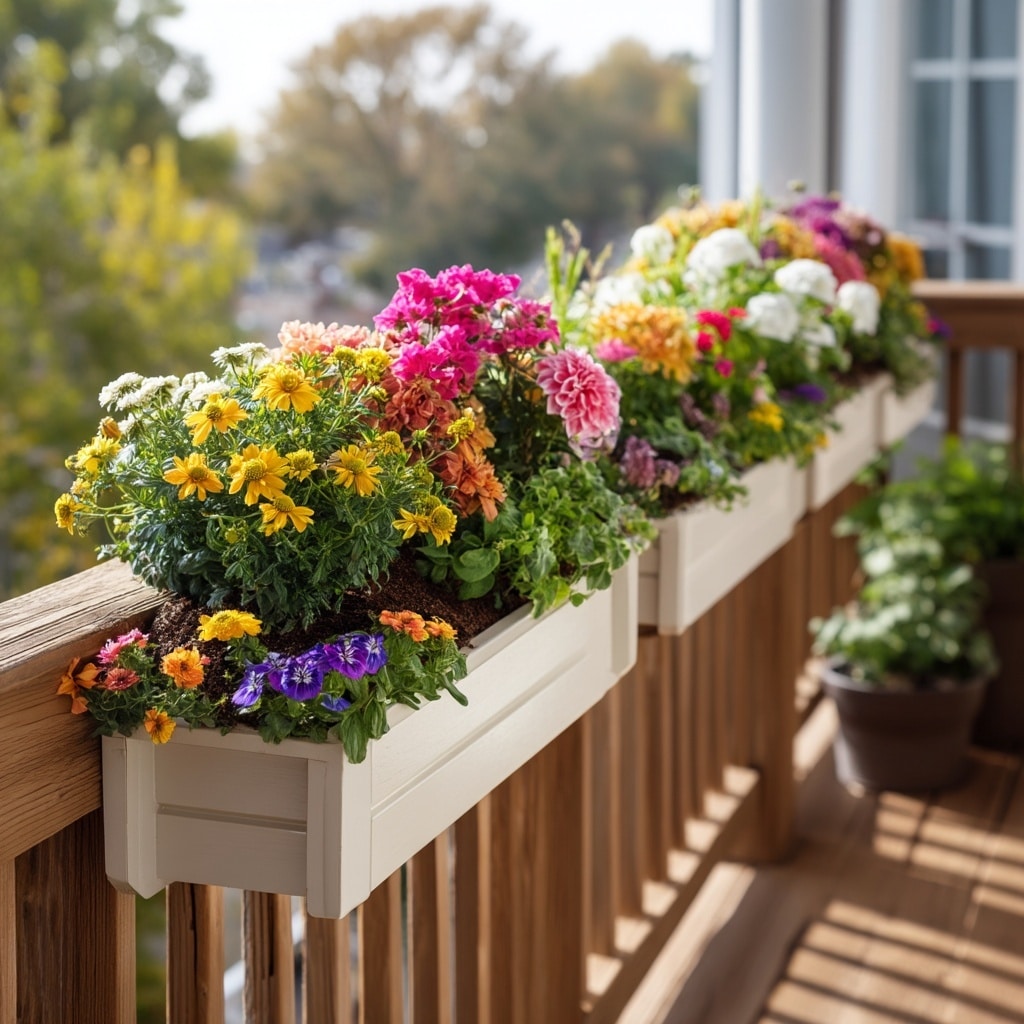
Planter boxes DIY projects are a fun, beginner-friendly way to add charm and greenery to any balcony or deck. Whether you’re short on yard space or just want to maximize your outdoor living area, these over-the-railing boxes are a smart solution. Built from affordable cedar fence pickets and basic tools, they offer a stylish, rustic touch while keeping your plants off the ground and within easy reach. This guide will walk you through every step of the process—from cutting wood to attaching hardware—so you can build your own set of sturdy, attractive railing planter boxes without stress or guesswork.
Table of Contents
Tools and Materials You’ll Need
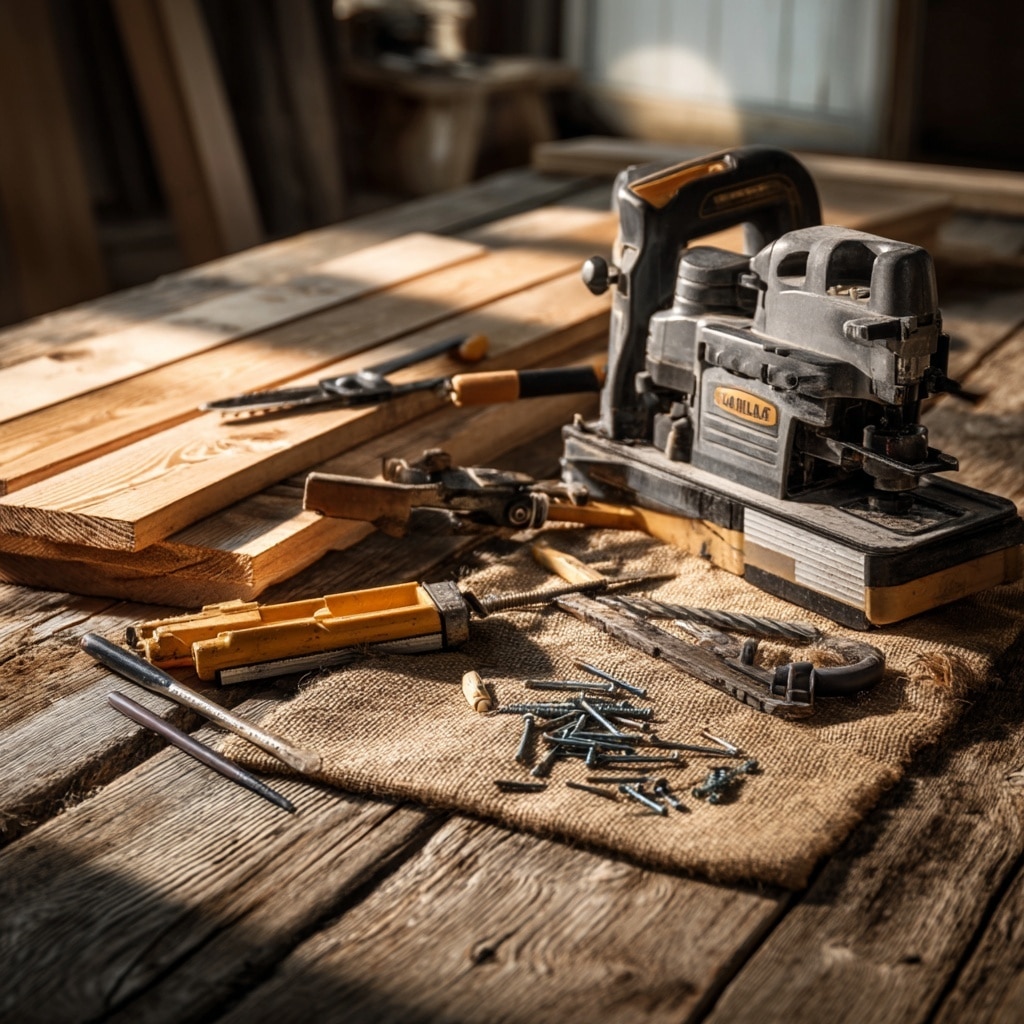
Before starting your planter boxes DIY build, gather the essential tools and materials. These boxes are simple enough for beginners, and you might already have most items in your garage or workshop.
🧰 Tools Required
- Pocket-Hole Jig (e.g., Kreg 720PRO or similar)
- Miter Saw – for accurate, straight cuts
- Brad Nailer – speeds up assembly (or use a screwdriver if needed)
- Drill + Drill Bits – for attaching hardware
- Staple Gun – for securing fabric liner
- Measuring Tape & Pencil
Optional but Helpful: Clamps, sanding block, or orbital sander to smooth rough edges.
🪵 Materials List
- 5 Cedar Fence Pickets (dog-ear style, 19/32″ thick × 5-1/2″ wide × 6 ft long)
- 1″ Pocket Hole Screws
- 1″ Brad Nails
- Exterior Wood Glue
- Landscape Fabric – helps retain soil and prevent water drainage mess
- Mounting Hardware – bolts, brackets, or railing-specific hangers
These items are inexpensive and easy to find at any local home improvement store.
Cut List & Dimensions
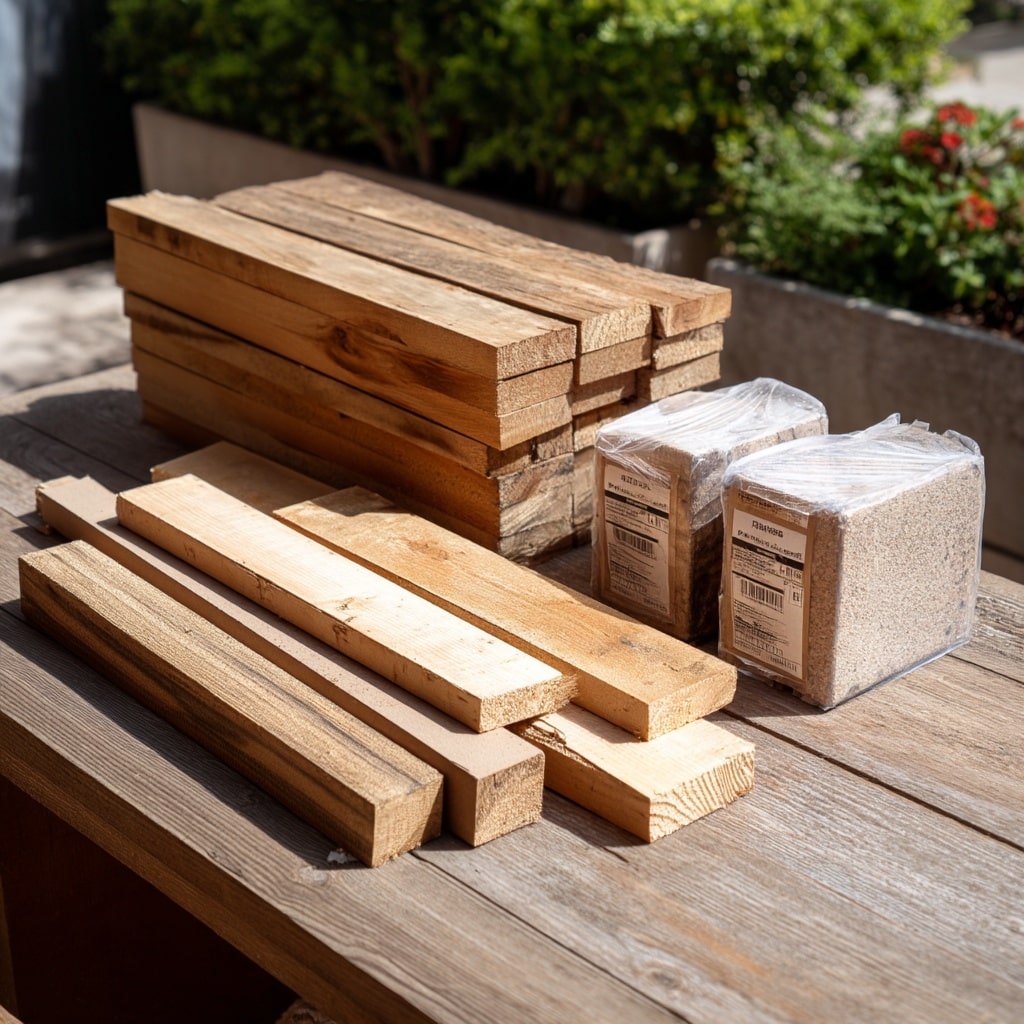
Each planter boxes DIY build in this guide creates two railing planter boxes. All cuts are made from standard cedar fence pickets. Cedar is naturally weather-resistant, making it perfect for outdoor use.
Use a miter saw to cut the following pieces:
📏 Parts Per Pair of Planter Boxes:
- 12 Side Supports
Size: 3¼″ (H) × 5½″ (W) × 19/32″ (T) - 6 Bottom Supports
Size: 5½″ × 5½″ × 19/32″ - 4 End Panels
Size: 4⅞″ (W) × 5½″ (H) × 19/32″ (T) - 6 Exterior Panels
Size: 36″ (L) × 5½″ (H) × 19/32″ (T)
💡 Tip: Always double-check measurements before cutting. Sand down the edges if needed for a smoother finish.
Step-by-Step Instructions to Build Over-Railing Planter Boxes DIY

These steps will walk you through building two durable planter boxes DIY style, perfect for mounting on your deck or balcony railing.
1. Cut All Parts
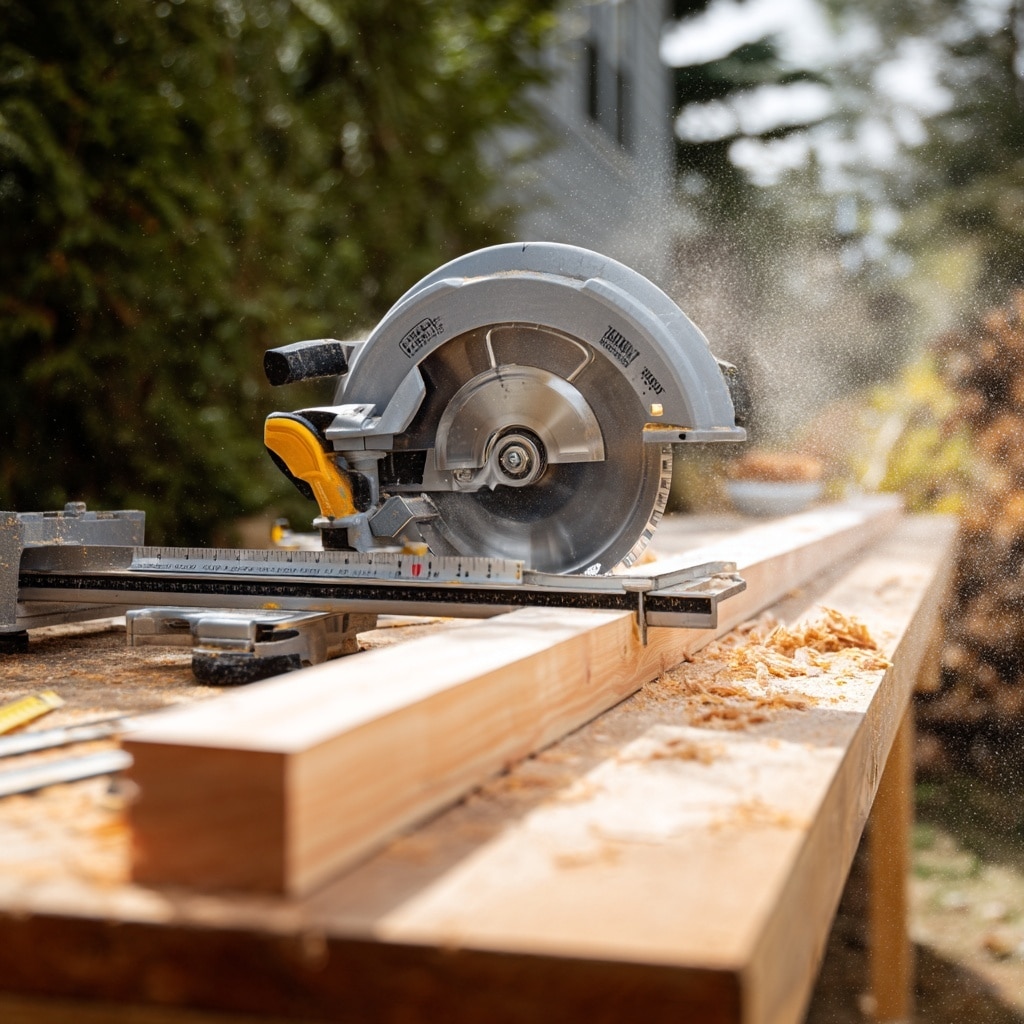
Using the measurements from the cut list, carefully cut each piece. It’s easiest to batch your cuts — start with side supports, then move to end panels and exterior boards.
💡 Pro Tip: Label your pieces with a pencil to keep everything organized during assembly.
2. Attach the Bottom Supports
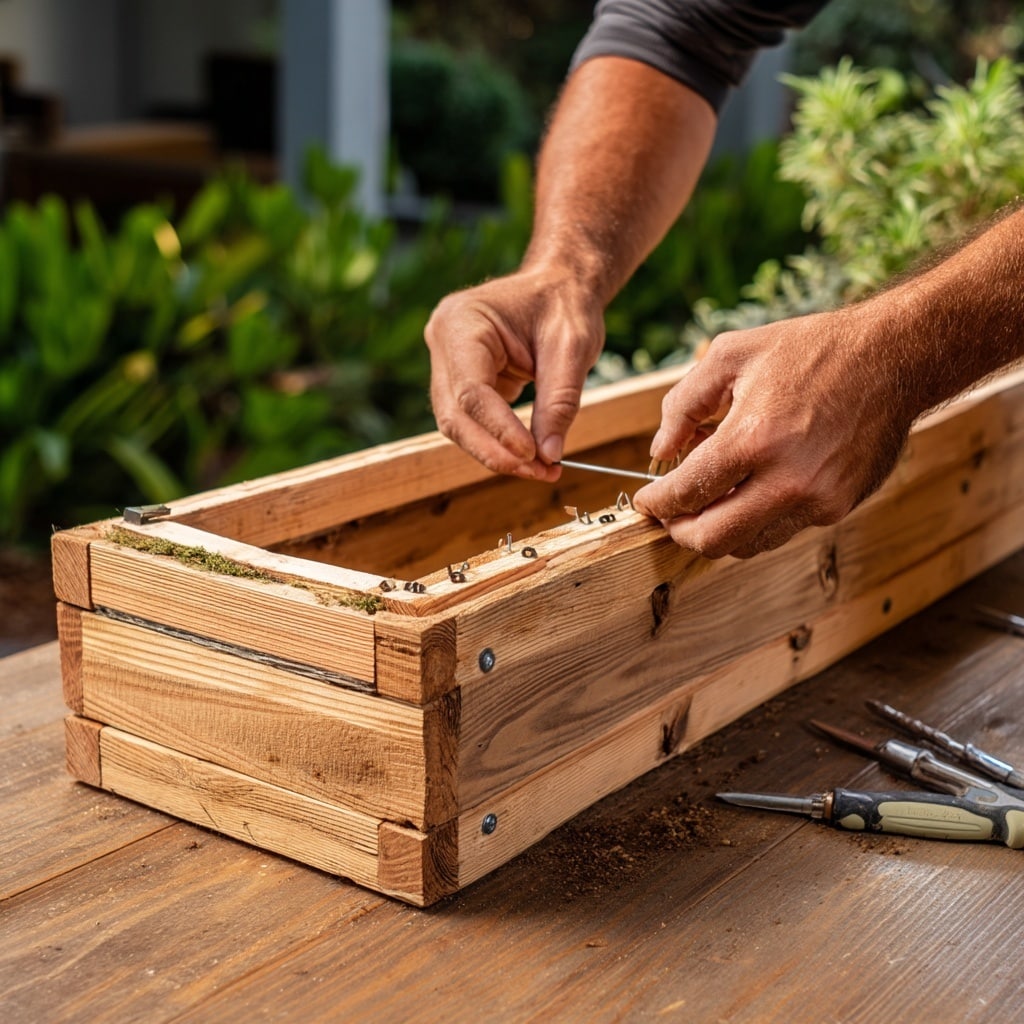
Lay one of the 36″ exterior panels flat. Then, use wood glue and 1″ brad nails or pocket hole screws to secure three bottom supports evenly spaced along the bottom edge.
This forms the base that will hold the weight of your soil and plants.
3. Attach the Side Panels
Position your shorter side support pieces vertically at both ends of the base. Fasten them securely using brad nails or pocket hole screws. These will help define the shape of the box and provide structure.
Repeat on both sides.
4. Install the First Exterior Side
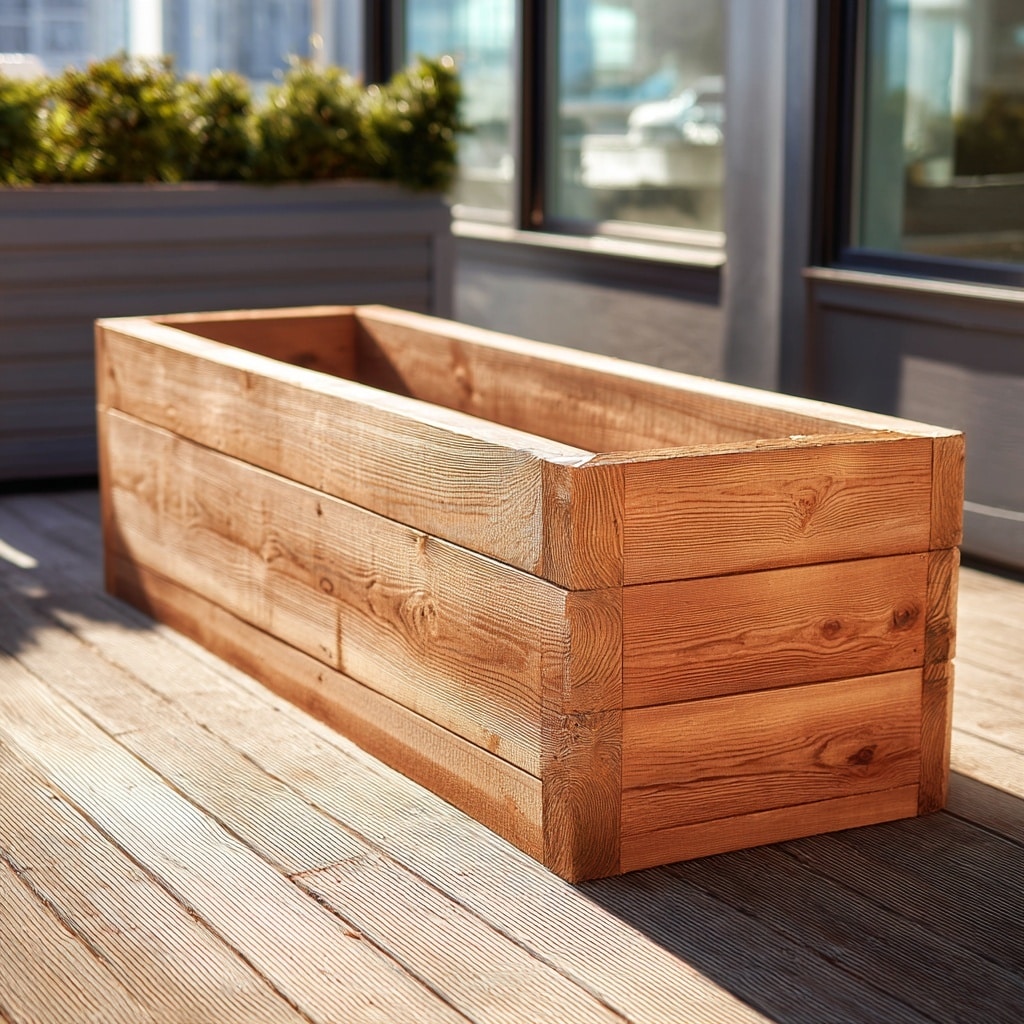
Flip the assembly upright and attach another 36″ exterior panel to form one long side wall. Use nails or screws for a snug fit.
Make sure the bottom support is fully enclosed between both exterior sides.
5. Add Side Supports
Now, attach the remaining vertical side support pieces inside the box. These provide additional strength and prevent warping over time.
Position them against the short end panels, and secure them well.
6. Attach the Final Exterior Panel
Line up the last long exterior piece and attach it opposite the first to close in your box. At this point, you should have a full rectangular frame.
Double-check for square corners and tight joints.
7. Staple in the Landscape Fabric
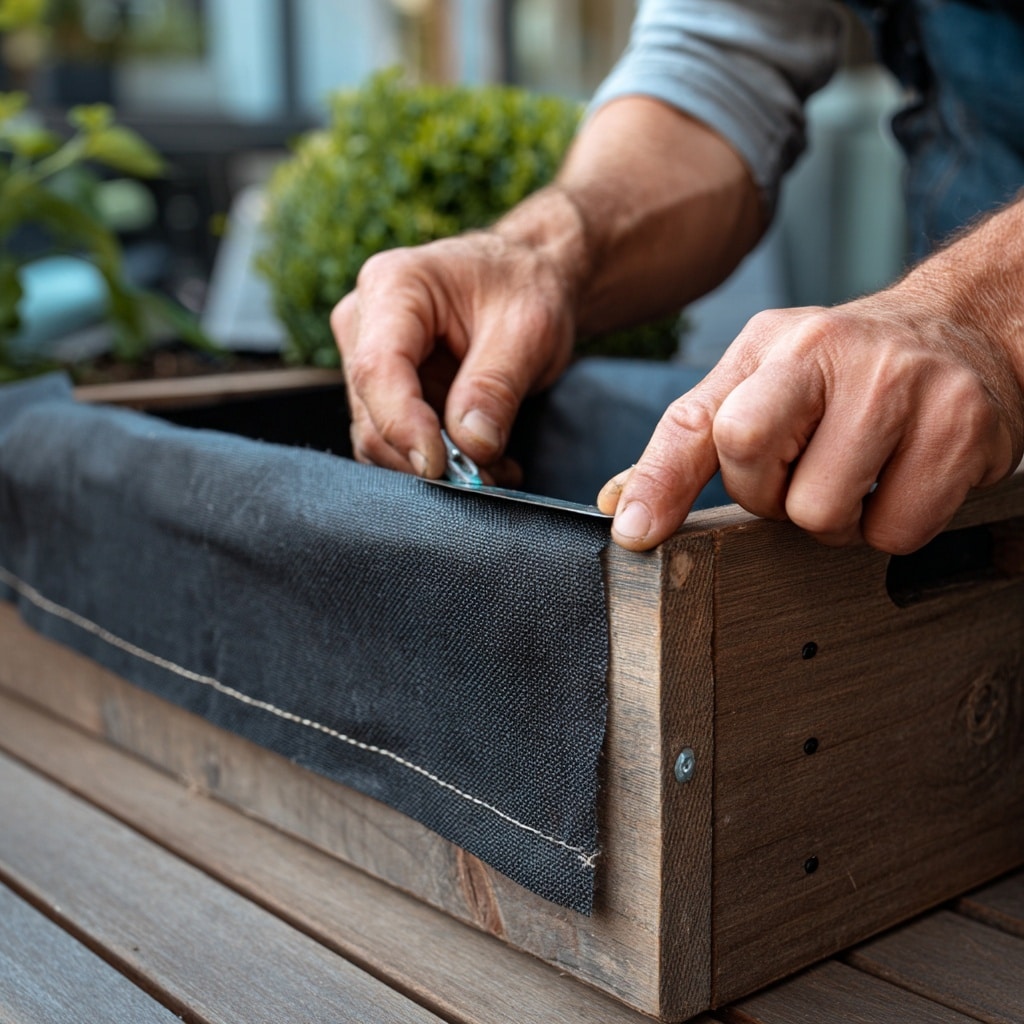
Cut a piece of landscape fabric to fit inside the planter. Use a staple gun to secure it along the bottom and halfway up the sides.
This helps retain soil and moisture while letting water drain during watering or rain.
8. Drill Holes for Mounting Hardware
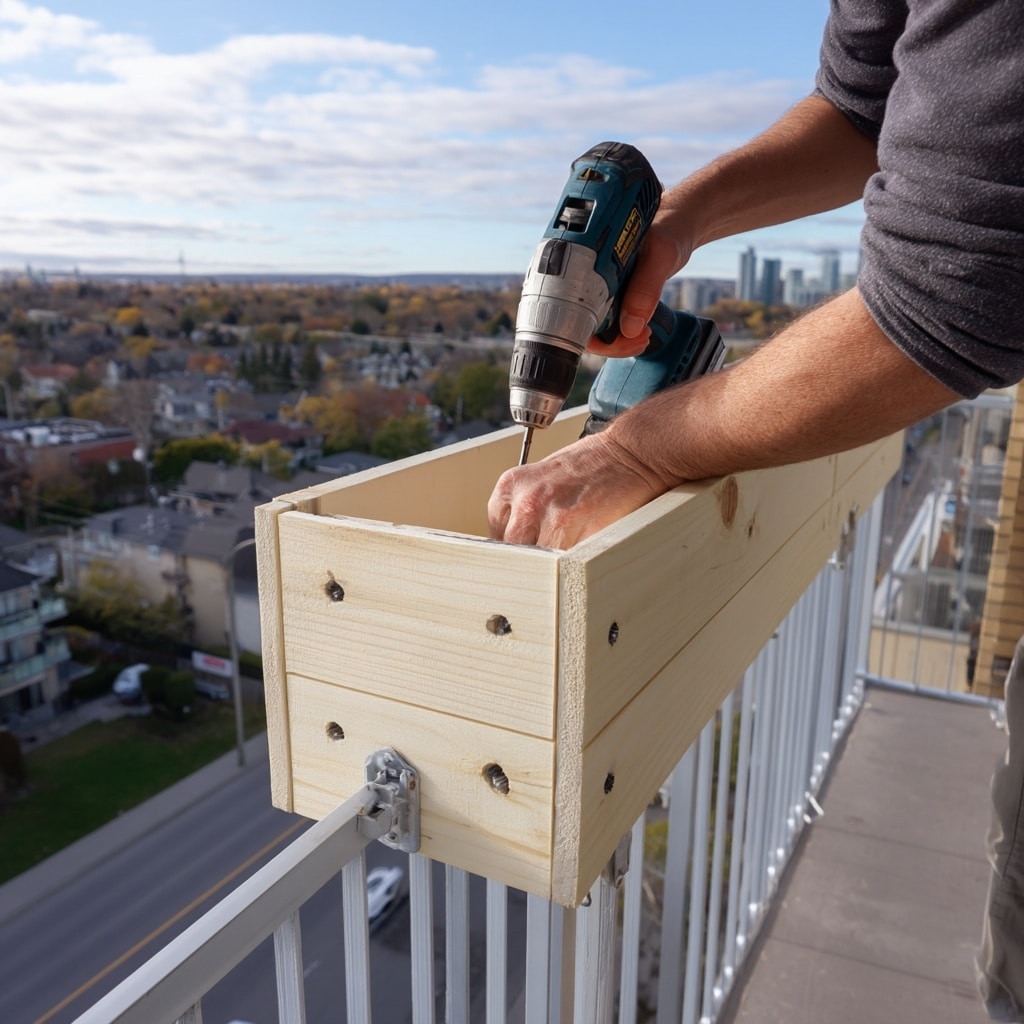
Turn the planter over and mark where your railing brackets or bolts will go. Drill pilot holes accordingly based on the mounting hardware you’re using.
This step ensures easy and stable installation on your deck or balcony.
9. Mount the Planter Box Over Your Railing
With the help of a second person, align the planter box over your railing and attach it securely using bolts or hooks.
Tighten everything to avoid movement or wobbling.
10. Fill and Plant
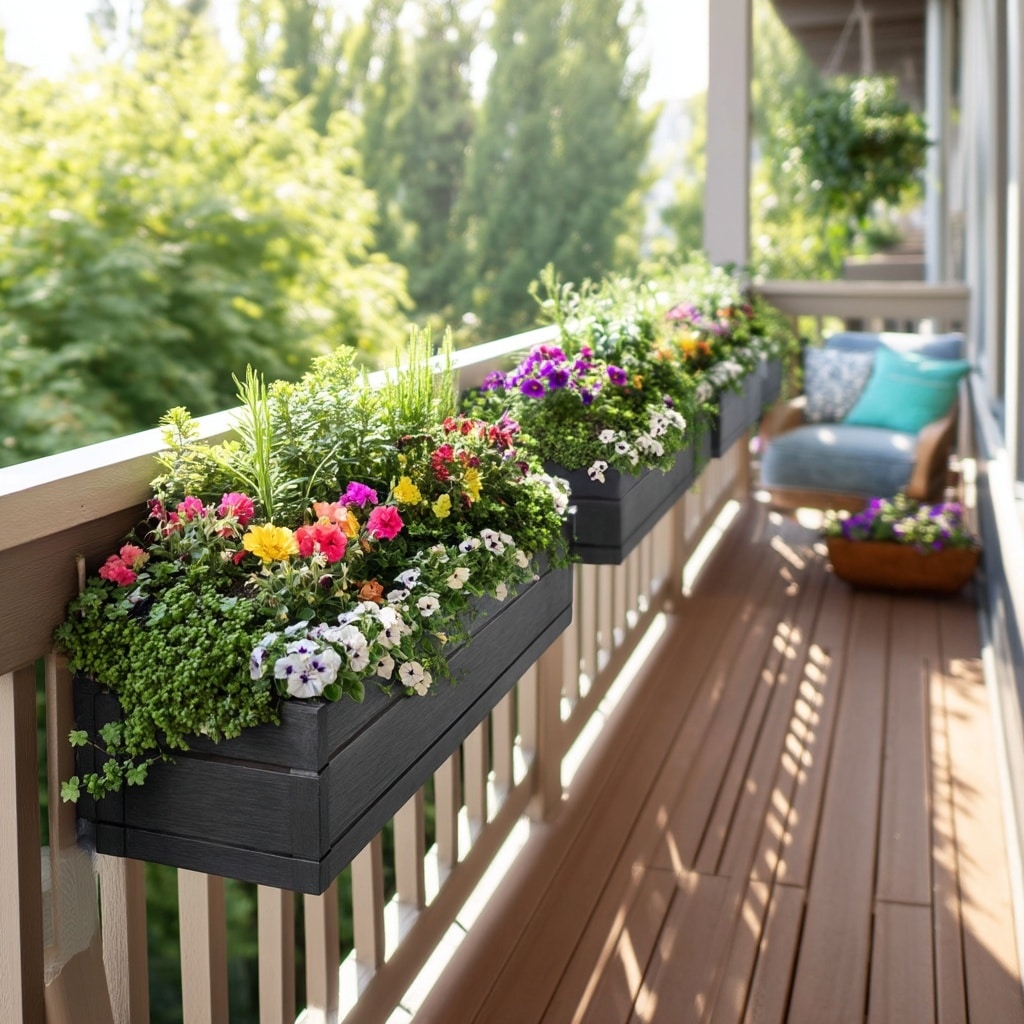
Now comes the fun part — fill your planter boxes DIY project with soil and your favorite flowers, herbs, or succulents. Because the planter hangs over the railing, your plants will get great sun exposure and airflow.
Final Thoughts
Creating your own planter boxes DIY style is not only cost-effective but also a rewarding way to personalize your outdoor space. With just a few cedar pickets and basic tools, you can build two sturdy, attractive planter boxes that hang perfectly over your railing. Whether you’re planting bright flowers or fresh herbs, these boxes provide the ideal home for your greenery — right where you can enjoy it every day.

