Looking to fill your garden with vibrant flowers from spring through fall? Choosing the best clematis for continuous blooms is the key to creating a vertical tapestry of color that truly lasts. By selecting a thoughtful mix of early, mid-season, and late-blooming clematis varieties, you can enjoy a non-stop floral display that elevates any trellis, arbor, or container. Whether you’re growing clematis in containers or planning a more permanent installation, success starts with understanding which clematis varieties to choose—and how to care for them. From planting techniques to structural support, like these clematis trellis ideas, this guide will walk you through expert tips for maintaining the best clematis for continuous blooms, season after season.
Table of Contents
🌸 Goal: Continuous Blooming Clematis Display
To enjoy clematis blooms throughout the growing season, thoughtful planning is essential. The most effective strategy is to combine clematis with different bloom times—early spring, mid-summer, and late fall varieties—so that as one finishes flowering, another is just beginning. This staggered approach guarantees a near-continuous show of vibrant blossoms.
When choosing your clematis, don’t just consider flower color or shape. Pay close attention to:
- Bloom time: Early bloomers often flower on old wood, while late bloomers tend to flower on new growth.
- Mature height: Clematis can range from compact 3-foot varieties to vigorous climbers that reach 20 feet or more.
- Growth habit: Some clematis are bushy and self-supporting, while others need strong structures to climb.
For best results, plan your layout so that clematis with similar growth rates and pruning needs grow near each other. This not only simplifies care but also creates a harmonious look as the season progresses. Planting strategically helps maximize color, reduce maintenance issues, and keeps your garden thriving from spring through fall.
✂️ Important Note About Pruning
Before you start planting your clematis dream garden, it’s critical to understand their pruning groups—a detail that often determines long-term success. Clematis are categorized into three main pruning groups based on their blooming habits:
🥇 Group 1 – Early Bloomers
- Flower on old wood (last season’s growth)
- Prune lightly after flowering
- Ideal for early-spring impact
🥈 Group 2 – Repeat Bloomers
- Bloom on both old and new wood
- Prune selectively in late winter or early spring
- Offer two waves of blooms
🥉 Group 3 – Late Bloomers (e.g., Boulevard® collection)
- Bloom on new wood
- Require hard pruning in early spring (cut back to about 12″)
- Excellent for continuous summer-to-fall color
💡 Design Caution: Avoid planting clematis from different pruning groups too close together unless you’re confident in their individual care needs. Intertwined vines from different groups can make pruning confusing and reduce flowering.
If you’re new to clematis or prefer low-fuss gardening, stick with multiple Group 3 varieties. These are easy to maintain and bloom dependably with a simple hard cut each spring.
🌿 Design Tip: Fill “Bare Knees”
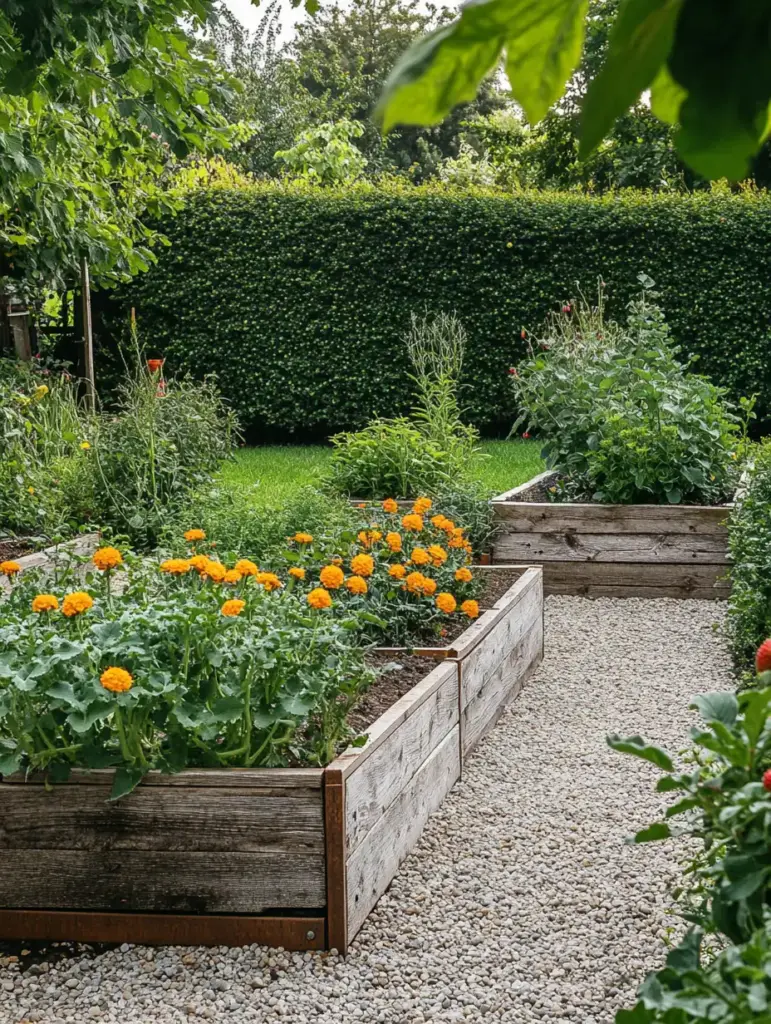
As clematis vines grow taller and mature, they tend to develop what’s often called “bare knees”—a lack of foliage and flowers at the base of the plant. While the tops of the vines may be bursting with blooms, the lower stems can look sparse or woody, especially by midsummer.
Fortunately, there’s an elegant design fix: plant compact, repeat-blooming clematis at the base of your taller varieties.
One standout option is the Boulevard® collection, known for its compact height and profuse blooming habit. These Group 3 clematis varieties:
- Flower from base to tip, covering the bare stems of taller vines
- Are ideal for containers, trellises, or layering in front of larger clematis
- Provide visual balance by extending floral coverage to ground level
By incorporating these low-growing bloomers into your clematis mix, you create a more lush and layered display. Not only will your vertical garden look more complete, but you’ll also maximize your seasonal color without adding extra care complexity.
🌼 Example Combinations Suggested
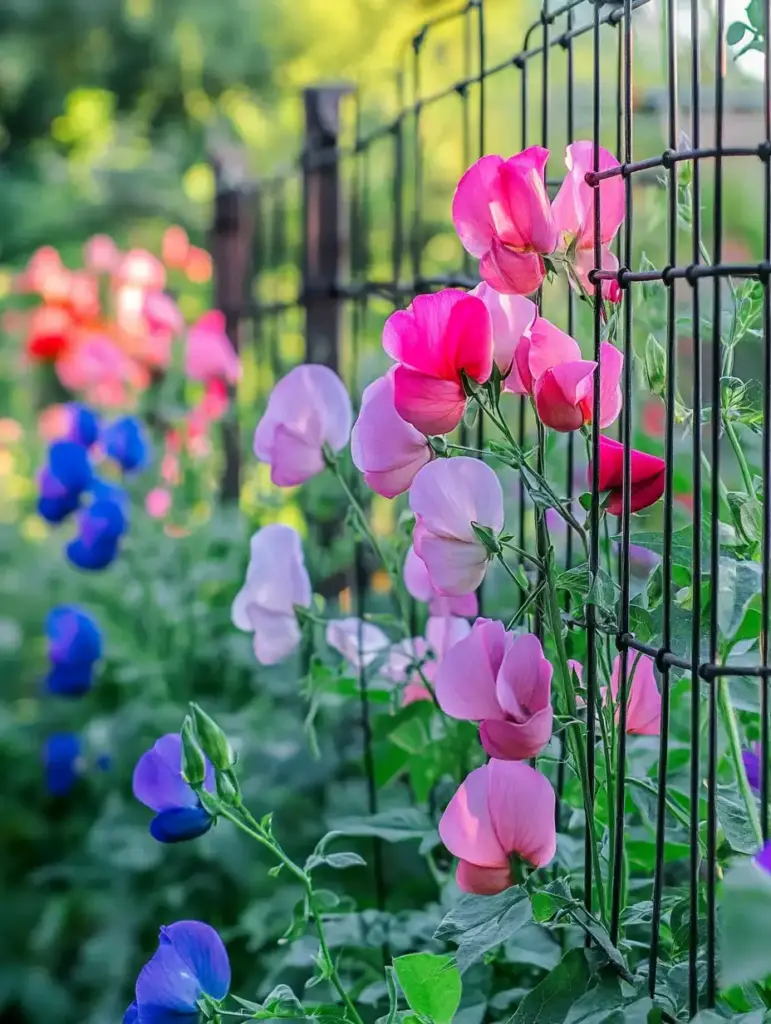
Creating a dynamic clematis display that blooms all season long is like curating a symphony of color, texture, and growth. The trick? Mix varieties with different bloom times, sizes, and growth habits so that something spectacular is always in bloom.
Here are a few winning combination ideas to inspire your clematis planting plan:
🌷 Early + Mid + Late Bloomers
- ‘Frances Rivis’ (Group 1 – early spring)
- ‘The President’ (Group 2 – early summer & repeat blooms)
- ‘Étoile Violette’ (Group 3 – late summer into fall)
🌼 Result: A full-season display starting in early spring and lasting until frost.
🪴 Tall + Compact Varieties
- ‘Jackmanii Superba’ (vigorous climber)
- Boulevard® ‘Sarah Elizabeth’ (compact, repeat-blooming)
🌼 Result: Top-to-bottom floral coverage—no bare knees!
🧱 Container Garden Combo
- Boulevard® ‘Nubia’ (rich red flowers, great for pots)
- ‘Multi Blue’ (double flowers and compact form)
🌼 Result: A striking container display with layers of texture and color.
When mixing clematis, always check the pruning group, mature size, and bloom period to ensure compatibility. With the right planning, your garden can feature clematis for a long season of blooms—turning your vertical spaces into a continuous celebration of flowers.
❓ Frequently Asked Questions
Q1: What is the longest blooming clematis?
A: Many Group 3 clematis, such as those in the Boulevard® collection, are known for their extended bloom periods. These varieties flower on new growth and, when pruned properly in early spring, can bloom from mid-summer into fall. ‘Étoile Violette’ and ‘Arabella’ are also excellent choices for long-lasting blooms.
Q2: Can I plant different clematis types together?
A: Yes, but it requires careful planning. Clematis from different pruning groups have distinct care needs. Planting Group 1, 2, and 3 varieties too close can make pruning tricky and lead to tangled vines. If you’re mixing groups, give each plant enough space and label them clearly for easier maintenance.
Q3: Do clematis bloom all summer?
A: Not all clematis bloom throughout summer, but you can achieve continuous flowering by combining varieties with staggered bloom times. Start with early bloomers in spring, followed by repeat-blooming Group 2 types, and finish with late-summer Group 3 varieties for extended color.
Q4: Why does my clematis have flowers at the top but bare stems at the bottom?
A: This is known as the “bare knees” effect, and it’s common as clematis mature. You can solve this by planting compact, repeat-blooming clematis (like Boulevard® types) at the base or pairing clematis with low-growing companion plants to hide the bare stems.
Q5: When should I prune clematis?
A: It depends on the pruning group:
- Group 1: After flowering (late spring)
- Group 2: Light prune in late winter/early spring, and again after first bloom
- Group 3: Hard prune in early spring, cutting stems to about 12″
Knowing your clematis group is crucial for successful blooming.
🌿 Conclusion
Choosing the best clematis for continuous blooms is both a creative and strategic endeavor. By combining clematis varieties with staggered bloom times, compatible pruning needs, and diverse growth habits, you can enjoy an ever-evolving floral show from early spring through late fall. Whether you’re designing with a vertical clematis trellis or experimenting with growing clematis in containers, a well-planned collection delivers stunning color and texture all season long. For extra inspiration on which types work best together, don’t miss our guide on garden types of clematis. With the right choices, your garden will flourish with the best clematis for continuous blooms—a living masterpiece ready to climb, shine, and inspire.
🌿 Love gardening inspiration? Follow me on Pinterest for bold plant ideas, tips, and seasonal color!
More Posts
19+ Budget-Friendly Backyard Makeover Ideas
Backyard makeover ideas can turn even the most ordinary outdoor space into a warm, inviting retreat—without draining your wallet.
Read More →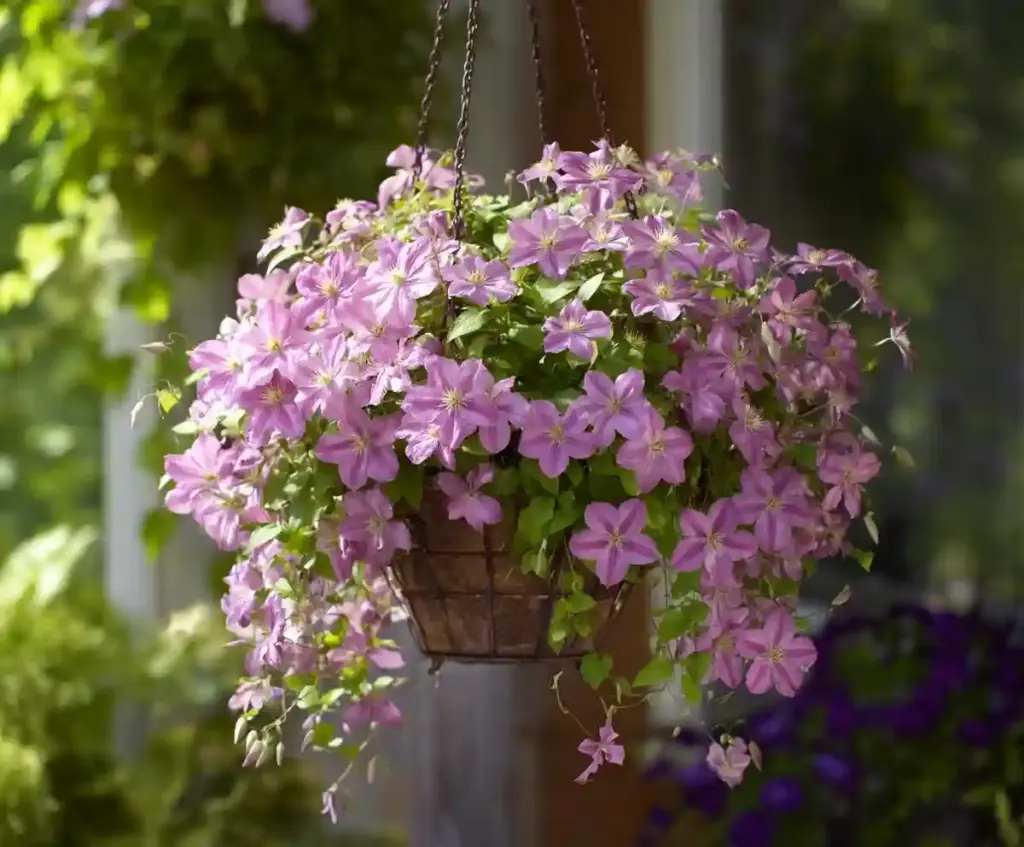
21 Stunning & Simple DIY Clematis Trellis Designs
DIY clematis trellis designs are a beautiful way to blend creativity with function in your garden.
Read More →
12 Full Sun Perennials That Bloom All Summer
Explore a selection of hardy perennials that flourish and bloom beautifully in full sun throughout the summer.
Read More →
Houseplants for Living Room
Find the perfect houseplants to brighten and purify your living room while adding a touch of nature indoors.
Read More →
Backyard Play Area for Kids
Create a fun and safe backyard play area for kids with these inspiring design ideas and tips.
Read More →
Top Privacy Trees
Discover top tree varieties that provide natural privacy and enhance your outdoor space.
Read More →
