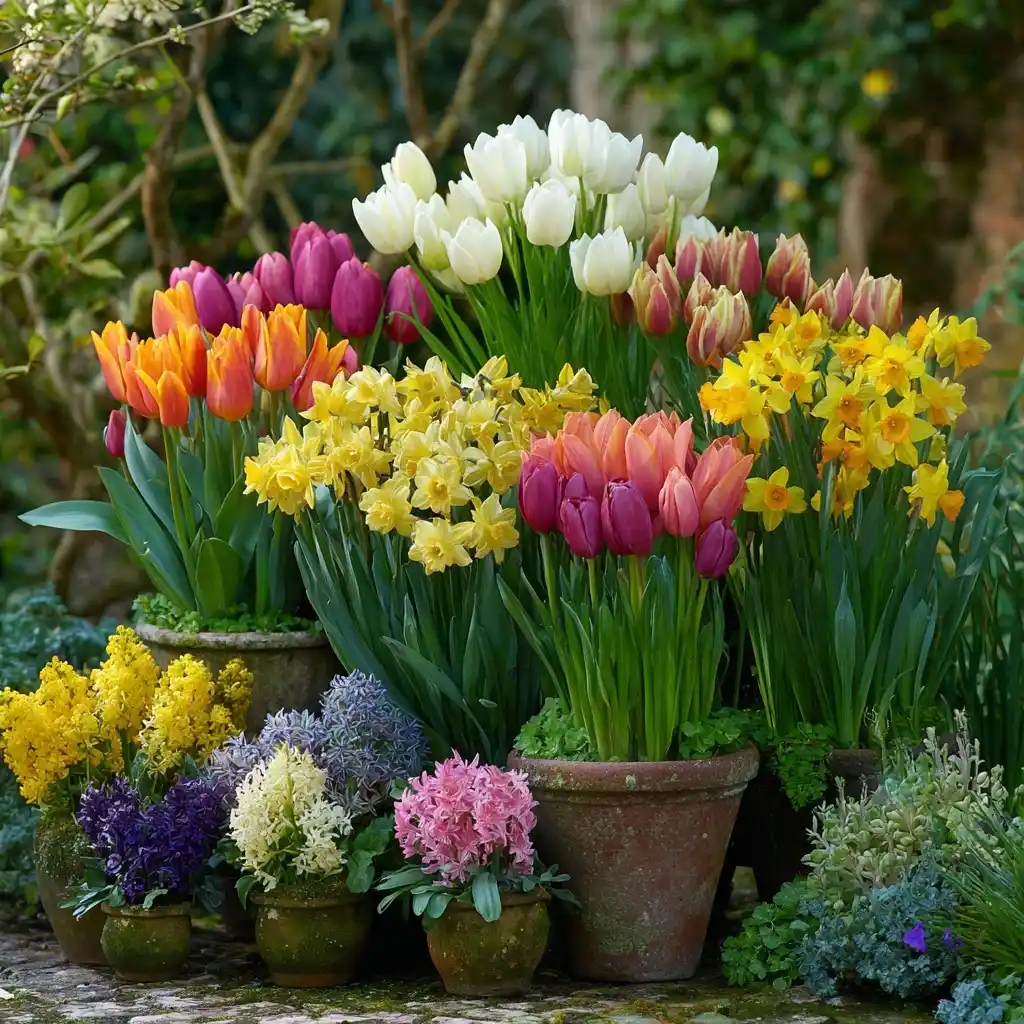
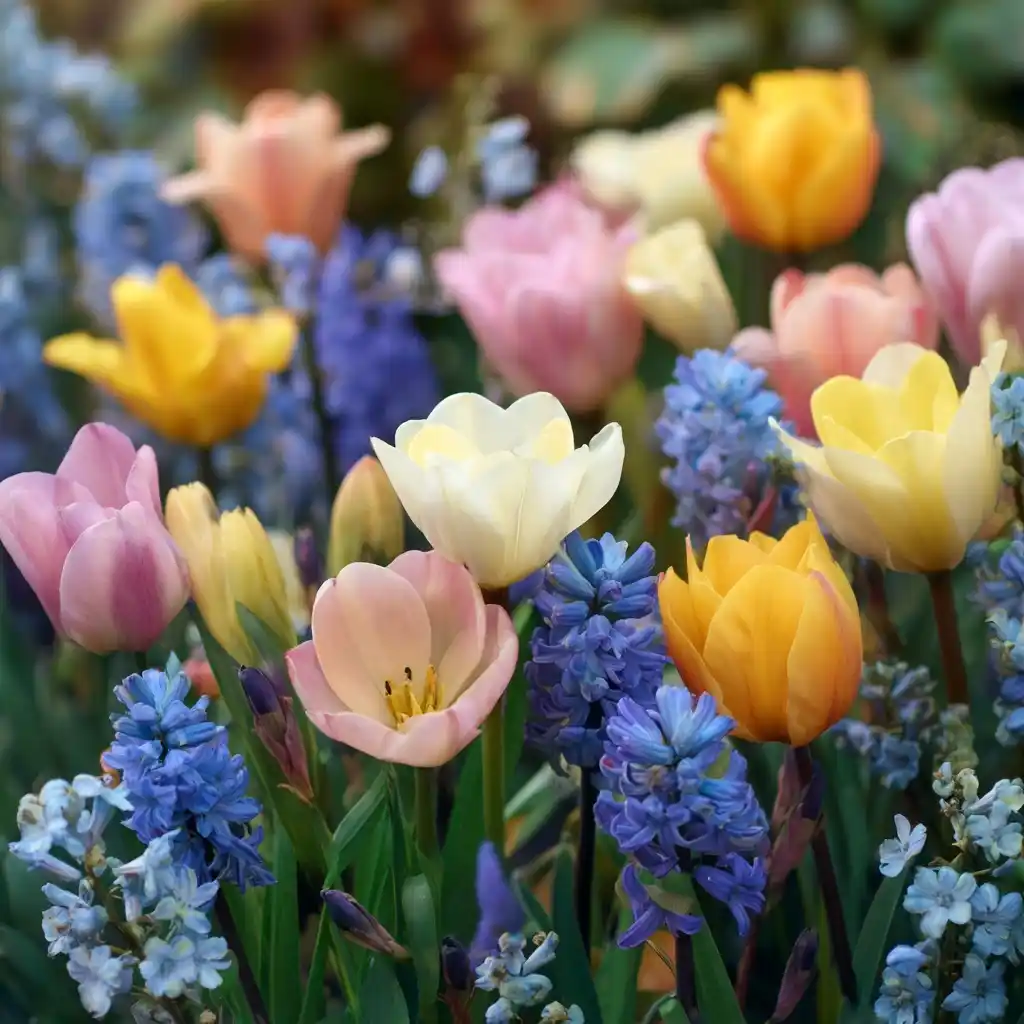
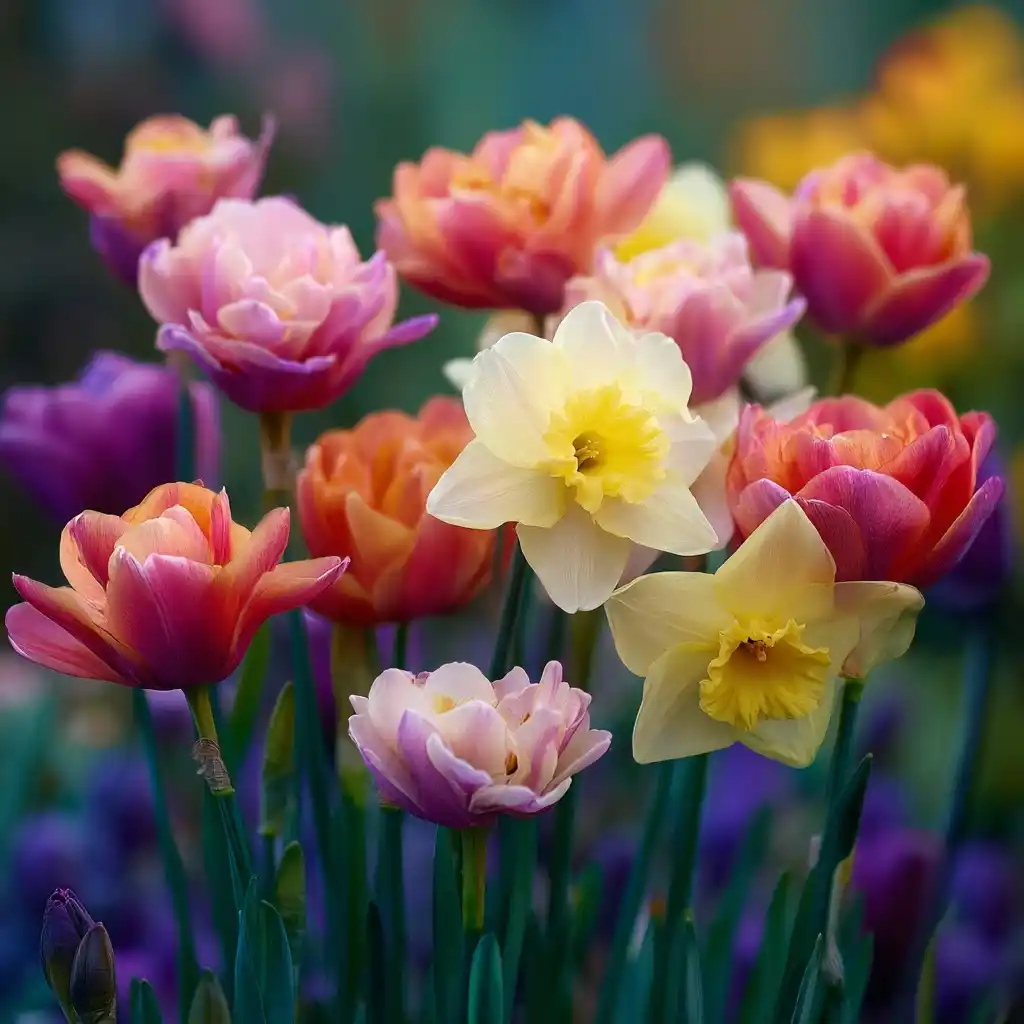
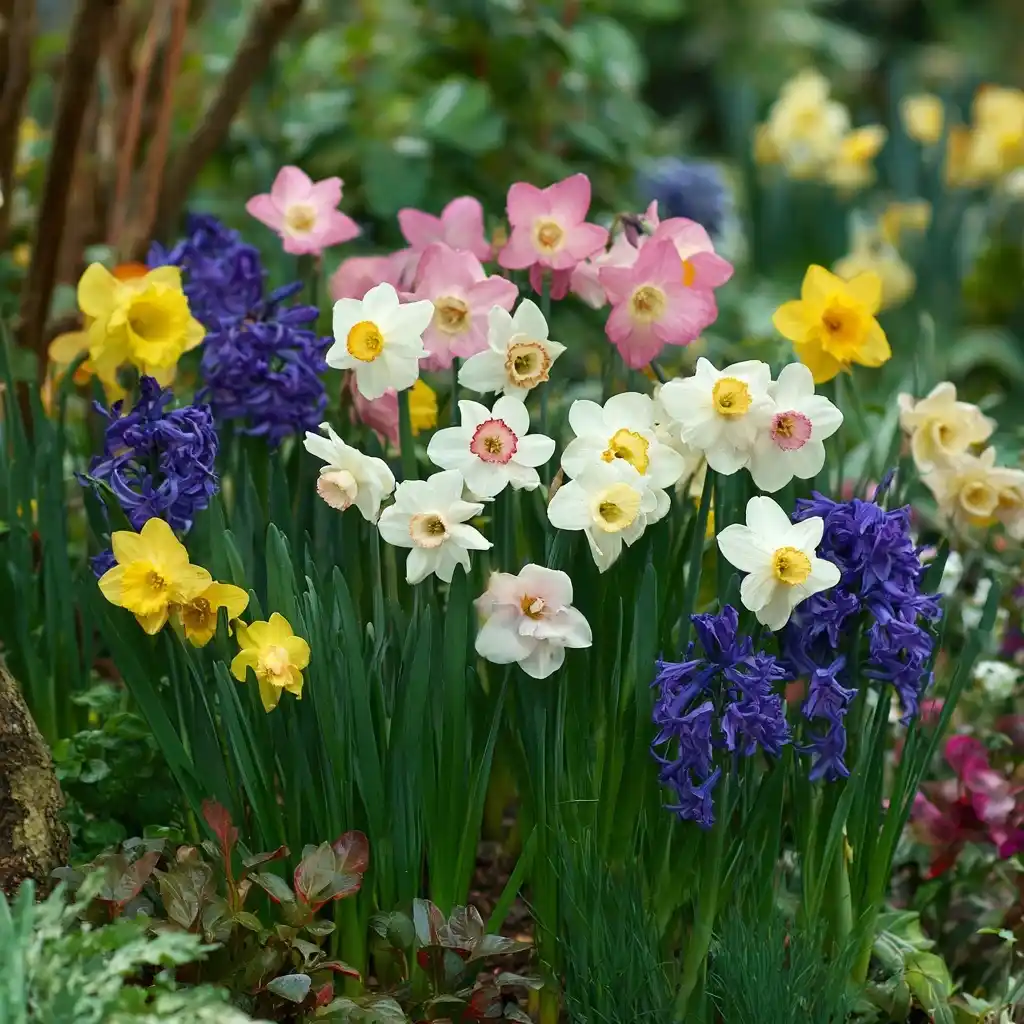
Growing spring bulbs in warm climates may seem like a challenge, especially in USDA Zones 9 and 10 where winter chill is minimal — but with a little planning and the right techniques, your garden can still burst into colorful springtime blooms. Whether you’re dreaming of showy tulips, sweet-scented hyacinths, or timeless daffodils, there are proven strategies to help these beloved bulbs thrive, even in regions with mild winters.
In this guide, we’ll explore everything you need to know about growing spring bulbs in warm climates, including which varieties perform best, how to pre-chill your bulbs, and expert planting tips tailored for success in southern and coastal gardens. If you’ve ever felt left out of the spring bulb magic because of your zip code, don’t worry — your warm-zone bulb garden starts here.
Quick Facts & Botanical Insights
Before diving into the step-by-step guide, it’s helpful to understand some basic facts about spring bulbs and how their biology interacts with warm climates.
🌷 What Are Spring-Flowering Bulbs?
Spring bulbs are perennial plants that grow from underground storage organs called bulbs, corms, or tubers. These structures contain all the nutrients the plant needs to sprout, bloom, and store energy for the next growing season.
Most spring bulbs originate from regions with cold winters, where chilling periods (known as vernalization) are naturally provided by the soil. This dormancy phase is essential for many bulbs — particularly tulips and hyacinths — to produce healthy blooms.
🧊 Why Warm Climates Pose a Challenge
In USDA Zones 9 and 10, winters are typically too mild to provide the natural chilling required for many traditional spring bulbs. Without this chill, the plant may:
- Fail to bloom,
- Produce small or distorted flowers,
- Or skip flowering altogether.
However, not all bulbs are chill-dependent! Some, like narcissi (daffodils) and botanical tulips, can bloom beautifully in warm regions without any artificial cold treatment.
✅ Bulbs That Can Be Pre-Chilled (Require Cold Treatment):
- Tulips (especially Single Late, Triumph, Parrot, and Darwin hybrids)
- Hyacinths
- Crocuses
- Lilies (some types)
- Muscari (grape hyacinth)
❄️ Bulbs That Don’t Require Pre-Chilling in Warm Zones:
- Most daffodils (e.g., ‘Ice Follies’, ‘Tete a Tete’)
- Botanical tulips (e.g., ‘Tarda’, ‘Linifolia’)
- Ornamental onions (e.g., Allium moly, Allium christophii)
- Colchicum
📦 Chilling Facts at a Glance:
- Chilling Duration: 6–16 weeks, depending on the bulb type and storage conditions
- Temperature Range: 40°F to 45°F (standard refrigerator temperature)
- Storage Tip: Keep bulbs away from ripening fruits like apples, which release ethylene gas that can damage bulbs
Ideal Growing Conditions & Site Preparation

To get the best blooms from your spring bulbs in Zones 9 and 10, you’ll need to create an environment that mimics the conditions these plants would naturally experience in cooler climates. Here’s how to give them the best start in your warm garden.
🌞 Sunlight Requirements
Most spring bulbs love full sun — that means at least 6 hours of direct sunlight per day. For warm regions:
- Choose east- or north-facing beds for slightly cooler exposure
- Avoid planting in spots that get blazing afternoon sun unless shaded by deciduous trees (which lose leaves in winter)
🌱 Soil Type & Drainage
Bulbs hate soggy soil. The most important factor in bulb health is good drainage.
- Use well-draining soil, ideally loamy or sandy
- Avoid heavy clay unless amended with compost, sand, or perlite
- Raised beds and mounded planting areas work great in areas with poor drainage
Pro Tip: Add a handful of organic bulb fertilizer or bone meal to the planting hole to encourage root development.
💧 Watering Guidelines
- After Planting: Water deeply once to help settle the soil and activate root growth
- Ongoing Care: Water lightly once a week if no rainfall occurs, but don’t overdo it — bulbs are prone to rot in overly wet soil
- Mulch: Apply a 1–2 inch layer of mulch (bark, straw, or shredded leaves) to help retain moisture and moderate soil temperatures
🌡️ Temperature Considerations
- Bulbs should be planted during the coolest part of your local winter, typically late December to early January
- Avoid planting during heatwaves or unusually warm spells
- If temperatures spike, mulch generously to protect developing roots
🪴 Container Tip for Warm Climates
If you’re limited on space or want more control:
- Grow bulbs in containers with excellent drainage
- Chill bulbs in pots, then move them directly to your patio or garden display after planting
- Great for showcasing varieties like tulips or hyacinths that need a cold period
Step-by-Step Planting Guide for Spring Bulbs in Warm Climates
Now that you’ve got your bulbs pre-chilled and your planting site ready, it’s time to put those beauties in the ground (or pots!). Follow this simple, warm-climate-friendly guide for a successful bloom season.

🥶 Step 1: Pre-Chill Your Bulbs (If Needed)
For chill-dependent bulbs like tulips, crocus, and hyacinths:
- Place bulbs in paper bags, mesh bulb sacks, or breathable produce bags.
- Store in the refrigerator at 40–45°F for 6–16 weeks.
- Keep fruit (especially apples) out of the fridge — ethylene gas damages the bulb’s flower bud.
- Leave bulbs in the fridge until the day you plant — no warm-up period!
🌼 Note: Daffodils and many botanical tulips don’t need chilling and can be stored in a cool, dry place until planting.
🌿 Step 2: Prepare the Planting Site
- Loosen the soil to a depth of 8–10 inches
- Mix in compost or organic matter to improve drainage
- Add bulb fertilizer or bone meal to the base of the planting hole
🌷 Step 3: Planting Depth & Spacing
- Depth: 6–8 inches deep (from the base of the bulb to the soil surface)
- Spacing: 3–6 inches apart, depending on bulb size and type
✨ Pro Tip: For a more natural look, plant in odd-numbered clusters (3s, 5s, 7s) rather than straight rows.
🚿 Step 4: Water Wisely
- Water thoroughly after planting to encourage root growth.
- In dry areas, continue to water lightly every 7–10 days until you see shoots.
🌾 Step 5: Mulch (Optional but Recommended)
- Apply a 2-inch layer of organic mulch to:
- Retain moisture
- Keep soil temperatures consistent
- Prevent weed growth
🪴 Step 6: For Container Planting
- Use pots with drainage holes
- Choose a light, well-draining potting mix
- Chill bulbs either in bags or pre-planted in pots, then move outdoors for bloom
Stay tuned for the next part, where we’ll talk about Ongoing Care, Deadheading, and Replanting Strategies so your bulbs stay healthy and vibrant.
Maintenance & Ongoing Care for Spring Bulbs in Warm Climates

Once your bulbs are in the ground and sprouting, proper care ensures you get vibrant blooms and, where possible, repeat performances in the seasons to come. Here’s how to keep them looking their best in Zones 9 and 10.
🌿 Caring During the Growing Season
- Watering: Continue light, consistent watering if rainfall is scarce. Aim to keep the soil evenly moist, not soggy.
- Fertilizing: Apply a balanced, low-nitrogen fertilizer (e.g., 5-10-10) when leaves emerge. This supports flower development over leafy growth.
- Weed Control: Remove weeds regularly to reduce competition for nutrients and water.
✂️ Deadheading Flowers
- After blooming, cut off spent flower heads to prevent energy from going into seed production.
- Do not remove the foliage yet — the leaves are storing energy for next year’s blooms.
🍃 Letting the Foliage Die Back Naturally
- Wait until the leaves turn yellow and dry up completely (usually 6–8 weeks after bloom).
- This process is essential for bulbs to recharge for the next season.
- Don’t braid or tie the leaves — this reduces photosynthesis.
🔁 Replanting or Treating as Annuals
In Zones 9 and 10, many bulbs (especially tulips and hyacinths) are best treated as annuals unless you:
- Dig them up after dieback
- Chill them again before replanting the following year
If you want reliable blooms every spring:
- Replant chilled bulbs annually in fresh locations
- Alternatively, choose naturalizing bulbs like narcissi or botanical tulips that can come back year after year without extra effort
🪣 Storing Bulbs After Flowering (Optional)
For bulbs you plan to reuse:
- Let foliage die down naturally
- Dig up bulbs, brush off excess soil
- Store in a cool, dry, ventilated spot (not in the fridge yet)
- Pre-chill again before the next planting season
Common Pests & Diseases (and Eco-Friendly Solutions)
Even in warm climates, spring bulbs aren’t immune to pests, diseases, and other issues. Luckily, with a proactive approach and some natural remedies, you can keep your bulbs thriving and your garden healthy — no harsh chemicals required.
🐛 Common Pests Affecting Spring Bulbs
- Aphids
- Signs: Sticky leaves, stunted growth, curled foliage
- Solution: Spray with neem oil or insecticidal soap; attract ladybugs and lacewings to control populations naturally
- Snails & Slugs
- Signs: Ragged holes in leaves and flowers, slimy trails
- Solution: Use copper tape, beer traps, or sprinkle diatomaceous earth around plants
- Rodents (Mice, Voles, Squirrels)
- Signs: Bulbs dug up or chewed
- Solution:
- Plant bulbs in wire mesh cages underground
- Sprinkle crushed red pepper flakes or castor oil granules in the soil
- Use strong-scented plants nearby, like garlic or daffodils, which rodents dislike
- Thrips (especially in gladiolus and lilies)
- Signs: Silvery streaks or discoloration on flowers
- Solution: Use blue sticky traps and neem-based sprays early in the season
🌱 Common Diseases in Warm Climates
- Bulb Rot (Fungal/Bacterial)
- Caused by: Poor drainage or overly wet soil
- Prevention:
- Always plant in well-draining soil
- Avoid overwatering
- Treat bulbs with a fungicide dust before planting, if necessary
- Botrytis (Gray Mold)
- Signs: Fuzzy gray mold on leaves or flowers
- Solution: Improve air circulation, avoid overhead watering, and remove infected parts promptly
- Basal Rot
- Signs: Soft or mushy base on bulbs
- Prevention:
- Buy bulbs from reputable sources
- Discard any soft or moldy bulbs before chilling or planting
🛡️ General Bulb Protection Tips
- Rotate planting areas yearly to reduce disease buildup
- Avoid overcrowding to promote airflow
- Don’t compost infected bulbs — dispose of them in the trash
- Use mulch to suppress weeds and protect bulbs but don’t let it stay too wet
Expert Tips, Bonus FAQs & Top Variety Recommendations
Whether you’re a first-timer or a seasoned southern gardener, these pro insights and curated bulb picks will help you make the most of your spring display — year after year.
🌟 Expert Tips for Warm-Climate Bulb Success
- Pre-Chill in Batches
If you’re planting a mix of tulips, hyacinths, and crocus, label and chill them separately by variety — this helps with organized planting and better bloom timing. - Use Containers for Drama & Control
Group pre-chilled bulbs in large pots for a high-impact spring display. Once the blooms fade, replace with summer annuals — easy transition, no garden disruption. - Layered Planting (Lasagna Style)
Plant bulbs at different depths (e.g., daffodils deeper, crocus shallower) in the same bed or container for a long-lasting floral show. - Combine Chilled and Non-Chilled Bulbs
Mix annual tulips with perennial narcissus to ensure ongoing blooms while you replant others each year. - Keep a Planting Journal
Note what worked well (and what didn’t) — chill time, bloom dates, weather conditions, pest issues — so you can tweak your timing for future seasons.
❓ FAQs: Spring Bulbs in Zones 9 & 10
Q: Can I skip the chilling step if I buy pre-chilled bulbs?
A: Yes! Some nurseries sell pre-chilled bulbs ready for planting — great for gardeners without fridge space.
Q: Will tulips rebloom in warm climates?
A: Usually not. Treat most tulips as annuals, replanting chilled bulbs each year. Botanical tulips may return with luck.
Q: How do I know when to dig up bulbs after flowering?
A: Wait until the leaves have yellowed completely, then gently lift and store the bulbs for future use.
Q: Can I force bulbs indoors in warm climates?
A: Absolutely. Pre-chill and pot bulbs indoors in late winter for a stunning tabletop bloom — just be sure to keep pots cool and bright.
🌷 Top Bulbs for Zones 9 & 10: Curated Picks by Category
🌸 Tulips (Chill Required):
- Single Late: ‘Queen of Night’, ‘Menton’, ‘Maureen’, ‘Renown’
- Parrot: ‘Estella Rijnveld’, ‘Flaming Parrot’, ‘Orange Favourite’
- Darwin Hybrid: ‘Pink Impression’, ‘Daydream’, ‘Olympic Flame’
🌼 Daffodils (No Chill Needed):
- ‘Ice Follies’, ‘Tete a Tete’, ‘Carlton’, ‘Thalia’, ‘February Gold’
🌿 Botanical Tulips (Naturalizing):
- Tulipa tarda, Tulipa saxatilis, Bakeri ‘Lilac Wonder’
💜 Other Spring Bulbs That Thrive in Warm Climates:
- Crocus, Hyacinths (with chilling)
- Muscari (Grape Hyacinth)
- Alliums: A. moly, A. christophii, A. sphaerocephalum
- Colchicums, Lilies
Conclusion🌼
Don’t let your zip code stop you from enjoying a garden bursting with vibrant spring flowers. With a little planning — especially pre-chilling where needed — growing spring bulbs in warm climates like USDA Zones 9 and 10 is not only possible but deeply rewarding.
From dramatic tulips to carefree daffodils and graceful alliums, your garden can put on a spring spectacle to rival those in cooler zones. Choose the right varieties, give bulbs the conditions they crave, and enjoy a season filled with color, fragrance, and garden envy from your neighbors.
So go ahead — stock your fridge with bulbs, mark your calendar, and plant the magic. Spring starts now.


