If you’re growing peas this season, one of the smartest things you can do is set them up with the right support. A DIY pea trellis not only saves space in your garden but helps your plants thrive by improving airflow, sunlight exposure, and harvest ease. Whether you’re growing snap, snow, or sweet peas, giving your vines something to climb ensures healthier growth and a more productive harvest. The good news? You don’t need to spend a lot—or anything at all—to get started. Below, we’ll explore seven simple and affordable trellis ideas you can build at home using basic materials and a little creativity.
Why You Should Trellis Your Peas
Trellising peas isn’t just about tidying up your garden—it’s one of the most effective ways to grow stronger, healthier, and more productive plants. Here’s why adding a DIY pea trellis is a game-changer:
1. Better Airflow and Healthier Plants
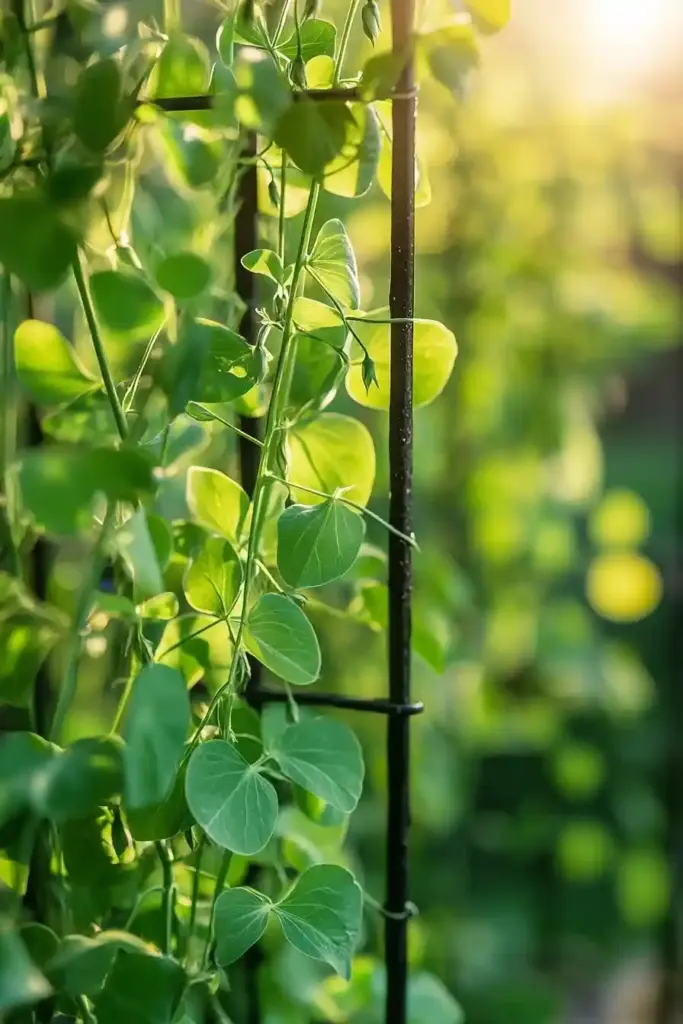
By training your peas to grow vertically, you improve air circulation around the leaves and stems. This reduces humidity and helps prevent common issues like powdery mildew and mold, especially in densely planted areas.
2. Easier Harvesting
No more hunting for pods tangled in overgrown vines. With a vertical setup, peas grow up and not out, making it much easier to spot and pick them at peak ripeness. This also encourages more blooms and pods to develop.
3. Space-Saving Benefits
Small space? No problem. A vertical trellis allows you to grow more in less ground area. It’s a smart solution for raised beds, balcony gardens, or tight rows.
4. Fewer Pests
Keeping vines off the ground means slugs, snails, and soil-dwelling insects have a harder time reaching your plants. That’s fewer chewed leaves and more tender pods for you.
What to Consider Before Building a Pea Trellis
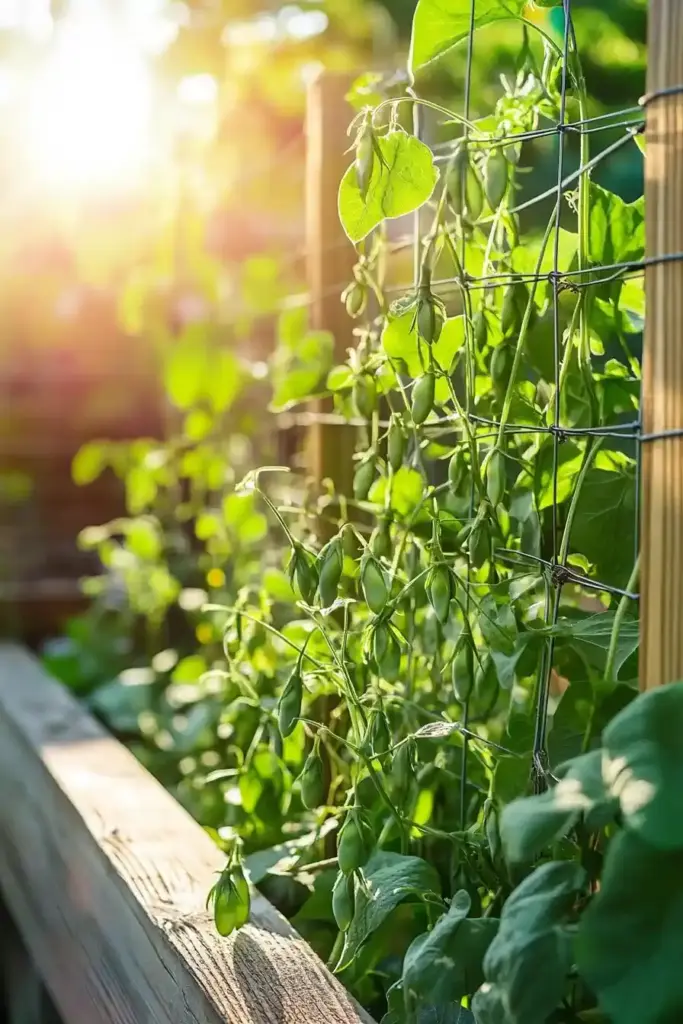
Before diving into your DIY project, take a few minutes to think through your garden setup. A little planning now ensures your trellis will be sturdy, effective, and suited to your plants’ needs. Here are four key things to keep in mind:
1. Garden Space and Layout
How much room do you have? For narrow beds or straight garden rows, vertical trellises like netting on posts work best. If you’ve got more space—or want to grow peas between raised beds—a tunnel or arch-style trellis can add both function and beauty.
2. Pea Variety and Mature Height
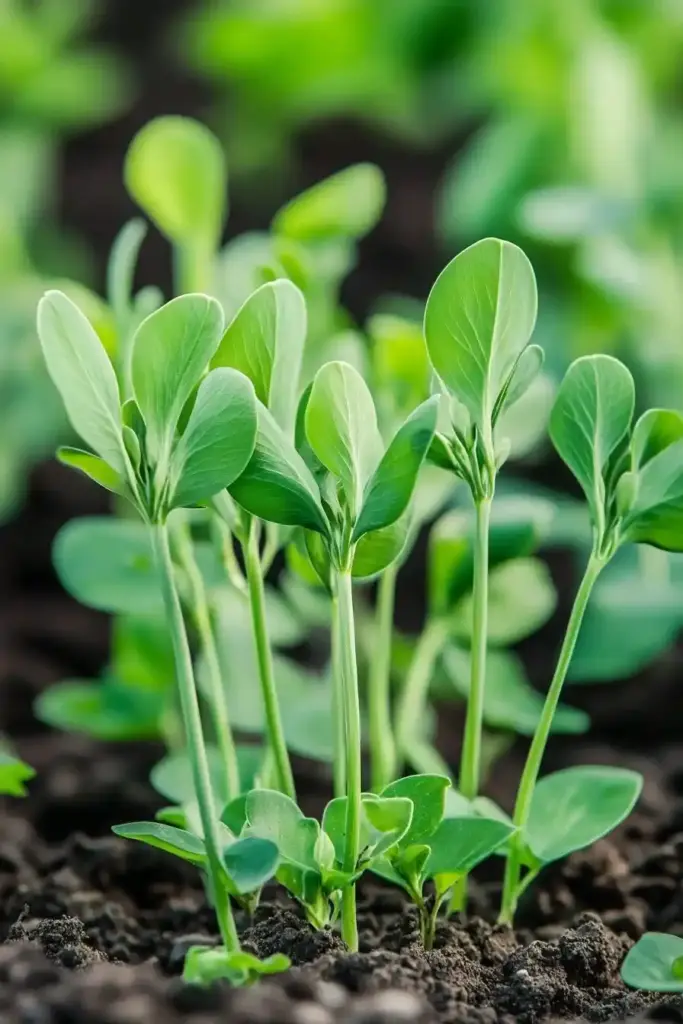
Peas come in bush or vining types, and your trellis should match. Dwarf varieties like ‘Little Marvel’ can thrive with shorter supports (3 to 4 feet), while taller ones like ‘Sugar Snap’ need something more robust, around 6 feet or taller.
3. Wind and Weather Exposure
If your garden is exposed to strong winds, sturdier materials like wood or cattle panels are your best bet. Lightweight structures might not hold up well in gusty conditions.
4. Your DIY Skill Level and Tools
Let’s be real—some trellis designs are more involved than others. If you’re short on time or tools, stick with simple setups using netting or twigs. Got a saw and a drill? You can try more creative builds like an A-frame or arched tunnel.
7 DIY Pea Trellis Ideas (From Easy to Eye-Catching)
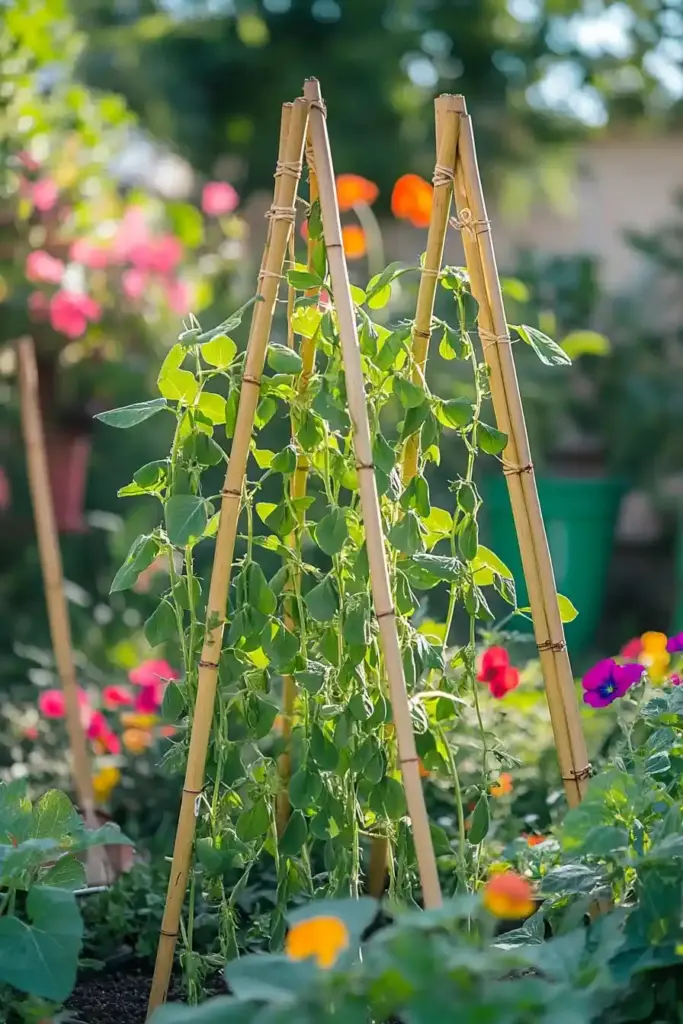
1. Bamboo and Twine Teepee
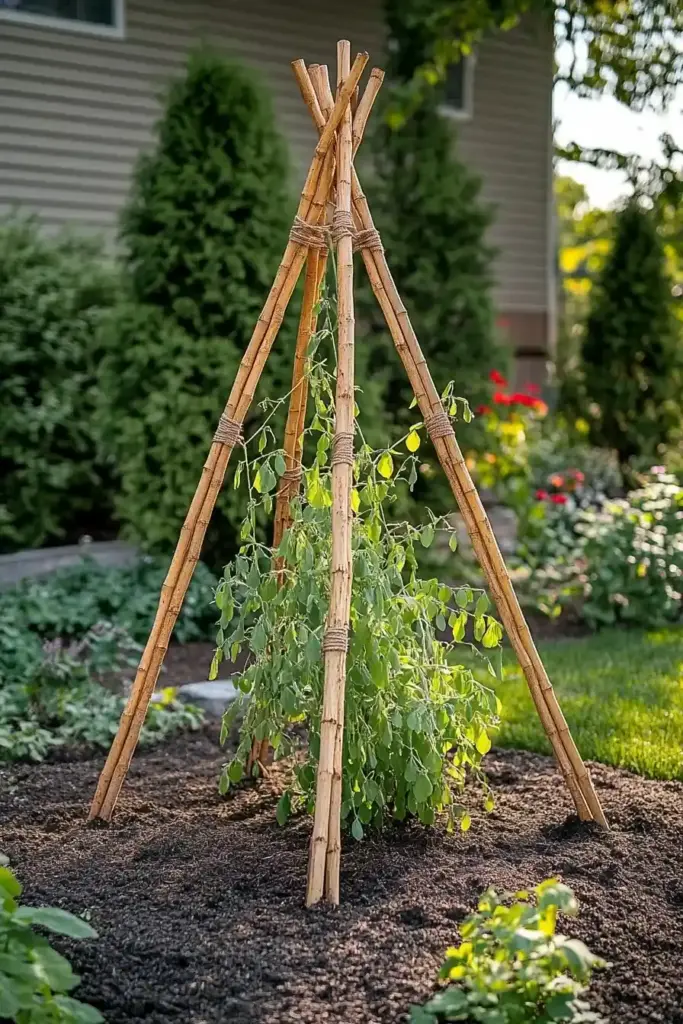
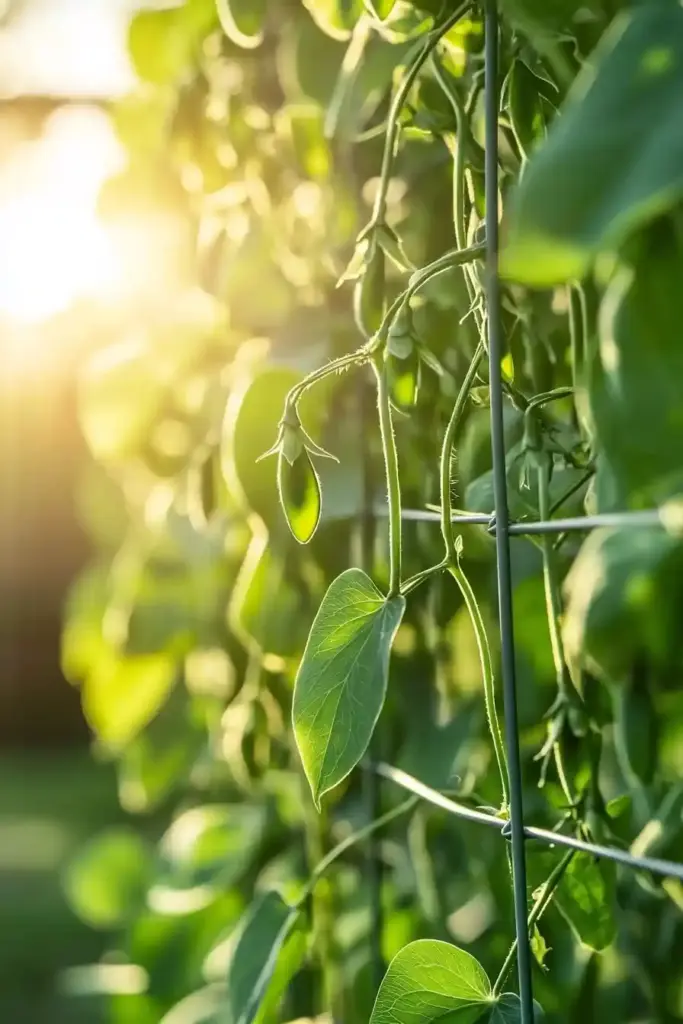
A classic and charming option, the bamboo teepee is perfect for vining peas and works beautifully in both garden beds and containers.
How to Make It:
- Gather 4 to 6 bamboo poles (6–8 feet tall).
- Push them into the soil in a circular shape and tie them together at the top with garden twine or jute.
- Wrap twine around the frame horizontally, spacing each layer 6–8 inches apart, giving pea tendrils plenty of places to grip.
Why It Works:
It’s low-cost, super quick to assemble, and blends seamlessly into any garden setting.
2. Post and Netting Frame
Ideal for row gardens or raised beds, this setup involves little more than a few stakes and some mesh netting.
How to Make It:
- Place wooden or PVC posts about 4 feet apart.
- Secure nylon garden netting or plastic mesh between them using zip ties or garden staples.
- Sow peas directly beneath the netting for easy vertical growth.
Why It Works:
It’s lightweight, scalable, and great for gardeners who want a clean, efficient look.
3. Wire Mesh Panel Trellis
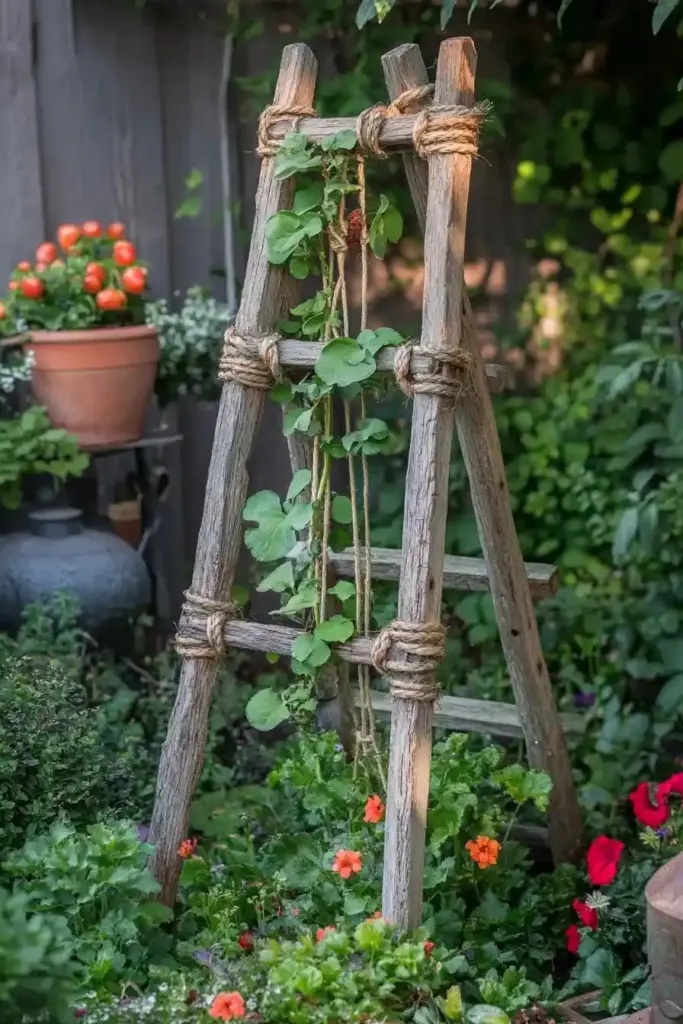
Looking for something sturdier? This setup can support even the most vigorous pea varieties.
How to Make It:
- Mount sections of cattle panel, chicken wire, or fencing mesh onto wooden posts or directly onto a raised bed frame.
- Use zip ties or U-nails to secure the wire tightly.
- Plant peas at the base and train them to climb the panel as they grow.
Why It Works:
This heavy-duty option is incredibly durable and holds up well in any weather.
4. Garden Arch or Tunnel Trellis
Want a real showstopper in your garden? A tunnel-style trellis does double duty as a plant support and a beautiful focal point.
How to Make It:
- Use two sections of cattle panel or fencing wire, bending them into a rounded arch.
- Secure the ends into raised beds or directly into the ground using wooden stakes or strapping.
- Connect the panels at the top with zip ties for stability.
Why It Works:
Besides looking incredible, this setup allows easy access for harvesting and can support multiple climbing plants on either side.
5. Twig or Branch Trellis
Rustic, charming, and practically free—this is a great way to upcycle fallen branches.
How to Make It:
- Gather branches with lots of small twigs.
- Insert them upright into the soil, spacing them evenly in a row or a circle.
- Sow peas at the base, and the tendrils will naturally latch on.
Why It Works:
It’s eco-friendly, quick to install, and blends beautifully into natural garden designs. Best for dwarf or bush peas.
6. Sturdy A-Frame Trellis
Perfect for windy areas or raised beds, this structure is one of the strongest trellises you can build.
How to Make It:
- Build two rectangular frames using untreated lumber or PVC pipe.
- Connect the tops with hinges or zip ties to create a folding “A” shape.
- Add netting, twine, or chicken wire to each side for climbing support.
- Anchor the bottom ends into the soil or screw them into your garden bed.
Why It Works:
Extremely durable and great for tall or heavy pea varieties. It also folds flat for off-season storage.
7. Upcycled and Recycled Materials
Don’t toss that broken ladder or old tomato cage—turn it into a pea trellis!
How to Make It:
- Repurpose household items like metal headboards, umbrella frames, or shelving units.
- Ensure the structure is tall and sturdy enough to support climbing plants.
- Position it in the garden, and sow peas nearby.
Why It Works:
It’s sustainable, creative, and adds a quirky, personal touch to your garden.
Conclusion
Whether you have a sprawling garden or a compact raised bed, adding a DIY pea trellis is one of the smartest upgrades you can make. From rustic twig frames to elegant garden arches, the right support system keeps your plants healthy, your harvests bountiful, and your garden looking organized. Best of all, many of these ideas can be made with materials you already have at home.
So take a look around, get creative, and start building your perfect pea trellis today. Your garden (and your peas!) will thank you.
🌿 Love gardening inspiration? Follow me on Pinterest for bold plant ideas, tips, and seasonal color!
More Posts
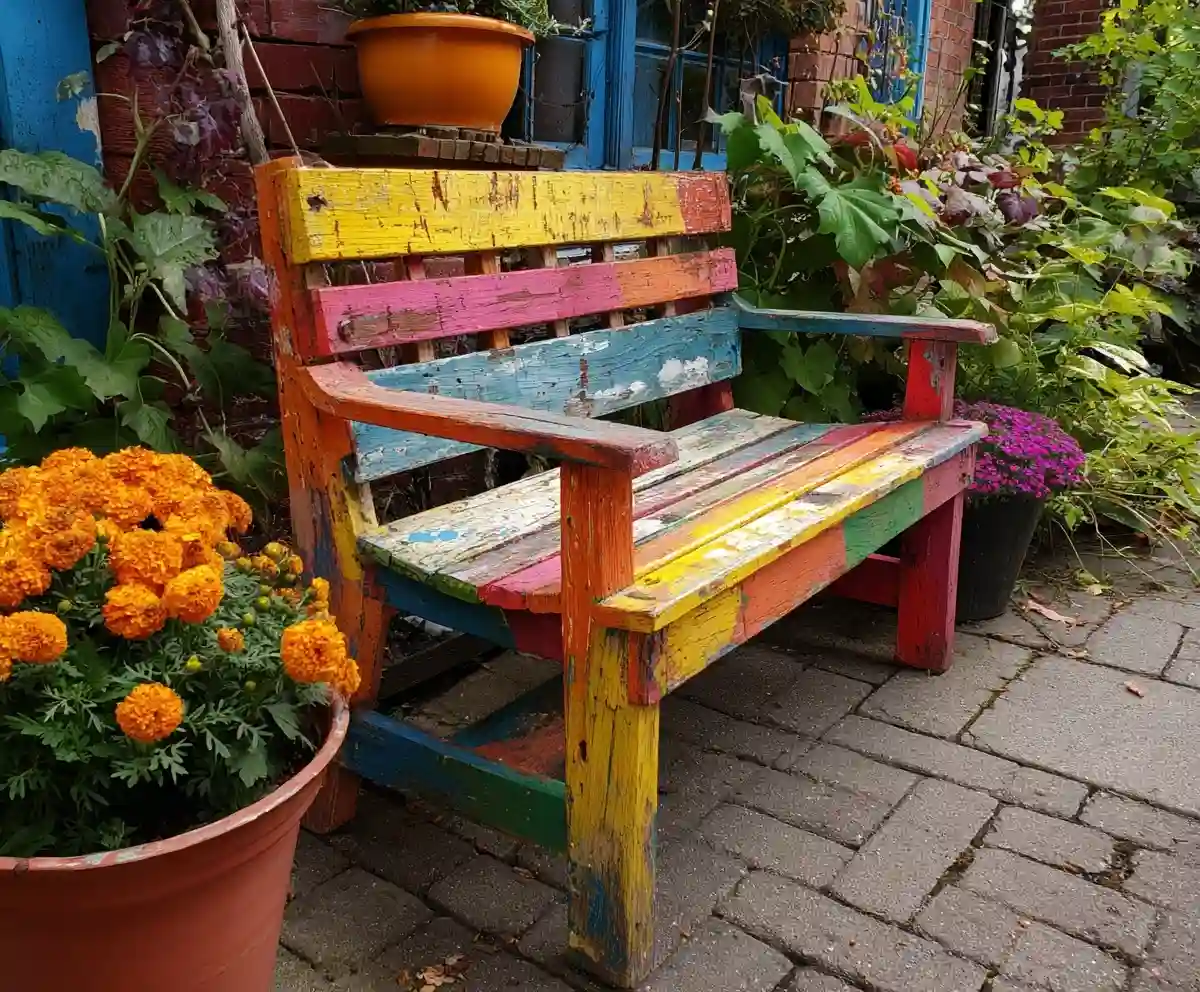
19+ Budget-Friendly Backyard Makeover Ideas
Backyard makeover ideas can turn even the most ordinary outdoor space into a warm, inviting retreat—without draining your wallet.
Read More →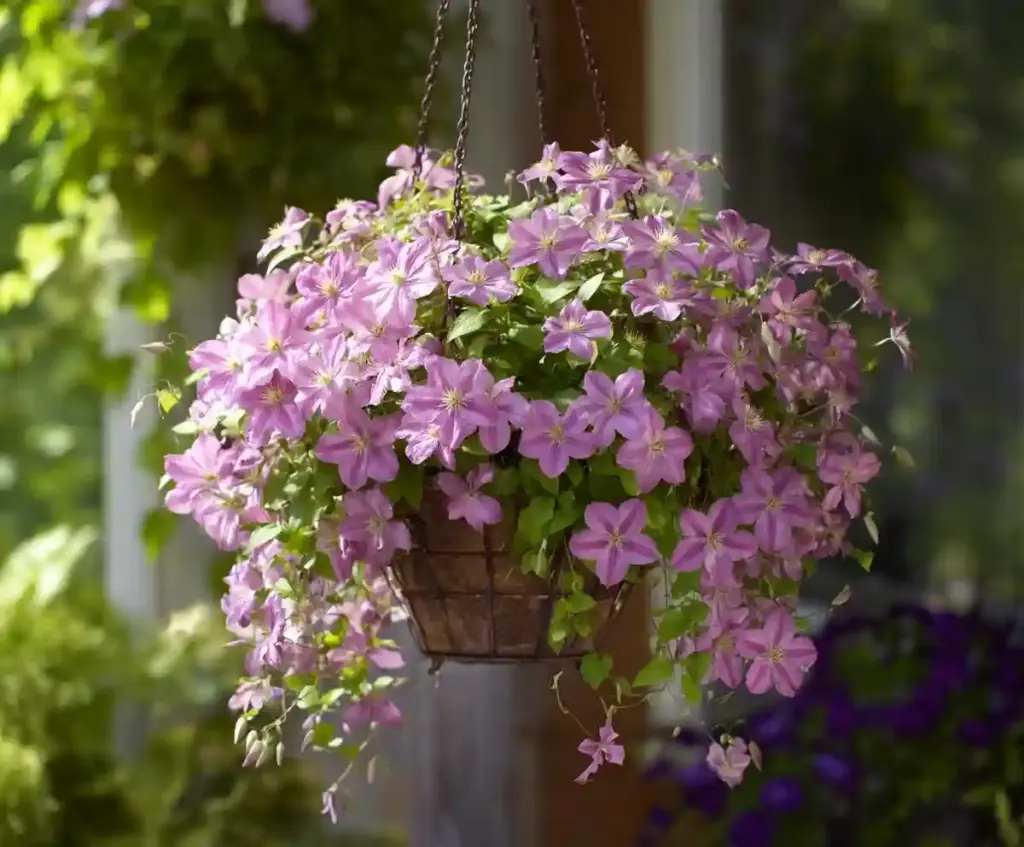
21 Stunning & Simple DIY Clematis Trellis Designs
DIY clematis trellis designs are a beautiful way to blend creativity with function in your garden.
Read More →
12 Full Sun Perennials That Bloom All Summer
Explore a selection of hardy perennials that flourish and bloom beautifully in full sun throughout the summer.
Read More →
Houseplants for Living Room
Find the perfect houseplants to brighten and purify your living room while adding a touch of nature indoors.
Read More →
Backyard Play Area for Kids
Create a fun and safe backyard play area for kids with these inspiring design ideas and tips.
Read More →
Top Privacy Trees
Discover top tree varieties that provide natural privacy and enhance your outdoor space.
Read More →
