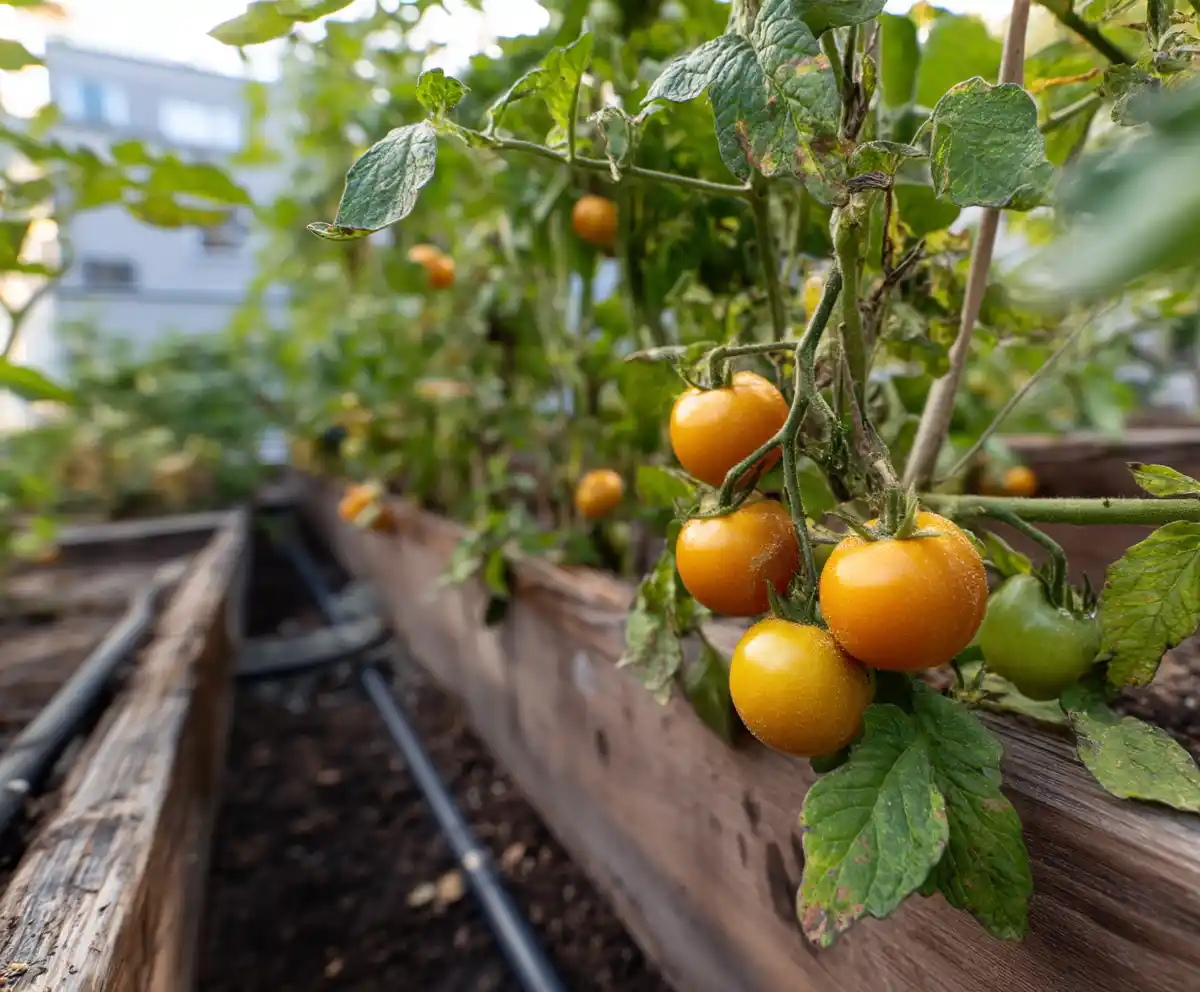
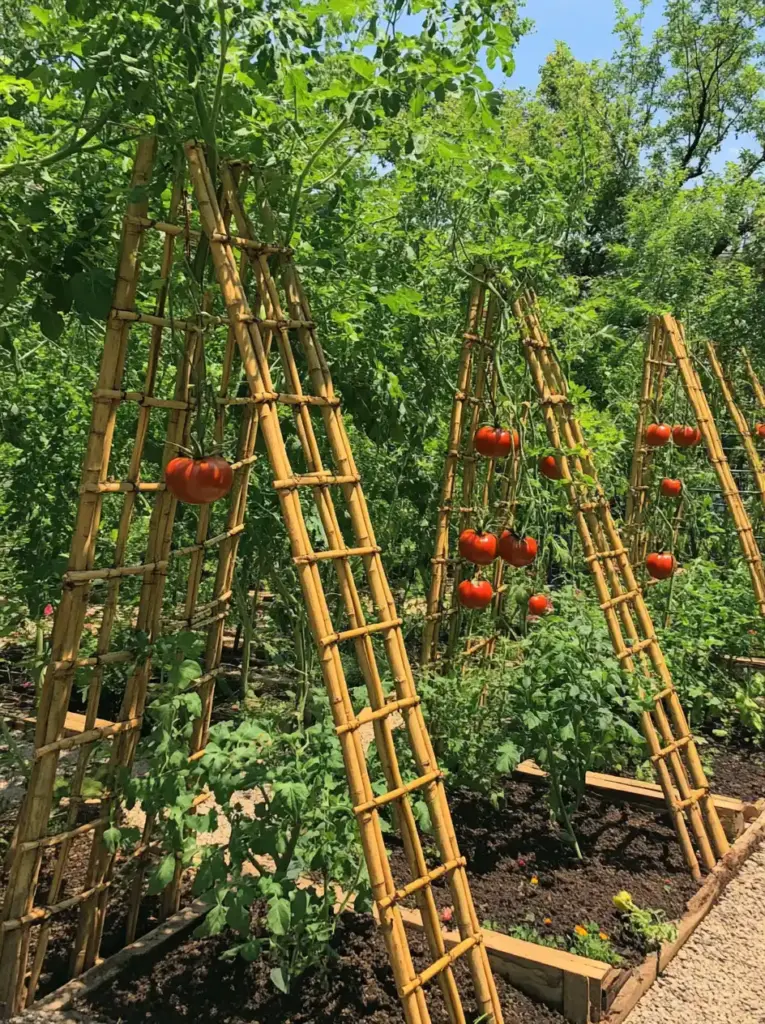
Are you looking for a sturdy, budget-friendly way to support your cherry tomatoes this growing season? A wooden tomato trellis could be exactly what your garden needs. This DIY structure is not only affordable—costing around $20 to build—but also incredibly practical. Unlike bulky metal cages, a wooden tomato trellis offers a sleek, functional design that folds flat for effortless winter storage, making it ideal for gardeners with limited space. Its customizable frame can be tailored to fit various raised beds or container gardens, allowing for versatile use in small or large plots alike. If you’re growing indeterminate tomatoes, which require continuous vertical support, this trellis provides the strength and adjustability your plants need to thrive.
Whether you’re just starting out or already experimenting with tomato trellis ideas for beginners, this guide shows you how to build your own wooden tomato trellis using easy-to-find materials like bamboo stakes, twine, and wooden dowels. It’s a smart alternative for any gardener tired of unwieldy cages and looking to maximize both space and harvest quality. You might also explore tips in raised bed gardening mistakes to avoid to get even more out of your setup.
Table of Contents
Final Trellis Dimensions
Before you dive into building your wooden tomato trellis, it’s helpful to understand the finished size so you can plan for your garden space. This trellis is designed to be compact yet tall enough to support vining indeterminate cherry tomatoes.
- Height: Approximately 4.5 feet
- Width: Roughly 4 feet across
- Depth: Adjustable (stakes pivot around a wooden dowel)
The depth can be easily modified depending on your layout and space. Most gardeners position the trellis legs about 2 to 2.5 feet apart, offering ample room for airflow and tomato growth. These dimensions make it ideal for raised beds, planter boxes, or small garden plots. If needed, you can scale the size down slightly—just avoid going much wider without adding extra vertical support.
This adjustable design ensures that your wooden tomato trellis offers the balance of support and flexibility needed for a healthy, productive growing season.
Materials & Tools Needed (Per Trellis)
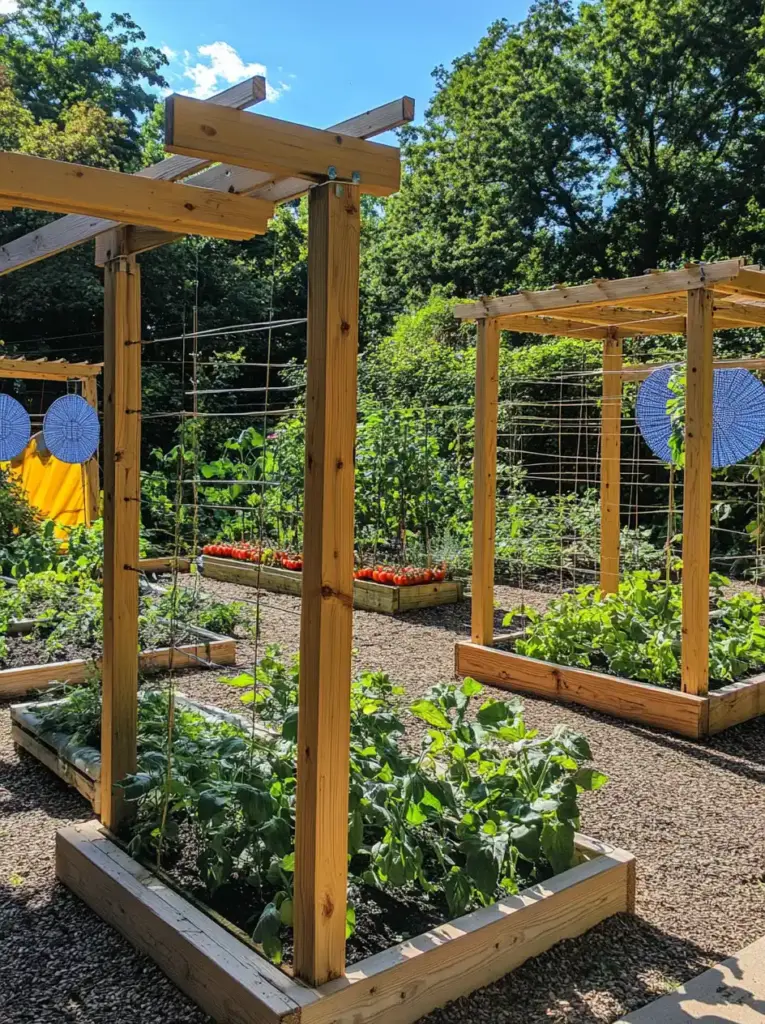
Creating a strong and reliable wooden tomato trellis doesn’t require fancy equipment or expensive materials. In fact, most of these items can be picked up affordably at your local hardware or garden center. Here’s what you’ll need for one trellis:
🛠 Materials:
- (4) Wooden stakes – 5 feet tall each (for vertical supports)
- (8) Bamboo stakes – 4 feet long each (used as horizontal rails)
- (1) Wooden dowel – 3/8″ diameter, 4 feet long (acts as the trellis hinge)
- Twine – For tying bamboo to wooden stakes and securing plants later
- Small galvanized nails – About 1.5″ long (create rail support points)
- Hot glue sticks – Used for securing bamboo at each joint
🔧 Tools:
- Drill – With a 7/16″ or 3/8″ drill bit
- Sandpaper – To smooth drilled holes if needed
- Hammer – For driving nails and assembling frame
- Tape measure – Essential for accurate spacing and alignment
- Pencil – For marking measurements on stakes
- Hot glue gun – Quick and easy adhesive application
- (Optional) Dead-blow hammer – Helps insert the dowel through tight holes
💡 Tip: If you already have some of these tools or leftover materials from past projects, your total cost may be even lower. On average, expect to spend around $20 per trellis.
Step-by-Step Assembly Instructions
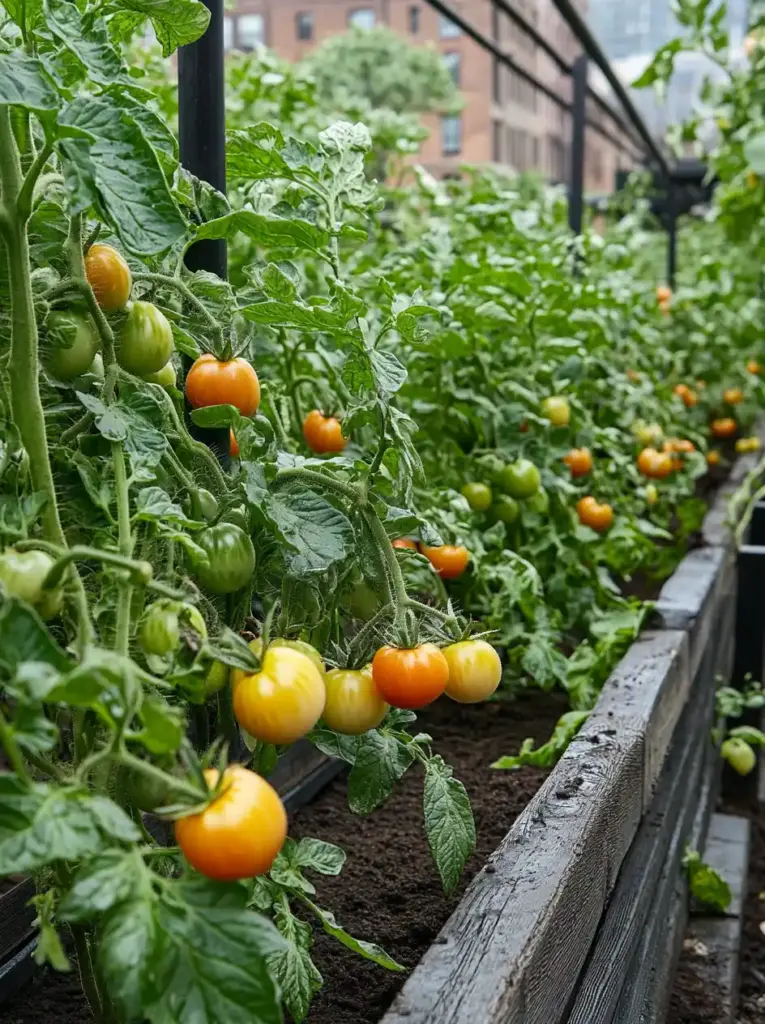
Step 1: Drill Anchor Holes
Start by prepping your vertical supports. Take all four 5-foot wooden stakes and drill a hole through each one, 5 inches down from the flat end (not the pointy side).
- Use a 3/8″ or 7/16″ drill bit.
- If you’re using a 3/8″ bit and the dowel feels too tight, wrap sandpaper around a pencil and smooth the hole interior until the dowel fits snugly.
These holes will serve as pivot points for the trellis frame.
Step 2: Mark Nail Positions
Lay two of your stakes flat on the ground. These will become your first trellis panel.
- With the drilled hole at the top, measure 12.5 inches down and make a pencil mark.
- From there, make three more marks, each spaced 7.5 inches apart.
These marks indicate where your bamboo rails will go.
Step 3: Install Bamboo Rails
Using a hammer, tap small galvanized nails into the four marks on each stake. These nails will act like miniature shelves for your bamboo crossbars.
- Lay the stakes about 40 inches apart on a flat surface.
- Place a bamboo stake horizontally across each set of nails, forming the trellis “rungs.”
Step 4: Secure Bamboo Crossbars
To prevent shifting and boost strength:
- Apply a small dot of hot glue at each bamboo-to-wood joint.
- Reinforce each connection by tying twine around the bamboo and wooden stake at each cross-point.
This combo of glue and twine adds durability without requiring screws or brackets.
Step 5: Build the Second Panel
Repeat Steps 2–4 using the remaining two 5-foot stakes and four more bamboo stakes. You’ll now have two matching trellis panels.
Step 6: Assemble the Foldable Frame
Here’s where your wooden dowel comes in.
- Lay one panel face down (bamboo side touching the ground). This will be the back panel.
- Place the second panel on top, bamboo side up. This is your front panel.
- Align the drilled holes at the top of each stake.
- Gently push the dowel through both holes, connecting the two panels. It will be tight—twist as you go or use a dead-blow hammer if needed.
This design allows the trellis to open like a book and fold flat when not in use.
Step 7: Install Your Trellis
Once assembled:
- Push the pointed ends of the stakes into the soil or planter box.
- As your tomato vines grow, weave them through the bamboo rails or tie them loosely with garden twine.
This method gives plants strong, vertical support without crowding.
Easy Off-Season Storage
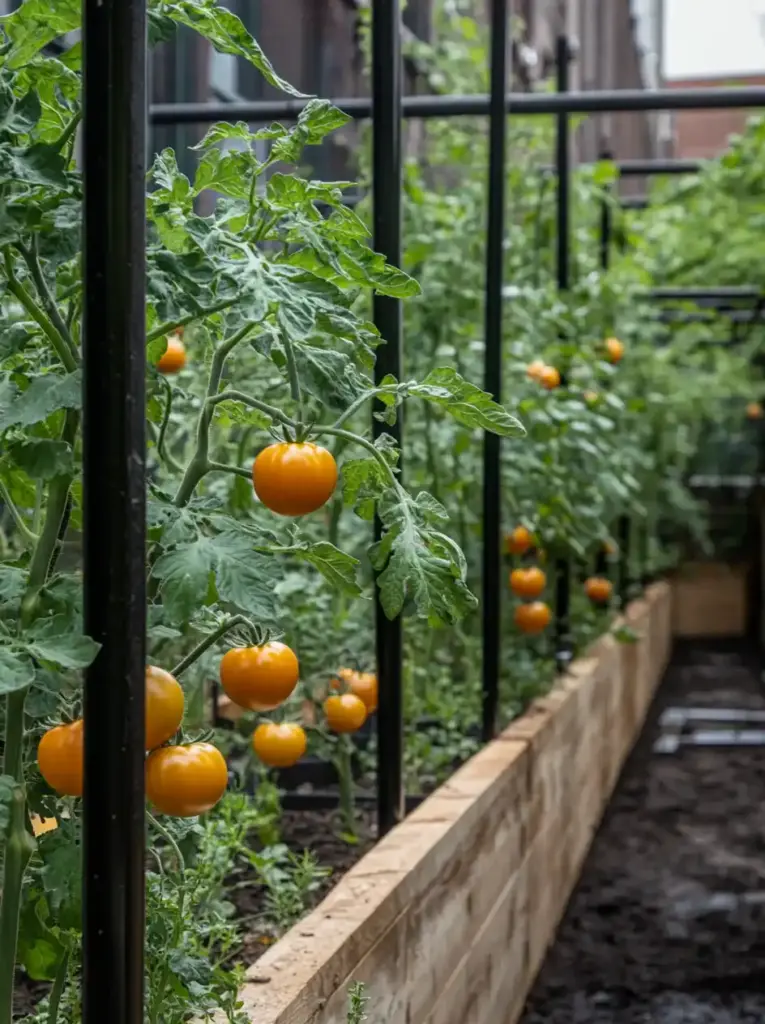
One of the standout advantages of this wooden tomato trellis is its foldable design. Traditional tomato cages are bulky, awkward to store, and often take up valuable shed or garage space during the winter months. This DIY trellis, however, folds completely flat, making off-season storage simple and efficient.
- No tools required for disassembly—just pull the dowel out, fold the panels, and stack them away.
- Great for gardeners working with limited space or container gardens.
- Lightweight enough to move around the yard, but sturdy enough to stand up to summer storms and heavy vines.
This collapsible feature makes the trellis not only functional during the growing season but also practical year-round.
Frequently Asked Questions
1. What type of tomatoes work best with a wooden tomato trellis?
A wooden tomato trellis is especially ideal for indeterminate cherry tomatoes and other vining varieties that require continuous vertical support throughout the growing season. These tomatoes can grow over six feet tall, and without a proper trellis, they’re prone to sprawl, crowd other plants, and become more susceptible to pests and diseases. The vertical structure of a wooden tomato trellis encourages upward growth, improving airflow and sun exposure, which ultimately leads to healthier plants and higher yields.
On the other hand, this type of trellis isn’t necessary for bush or determinate tomatoes, which tend to remain compact and self-supporting. If you’re still deciding what to plant, check out our guide on the best vegetables for beginner gardening to match your space and support setup. You can also explore clever ways to maximize growth in confined areas with these small vegetable garden ideas, especially if you plan to grow both trellised and non-trellised crops.
2. How much weight can a wooden tomato trellis hold?
When properly built and installed, a wooden tomato trellis can easily support the weight of mature, fruit-bearing tomato vines—even during peak harvest season. Using strong construction techniques like hot glue at connection points, twine ties for reinforcement, and securing the stakes deeply into solid soil will give your trellis the stability it needs to handle heavy growth. This is especially important for indeterminate varieties, which can become quite top-heavy as they produce fruit continuously.
To ensure the longevity of your trellis, avoid placing too many tomato plants on a single structure. One or two vines per trellis is usually ideal. If you’re growing in planter boxes, it’s also worth reviewing our tips for gardening in planter boxes to optimize soil depth and anchoring strength. For additional vertical growing ideas, check out these creative DIY garden trellis ideas that work for everything from tomatoes to beans and cucumbers.
3. Can I adjust the size of the trellis?
Absolutely! One of the best things about a wooden tomato trellis is how easily you can customize the design to fit your unique garden layout. Whether you’re working with compact raised beds, narrow planters, or an urban balcony setup, you can shorten the wooden stakes or reduce the overall width of the trellis to suit your space. This flexibility makes it a great choice for gardeners who want to maximize every inch of growing area while still giving their indeterminate tomatoes the vertical support they need.
However, it’s important not to increase the width too much without adding a center support stake, as this could compromise the structural integrity of the trellis—especially once heavy fruit begins to set. For more layout inspiration, explore our guide to raised bed gardening mistakes to avoid, or browse through these DIY garden trellis ideas for vertical gardening that are perfect for creative, space-efficient solutions.
4. Is a wooden tomato trellis better than a tomato cage?
Yes—especially when it comes to storage, flexibility, and cost, a wooden tomato trellis is a major upgrade over traditional tomato cages. While store-bought cages can be bulky, hard to stack, and often priced well above $30, this DIY wooden trellis design costs around $20 and offers a tailored fit for your specific garden layout. Even better, it folds flat during the off-season, saving you valuable storage space in your garage, shed, or balcony. This is a game-changer for gardeners working in tight quarters or looking to streamline their tools and supplies.
The sturdy vertical structure supports even the heaviest cherry tomato vines, promoting healthier growth while making your garden look tidy and well-organized. For those interested in maximizing space and minimizing clutter, take a look at our guide to tomato trellis ideas for beginners and get inspired by these small vegetable garden ideas perfect for tight urban spaces and raised beds.
5. How do I store the trellis in winter?
Storing your wooden tomato trellis couldn’t be easier. At the end of the growing season, simply remove the wooden dowel, fold the two trellis panels together like a book, and tuck the entire structure flat into your shed, garage, or even under a workbench. This foldable design eliminates the frustration of dealing with bulky, awkward tomato cages that often clutter up storage areas or take up unnecessary space in the off-season.
It’s an especially smart solution for gardeners who rotate crops or live in colder climates where seasonal tools need to be packed away. If you’re trying to keep a tidy gardening area while maximizing functionality, this trellis system fits right in. For more clever space-saving tips, don’t miss our article on DIY garden trellis ideas and get inspired by these raised bed garden upgrades that take your layout to the next level.
Conclusion
Building your own wooden tomato trellis is an easy, affordable way to give your garden a professional upgrade. With just a few materials and a little bit of weekend effort, you’ll end up with a space-saving, durable trellis that supports your plants while simplifying storage.
Whether you’re dealing with crowded garden beds or a compact patio planter, this foldable trellis proves that smart design and gardening success go hand in hand. Give it a try this season—and enjoy healthier tomatoes and a tidier garden space!
🌿 Love gardening inspiration? Follow me on Pinterest for bold plant ideas, tips, and seasonal color!
More Posts
19+ Budget-Friendly Backyard Makeover Ideas
Backyard makeover ideas can turn even the most ordinary outdoor space into a warm, inviting retreat—without draining your wallet.
Read More →
21 Stunning & Simple DIY Clematis Trellis Designs
DIY clematis trellis designs are a beautiful way to blend creativity with function in your garden.
Read More →
12 Full Sun Perennials That Bloom All Summer
Explore a selection of hardy perennials that flourish and bloom beautifully in full sun throughout the summer.
Read More →
Houseplants for Living Room
Find the perfect houseplants to brighten and purify your living room while adding a touch of nature indoors.
Read More →
Backyard Play Area for Kids
Create a fun and safe backyard play area for kids with these inspiring design ideas and tips.
Read More →
Top Privacy Trees
Discover top tree varieties that provide natural privacy and enhance your outdoor space.
Read More →
